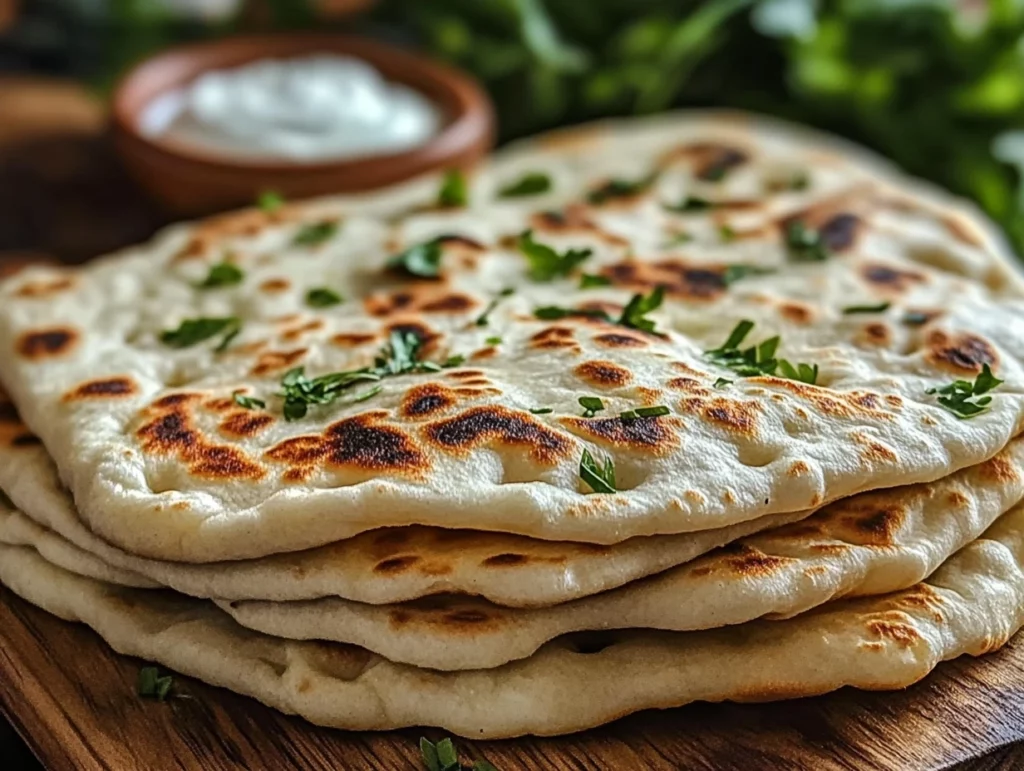
If you’ve ever looked at your jar of sourdough discard and wondered, “What in the world do I do with this besides toss it?”—you’re not alone. Trust me, I’ve been there too, especially after one of those enthusiastic bread-baking weekends where the discard pile seems to grow faster than my to-do list. That’s exactly how this easy 3-Ingredient Sourdough Discard Flatbread came to life in my kitchen—out of necessity, curiosity, and a little impatience!
What I love most about this recipe (aside from how crazy simple it is) is how versatile and fast it comes together. No yeast. No rise time. No drama. Just a soft, chewy, slightly tangy flatbread that cooks up in minutes—and makes your kitchen smell absolutely amazing. Whether you’re using it as a wrap, a pizza base, or a quick side for soup or curry, this is one of those recipes that always hits the spot.
And here’s the best part: you only need three basic ingredients. Really. It’s the kind of recipe that practically begs to be made on those days when the fridge is looking bare and dinner needs to happen now. Plus, it’s a fantastic way to use that sourdough discard you’ve been saving.
Let’s jump into it—your warm, golden flatbreads are just a few minutes away!
Ingredients You’ll Need
½ cup sourdough discard (unfed)
½ cup plain Greek yogurt (or regular yogurt)
1 cup all-purpose flour (plus a little extra for dusting)
Optional but Recommended Add-ins:
½ teaspoon salt (for a boost of flavor)
1 teaspoon garlic powder or minced garlic
1 teaspoon dried herbs like oregano, rosemary, or thyme
1 tablespoon olive oil or melted butter (for brushing after cooking)
STEP 1: MIX THE DOUGH
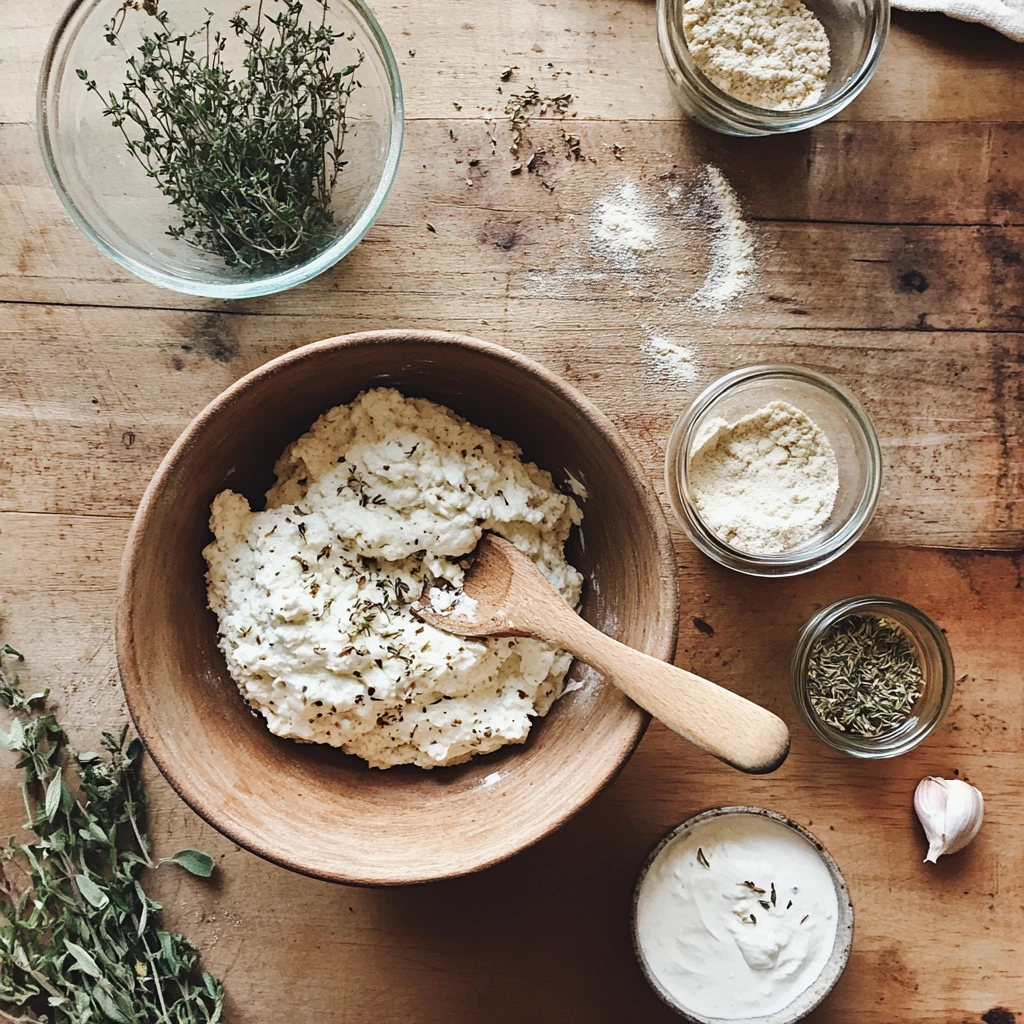
Start by grabbing a medium mixing bowl and tossing in your sourdough discard, yogurt, and flour. If you’re going for the optional flavor add-ins—like salt, garlic, or herbs—this is the time to include them. Use a spoon or spatula to mix everything together until a soft, shaggy dough forms. The dough should come together without being too sticky, but if it feels overly wet, don’t be afraid to sprinkle in a little more flour.
I’ve found that Greek yogurt gives the dough a bit more structure and tang, but regular yogurt works perfectly fine too. This dough is super forgiving, so it’s a great place to start if you’re newer to working with discard.
STEP 2: KNEAD AND REST
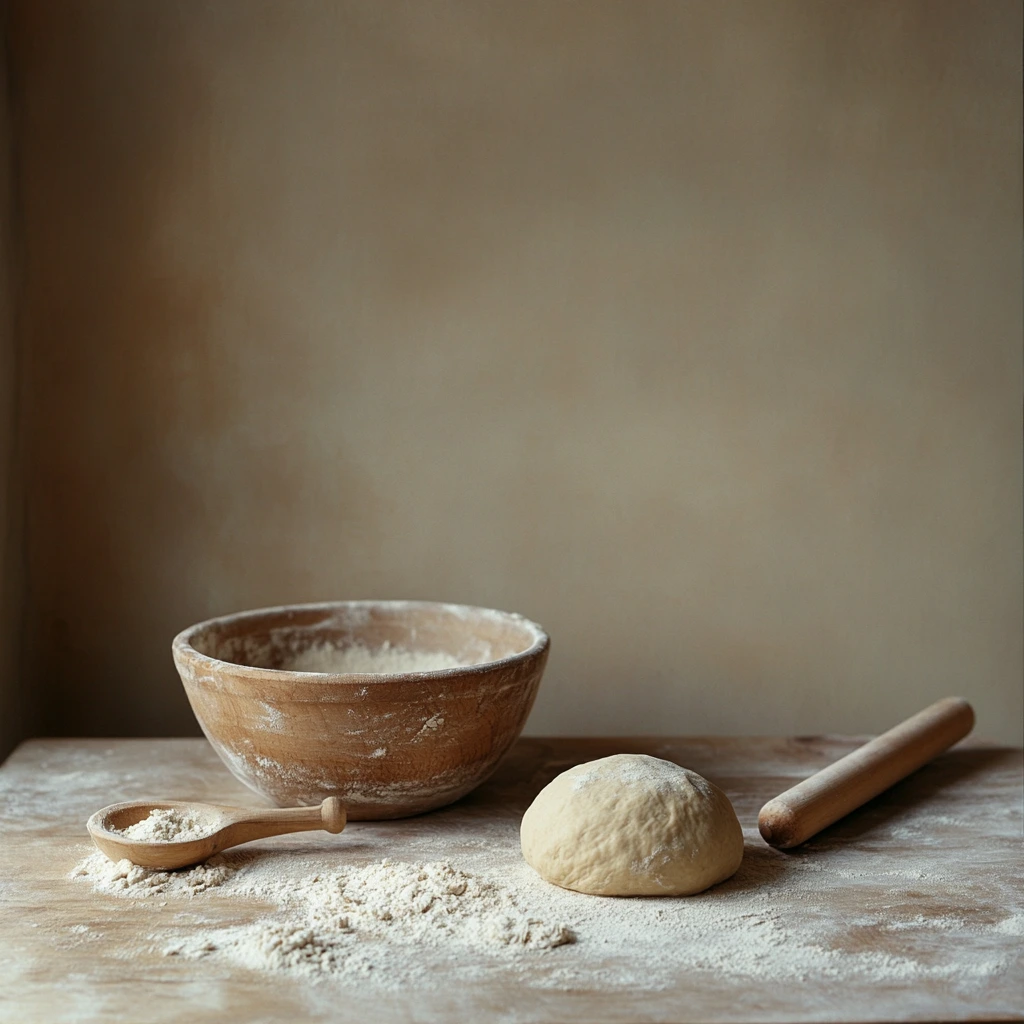
Once your dough is looking nice and combined, turn it out onto a lightly floured surface. Knead it gently for about 1 to 2 minutes—just enough to smooth it out and bring it together into a soft ball. You’re not looking for the kind of extensive kneading you’d do with bread dough here. This is just a quick mix to develop some structure.
Let the dough rest for 5 to 10 minutes. This little rest period gives the gluten time to relax, which makes the next step—rolling—way easier. Trust me, skipping this can lead to dough that keeps springing back on you like a rubber band. No thank you!
STEP 3: DIVIDE AND ROLL
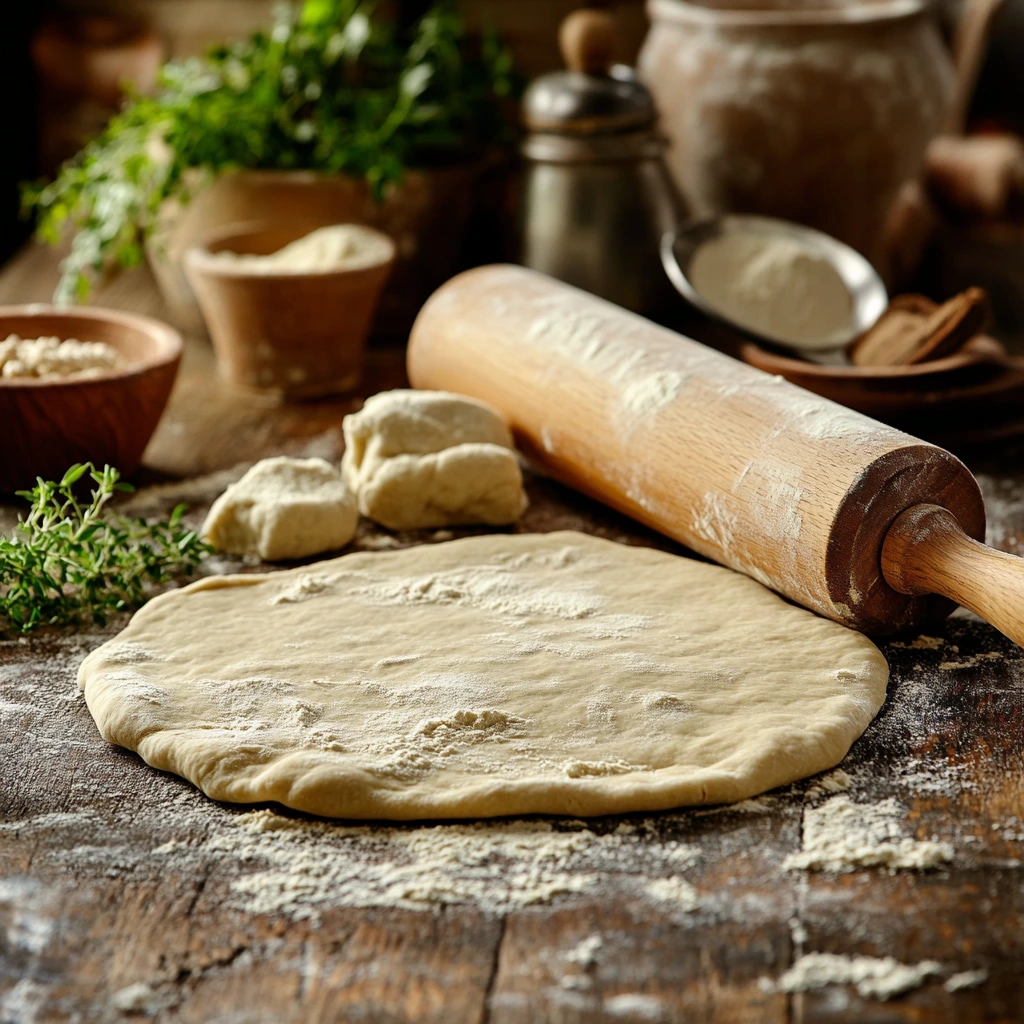
Now that your dough is rested and ready, divide it into 4 to 6 pieces, depending on how large you want your flatbreads. I usually go with 5—just feels like the magic number for size and serving.
Roll each piece out into a round or oval, aiming for about ⅛-inch thickness. Don’t worry if they aren’t perfect circles; this is rustic, homemade bread. Imperfect shapes = extra charm in my book.
At this point, you’re basically ready to cook—but we’ll get to that in Part 2, along with a few fun ways to dress them up or tweak the recipe for different meals.
How to Cook and Customize Your 3-Ingredient Sourdough Discard Flatbread
So now that your dough is divided, rolled out, and ready to go—it’s time for the fun part: cooking! This is where the flatbreads puff up slightly, get those gorgeous golden-brown spots, and transform into warm, chewy magic in just minutes. Honestly, this part is so satisfying, and if your kitchen doesn’t already smell amazing, it will now.
Whether you’re whipping these up for a quick lunch, a last-minute side dish, or prepping them as a base for pizzas and wraps, this next step is where the magic really happens.
STEP 4: COOK THE FLATBREADS
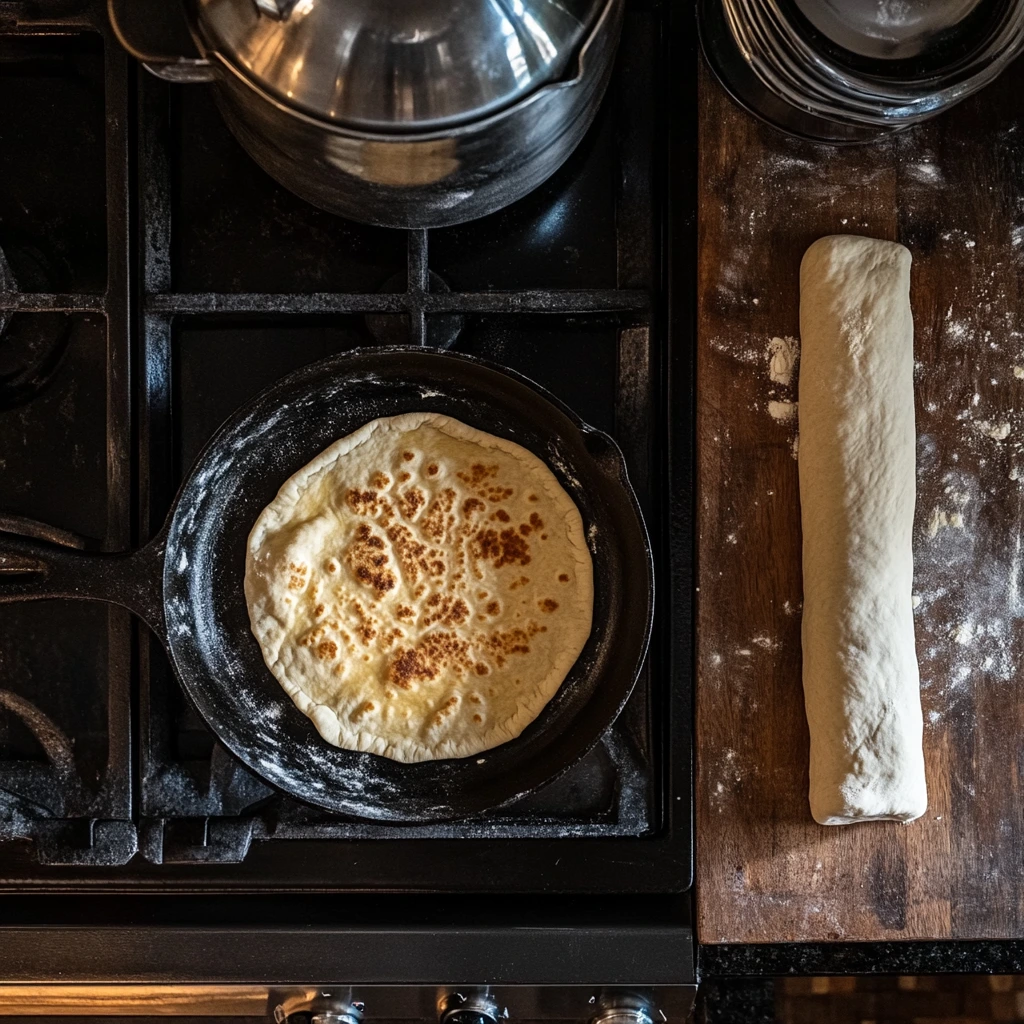
Get your skillet nice and hot before adding the dough—medium-high heat is ideal. A cast iron skillet works wonderfully here because it holds heat evenly and gives those beautiful browned spots, but any non-stick skillet will do just fine.
Once the skillet is heated, place one piece of rolled dough into the dry pan (no oil needed). Cook it for 1 to 2 minutes on each side, or until you see bubbles forming and the underside has golden-brown spots. Flip and repeat on the other side.
These cook fast, so keep an eye on them. Depending on the thickness and your stove’s heat, you might even need to turn the heat down slightly after the first one or two.
If you’re cooking for a crowd or making these ahead, you can keep them warm in a low oven (around 200°F) while you finish the rest.
STEP 5: BRUSH AND SERVE
Once each flatbread is done cooking, you can absolutely enjoy them as-is—but brushing them with a little olive oil or melted butter while they’re still warm takes them over the top. You can even sprinkle some extra herbs, flaky salt, or a little grated Parmesan right after brushing for extra flavor.
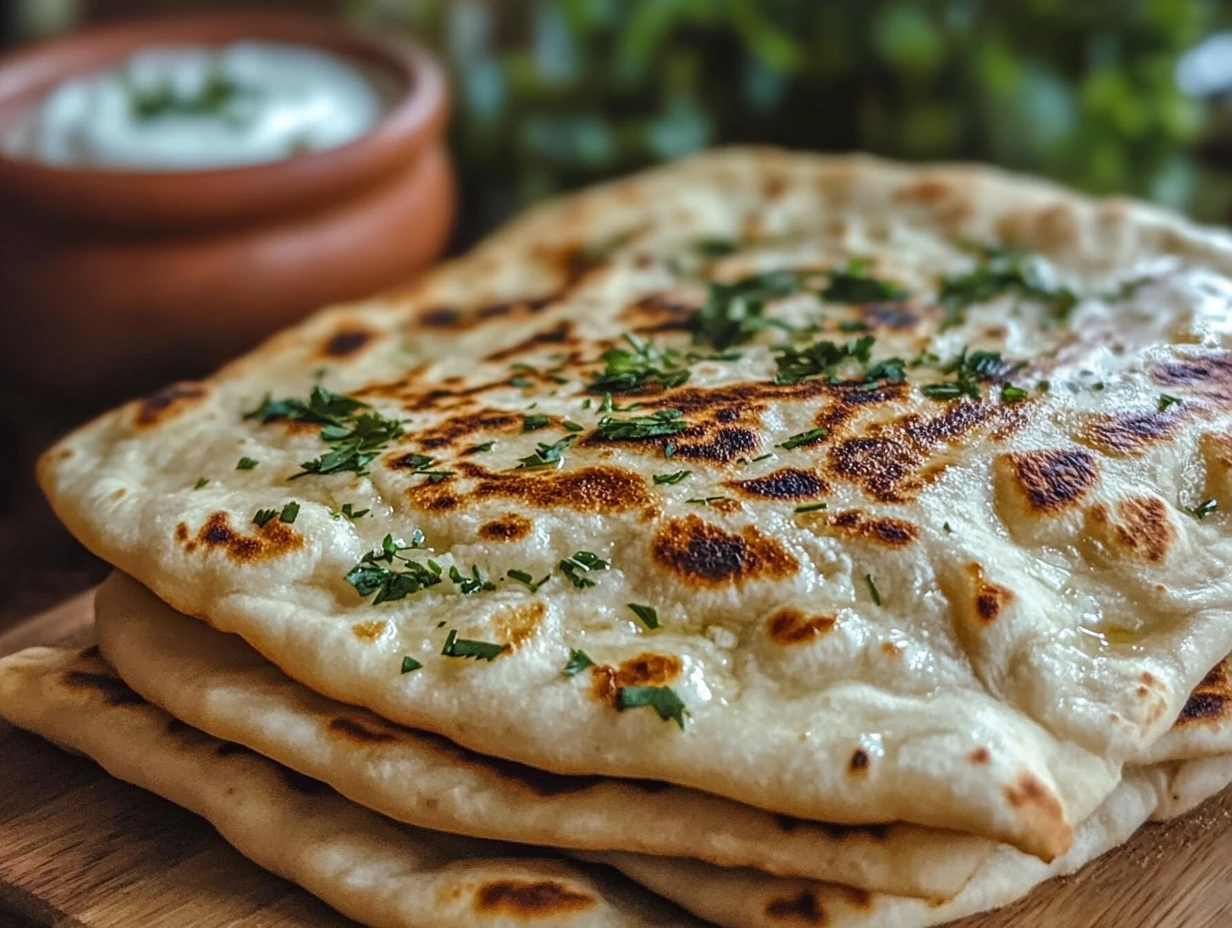
Serve them warm for the best texture—they’re soft, slightly chewy, and just the right amount of tangy from the discard. I love tearing off pieces and dipping them into soups, using them as a wrap for grilled veggies, or even turning them into mini pizzas with a quick swipe of tomato sauce and cheese.
Easy Ways to Customize Your Flatbread
This dough is incredibly forgiving, which makes it a great base for a little creativity. Here are a few of my favorite variations and tips to take it in different directions:
Add spices to the dough: Try cumin, smoked paprika, or even za’atar mixed in for a flavorful twist.
Cheesy version: Add a small handful of shredded cheddar, mozzarella, or parmesan to the dough before kneading.
Garlic herb flatbread: Mix garlic powder and Italian herbs directly into the dough or into the melted butter for brushing.
Stuffed flatbread: Roll slightly thicker, add a bit of cheese or mashed potato in the center, fold over, and seal the edges before cooking like a quesadilla.
Storage and Reheating Tips
These flatbreads store beautifully and reheat well, making them perfect for meal prep or late-night snacks:
Store: Keep cooled flatbreads in an airtight container or zip-top bag at room temperature for up to 2 days, or in the fridge for up to 4 days.
Reheat: Warm them in a dry skillet for 1–2 minutes per side, or pop them into a toaster oven until heated through.
Freeze: Yes, you can freeze them! Stack with parchment between each one and freeze in a freezer bag for up to 2 months. Thaw and reheat as needed.
What to Serve With Your Sourdough Flatbread
There are so many tasty pairings for this recipe, depending on what meal you’re building. Here are some ideas to get you started:
Soups and stews: Perfect with lentil soup, creamy tomato bisque, or chili.
Dips and spreads: Serve alongside hummus, baba ganoush, tzatziki, or whipped feta.
As a wrap: Fill with grilled chicken, roasted veggies, or even scrambled eggs for a quick breakfast wrap.
Flatbread pizza: Just add sauce, toppings, and cheese, then bake or broil until melted.
FAQs About 3-Ingredient Sourdough Discard Flatbread
You’ve made the dough, rolled it out, and cooked up some delicious, golden flatbreads—now let’s get into some of the most frequently asked questions about this recipe. Whether you’re new to sourdough discard or just looking for ways to tweak the results, these answers should have you covered.
Can I use sourdough discard straight from the fridge?
Yes! This recipe is designed to use unfed sourdough discard, even if it’s cold. Just give it a good stir before using. If it’s been in the fridge a while and has separated a bit (with liquid on top), mix it back together before measuring.
What kind of yogurt should I use?
Plain Greek yogurt gives a thicker, slightly tangier dough, while regular yogurt results in a softer texture. Both work great. Just avoid flavored or sweetened yogurt—those won’t work well in this savory recipe.
Can I make this recipe dairy-free?
Yes, you can substitute the yogurt with a thick, unsweetened dairy-free yogurt like coconut or almond yogurt. The dough texture might vary slightly, so you may need to adjust the flour by a tablespoon or so.
Why is my dough too sticky or too dry?
The moisture content in sourdough discard and yogurt can vary slightly, so it’s normal to make small adjustments. If your dough is sticking to your hands or the counter, add a sprinkle of flour. If it feels dry and crumbly, add a small spoonful of yogurt until it comes together.
How thick should I roll the dough?
Aim for about ⅛ inch thick. Rolling it too thin can lead to crispy rather than soft flatbreads. If you prefer a puffier texture, you can go slightly thicker—just extend the cook time a bit.
Can I double or halve the recipe?
Absolutely. This recipe scales very well. Just be sure to keep an eye on the dough texture, especially when doubling, and adjust the flour or yogurt slightly as needed.
What’s the best way to reheat leftover flatbread?
Reheat in a dry skillet over medium heat for a minute or two on each side to bring back that fresh-cooked softness. You can also pop it in a toaster or toaster oven. Avoid the microwave—it tends to make the bread rubbery.
Final Thoughts: Give This Flatbread a Try!
If you’re anything like me, you’ll find yourself making this 3-Ingredient Sourdough Discard Flatbread on repeat. It’s quick, it’s satisfying, and it saves that precious discard from going to waste. Plus, once you realize just how versatile and forgiving the dough is, it becomes a go-to for just about any meal.
Whether you keep it classic or jazz it up with herbs, spices, or cheese, this recipe is the kind of simple kitchen win that feels extra rewarding. No rise, no complicated steps—just warm, homemade bread in under 20 minutes.
I’d love to hear how yours turn out! Did you go for the garlic herb version? Try it with a soup or as a wrap? Let me know in the comments, and don’t forget to share your favorite variations. Your kitchen, your rules—and with a recipe this flexible, the possibilities are endless.
Happy flatbread making!
Print
3-Ingredient Sourdough Discard Flatbread
- Author: Andrew Recipes
Description
This quick and easy flatbread is the perfect way to use up sourdough discard. With just a few simple ingredients and no rising time required, you’ll have soft, chewy flatbreads ready in minutes. Ideal as a side for soups and stews, a base for wraps and pizzas, or served warm with dips.
Ingredients
½ cup sourdough discard (unfed)
½ cup plain Greek yogurt (or regular yogurt)
1 cup all-purpose flour (plus more for dusting)
Optional Add-ins:
½ teaspoon salt (for extra flavor)
1 teaspoon garlic powder or minced garlic
1 teaspoon dried herbs (oregano, thyme, or rosemary)
1 tablespoon olive oil or melted butter (for brushing)
Instructions
1️⃣ In a mixing bowl, combine the sourdough discard, yogurt, and flour. Add salt, garlic, and herbs if you’re using them. Stir until a soft, shaggy dough comes together. If the dough is too sticky, add a bit more flour.
2️⃣ Transfer the dough to a lightly floured surface. Knead for 1 to 2 minutes until the dough is smooth and cohesive. Let it rest for 5 to 10 minutes to relax the gluten and make it easier to roll.
3️⃣ Divide the dough into 4 to 6 equal pieces. Roll each piece into a round or oval shape, about ⅛-inch thick.
4️⃣ Heat a dry skillet (non-stick or cast iron works well) over medium-high heat. Once hot, cook each flatbread for 1 to 2 minutes on each side, until golden brown spots appear and bubbles form.
5️⃣ While still warm, brush the flatbreads with olive oil or melted butter if desired. Serve immediately for the best texture and flavor.
Notes
This dough is very forgiving and can be adjusted to suit your taste. You can add spices, mix in shredded cheese, or top with fresh herbs after cooking. Leftovers can be stored in an airtight container and reheated in a skillet or toaster for a quick snack or side.
