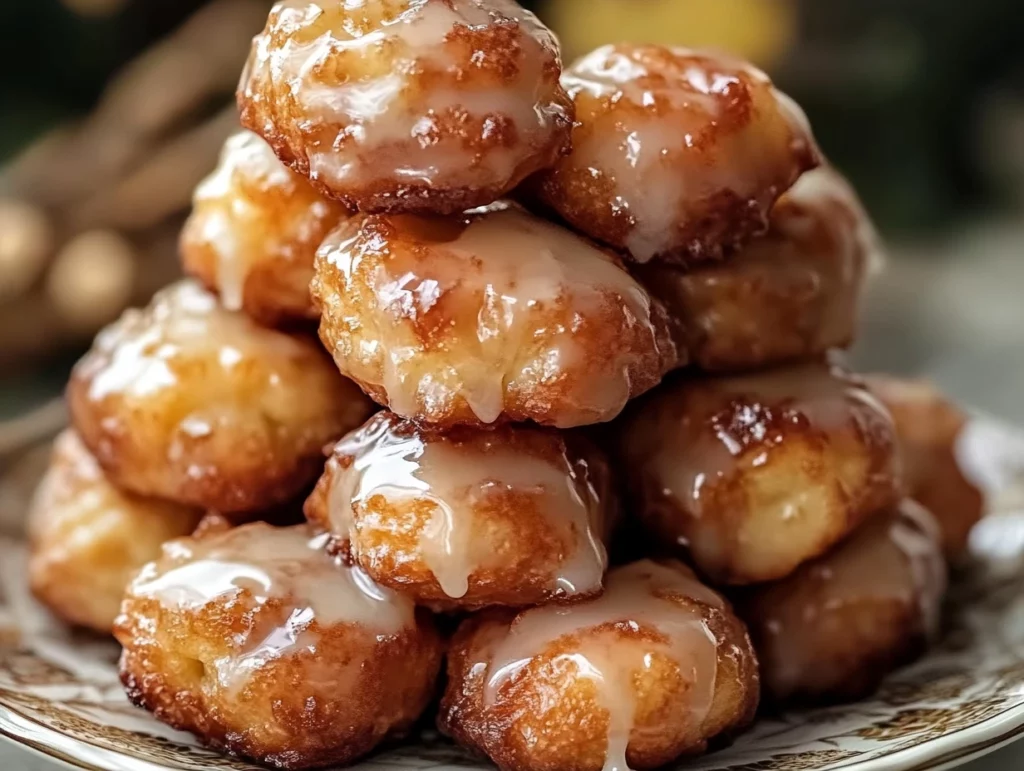
If there’s one thing that instantly transports me to a cozy fall morning, it’s the aroma of apple and cinnamon mingling in the air. But let’s be honest—classic apple fritters are delicious, yes, but deep-frying? It’s messy, time-consuming, and sometimes just not worth the effort for a weekday treat. Enter these Mini Apple Fritter Bites: all the flavor you love, with none of the fuss. They’re oven-baked, bite-sized, and glazed to sticky perfection. I first whipped up a batch on a rainy Sunday afternoon when I needed comfort without the cleanup, and ever since, they’ve become my go-to snack for brunch gatherings, lunchbox treats, or an afternoon pick-me-up with coffee.
These little bites combine tender chunks of Honeycrisp apple with a cinnamon-spiced batter, baked until puffed and golden, then finished under the broiler for that signature caramelized edge. No fryer needed, no vats of oil, and best of all—each bite is perfectly portable. In this three-part series, we’ll walk through everything you need to know, from gathering your ingredients to that final broil and glaze. In Part 1, let’s cover the why, the what, and the first steps of assembly so you can get started right away.
Ingredients
Fritter Batter
Nonstick cooking spray, for greasing
190 g all-purpose flour
2 tsp baking powder
½ tsp kosher salt
2 tsp ground cinnamon
57 g unsalted butter, melted
50 g granulated sugar
1 large egg
½ tsp vanilla extract
120 ml unsweetened applesauce
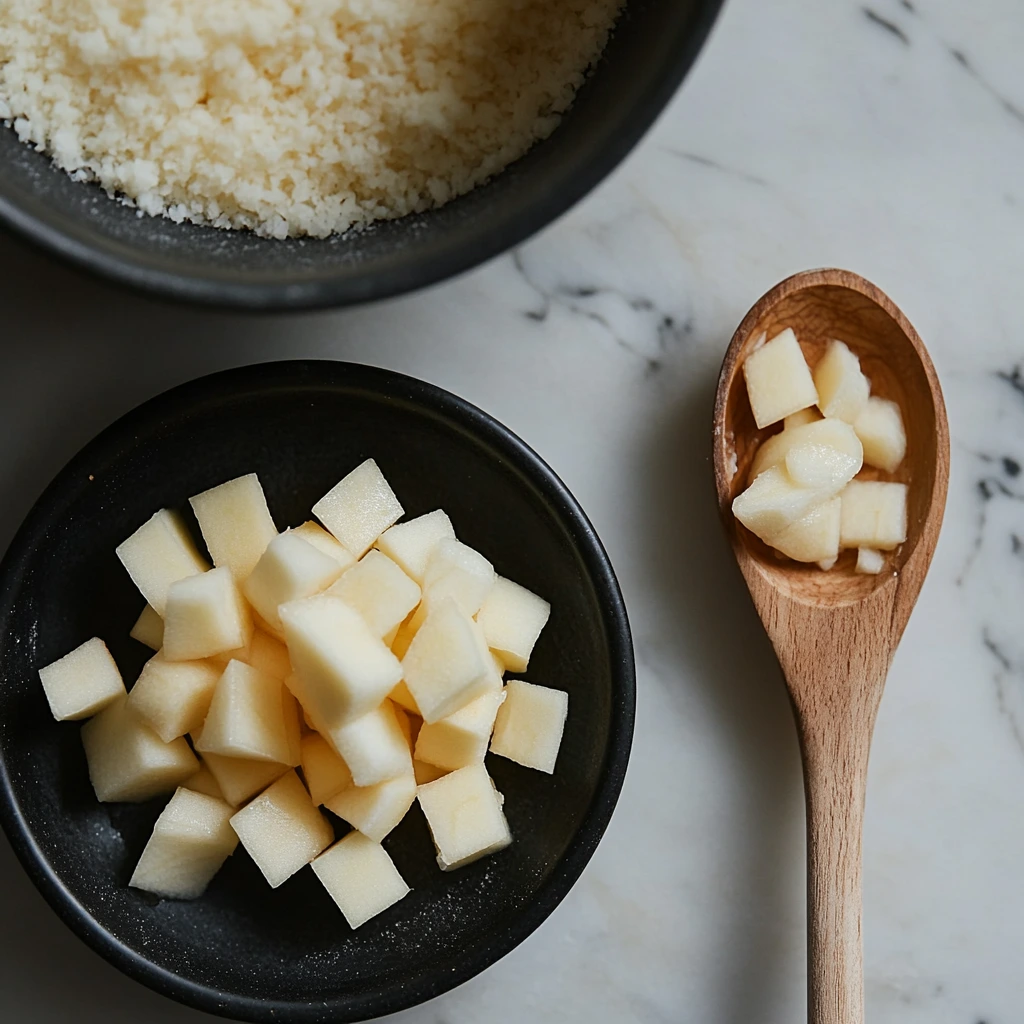
240 g Honeycrisp apples, peeled and finely diced (about 2 medium apples)
Apple Glaze
240 g powdered sugar
100 ml apple cider or apple juice
Steps
Preheat and Prep
Position your oven rack in the center and preheat to 200 °C. Lightly coat a baking sheet with nonstick cooking spray—this ensures your fritter bites slide off without a fight once they’re baked.Mix Dry Ingredients
In a medium bowl, whisk together the all-purpose flour, baking powder, kosher salt, and ground cinnamon. This step guarantees an even distribution of leavening and spice, so every bite has that warm cinnamon flavor right through the middle.Combine Wet Ingredients
In a larger bowl, whisk the melted butter with the granulated sugar until the mixture looks creamy and a little pale. Crack in the egg and beat until fully incorporated. Stir in the vanilla extract and applesauce; the batter should be smooth, with no streaks of apple sauce. If you’ve ever had batter with lumps of butter, this is your moment to make it silky.Bring Batter Together
Pour the dry ingredients into the wet mixture and gently stir until just combined. Overmixing can lead to tough bites, so aim for “no dry streaks” rather than perfect smoothness. Finally, fold in the diced apples—this is where you’ll see little pockets of fruit that will bake into tender, juicy morsels.
Baking, Glazing & Pro Tips for Perfect Apple Fritter Bites
Now that your batter is ready and packed with sweet diced apples and warm cinnamon spice, it’s time to get these Apple Fritter Bites into the oven. This is where the magic really starts to happen. These little guys puff up beautifully in the oven, and the quick broil at the end gives them that signature golden finish—almost like they were fried, but without all the mess or oil. Honestly, the broil-and-glaze step is a total game changer. Let’s walk through how to bake them up and get that glaze just right.

Steps
Scoop & Bake
Using a tablespoon (or a small cookie scoop if you have one), portion out the batter into mounds on your prepared baking sheet. Space them a few centimeters apart—while they don’t spread much, a little room ensures they bake evenly and get nice and round.
Slide the tray into the oven and bake at 200°C for about 10 minutes. The fritter bites should look puffed and just lightly golden around the edges. You’re not looking for a deep brown color at this stage—that’s what the broiler is for.Make the Apple Glaze
While the fritters are baking, let’s mix up the glaze. In a small bowl, whisk together 240 grams of powdered sugar and 100 milliliters of apple cider or apple juice until it’s smooth, slightly runny, and easy to brush on. If your glaze is a little too thick, just add a splash more cider. This glaze brings an extra burst of apple flavor that pairs perfectly with the cinnamon in the fritters.First Glaze & Broil
Once the fritters are done baking, remove the tray and switch your oven to broil on high.
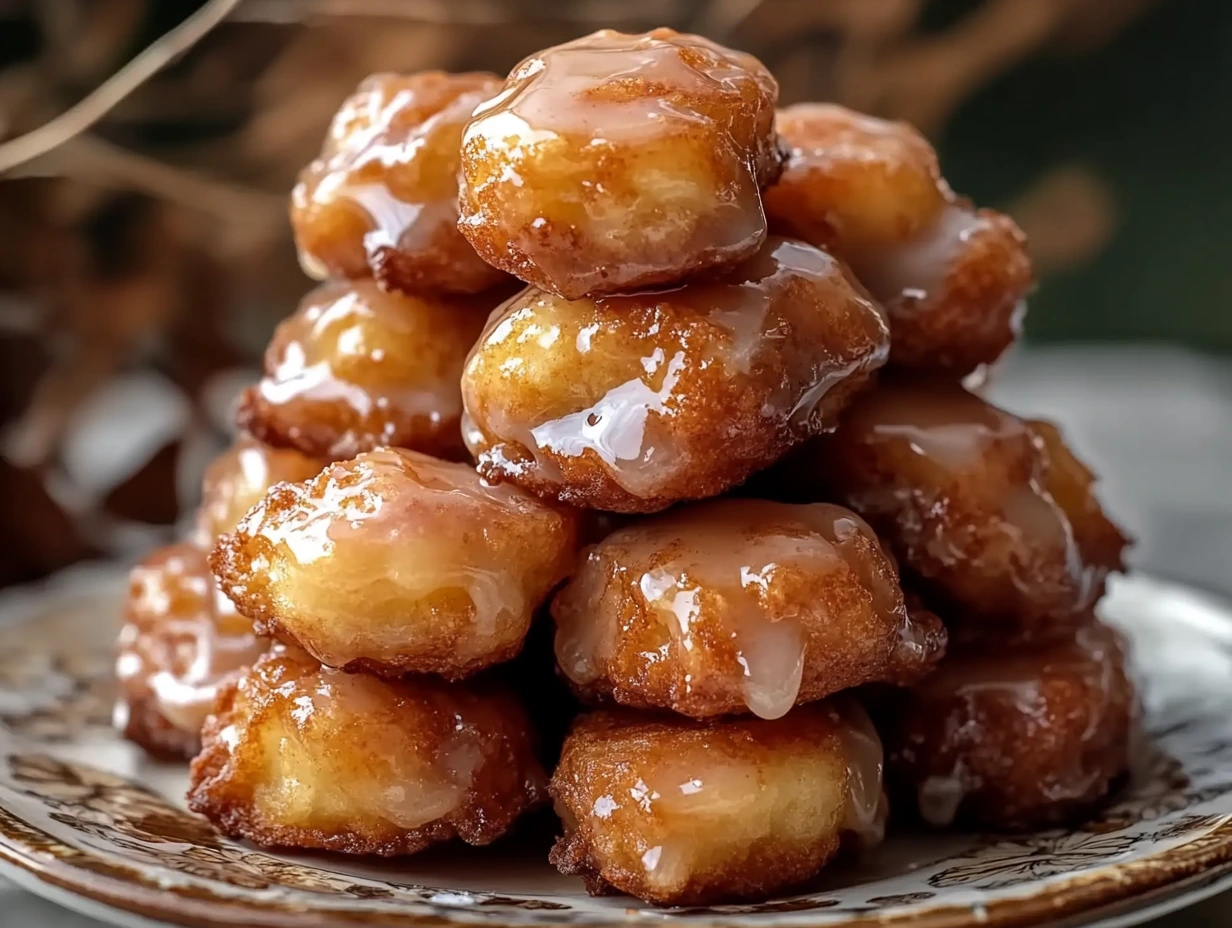
Brush each warm fritter generously with the glaze—it’s okay if it drips a bit. Place the tray back in the oven and broil for 2 to 4 minutes, rotating the tray every minute to ensure they brown evenly. Keep a close eye here—broilers can go from golden to burnt fast, so don’t walk away!Final Glaze & Cool
After broiling, take the fritter bites out of the oven and brush them with a second layer of glaze while they’re still hot. This final glaze sets as they cool, giving them that irresistible sticky finish that clings just enough without being too sweet.
Let the bites rest on the baking sheet for 15 minutes, or until the glaze firms up a bit and they’re cool enough to handle.
Tips for the Best Apple Fritter Bites
Use the right apples: Honeycrisp apples work beautifully because they’re firm and sweet, but if you prefer a more tart flavor, try mixing in Granny Smith for balance.
Finely dice the apples: The smaller your apple pieces, the more evenly they bake and the better they hold together in each bite. Aim for pea-sized chunks—this gives you that great texture without them falling apart.
Don’t skip the broil: It’s tempting to skip this step if you’re in a rush, but trust me—the broil gives you that slightly crisp, caramelized exterior that makes these bites feel just like the real deal.
Try a spice boost: Want to level up the fall flavor? Add a pinch of nutmeg or allspice to the dry ingredients. Just a little goes a long way.
Glaze while hot: Applying the glaze while the fritters are warm helps it soak in just enough to add flavor, while the second layer on top cools into a glossy coating.
FAQs & Final Thoughts on Apple Fritter Bites
After baking and glazing these irresistible Apple Fritter Bites, you’ve probably already snuck a few off the tray (no judgment—I always do). They’re warm, sticky, packed with apple flavor, and honestly way too easy to pop into your mouth one after another. But before you move on to your second batch (because yes, you’re going to want to make more), let’s cover some of the most common questions readers have about this recipe. From storage to substitutions, this FAQ section has you covered.
FAQ: Apple Fritter Bites
1. Can I use a different kind of apple?
Absolutely! Honeycrisp is a great all-purpose apple because it’s sweet and holds its shape during baking, but Granny Smith, Fuji, or Pink Lady all work well too. If you prefer a more tart bite, Granny Smith is your best bet.
2. Can I make these ahead of time?
You can bake them ahead by a day, but they’re at their best when freshly made. If you want to prep in advance, mix the dry ingredients and wet ingredients separately, then combine and bake right before serving. The glaze can also be made a day ahead and stored in the fridge.
3. How do I store leftover fritter bites?
Store any extras in an airtight container at room temperature for up to two days. To bring them back to life, just pop them in a low oven (around 150°C) for a few minutes until warmed through. This helps re-crisp the outside a little.
4. Can I freeze them?
Technically, yes—but they lose a bit of their texture after thawing. If you do freeze them, don’t glaze until after reheating. Reheat in the oven, then apply fresh glaze while they’re warm.
5. Is it okay to skip the broiling step?
While it’s not required, the broil step really brings the “fritter” feel to these bites. It caramelizes the glaze just enough to mimic that slightly crisp fried edge. Skipping it will still give you tasty bites, but they won’t have quite the same texture.
6. What if I don’t have apple cider for the glaze?
No problem! Apple juice works just fine. You can even use milk in a pinch, though you’ll miss that extra apple punch.
7. Can I make these gluten-free?
You can try using a 1:1 gluten-free flour blend (one that includes xanthan gum) in place of the all-purpose flour. Texture may vary slightly, but they should still turn out delicious.
Final Thoughts: Why You’ll Make These Again and Again
These Apple Fritter Bites have quickly become a staple in my kitchen—especially during apple season, but really, they’re too good not to enjoy year-round. They’re quick to make, oven-friendly, and the perfect combination of soft, spiced batter and juicy apple chunks. And let’s not forget that sticky glaze finish that makes each bite just a little extra special.
What I love most about this recipe is how approachable it is. No frying, no mixer, no complicated steps—just a few bowls, a baking sheet, and about 30 minutes from start to finish. Whether you’re whipping up a batch for a fall brunch, a back-to-school snack, or just because you’ve got apples sitting on the counter, this one is guaranteed to be a hit.
If you give these Apple Fritter Bites a try, I’d love to hear how they turn out! Leave a comment, share your tips or tweaks, or tag your version on social so we can all see your creations. And hey, if you added a pinch of nutmeg or made a fun glaze twist—tell me about it. There’s always room to play in the kitchen.
Print
Apple Fritter Bites
- Author: Andrew Recipes
Description
Apple Fritter Bites bring the cozy flavors of a classic apple fritter into a bite-sized, oven-baked form. Soft on the inside with chunks of sweet apple and a cinnamon-spiced batter, these treats are finished with a sticky apple glaze and a quick broil to mimic the caramelized finish of traditional fritters—no frying needed.
Ingredients
Fritter Batter
Nonstick cooking spray, for greasing
190 grams all-purpose flour
2 teaspoons baking powder
0.5 teaspoon kosher salt
2 teaspoons ground cinnamon
57 grams unsalted butter, melted
50 grams granulated sugar
1 large egg
0.5 teaspoon vanilla extract
120 milliliters unsweetened applesauce
240 grams Honeycrisp apples, peeled and finely diced (about 2 medium apples)
Apple Glaze
240 grams powdered sugar
100 milliliters apple cider or apple juice
Instructions
1️⃣ Preheat the oven to 200°C and coat a baking sheet with nonstick cooking spray.
2️⃣ In a medium bowl, whisk together the flour, baking powder, salt, and cinnamon until evenly combined.
3️⃣ In a separate large bowl, whisk the melted butter and granulated sugar together. Beat in the egg, then stir in the vanilla extract and applesauce until the mixture is smooth.
4️⃣ Add the dry ingredients to the wet mixture and stir until a cohesive batter forms. Gently fold in the diced apples until they are evenly distributed throughout the batter.
5️⃣ Using a tablespoon, scoop batter onto the prepared baking sheet, spacing the mounds a few centimeters apart. Bake for 10 minutes until puffed and lightly golden.
6️⃣ While the fritters bake, prepare the glaze by whisking together powdered sugar and apple cider or juice in a small bowl until smooth and slightly runny.
7️⃣ Remove the fritter bites from the oven and switch the oven setting to broil on high. Brush each fritter generously with the glaze. Return the tray to the oven and broil for 2 to 4 minutes, rotating the sheet every minute for even caramelization. Watch closely to avoid burning.
8️⃣ Once broiled, brush the fritters with a second layer of glaze. Let them cool on the baking sheet for about 15 minutes, or until the glaze sets.
Notes
These bites are best served the day they’re made, but they can be stored in an airtight container at room temperature for up to two days. To refresh, pop them in a low oven for a few minutes before serving. For extra flavor, try adding a pinch of nutmeg or allspice to the batter.

