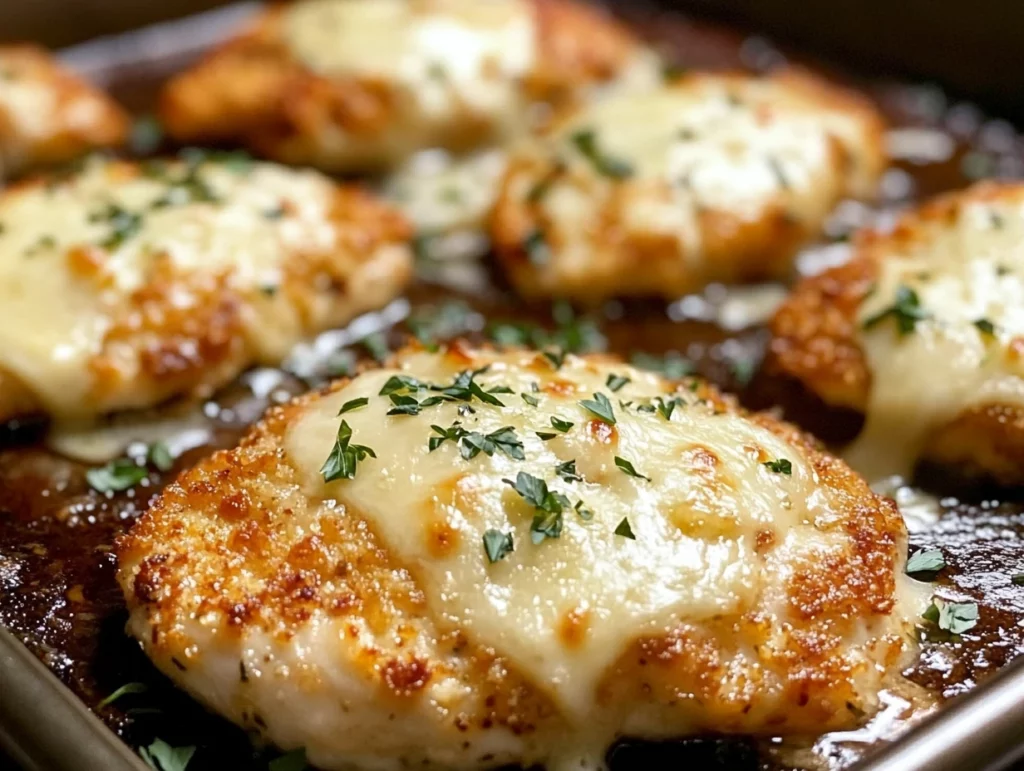
There’s something so comforting about a crispy, golden chicken cutlet — and when it’s baked instead of fried? Even better. These Baked Garlic Parmesan Chicken Cutlets are everything you want in a weeknight dinner: quick, flavorful, and fuss-free. They’ve got that perfect crunch on the outside, are tender and juicy inside, and come together with everyday ingredients you probably already have in your kitchen.
I originally whipped these up on a night when I didn’t feel like dealing with splattering oil and piles of dishes — and honestly, they’ve been a go-to ever since. Whether you serve them with a side of buttery pasta, a fresh green salad, or pile them high on a crusty roll for a sandwich, they’re a guaranteed crowd-pleaser. And the best part? No frying pan required!
Let’s get into it.
Why You’ll Love These Baked Chicken Cutlets
First off, the flavor here is chef’s kiss. Garlic and Parmesan are a match made in heaven — and when they’re combined with crispy breadcrumbs and a touch of oregano and basil, you end up with a dish that tastes like it came straight out of an Italian kitchen. But here’s what really makes this recipe shine:
Baked, not fried – Less mess and healthier, but still super crispy.
Simple ingredients – You probably have most of them already.
Versatile – Serve it over pasta, add to salads, or layer into sandwiches.
Perfect for meal prep – Reheats beautifully for lunch or dinner the next day.
Whether you’re feeding picky eaters, hungry teens, or just yourself on a busy Tuesday, these cutlets deliver every time.
Ingredients You’ll Need
Here’s what you’ll want to gather before you start. (Feel free to tweak based on your pantry and preferences.)
For the chicken:
4 boneless, skinless chicken breasts (or chicken cutlets)
1 cup breadcrumbs (Italian-seasoned or plain)
½ cup grated Parmesan cheese
2 cloves garlic, minced
1 tsp dried oregano
1 tsp dried basil
½ tsp paprika (optional, for a smoky touch)
Salt and pepper, to taste
½ cup all-purpose flour
2 large eggs, beaten
For the coating:
¼ cup melted butter (or olive oil)
2 tbsp fresh parsley, chopped (for garnish)
STEP 1: Prep Your Pan and Oven
Go ahead and preheat your oven to 400°F (200°C). You’ll want it nice and hot to get that beautiful golden crust without frying. Line a baking sheet with parchment paper or lightly grease it with cooking spray so your cutlets don’t stick.
STEP 2: Set Up Your Dredging Stations
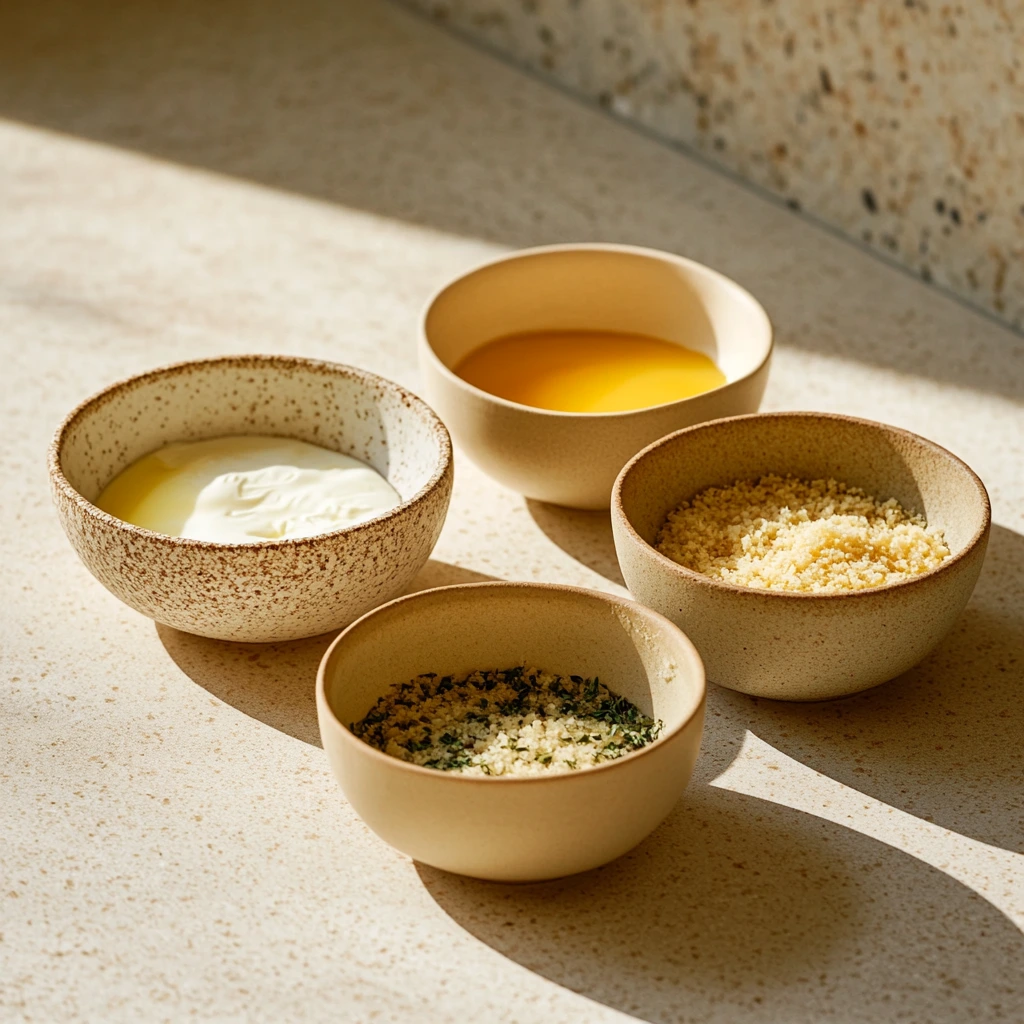
Now let’s get organized. In one shallow bowl, mix your breadcrumbs, Parmesan cheese, minced garlic, oregano, basil, paprika, salt, and pepper. This is where all that flavor magic happens.
In two separate shallow dishes, place your flour in one and your beaten eggs in the other.
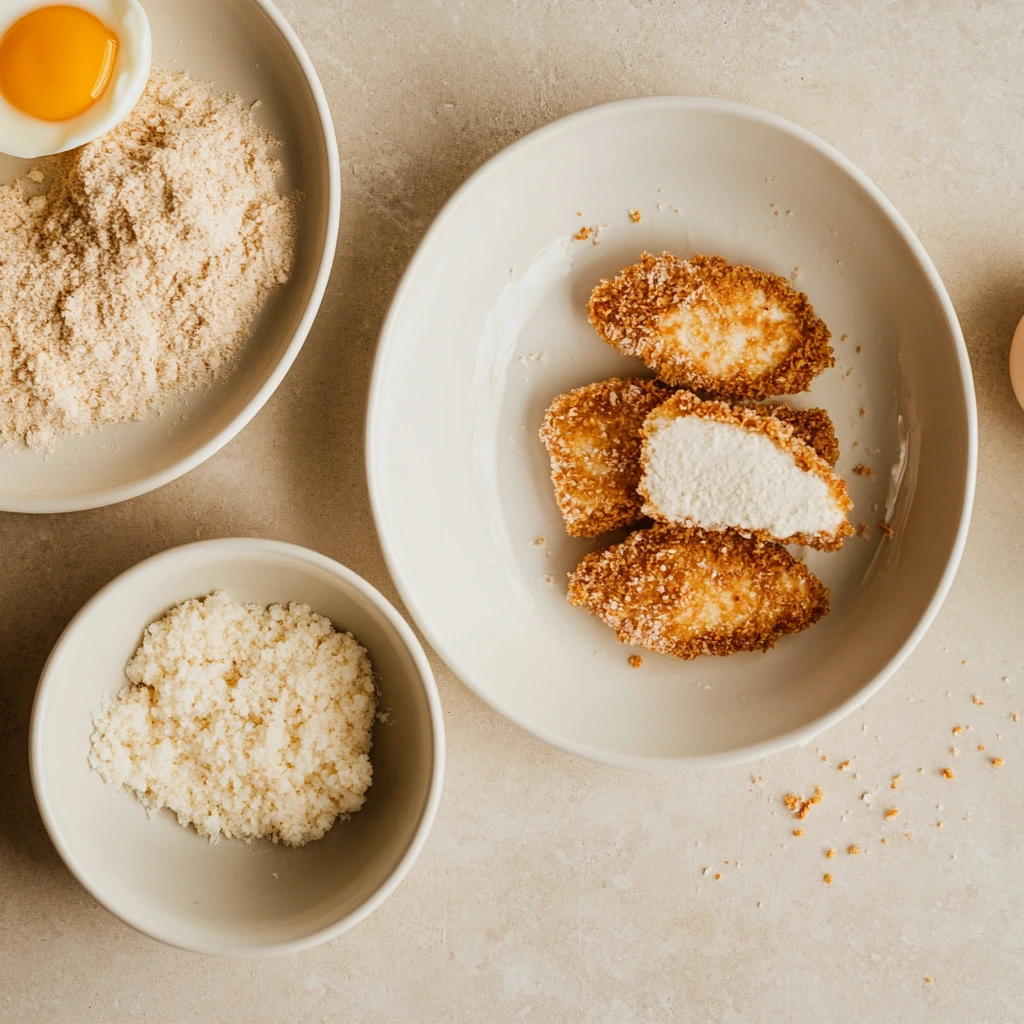
STEP 3: Slice and Dredge the Chicken
If your chicken breasts are on the thicker side, slice them horizontally to create thinner, more even cutlets. You want them to cook quickly and evenly.
Pat the chicken dry with paper towels — this helps everything stick better. Then dredge each piece in flour (shake off the extra), dip it into the beaten eggs, and finally press it into the breadcrumb mixture. Make sure each piece is well-coated and don’t be afraid to press gently to really get that coating to stick.
STEP 4: Arrange and Drizzle
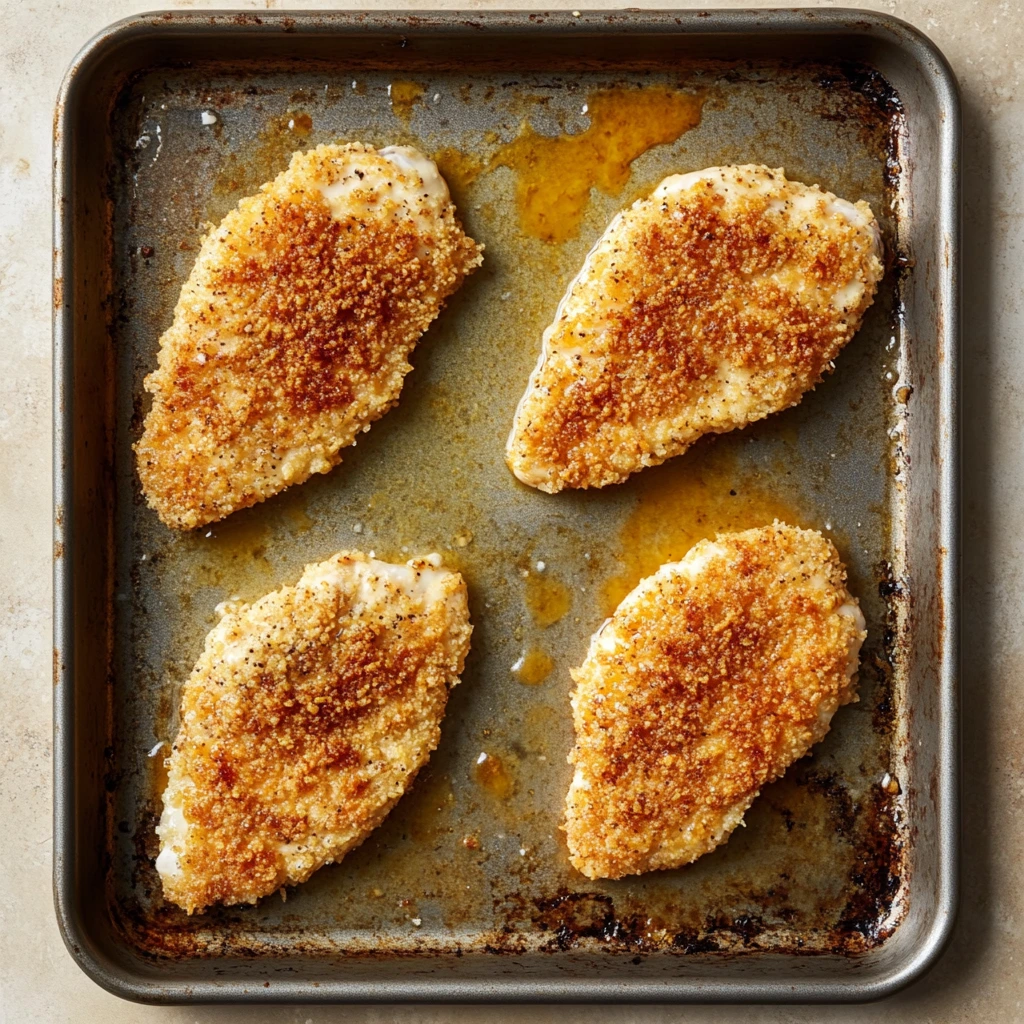
Place each breaded cutlet on your prepared baking sheet. Now for the secret to that irresistible crispy texture: drizzle melted butter or olive oil over each cutlet. This helps them brown beautifully in the oven and gives you that crave-worthy crunch.
How to Bake Garlic Parmesan Chicken Cutlets to Crispy Perfection
Alright, now that your chicken is all coated and ready for the oven, let’s bring it home. This part is where everything comes together — that breadcrumb coating gets crispy and golden, the chicken stays juicy and flavorful, and your kitchen smells like pure comfort food heaven.
Whether you’re serving this up for your family or meal-prepping a few days ahead, this next step is super simple and totally worth it.
STEP 5: Bake the Chicken
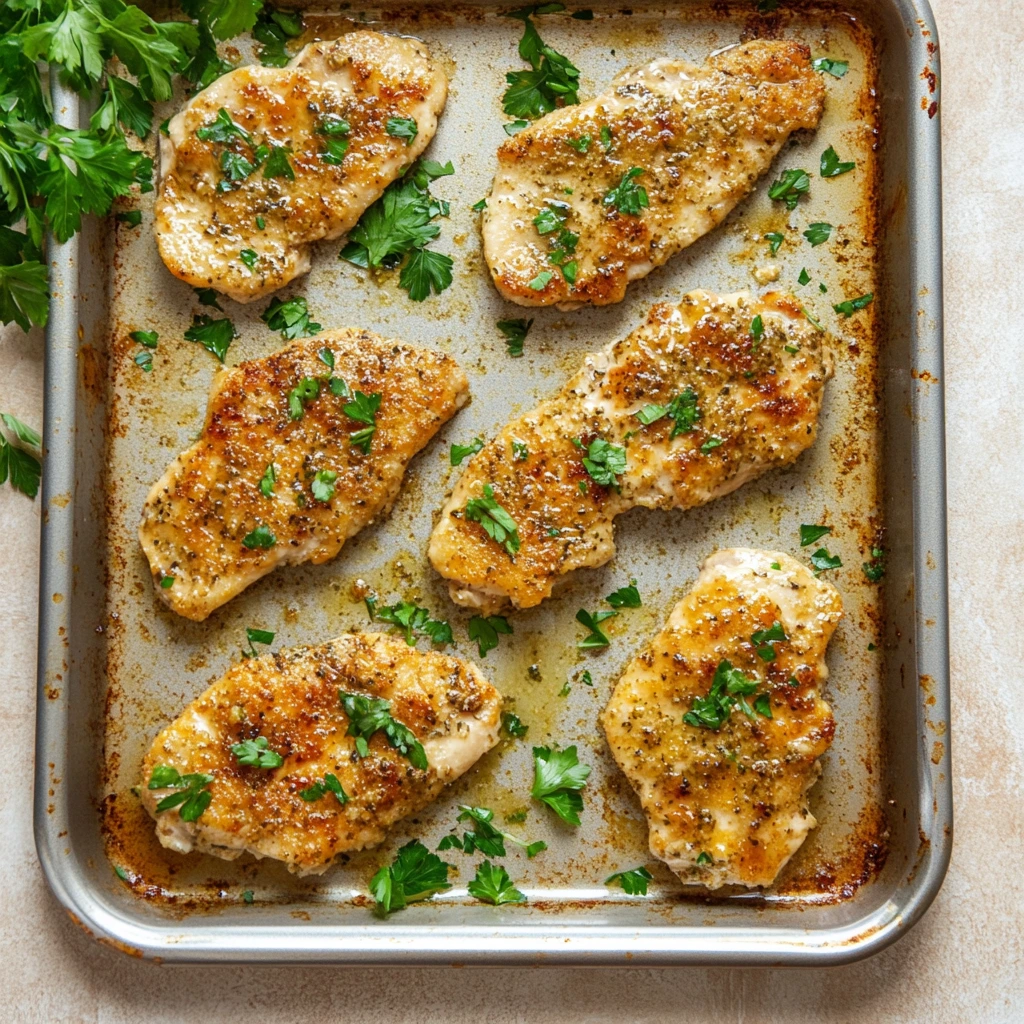
Place the breaded and drizzled chicken cutlets in the oven and bake at 400°F (200°C) for 20 to 25 minutes. The exact time will depend on how thick your cutlets are, but you’re looking for that golden-brown crust and a cooked-through center. If you’re unsure, check with a meat thermometer — you want the internal temperature to hit 165°F (74°C).
Want that extra crisp factor? Pop the baking sheet under the broiler for the last 1 to 2 minutes. Just keep a close eye on it so the cutlets don’t burn. It adds a beautiful golden finish that feels just a little extra special.
STEP 6: Let Them Rest and Garnish
Once the chicken is done, remove it from the oven and let it rest for about 5 minutes. This helps the juices redistribute so you don’t lose all that moisture when you slice into it.
Right before serving, sprinkle the cutlets with freshly chopped parsley. It adds a pop of color and a touch of freshness that balances out the savory richness of the dish.
And there you have it — golden, crispy baked chicken that’s loaded with flavor and couldn’t be easier to make.
Helpful Tips for Best Results
These baked garlic Parmesan cutlets are super reliable, but a few little tips can take them from good to great:
Use thin, even cutlets. Thicker pieces of chicken won’t cook evenly and may dry out before the crust is done. Slice large breasts horizontally or pound them slightly with a meat mallet.
Don’t skip the flour. It might seem like an extra step, but flour helps the egg stick, and the egg helps the breadcrumbs stick — it’s the secret to that thick, even crust.
Press the coating in. When dredging in the breadcrumb mixture, gently press the coating onto the chicken to help it stick better and stay in place while baking.
Melted butter vs. olive oil. Either one works, but butter gives a richer flavor and a slightly more golden crust. If you’re looking for something lighter or dairy-free, olive oil is a great substitute.
Serving Suggestions
These cutlets are seriously versatile, which is one of the reasons I love making them so often. Here are a few easy ways to serve them:
Over pasta: Try tossing spaghetti with olive oil, garlic, and a sprinkle of red pepper flakes, then top with sliced chicken cutlets.
In a sandwich: Layer the chicken onto a crusty baguette with fresh arugula, tomato slices, and a swipe of mayo or aioli.
With a salad: A fresh Caesar or mixed greens salad with lemon vinaigrette pairs perfectly for a lighter option.
Alongside veggies: Roasted broccoli, asparagus, or green beans are easy and healthy sides.
You can also cut the chicken into strips after baking and use them for wraps or bowls — they reheat really well and stay crispy if you use the oven or air fryer to warm them up.
Variations to Try
If you want to mix things up next time, here are a few fun twists:
Spicy Kick: Add a pinch of cayenne or red pepper flakes to the breadcrumb mix.
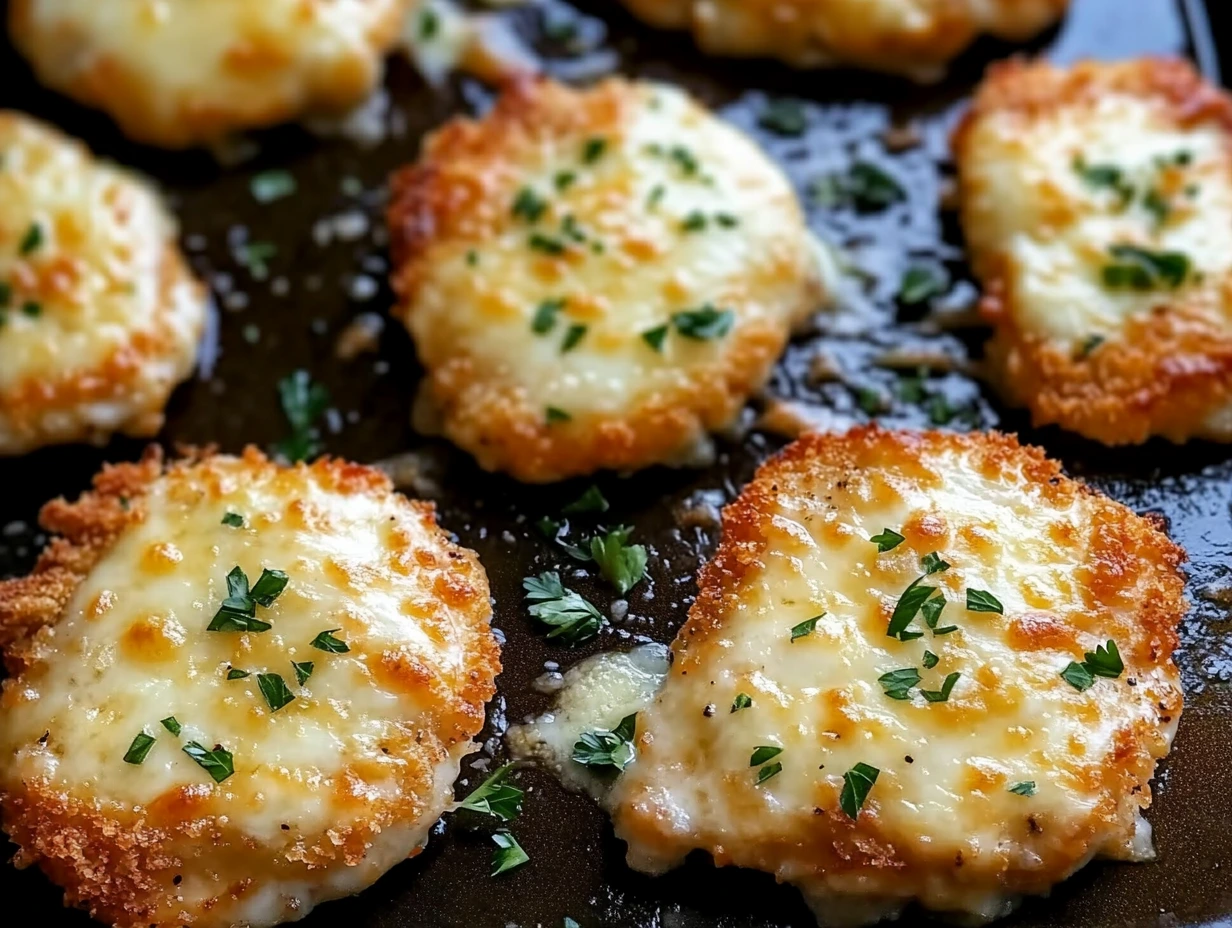
Cheesy Crust: Mix in shredded mozzarella or provolone with the Parmesan for a gooier crust.
Gluten-Free Option: Use gluten-free flour and breadcrumbs for a version everyone can enjoy.
Lemon Zest: Add fresh lemon zest to the breadcrumb mixture for a bright, citrusy note that cuts through the richness.
Baked Garlic Parmesan Chicken Cutlets: FAQs and Final Thoughts
By now, you’ve got your golden, crispy chicken resting on the counter and your kitchen smells absolutely amazing. But before we wrap things up, let’s tackle a few of the most common questions people have about these baked garlic Parmesan chicken cutlets. Whether it’s about prep tips, storing leftovers, or ingredient swaps, I’ve got you covered.
Frequently Asked Questions
1. Can I make these chicken cutlets ahead of time?
Absolutely! You can bread the chicken in advance and refrigerate it for a few hours before baking. Just make sure to store the breaded cutlets in a single layer on a baking sheet, loosely covered with plastic wrap. When you’re ready, just bake as directed.
2. How do I store leftovers, and how should I reheat them?
Store leftover cutlets in an airtight container in the refrigerator for up to 3 days. To reheat and keep the coating crispy, pop them in the oven at 375°F for about 10–15 minutes, or use an air fryer. Microwaving works in a pinch, but the breading won’t stay as crisp.
3. Can I freeze these chicken cutlets?
Yes! Once fully cooked and cooled, freeze the cutlets in a single layer on a baking sheet. After they’re frozen solid, transfer them to a freezer bag. They’ll keep for up to 2 months. Reheat directly from frozen in the oven at 400°F until heated through and crispy.
4. What’s the best way to ensure the crust gets crispy in the oven?
There are two keys: use a wire rack on your baking sheet so the heat can circulate underneath the cutlets, and make sure to drizzle each cutlet with melted butter or olive oil before baking. If you really want that crunch, broil them for the last 1–2 minutes.
5. Can I use chicken thighs instead of breasts?
Definitely. Boneless, skinless chicken thighs work well and add a slightly richer flavor. Just make sure to trim any excess fat and flatten them for even cooking. They might need a minute or two longer in the oven depending on thickness.
6. Is there a dairy-free option for this recipe?
Yes — swap out the Parmesan cheese for a dairy-free alternative or nutritional yeast for that umami flavor, and use olive oil instead of melted butter. The flavor won’t be exactly the same, but it’ll still be delicious.
7. What can I serve with these cutlets for a complete meal?
A few easy pairings: buttery garlic noodles, roasted vegetables, a crisp Caesar salad, or mashed potatoes. They’re also great sliced and added to grain bowls or sandwiches for a full, satisfying meal.
Final Thoughts: Why These Cutlets Belong in Your Weekly Rotation
These Baked Garlic Parmesan Chicken Cutlets check all the right boxes — they’re easy, full of flavor, kid-friendly, and don’t leave you with a greasy kitchen to clean up afterward. Plus, they’re endlessly versatile, whether you’re feeding a crowd, meal prepping for the week, or just trying to get dinner on the table without a ton of effort.
I’ve made these so many times, and they never disappoint. The crispy, savory coating, that juicy chicken inside, and the bold garlic-Parmesan combo all work together to create something that feels just a little more special than your average baked chicken dinner.
Give them a try this week and see for yourself. And if you do, I’d love to hear how they turn out for you! Drop a comment below and let me know if you served them with pasta, salad, or tucked into a sandwich. Even better — if you added your own twist, I’m always up for trying a new variation!
Until next time, happy cooking — and don’t forget to save this recipe. It’s one you’ll want to come back to again and again.
Print
Baked Garlic Parmesan Chicken Cutlets
- Author: Andrew Recipes
Description
These baked garlic Parmesan chicken cutlets are crispy on the outside, juicy on the inside, and packed with bold Italian-inspired flavor. Perfect for a quick weeknight dinner or meal prep, they pair wonderfully with a variety of sides and require no frying, making cleanup a breeze.
Ingredients
For the chicken:
4 boneless, skinless chicken breasts (or chicken cutlets)
1 cup breadcrumbs (Italian-seasoned or plain)
½ cup grated Parmesan cheese
2 cloves garlic, minced
1 tsp dried oregano
1 tsp dried basil
½ tsp paprika (optional, for a smoky flavor)
Salt and pepper, to taste
½ cup all-purpose flour
2 large eggs, beaten
For the coating:
¼ cup melted butter (or olive oil)
2 tbsp fresh parsley, chopped (for garnish)
Instructions
1️⃣ Preheat your oven to 400°F (200°C). Line a baking sheet with parchment paper or lightly grease it with cooking spray to prevent sticking.
2️⃣ In a shallow bowl, combine the breadcrumbs, Parmesan cheese, minced garlic, oregano, basil, paprika, salt, and pepper. Place the flour in a separate shallow dish and the beaten eggs in another.
3️⃣ Pat the chicken dry with paper towels. If the breasts are thick, slice them horizontally into thinner cutlets for even cooking. Dredge each piece first in flour, shaking off the excess, then dip it into the beaten eggs, and finally coat it in the breadcrumb mixture, pressing gently to ensure even coverage.
4️⃣ Arrange the breaded chicken on the prepared baking sheet. Drizzle melted butter or olive oil over each cutlet to help achieve a golden, crispy crust without frying. Bake for 20 to 25 minutes, or until the chicken is cooked through and the crust is golden brown. The internal temperature should reach 165°F (74°C).
5️⃣ Remove from the oven and let the chicken rest for 5 minutes before serving. Garnish with chopped fresh parsley for color and added flavor.
Notes
These chicken cutlets reheat well and can be stored in the refrigerator for up to 3 days. For an extra crisp finish, broil the cutlets for the last 1 to 2 minutes of baking. They go perfectly with pasta tossed in olive oil, a fresh salad, or even layered into a sandwich. If you’re gluten-free, use a suitable flour and breadcrumb substitute.
