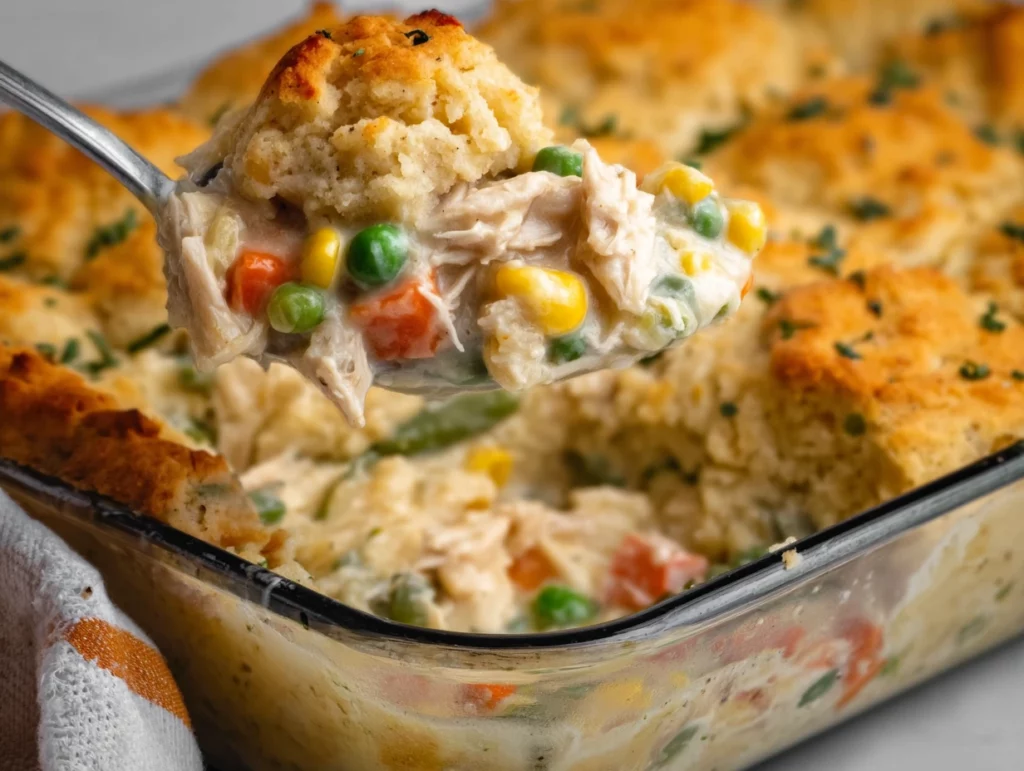
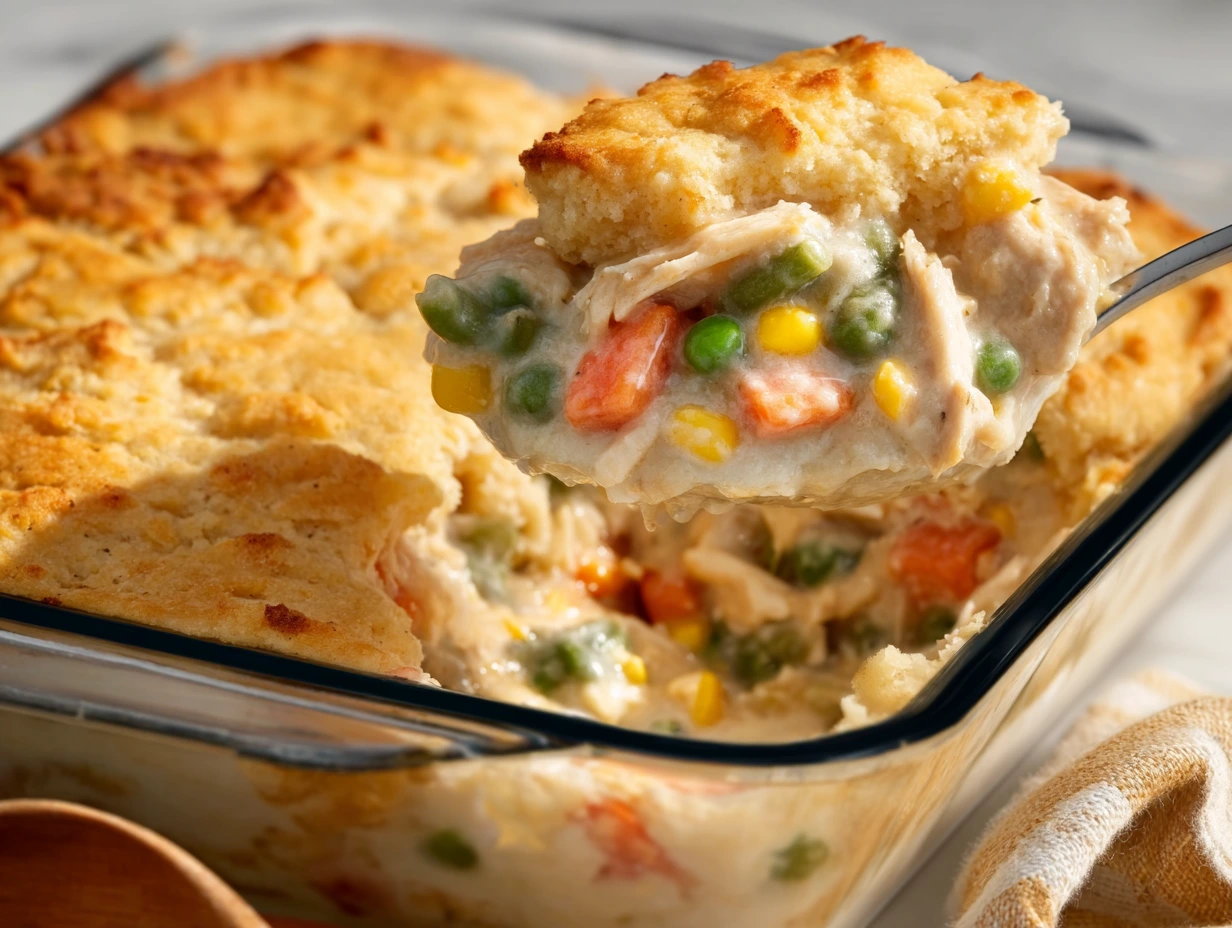
If you’re craving something warm, creamy, and wildly comforting without babysitting a skillet all night, this Chicken Cobbler is your new weeknight hero. Think: tender shredded chicken, hearty veggies, a velvety gravy, and that golden, buttery biscuit topping that turns your kitchen into the best-smelling place on earth. It’s everything you love about a pot pie—just easier, faster, and honestly a little more fun.
I love this recipe because it keeps the process simple and smart. You layer everything right in the baking dish (no stirring!), and the magic happens in the oven: the creamy filling thickens while the biscuit batter rises and bakes into a crisp-topped, fluffy layer. The result? A beautiful, scoopable casserole where every bite has a little gravy, a little veg, a lot of chicken, and that perfect biscuit topping. Save this for busy weeknights, cozy Sunday dinners, or anytime you need a dish that practically serves itself.
Before we jump into the steps, a couple quick pro notes to set you up for success, The Recipe Critic–style:
Use rotisserie chicken if you want to shave time—this cobbler is designed to make your life easier.
Don’t stir after you layer. It matters. The separation of filling, batter, and butter is what creates that signature “cobbled” top.
Let it rest a few minutes after baking. The filling sets up and gets perfectly scoopable.
Alright, aprons on. Let’s get this in the oven.
Ingredients
For the Filling
2 cups cooked shredded chicken
2 cups frozen mixed vegetables (peas, carrots, corn, green beans)
1 can (10.5 oz) cream of chicken soup
2 cups chicken broth
1 teaspoon garlic powder
1 teaspoon onion powder
1/2 teaspoon dried thyme
Salt and pepper to taste
For the Topping
2 cups biscuit baking mix (such as Bisquick)
1 cup milk
1/2 cup unsalted butter, melted
(Optional but delicious: add a handful of shredded cheddar over the filling before the biscuit batter.)
STEPS
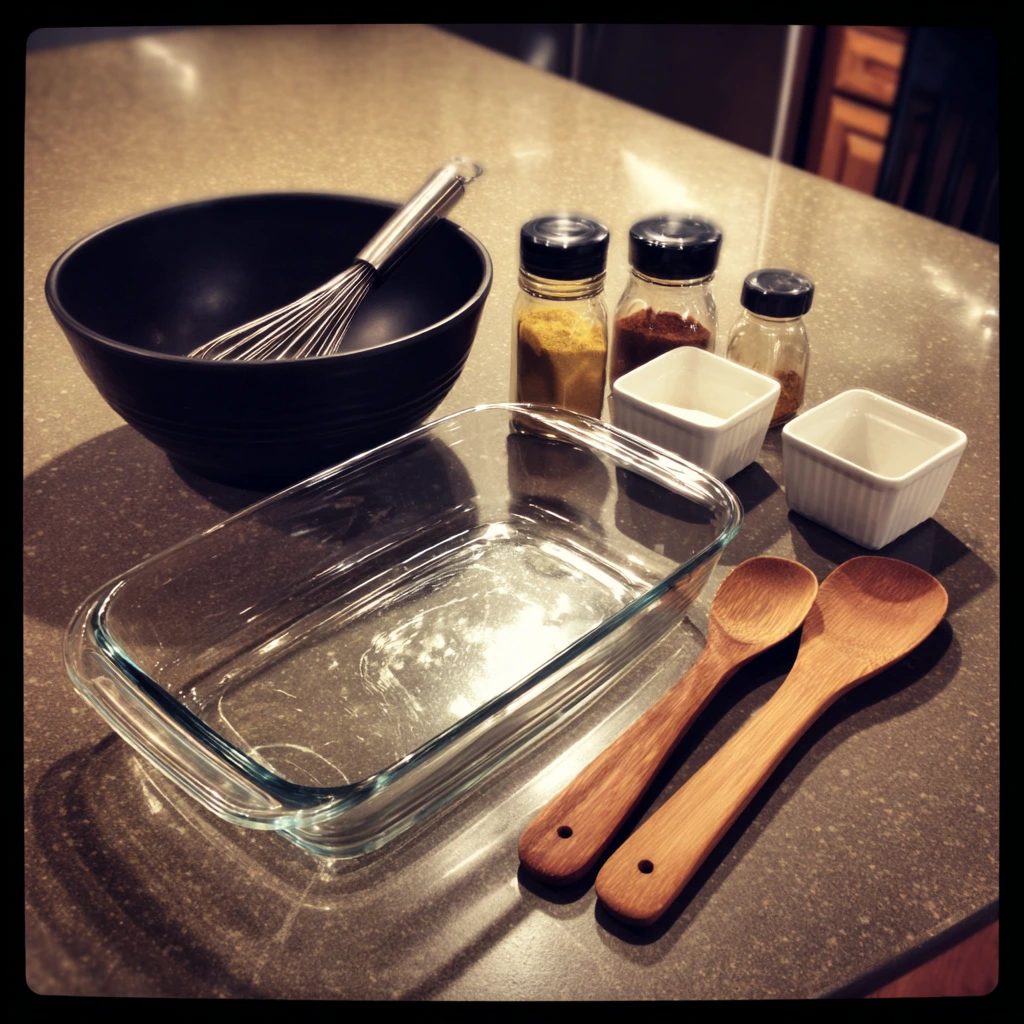
Preheat & Prep the Dish
Set your oven to 375°F (190°C). Lightly grease a 9×13-inch baking dish with nonstick spray or a thin swipe of butter. This helps the cobbler release cleanly and keeps the edges crisp.Layer the Chicken and Veggies
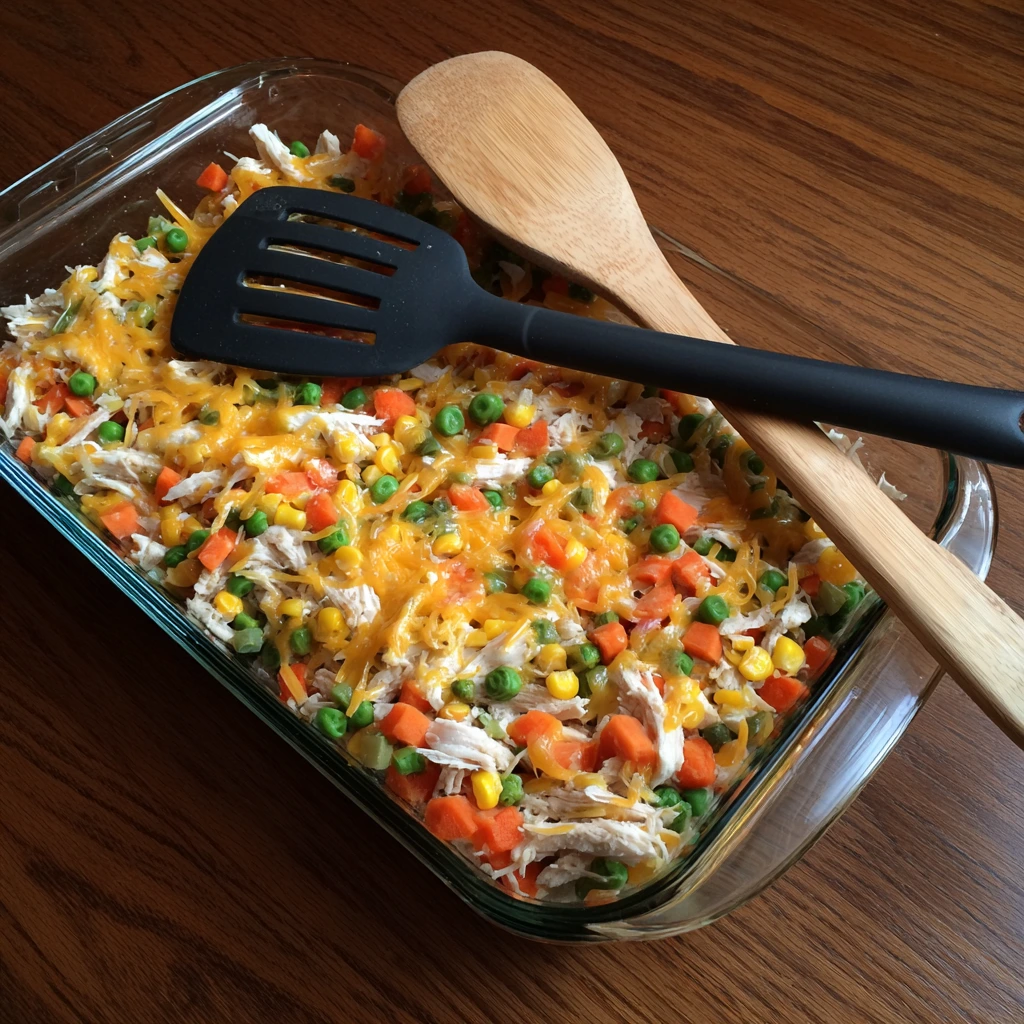
Spread 2 cups of shredded cooked chicken evenly across the bottom of the dish. Sprinkle the 2 cups of frozen mixed vegetables over the chicken. No need to thaw—frozen works perfectly here and helps prevent the filling from getting too thick before the biscuits set.Make the Creamy Gravy
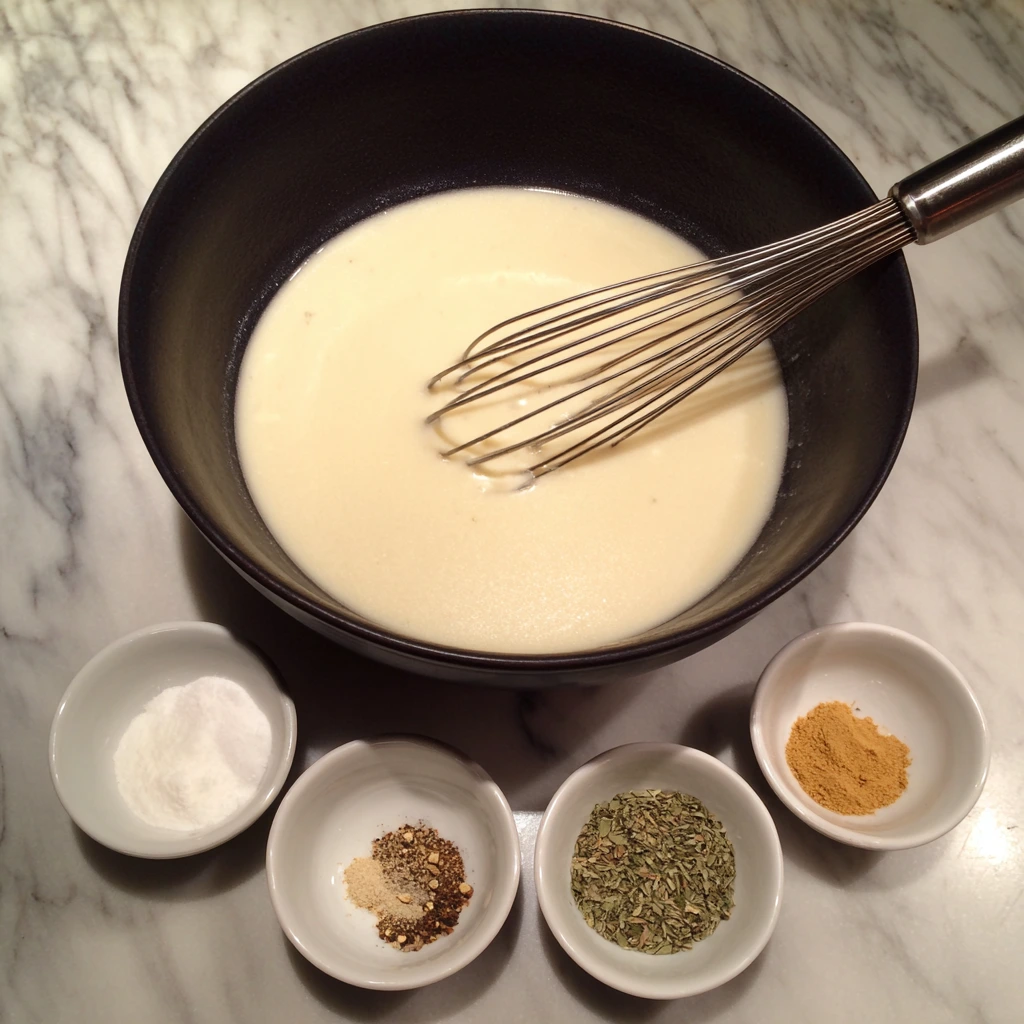
In a mixing bowl, whisk together the cream of chicken soup, chicken broth, garlic powder, onion powder, dried thyme, plus a good pinch of salt and pepper. Whisk until smooth and pourable.
Pour this mixture over the chicken and vegetables—and resist the urge to stir. Leaving those layers intact is what gives you that creamy base with a fluffy, defined biscuit top.Mix the Biscuit Batter (Gently!)
In a separate bowl, stir together the biscuit baking mix and milk until just combined. A few small lumps are okay. Overmixing can lead to a tougher topping, and we’re going for tender and airy.
Carefully pour the batter evenly over the filling. Again, no stirring. Think “blanket,” not “swirl.”
You’ve got the foundation in place—now we’ll finish the topping, bake it to golden perfection, and cover a few simple tricks so your cobbler comes out beautifully every time. This is where that buttery magic happens and the biscuit layer turns crisp on top, soft and fluffy underneath, and absolutely irresistible over the creamy chicken filling.
Butter Blanket
Drizzle the 1/2 cup of melted unsalted butter evenly over the biscuit batter. Aim for even coverage—those buttery spots help the top bake up deeply golden with deliciously crisp edges.Bake Until Golden & Bubbling
Transfer the dish to the center rack and bake uncovered at 375°F (190°C) for 45–50 minutes. You’re looking for a golden-brown top and vigorous bubbling around the edges. If your oven runs hot and the top is browning too quickly, tent loosely with foil during the last 10–15 minutes.Rest, Then Serve
Remove from the oven and let the cobbler rest for 5–10 minutes. This short rest helps the gravy thicken and set so each scoop holds together. Serve warm. (Optional garnish: a little chopped parsley or a crack of black pepper on top.)
How to Know It’s Done
Color: The biscuit crust should be an even golden brown across the top—think “buttered toast,” not pale.
Texture: The center of the topping should feel set and spring back lightly when tapped (no wet batter).
Bubbling: You should see the filling gently bubbling at the edges—this is your cue that the gravy is hot and thickened.
Pro Tips for Foolproof Cobbler
Don’t Stir the Layers. Once the filling is poured and the batter is added, hands off. That separation is what gives you a creamy base and a defined biscuit top.
Use Frozen Veggies as-is. No need to thaw; starting from frozen keeps the filling from over-thickening before the topping sets.
Mix Batter Gently. Stir just until the biscuit mix and milk come together. Overmixing can make the topping dense instead of tender.
Season to Taste. The soup and broth add salt, but every brand is different. Taste the filling mixture before pouring and adjust salt and pepper as needed.
Rotate for Even Browning. If your oven has hot spots, rotate the pan after about 30–35 minutes to keep the top evenly golden.
Easy Variations You’ll Love
Cheesy Upgrade: Sprinkle a generous handful of shredded cheddar over the chicken and veggie layer before adding the biscuit batter. It melts into the filling and adds extra richness.
Herb Twist: Swap thyme for Italian seasoning or add a pinch of dried parsley for a brighter flavor.
Cozy & Smoky: Add 1/2 teaspoon smoked paprika to the filling mixture for subtle warmth.
Mushroom Moment: Sauté sliced mushrooms in a bit of butter and fold them into the chicken layer for an earthy boost.
Turkey Swap: Leftover turkey works just as well as chicken—same amounts, same directions.
Make-Ahead, Storage & Reheating
Make-Ahead: Assemble the filling (chicken, veggies, and soup mixture) up to 24 hours in advance and refrigerate in the baking dish. When ready to bake, stir the biscuit mix with milk, pour over the chilled filling, drizzle butter, and bake. Add 5–10 extra minutes if the filling is cold from the fridge.
Storage: Cool leftovers completely, then cover and refrigerate for 3–4 days.
Reheat (Best Texture): Warm in a 350°F (175°C) oven for 15–20 minutes, loosely covered with foil, then uncover for the last 5 minutes to re-crisp the top.
Single-Serve Reheat: Microwave to heat through, then pop under a toaster oven or in an air fryer at 350°F for 3–5 minutes to revive the crust.
Serving Suggestions
This cobbler is a full meal, but it pairs nicely with a simple green salad (lemon vinaigrette keeps things fresh) or steamed green beans for extra veg. For something cozy on the side, add warm dinner rolls or a slice of buttered sourdough—perfect for swiping up any leftover gravy.
FAQ: Chicken Cobbler
Can I use fresh vegetables instead of frozen?
Yes. Chop them small so they cook through (peas, diced carrots, corn, green beans all work). If using firmer veggies like carrots or green beans, steam or sauté briefly first so they’re tender by the time the cobbler is done.
Can I use homemade cream of chicken soup?
Absolutely. Use about 1 1/4 cups of a thick, condensed-style homemade cream of chicken soup. Keep it on the thicker side so the filling isn’t watery. Season to taste before pouring over the chicken and veggies.
How do I keep the biscuit topping from getting soggy?
Don’t stir the layers, bake uncovered, and wait for visible bubbling around the edges with a deep golden top. Let it rest 5–10 minutes before serving so the gravy sets and the bottom of the biscuit layer stays fluffy, not wet.
What if my top is browning too fast?
Tent the pan loosely with foil during the last 10–15 minutes. Keep it vented so steam can escape (that helps preserve the texture of the topping).
Can I make this gluten-free?
Yes. Use a gluten-free biscuit baking mix and a gluten-free condensed cream of chicken soup. Double-check your broth and seasonings to ensure they’re certified gluten-free.
Can I make this dairy-free?
Use a dairy-free biscuit mix or a DF baking mix you trust, swap the butter for a plant-based butter, and use a dairy-free condensed soup (or make a thick DF white sauce with broth and unsweetened non-dairy milk). Flavor will be slightly different but still comforting.
Can I assemble ahead?
Yes, assemble the filling up to 24 hours ahead and refrigerate in the baking dish. Add the biscuit batter and butter right before baking. If the filling is cold, add 5–10 minutes to the bake time.
What pan can I use if I don’t have a 9×13?
A 3-quart casserole works. For an 8×8 or 9×9, the layers will be thicker; start checking around 50–55 minutes and tent if needed. Individual ramekins are great too—bake 25–35 minutes, depending on size.
Can I freeze it?
Best method: freeze the baked, cooled cobbler in portions for up to 2 months. Reheat covered at 350°F until hot, then uncover a few minutes to re-crisp. Alternately, freeze just the filling; thaw, add fresh batter, and bake as directed.
How can I add more flavor without making it salty?
Try a pinch of smoked paprika or poultry seasoning in the filling, fresh cracked pepper on top, and a sprinkle of chopped parsley after baking. A splash of lemon juice stirred into the filling mixture can brighten it up too.
Is rotisserie chicken okay?
Yes—rotisserie chicken is perfect here and saves time. Lightly shred and mix light and dark meat for the best texture and flavor.
Serving & Pairing Ideas
This is a complete meal, but it pairs nicely with a crisp green salad (lemon vinaigrette or ranch), roasted broccoli, or simple steamed green beans. For something cozy, add warm dinner rolls or garlic bread—great for scooping up extra gravy.
Conclusion
This Chicken Cobbler is the definition of easy comfort: a creamy, savory filling, a buttery biscuit crown, and a hands-off bake that delivers every time. Keep it classic, or make it your own with a cheesy layer, a sprinkle of herbs, or a hint of smoky paprika. If you try it, I’d love to hear how it goes—leave a comment with your tweaks, what veggies you used, or whether you went the rotisserie route. And if your family devours it as quickly as mine does, don’t forget to save or print the recipe so it’s ready for the next cozy night in.
Print
Chicken Cobbler
- Author: Andrew Recipes
Description
Chicken Cobbler is a hearty, comforting dish that combines tender shredded chicken and savory vegetables in a creamy gravy, all topped with a golden, buttery biscuit crust. Inspired by the classic fruit cobbler concept, this savory version is a crowd-pleaser perfect for weeknight dinners or cozy gatherings. Each spoonful delivers a warm, homey taste that feels like a hug in a bowl.
Ingredients
2 cups cooked shredded chicken
2 cups frozen mixed vegetables (peas, carrots, corn, green beans)
1 can (10.5 oz) cream of chicken soup
2 cups chicken broth
1 teaspoon garlic powder
1 teaspoon onion powder
1/2 teaspoon dried thyme
Salt and pepper to taste
Ingredients for the topping:
2 cups biscuit baking mix (such as Bisquick)
1 cup milk
1/2 cup unsalted butter, melted
Instructions
Preheat the oven to 375°F (190°C) and lightly grease a 9×13-inch baking dish.
Spread the shredded chicken evenly across the bottom of the prepared dish. Add the frozen mixed vegetables on top.
In a mixing bowl, whisk together cream of chicken soup, chicken broth, garlic powder, onion powder, thyme, salt, and pepper until smooth. Pour this mixture over the chicken and vegetables without stirring.
In another bowl, mix the biscuit baking mix with milk until just combined. Carefully pour the batter over the filling, again without stirring, to allow the layers to bake separately.
Drizzle the melted butter evenly over the top of the biscuit batter.
Bake uncovered for 45-50 minutes, or until the topping is golden brown and cooked through. Let it rest for a few minutes before serving.
Notes
For extra richness, add a handful of shredded cheddar cheese over the filling before adding the biscuit topping.
Rotisserie chicken works perfectly for this recipe and saves time.
Leftovers can be reheated in the oven to keep the topping crisp.
