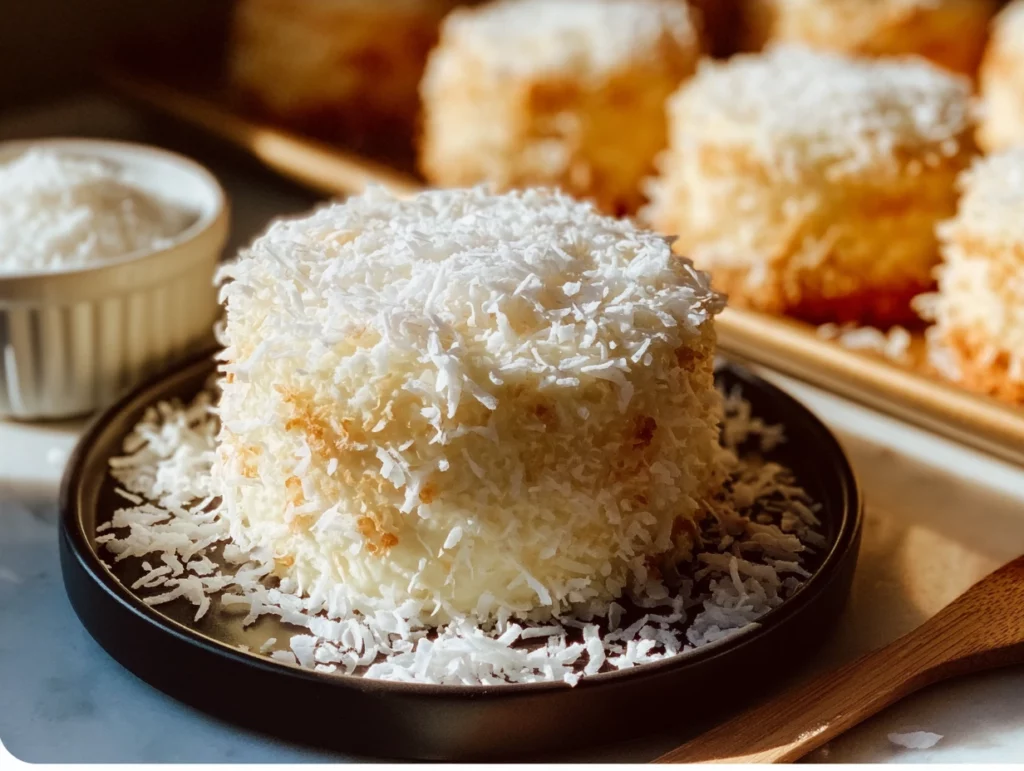
There’s something absolutely magical about coconut cake. Maybe it’s the soft, snowy white crumb or the sweet tropical flavor that makes you feel like you’re on vacation, even if you’re just standing in your kitchen. Either way, this homemade coconut cake from scratch is one you’ll be making on repeat.
I’ve made quite a few coconut cakes in my time (hello, testing phase), but this one takes the cake—literally. It’s moist, rich, tender, and full of real coconut flavor. Not just from coconut extract, but from creamy canned coconut milk and plenty of shredded coconut inside and out. Topped with a silky coconut buttercream and blanketed in a generous coating of sweet coconut flakes, this cake is a tropical dream come true.
This recipe is perfect for holidays like Easter, Mother’s Day, or any spring or summer get-together. But let’s be real—it’s just as amazing for birthdays, weekend baking, or when you’re just craving something sweet and indulgent.
Let’s dive in and walk through how to make this gorgeous coconut cake step by step!
MAKING THE PERFECT COCONUT CAKE LAYERS
This recipe makes two 9-inch round cake layers that are thick, soft, and lightly sweet with a rich coconut aroma. If you want to stack your layers higher, you could also bake it in three 8-inch pans—just adjust the bake time slightly.
Ingredients for the Cake:
2 ½ cups all-purpose flour
2 ½ teaspoons baking powder
½ teaspoon salt
¾ cup unsalted butter, softened
1 ¾ cups granulated sugar
4 large eggs
1 teaspoon vanilla extract
½ teaspoon coconut extract
1 cup coconut milk (canned, full-fat)
½ cup shredded sweetened coconut
STEP 1: PREP YOUR PANS AND OVEN
Start by preheating your oven to 350°F. Grease and flour two 9-inch round cake pans, then line the bottoms with parchment paper. That parchment layer makes all the difference when it’s time to release the cakes from the pans—trust me on this one.
STEP 2: WHISK TOGETHER DRY INGREDIENTS
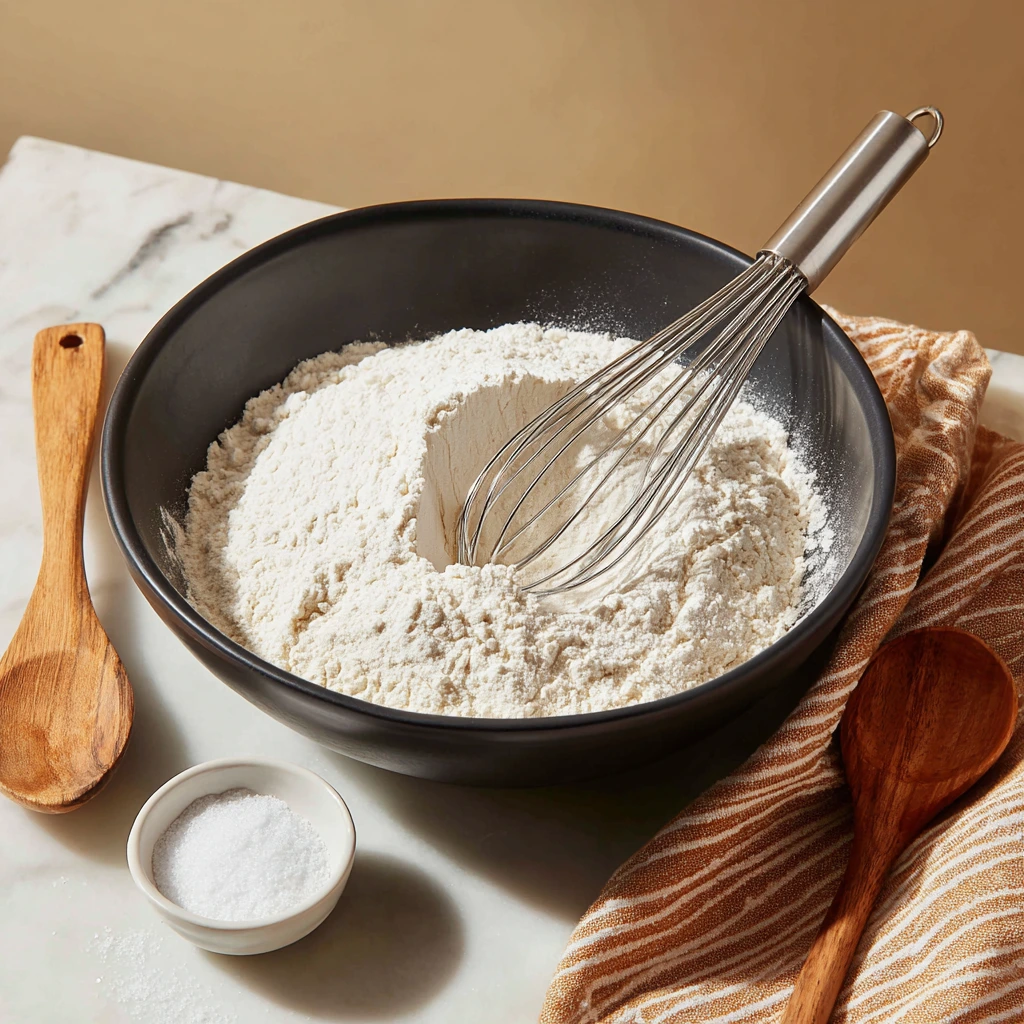
In a medium mixing bowl, combine your flour, baking powder, and salt. Give it a good whisk to make sure everything is evenly distributed. Set this aside while we cream the butter and sugar.
STEP 3: CREAM THE BUTTER AND SUGAR
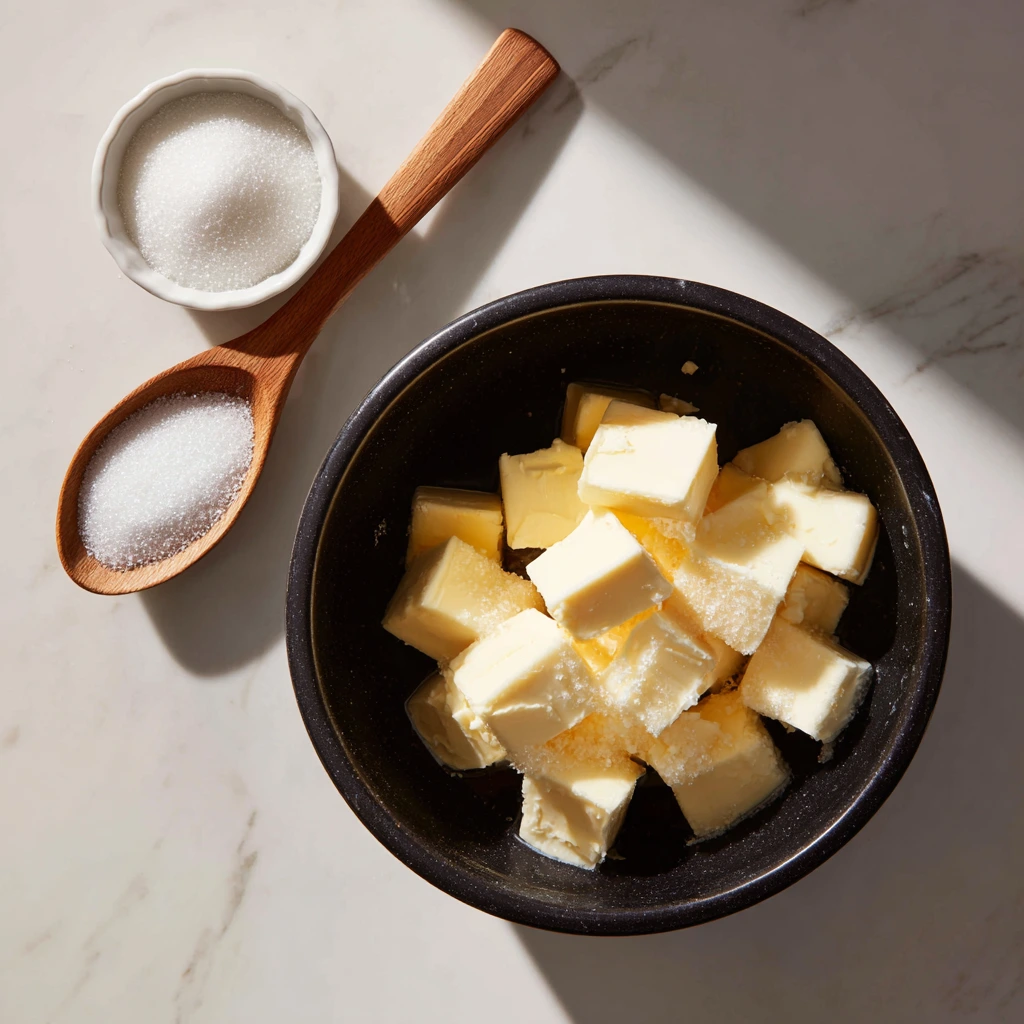
In a large bowl, use a hand mixer or stand mixer to cream the softened butter and sugar together. This step takes about 3–4 minutes, and you’re looking for a light, fluffy texture. Don’t skimp on this part—it helps give the cake a beautiful rise and tender crumb.
STEP 4: ADD THE EGGS AND FLAVORINGS
Crack in the eggs one at a time, beating well after each addition. This helps incorporate air and creates a smoother batter. Once the eggs are mixed in, go ahead and stir in your vanilla extract and coconut extract. The coconut extract gives it that signature tropical flavor that sets this cake apart.
STEP 5: MIX IN DRY INGREDIENTS AND COCONUT MILK
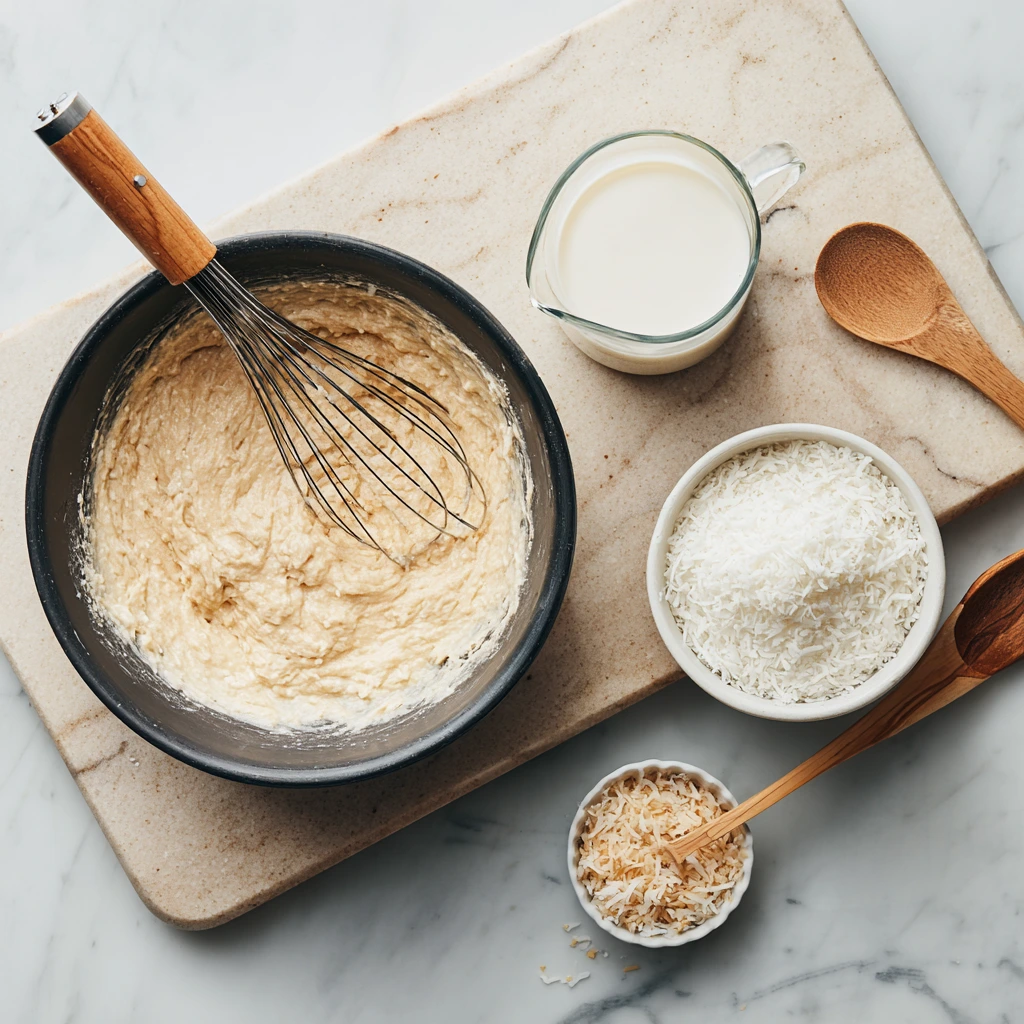
Here’s where the batter really comes together. Alternate adding the dry ingredients and coconut milk, beginning and ending with the dry ingredients. You want to do this in batches—dry, wet, dry, wet, dry—and mix each addition just until combined.
Pro tip: Don’t overmix. That’s key to keeping your cake light and fluffy, not dense or tough.
STEP 6: FOLD IN THE SHREDDED COCONUT
Once your batter is fully combined, gently fold in the ½ cup of shredded sweetened coconut. This adds texture and another layer of flavor to the cake itself, not just the frosting.
STEP 7: DIVIDE AND BAKE
Divide the batter evenly between your two prepared pans. Smooth the tops with a spatula to help them bake evenly.
Bake for 25–30 minutes, or until a toothpick inserted in the center of each cake comes out clean. Mine were perfect right at the 28-minute mark, but every oven is a little different, so keep an eye on them after the 25-minute mark.
STEP 8: COOL COMPLETELY
Let the cakes cool in their pans for about 10 minutes, then carefully turn them out onto a wire rack. Remove the parchment paper and let them cool completely before frosting. You can even wrap the layers and refrigerate or freeze them if you want to frost them later—it makes the assembly a little easier.
Best Ever Coconut Cake Recipe from Scratch: Fluffy Coconut Buttercream & Decorating Tips
Now that our cake layers are cooled and ready, it’s time to bring it all together with the star of the show—homemade coconut buttercream frosting. This creamy, smooth, coconut-infused frosting is exactly what this cake needs to become a true showstopper.
In this part, I’ll walk you through how to make the frosting from scratch, assemble the cake without stress, and get that beautiful coconut-coated finish that turns heads at every gathering. It might look bakery-worthy, but trust me—it’s much easier than you think.
Let’s get right into the next steps!
FROSTING, ASSEMBLING & DECORATING THE COCONUT CAKE
Ingredients for the Frosting:
1 cup unsalted butter, softened
4 cups powdered sugar
¼ cup coconut milk
½ teaspoon coconut extract
2 cups shredded sweetened coconut (for coating the outside)
STEP 9: MAKE THE COCONUT BUTTERCREAM FROSTING
In a large bowl, beat the softened butter until it’s creamy and smooth. I usually mix for 2-3 minutes to get a soft, whipped texture before adding in the sugar.
Gradually add the powdered sugar, about a cup at a time, mixing well after each addition. Once the sugar is fully incorporated, add in the coconut milk and coconut extract. Beat the mixture on medium-high speed until it’s light, fluffy, and easy to spread—this usually takes another 2-3 minutes.
If your frosting feels too thick, add a tiny splash of coconut milk. Too thin? Add a little more powdered sugar until you reach that perfect, spreadable consistency.
STEP 10: LEVEL AND LAYER THE CAKE
If your cake layers have domed a bit on top, go ahead and use a serrated knife to level them out. It’s totally optional, but it makes stacking easier and gives the cake a clean, professional look.
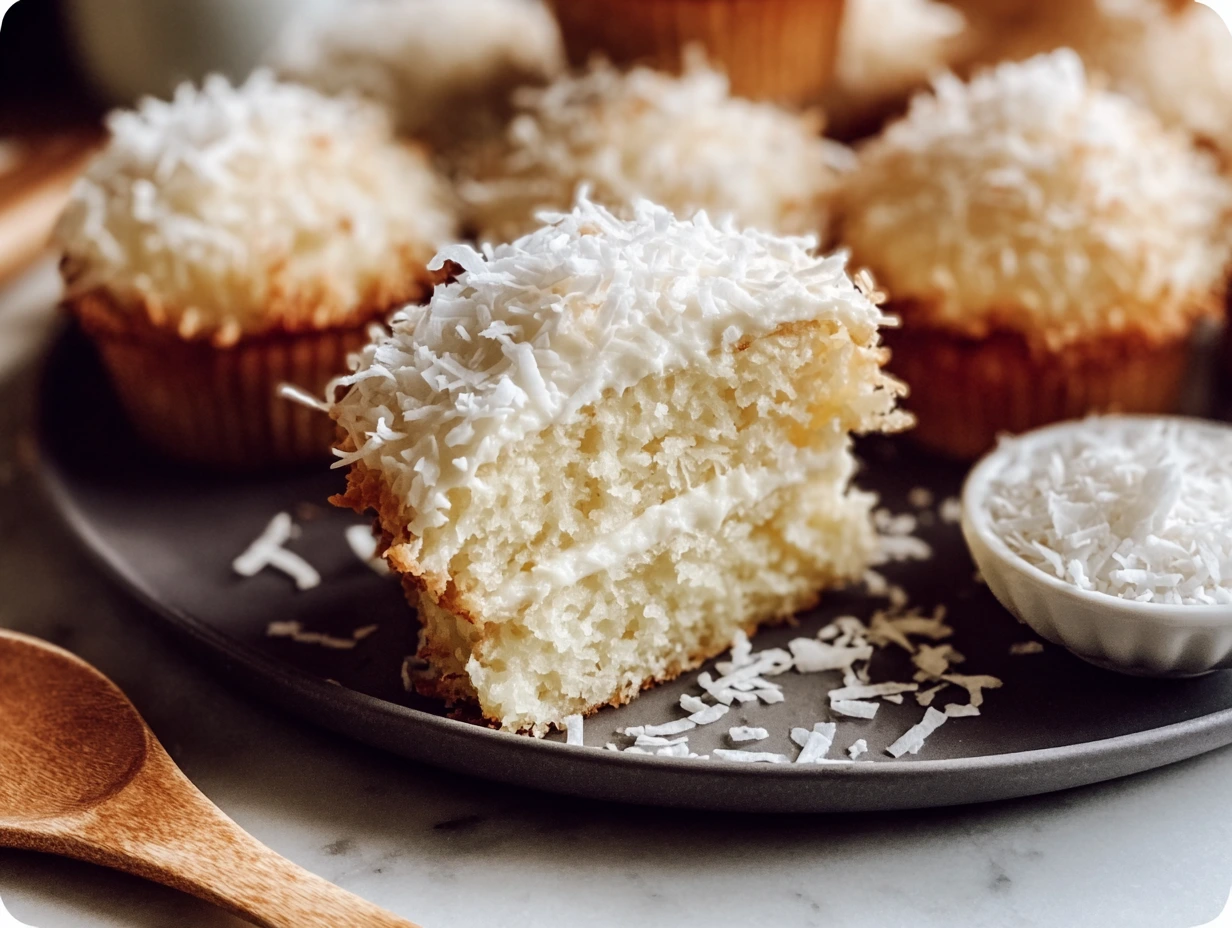
Place one cake layer on your serving plate or cake stand. Spread a generous layer of frosting over the top—don’t skimp here. This is where that soft, creamy texture really shines.
Place the second cake layer on top and make sure it’s even. Press down gently to secure it in place.
STEP 11: FROST THE OUTSIDE OF THE CAKE
Start by spreading a thin layer of frosting around the outside and top of the cake—this is your crumb coat. It doesn’t have to be perfect. Just seal in those loose crumbs. Once the crumb coat is on, pop the cake in the fridge for about 15–20 minutes to set.
After it’s chilled, apply the rest of your frosting, smoothing it out with an offset spatula. You can go for a rustic look with swirls or smooth it all out for a cleaner finish—totally up to you.
STEP 12: COAT WITH SWEETENED COCONUT
Here’s where the magic happens. Take your 2 cups of shredded sweetened coconut and gently press it onto the top and sides of the cake.
This step can get a little messy, so I usually place the cake stand over a rimmed baking sheet to catch any falling coconut. Use your hands to lightly press the flakes in, turning the cake slowly as you go. The result? A stunning snowball effect that’s as pretty as it is delicious.
BONUS TIPS FOR SUCCESS
Use canned, full-fat coconut milk – It’s creamier than the refrigerated kind and adds real coconut richness to both the cake and frosting.
Make it ahead – You can bake the cake layers a day or two in advance. Wrap them tightly and refrigerate or freeze until ready to use.
Brush with coconut milk – Before frosting, lightly brush each layer with a bit of coconut milk for added moisture and flavor.
Layer with lemon curd – Want to take this cake up a notch? Add a thin layer of tart lemon curd between the cake layers before frosting. The tangy-sweet combo is incredible.
Store it properly – Keep your finished cake in the fridge, especially if you’re making it ahead. Just bring it to room temperature before serving for the best flavor and texture.
Best Ever Coconut Cake Recipe from Scratch: FAQ & Final Thoughts
We’ve covered the fluffy cake layers, rich coconut buttercream, and that signature snowy finish—but before you get baking, let’s answer a few common questions that tend to pop up when making a coconut cake from scratch.
Whether it’s about substitutions, storage, or troubleshooting, I’ve got you covered with everything you need to feel confident in the kitchen.
FREQUENTLY ASKED QUESTIONS ABOUT HOMEMADE COCONUT CAKE
Can I make this coconut cake ahead of time?
Yes! The cake layers can be baked up to two days in advance. Wrap them tightly in plastic wrap and store at room temperature or refrigerate. You can also freeze them for up to 2 months. Frost the cake the day you plan to serve it for the freshest taste and texture.
What kind of coconut milk should I use?
Use canned, full-fat coconut milk (usually found in the Asian or international foods aisle). Avoid the kind sold in cartons in the refrigerated section—it’s too thin and won’t give you the same rich flavor or texture.
How do I store leftover coconut cake?
Store the cake in the refrigerator, loosely covered with plastic wrap or in a cake container. It will stay fresh for up to 4–5 days. Before serving leftovers, let the cake sit at room temperature for about 30 minutes to soften the frosting and enhance the flavor.
Can I make this cake gluten-free?
Yes, you can substitute a 1:1 gluten-free all-purpose flour blend. Make sure it contains xanthan gum or add 1 teaspoon per batch if it doesn’t. Just note that texture may vary slightly.
Can I use unsweetened shredded coconut instead?
Technically yes, but it will change the flavor and texture a bit. Sweetened shredded coconut adds extra moisture and sweetness. If using unsweetened, consider adding a tablespoon of sugar to the batter and to the frosting for balance.
What’s the best way to get clean slices?
For neat slices, chill the cake for 20–30 minutes before slicing. Use a long, sharp serrated knife and wipe it clean between cuts. This keeps the frosting and coconut from getting messy on the plate.
Can I add a filling between the layers?
Absolutely. A thin layer of lemon curd, raspberry jam, or even pastry cream pairs beautifully with the coconut flavor. Just make sure not to overfill, so the layers stay stable.
FINAL THOUGHTS: WHY THIS COCONUT CAKE DESERVES A SPOT IN YOUR RECIPE BOX
If you’re looking for a dessert that’s elegant, crowd-pleasing, and surprisingly easy to pull off, this coconut cake checks every box. It’s the kind of cake that feels special enough for a celebration but simple enough to whip up on a cozy weekend.
From the soft, moist layers to the rich coconut buttercream and the irresistible snowy finish, this cake is packed with tropical flavor in every bite. And the best part? You made it completely from scratch—with ingredients you probably already have in your pantry.
Print
Best Coconut Cake Recipe from Scratch
- Author: Andrew Recipes
Description
This Coconut Cake made from scratch is incredibly moist, tender, and rich with coconut flavor. With a fluffy coconut crumb, creamy coconut frosting, and a generous coating of shredded coconut, it’s a show-stopping dessert perfect for holidays, birthdays, or any time you’re craving a slice of tropical indulgence.
Ingredients
For the cake:
2 ½ cups all-purpose flour
2 ½ teaspoons baking powder
½ teaspoon salt
¾ cup unsalted butter, softened
1 ¾ cups granulated sugar
4 large eggs
1 teaspoon vanilla extract
½ teaspoon coconut extract
1 cup coconut milk (canned, full-fat)
½ cup shredded sweetened coconut
For the frosting:
1 cup unsalted butter, softened
4 cups powdered sugar
¼ cup coconut milk
½ teaspoon coconut extract
2 cups shredded sweetened coconut (for coating)
Instructions
Preheat the oven to 350°F and grease and flour two 9-inch round cake pans. Line the bottoms with parchment paper for easier removal.
In a medium bowl, whisk together flour, baking powder, and salt. Set aside.
In a large bowl, cream the butter and sugar together until light and fluffy, about 3-4 minutes.
Add the eggs one at a time, beating well after each addition. Mix in the vanilla and coconut extracts.
Alternately add the dry ingredients and coconut milk to the butter mixture, starting and ending with the dry ingredients. Mix until just combined. Fold in the shredded coconut.
Divide the batter evenly between the prepared pans and smooth the tops.
Bake for 25-30 minutes or until a toothpick inserted in the center comes out clean. Let the cakes cool in the pans for 10 minutes before transferring to a wire rack to cool completely.
For the frosting, beat the butter until creamy. Gradually add powdered sugar, mixing until smooth. Add coconut milk and coconut extract, beating until light and fluffy.
Frost the cooled cakes and coat the entire cake with shredded coconut, gently pressing it into the sides and top.
Notes
For added richness, brush the cake layers with a bit of coconut milk before frosting. The cake layers can be made ahead and frozen. This cake pairs beautifully with fresh berries or a tart lemon curd filling. Keep refrigerated and bring to room temperature before serving for the best texture.
