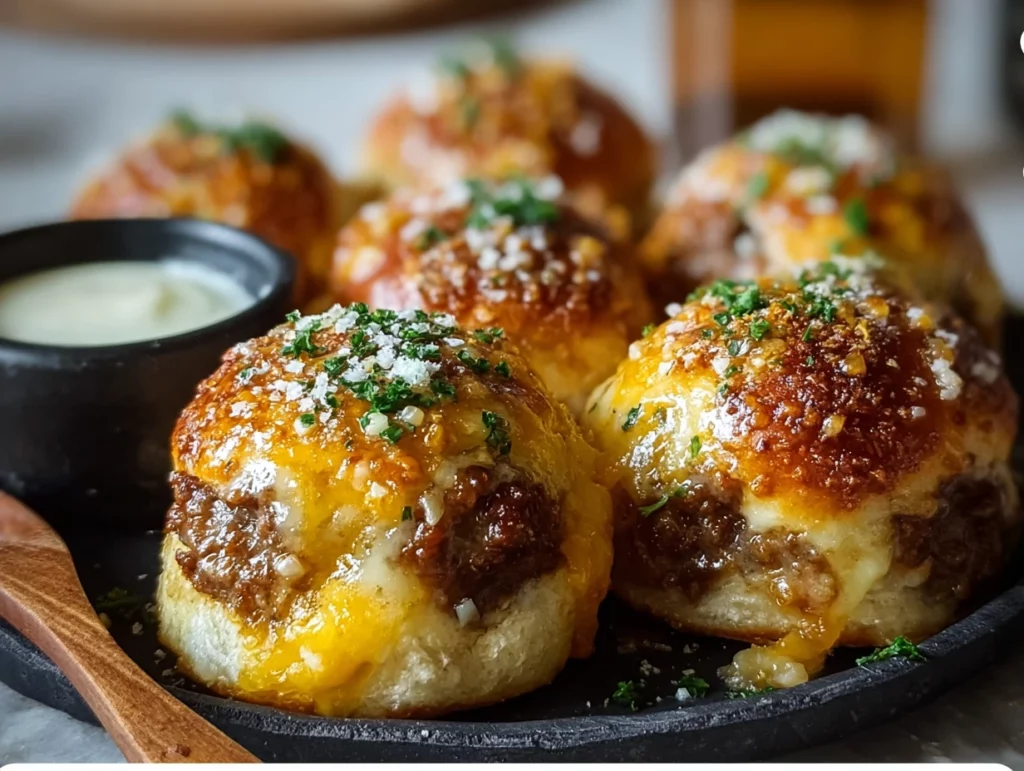
If you’re anything like me, you know that finger foods are the real MVPs of any gathering. Whether it’s game day, a birthday party, or a casual Friday night hangout, there’s just something extra fun about picking up a bite-sized snack that’s oozing with flavor. That’s exactly why I’m so excited to share these Garlic Parmesan Cheeseburger Bombs with you. They’re soft, golden pockets of cheesy, meaty goodness—all wrapped in a fluffy biscuit dough and finished off with a buttery garlic-Parmesan topping. Need I say more?
I actually stumbled across this recipe when trying to clean out my fridge before a weekend trip. I had some ground beef, leftover shredded cheese, and a tube of refrigerated biscuit dough staring me down. With a little experimentation and a lot of cheese, these magical little cheeseburger bombs were born. And trust me, my family devoured them before they even hit the plate.
These bites are rich and savory, packed with all the classic cheeseburger flavors, but made even more irresistible with that golden, garlicky topping. The best part? They’re super customizable, easy to make, and bake up in under 20 minutes. Perfect for those of us who like our food fast, easy, and seriously delicious.
Let’s jump into the recipe, because once you taste these, you’re going to want them in your weekly rotation.

Ingredients You’ll Need
Let’s break this down by parts so you can prep everything ahead of time.
For the Burger Filling:
1 pound ground beef
Salt, freshly ground black pepper, garlic powder, and onion powder (to taste)
1 tablespoon Worcestershire sauce
1 cup shredded cheddar cheese or mozzarella
Optional: crispy bacon pieces, chopped pickles, or caramelized onions for extra flavor
For the Dough Wrapping:
1 tube refrigerated biscuit or pizza dough
Divide into 8–12 pieces, flatten each into a 4-inch circle
For the Garlic Parmesan Topping:
2 tablespoons unsalted butter, melted
1 teaspoon minced garlic (or garlic powder)
2 tablespoons freshly grated Parmesan cheese
Chopped fresh parsley (optional, but adds a nice touch)
STEP 1: Prepare the Burger Filling
In a large skillet over medium heat, cook your ground beef until it’s fully browned and no longer pink. You’ll want to drain off any excess grease to avoid soggy dough later on. Once drained, season the beef generously with salt, pepper, garlic powder, onion powder, and Worcestershire sauce. Give it all a good stir, then let it cool completely. This part’s important—if the mixture’s too hot, it’ll start melting the dough before it even hits the oven.
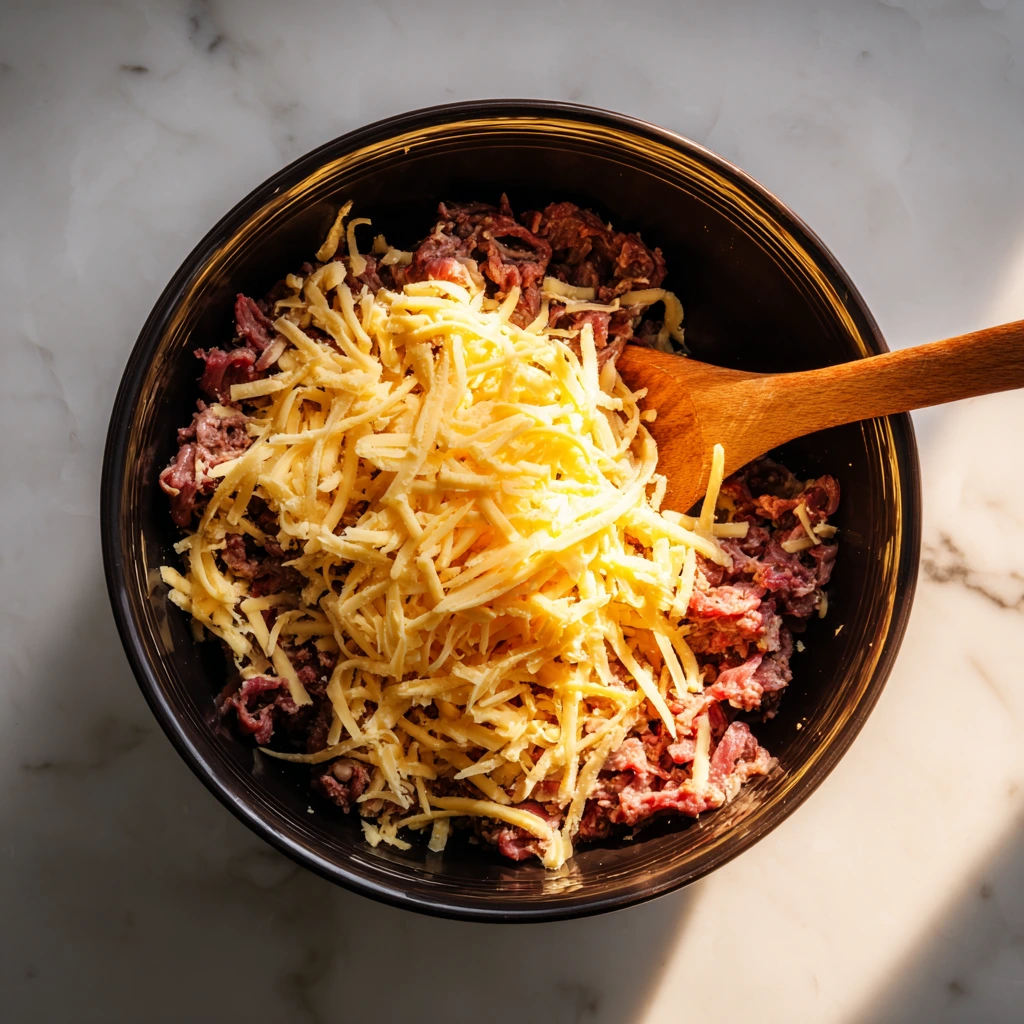
Once cooled, fold in your shredded cheese. I usually go for cheddar because it gives that classic cheeseburger taste, but mozzarella works great too for a gooey, stretchy bite. If you’re feeling extra, throw in some crispy bacon bits, diced pickles, or caramelized onions. The more, the better.
STEP 2: Wrap and Seal the Bombs
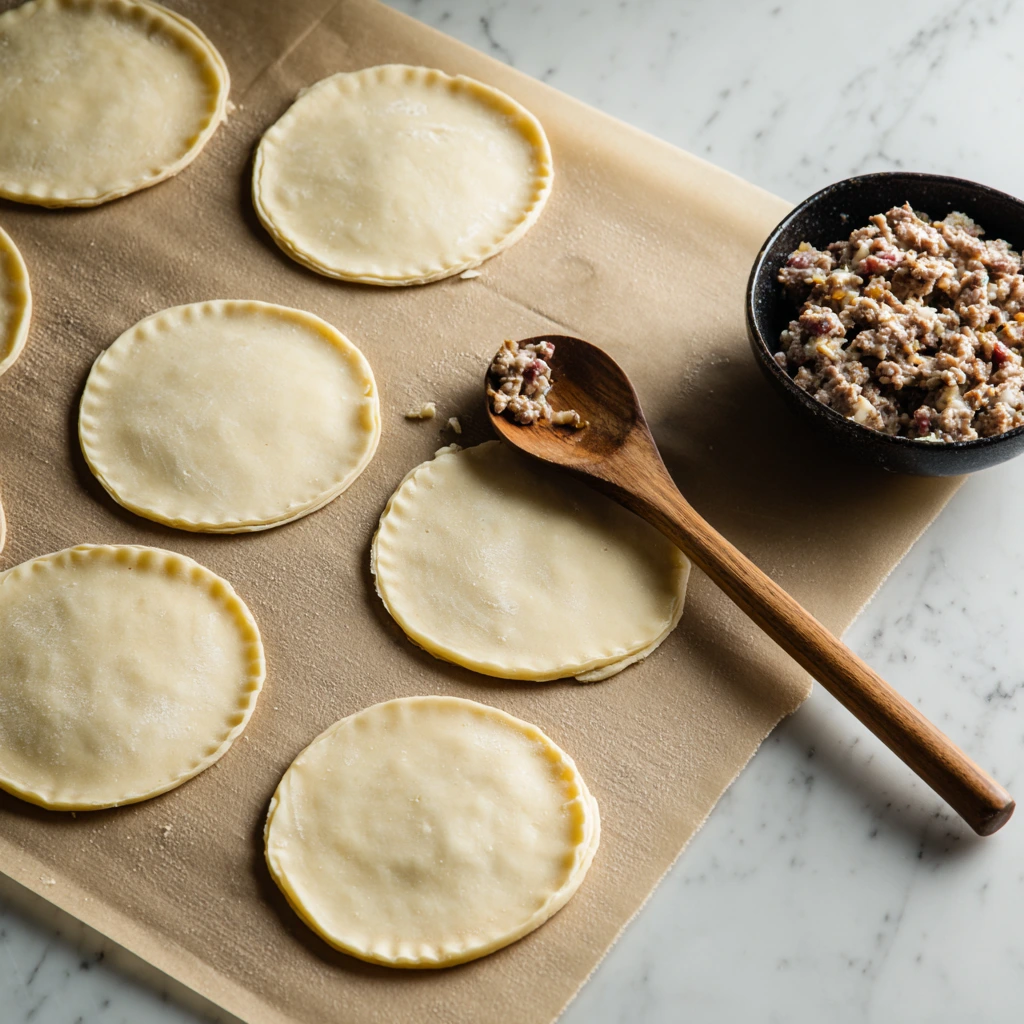
Now it’s time to get a little hands-on. Take your refrigerated dough and divide it into 8–12 equal portions. Flatten each piece into a 4-inch round—this will give you enough room to stuff and seal them without everything bursting out in the oven.
Spoon 1–2 tablespoons of the cooled burger filling into the center of each dough round. Carefully pinch the edges together to seal, making sure there are no gaps. Then gently roll them between your palms to form a smooth, sealed ball. Place each ball seam-side down on a parchment-lined baking sheet. Make sure to leave a bit of space between them so they have room to puff up while baking.
STEP 3: Brush on the Garlic Parmesan Magic
In a small bowl, mix the melted butter with minced garlic. Now, generously brush that buttery goodness all over the tops of your dough balls. Don’t hold back—it’s what gives these bombs their rich flavor and golden, toasty finish. After brushing, sprinkle the tops with freshly grated Parmesan cheese. The cheese will melt and brown up beautifully in the oven, creating that irresistible crust on top.
How to Bake Garlic Parmesan Cheeseburger Bombs to Golden Perfection
Now that you’ve got your cheeseburger bombs assembled and brushed with all that garlicky, buttery goodness, it’s time to get them baking. This is where the magic happens—when that dough puffs up, the cheese melts, and the tops turn perfectly golden and crisp. The smell alone is enough to get everyone hovering around the kitchen, trust me.
I like to think of this part as the “hands-off” reward after the fun of assembling them. Plus, while they’re baking, you can whip up a quick dipping sauce or set the table if you’re serving them as a casual dinner. These also make a fantastic appetizer tray for guests—you’ll probably want to double the batch if you’re feeding a crowd!
Let’s get into the final steps to bring it all together.
STEP 4: Bake Until Golden and Gooey
Preheat your oven to 375°F (190°C). Once it’s fully preheated, pop your baking sheet into the oven and bake the cheeseburger bombs for 15 to 18 minutes. You’re looking for that perfect golden-brown color on top, and the dough should be fully cooked through—not doughy in the center.
Pro Tip: Keep an eye on them around the 14-minute mark. Every oven is a little different, and you don’t want to overbake them. If the tops look like they’re browning too fast, you can loosely tent them with a piece of foil for the last few minutes.
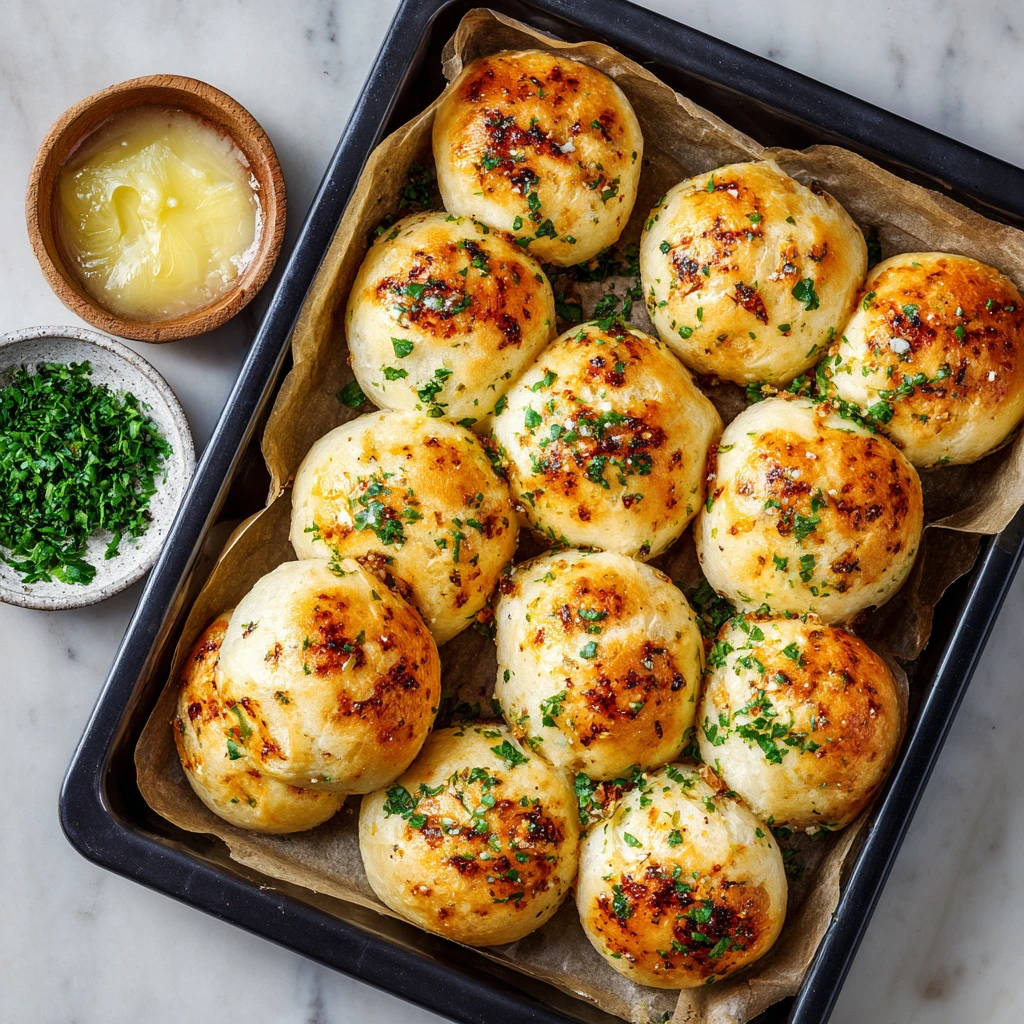
The cheese inside should be melted and gooey, and the outside should be crisp and golden. If you press gently on the top, it should feel firm but slightly soft in the center from the melted cheese and filling.
STEP 5: Add the Finishing Touches
Once your cheeseburger bombs are out of the oven, don’t skip the final buttery brush. If you have any garlic butter left over from earlier, give the tops another pass while they’re still warm. This gives them a glossy finish and bumps up the garlic flavor even more.
Then, sprinkle on a little fresh chopped parsley if you have it. It adds just a bit of color and freshness to balance out the rich, savory flavors. Totally optional, but highly recommended.
Serving Suggestions and Dipping Sauce Ideas
These are best served warm, straight out of the oven, when the cheese is still melted and the dough is tender on the inside and crispy on the outside. They make an incredible appetizer, game day snack, or even a fun twist on burger night.
And don’t forget the dipping sauces—these little bombs love to be dunked. Here are a few of my favorite pairings:
Ranch dressing – classic and crowd-pleasing
Spicy mayo – mix mayo with a little sriracha or hot sauce
Garlic aioli – perfect for doubling down on that garlicky goodness
Honey mustard – adds a tangy-sweet kick
BBQ sauce – great for that smoky flavor contrast
You could even set out a little sauce bar if you’re serving these at a party. It’s a fun way to let everyone customize their bites.
Tasty Variations to Try
The base recipe is fantastic as is, but you can easily get creative depending on what you have on hand or what flavors you love. Here are a few ideas to switch things up:
Add jalapeños to the filling for a spicy kick
Swap in ground turkey or chicken for a lighter version
Use pepper jack or Swiss cheese for a new flavor twist
Mix in caramelized onions for extra richness
Use crescent roll dough instead of biscuit dough for a flakier finish
You can also go mini or jumbo—just adjust the dough size and filling amounts accordingly. The minis are great for appetizer trays, while jumbo versions make a fun main dish alongside a salad or veggie tray.
Garlic Parmesan Cheeseburger Bombs FAQ + Final Thoughts
Before you head off to make these irresistible little bites, I wanted to take a moment to answer some of the most common questions I get whenever I share this recipe. Whether you’re wondering about prep-ahead tips or the best way to store leftovers (if there are any!), this section should have you covered.
These cheeseburger bombs are super forgiving, easy to adapt, and great for meal prep or parties. Let’s tackle a few quick questions to help make your cooking experience as smooth—and tasty—as possible.
Frequently Asked Questions
1. Can I make these ahead of time?
Yes! You can fully assemble the cheeseburger bombs up to one day in advance and store them in the refrigerator, covered with plastic wrap. When you’re ready to bake, just brush with garlic butter and pop them into the oven. You may need to add 1–2 extra minutes to the baking time if they’re cold from the fridge.
2. What’s the best way to reheat leftovers?
To keep them crispy, reheat them in a 350°F oven for about 8–10 minutes. Avoid the microwave if you can—while it’s faster, it tends to make the dough soggy.
3. Can I freeze these?
Absolutely. Once baked, let them cool completely and then freeze in a single layer on a baking sheet. Once solid, transfer to a zip-top freezer bag. To reheat, bake from frozen at 350°F for 12–15 minutes, or until heated through.
4. What kind of dough works best?
Refrigerated biscuit dough or pizza dough both work great. Biscuit dough gives a more buttery, fluffy texture, while pizza dough is a little chewier and more like a calzone. Crescent roll dough can also be used if you prefer a flakier finish.
5. Can I make these vegetarian?
Definitely! Just swap the beef for a meatless ground or use sautéed mushrooms and onions as your base. Add your favorite cheese and season just like you would with meat.
6. How do I keep the filling from leaking out?
Make sure the dough edges are sealed tightly by pinching them closed. If needed, wet your fingers slightly before sealing to help the dough stick together. Also, avoid overfilling—1 to 2 tablespoons of filling is plenty.
7. What dipping sauce do you recommend?
Ranch and spicy mayo are favorites around here, but garlic aioli, ketchup, honey mustard, or even marinara all pair wonderfully. Feel free to mix and match based on your crowd!
Final Thoughts: These Cheeseburger Bombs Are a Total Crowd-Pleaser
Whether you’re whipping up a tray for a party, packing them in a lunchbox, or treating your family to a fun dinner, these Garlic Parmesan Cheeseburger Bombs are the kind of recipe that always gets people talking. They’re simple enough to throw together on a weeknight, but special enough to impress your guests.
And let’s be honest—who doesn’t love a golden, buttery dough pocket stuffed with melty cheese and seasoned beef? The garlic-Parmesan topping takes them completely over the top, and they’re endlessly customizable to whatever flavors your family loves most.
Print
Garlic Parmesan Cheeseburger Bombs
- Author: Andrew Recipes
Description
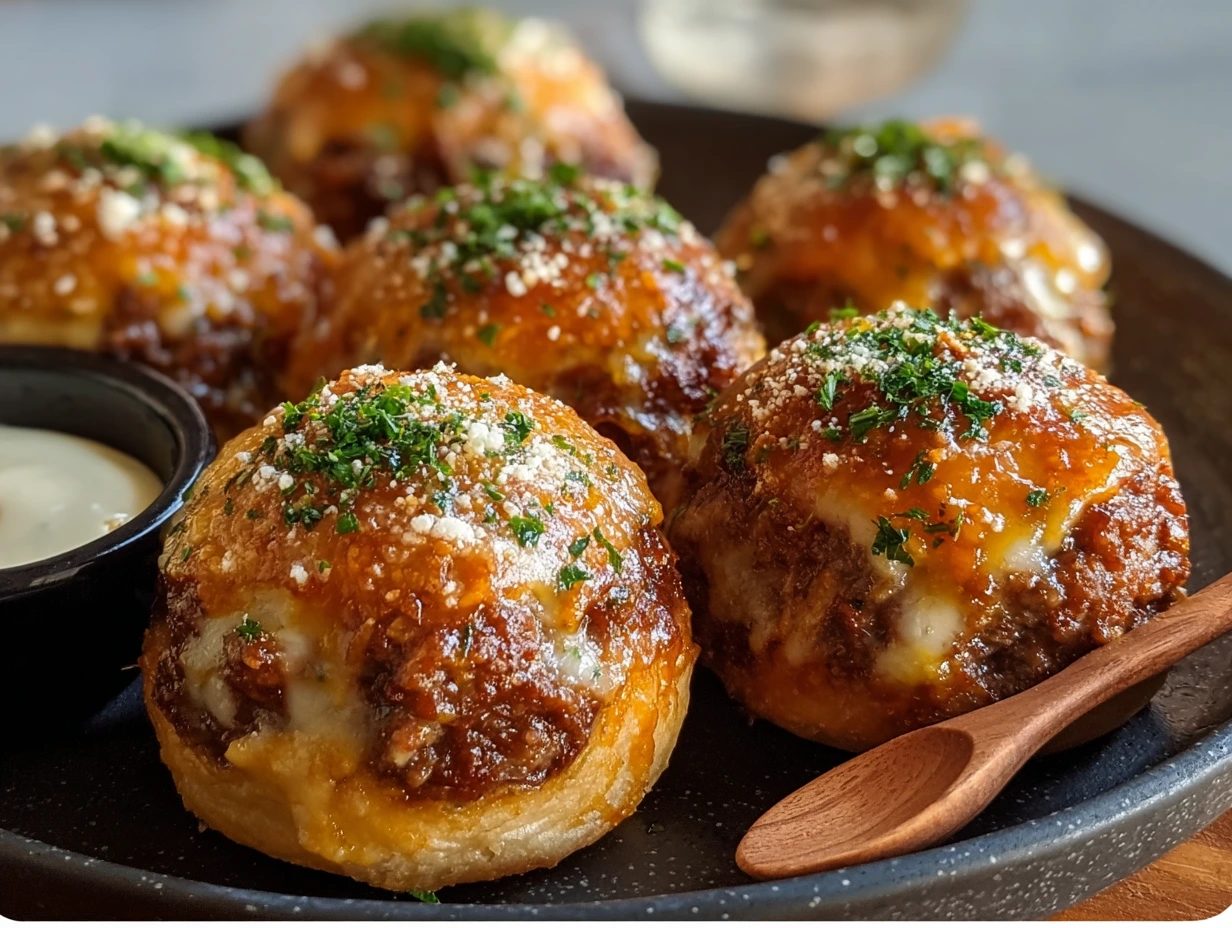
These Garlic Parmesan Cheeseburger Bombs are a savory twist on classic sliders, wrapped in soft dough and brushed with buttery garlic topping. Each bite delivers juicy, cheesy burger flavor with a golden, crispy finish. They’re perfect for parties, game days, or even a fun dinner idea.
Ingredients
For the Burger Filling
1 pound ground beef
Salt, freshly ground black pepper, garlic powder, and onion powder, to taste
1 tablespoon Worcestershire sauce
1 cup shredded cheddar cheese or mozzarella
Optional: crispy bacon pieces, pickles, or caramelized onions
For the Dough Wrapping
1 tube refrigerated biscuit or pizza dough, cut into 8–12 circles and flattened to 4-inch rounds
For the Garlic Parmesan Topping
2 tablespoons unsalted butter, melted
1 teaspoon minced garlic or garlic powder
2 tablespoons freshly grated Parmesan cheese
Chopped fresh parsley for garnish (optional)
Instructions
1️⃣ In a large skillet over medium heat, brown the ground beef until fully cooked and no pink remains. Drain excess fat. Season with salt, pepper, garlic powder, onion powder, and Worcestershire sauce. Cool the mixture completely, then fold in shredded cheese until evenly incorporated.
2️⃣ Flatten each dough circle to approximately 4 inches in diameter. Spoon 1–2 tablespoons of cooled burger filling into the center of each dough round. Pinch edges together to seal thoroughly and gently roll to form a smooth ball.
3️⃣ Arrange sealed dough balls seam-side down on a parchment-lined baking sheet, allowing space between each. Combine melted butter with minced garlic. Generously brush garlic butter over the dough balls, then sprinkle tops with grated Parmesan cheese.
4️⃣ Preheat oven to 375°F (190°C). Bake for 15–18 minutes or until pastry is golden brown and the dough is cooked through.
5️⃣ Immediately after baking, brush with any remaining garlic butter and finish with chopped fresh parsley if desired. Serve warm with dipping sauces such as ranch, garlic aioli, or spicy mayo.
Notes
Make sure the filling is completely cool before stuffing the dough to avoid sogginess. These are best served hot and fresh, but they can also be reheated in the oven for a crispy finish. Try switching up the fillings to include jalapeños or different cheeses for a creative twist.

