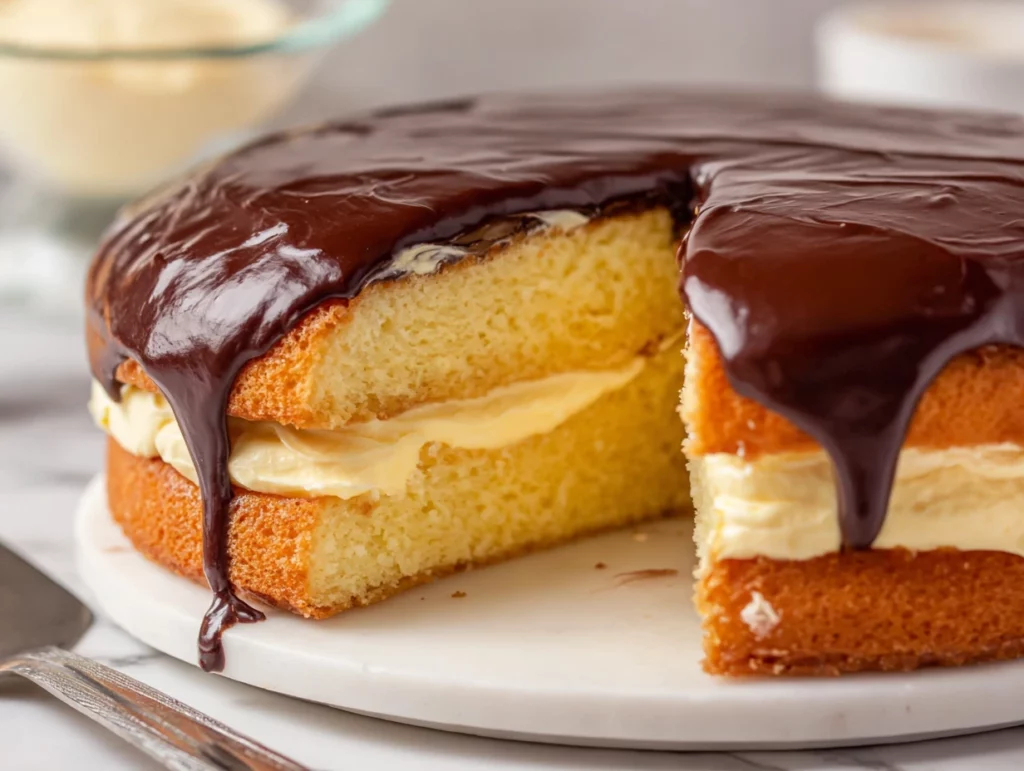
There’s something undeniably special about a dessert that’s been around for over a century and still manages to wow everyone at the table. Boston Cream Pie is one of those timeless classics — though, fun fact, it’s not actually a pie at all. It’s a soft, tender sponge cake layered with silky pastry cream and topped with a decadent, glossy chocolate ganache. Think of it as a beautiful marriage between cake and custard, with a little chocolate magic sealing the deal.
I’ve always thought of Boston Cream Pie as a “dessert with personality.” It’s not flashy or overcomplicated, but it has this quiet confidence — the kind that makes people take a forkful, pause, and then say, “Oh… this is good.” Whether you’re making it for a birthday, a family dinner, or just because you feel like treating yourself, it’s a recipe worth keeping in your baking repertoire.
Today, I’m walking you through my favorite way to make it completely from scratch. No shortcuts, no boxed mixes — just pure, homemade goodness. Trust me, once you’ve made it this way, you’ll understand why it’s been loved for generations.

Ingredients You’ll Need
Before we get started, let’s break it down into the three delicious components.
For the cake:
1 cup all-purpose flour
1 teaspoon baking powder
1/4 teaspoon salt
1/2 cup unsalted butter, softened
1 cup granulated sugar
2 large eggs
1 teaspoon vanilla extract
1/2 cup whole milk
For the pastry cream:
2 cups whole milk
1/2 cup granulated sugar
4 large egg yolks
1/4 cup cornstarch
2 tablespoons unsalted butter
1 teaspoon vanilla extract
For the chocolate ganache:
4 oz semisweet chocolate, chopped
1/2 cup heavy cream
STEP 1: Preheat and Prepare Your Pans
Preheat your oven to 350°F (175°C). Grease and flour two 9-inch round cake pans. This step might seem basic, but a well-prepared pan means your cake will release beautifully after baking — no sticking, no frustration.
STEP 2: Mix the Dry Ingredients
In a medium bowl, whisk together the flour, baking powder, and salt. Setting these aside ensures they’re ready to blend evenly into the batter without overmixing later.
STEP 3: Cream the Butter and Sugar
In a large mixing bowl, beat the softened butter and sugar until they’re light and fluffy. This step is where the magic of a tender cake begins — you’re incorporating air, which will help give the cake its beautiful texture.
STEP 4: Add Eggs and Vanilla
Crack in the eggs one at a time, mixing well after each addition. Then stir in the vanilla extract for that sweet, warm aroma we all love.
STEP 5: Combine Wet and Dry Ingredients
Alternate adding your flour mixture and milk to the butter mixture, beginning and ending with the dry ingredients. Mix only until combined. Overmixing is the enemy of a soft cake, so as soon as the batter comes together, you’re done.
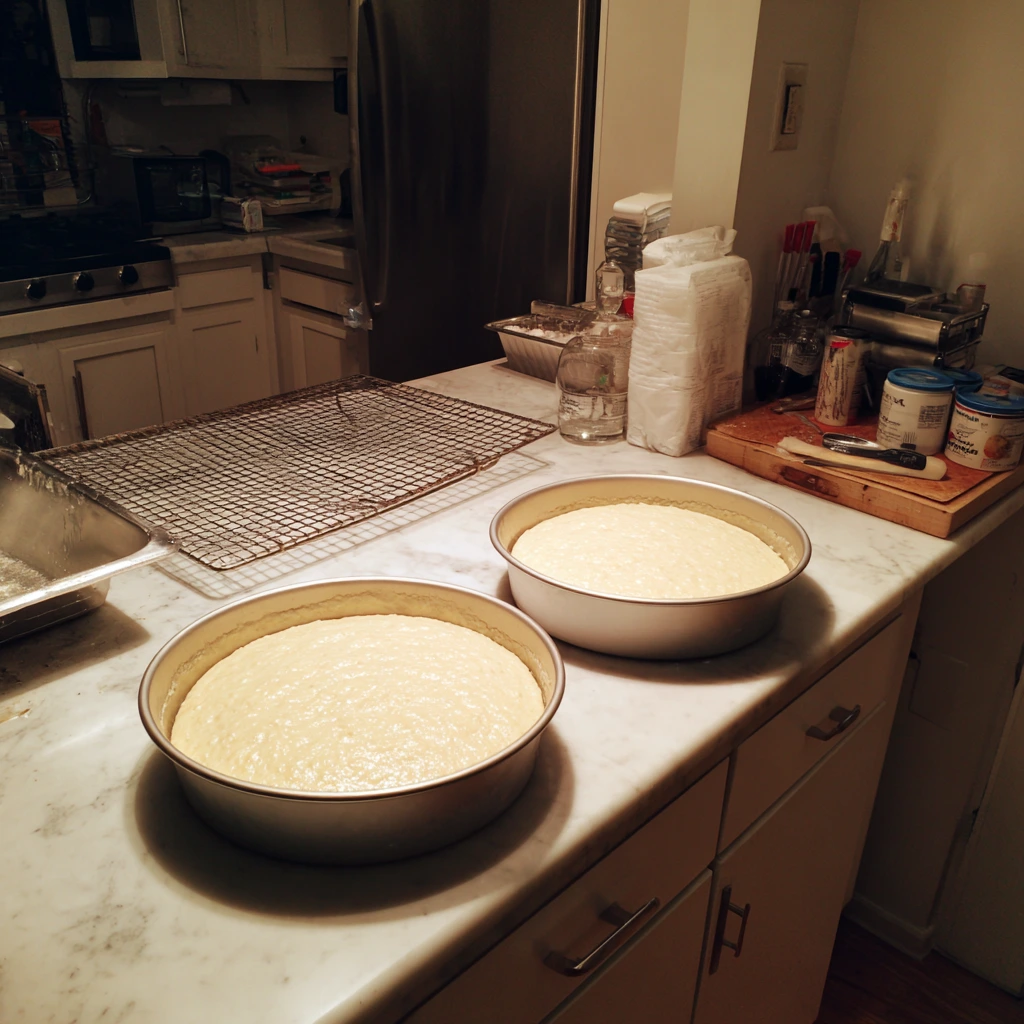
STEP 6: Bake to Perfection
Divide the batter evenly between your two prepared cake pans. Bake for 20–25 minutes, or until a toothpick inserted in the center comes out clean. Let the cakes cool completely before moving to the next step — otherwise, the pastry cream will melt and turn your lovely layers into a slippery mess.
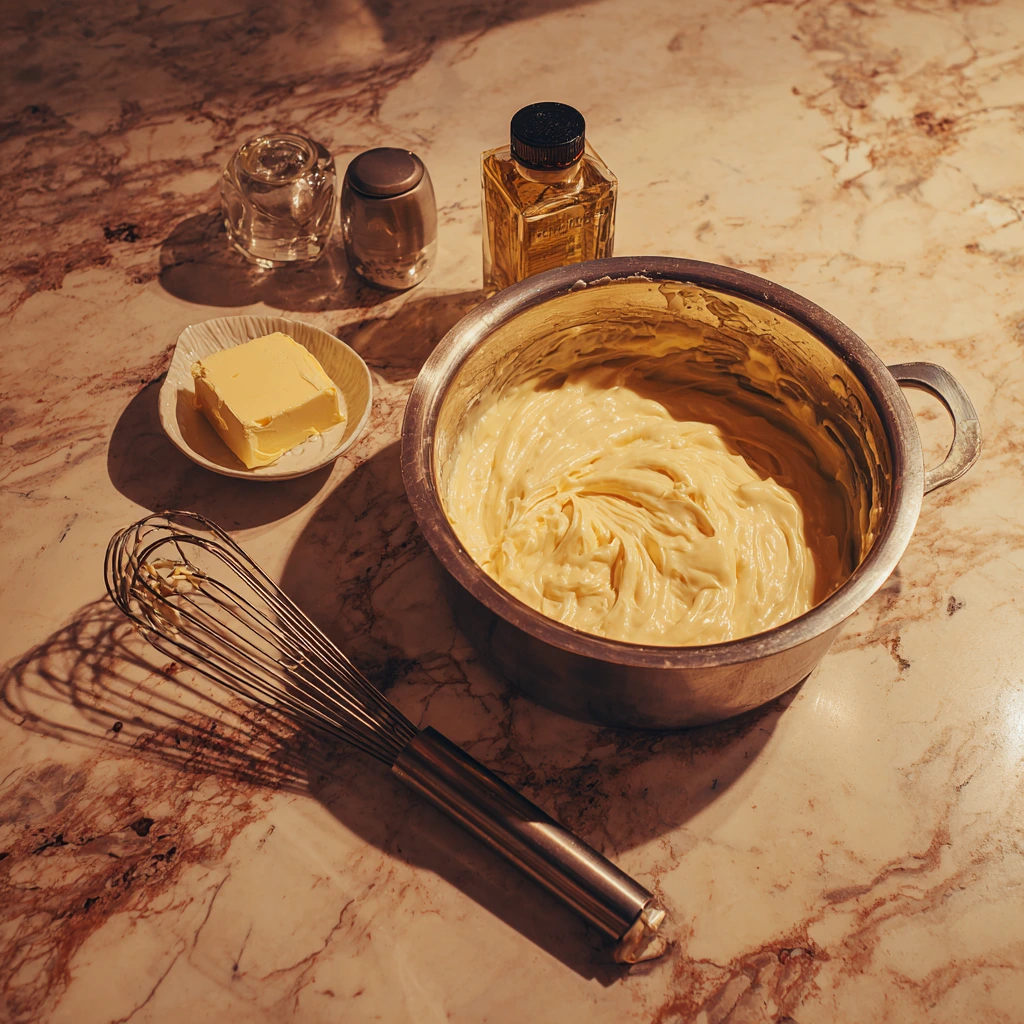
Making the Pastry Cream Filling
This is where Boston Cream Pie really earns its signature flavor — the pastry cream. It’s rich, silky, and just the right amount of sweet. It may sound fancy, but it’s actually a straightforward process once you break it down.
STEP 7: Heat the Milk
In a medium saucepan, heat the milk over medium heat until it’s just steaming. You don’t want it boiling — think gentle warmth, like the steam from a hot cup of tea.
STEP 8: Whisk the Yolks and Sugar
In a separate bowl, whisk together the sugar, egg yolks, and cornstarch until smooth and pale. This is your base for a creamy custard, so take a minute to make sure everything is well blended with no lumps.
STEP 9: Temper the Eggs
This step prevents your eggs from scrambling when you add the hot milk. Slowly pour about a third of the steaming milk into the egg mixture, whisking constantly. Then pour the tempered egg mixture back into the saucepan with the remaining milk.
STEP 10: Cook Until Thickened
Place the saucepan back over medium heat and whisk constantly until the pastry cream thickens. You’re looking for a smooth, pudding-like consistency. Once thick, remove from heat and stir in the butter and vanilla extract.
STEP 11: Cool Completely
Pour the pastry cream into a clean bowl, cover the surface directly with plastic wrap (to prevent a skin from forming), and let it cool completely. You can speed this up in the fridge, but don’t skip the cooling — warm pastry cream will melt your cake layers.
Making the Chocolate Ganache
Ganache is the glossy, decadent crown of a Boston Cream Pie. It’s only two ingredients, but when done right, it’s pure elegance.
STEP 12: Heat the Cream
In a small saucepan, heat the heavy cream until it’s steaming — again, no boiling.
STEP 13: Melt the Chocolate
Place the chopped semisweet chocolate in a heatproof bowl. Pour the hot cream over the chocolate and let it sit for 2 minutes to soften.
STEP 14: Stir Until Smooth
After the resting time, stir gently until the chocolate and cream become a smooth, glossy ganache. If you want an extra shiny finish, keep stirring until it looks silky.
Assembling the Boston Cream Pie
Now for the part that brings everything together.
STEP 15: Layer the Cake and Cream
Place one cooled cake layer on a serving plate. Spread the cooled pastry cream evenly over the top, leaving about a half-inch border so it doesn’t spill out when you add the next layer.
STEP 16: Add the Second Cake Layer
Gently place the second cake layer on top, lining it up neatly with the bottom layer.
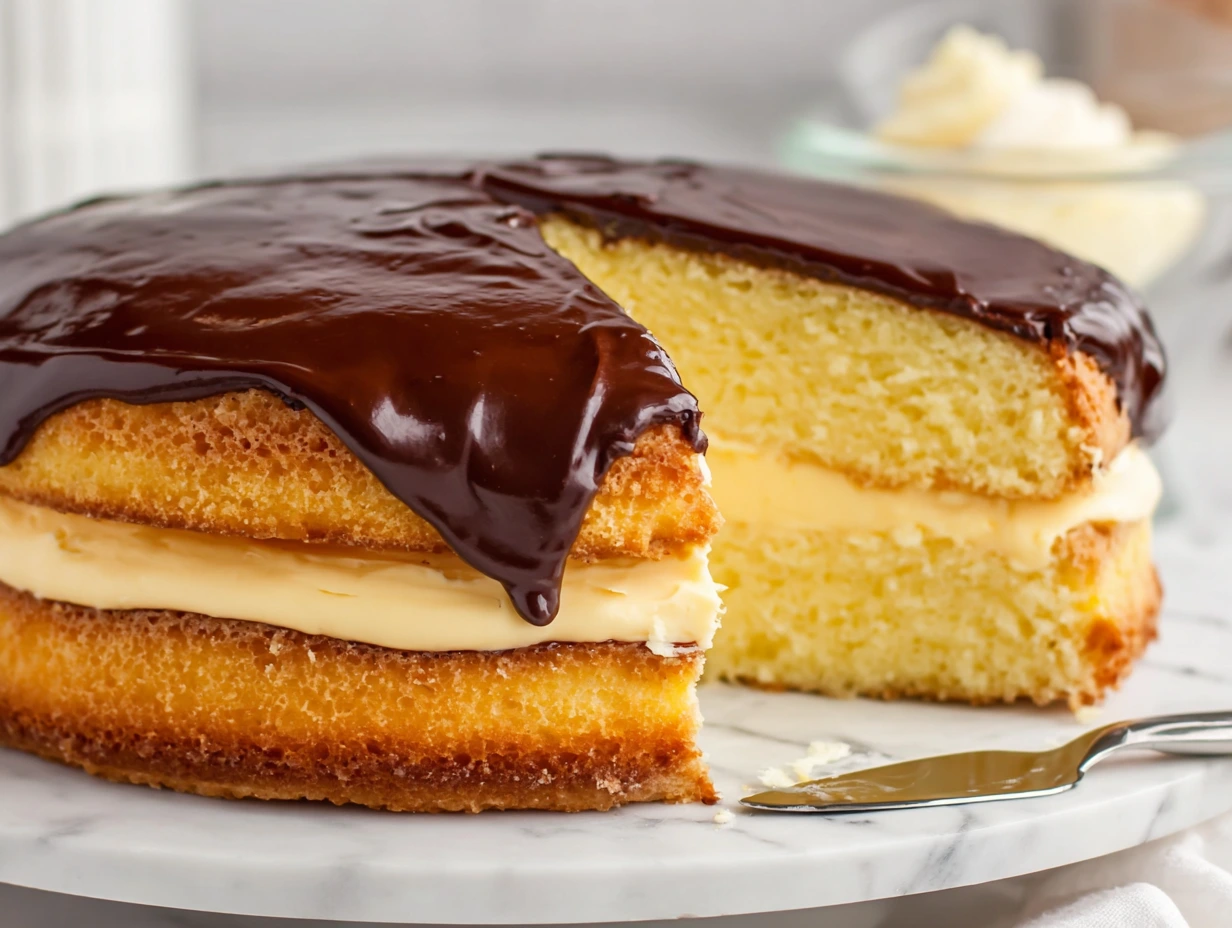
STEP 17: Top with Ganache
Pour the warm ganache over the top layer, letting it drip slightly down the sides for that classic look.
STEP 18: Chill Before Serving
Refrigerate the assembled cake for at least 30 minutes to let the ganache set and the flavors meld together.
Extra Tips for Success:
Brush each cake layer with a light sugar syrup before assembly for extra moisture.
Make the pastry cream a day ahead to save time and allow flavors to deepen.
Use a serrated knife to cut clean slices without smearing the filling.
Boston Cream Pie FAQ
Over the years of making Boston Cream Pie, I’ve noticed the same questions pop up from friends, family, and readers. Here’s a quick round-up of the most common ones, with straightforward answers to help you get perfect results every time.
1. Why is it called Boston Cream Pie if it’s a cake?
It’s a bit of culinary history. Back in the 1800s, the terms “pie” and “cake” were sometimes used interchangeably, especially when cakes were baked in pie tins. The name stuck, and now it’s part of the dessert’s charm.
2. Can I make the pastry cream in advance?
Yes, absolutely. In fact, making it a day ahead can be helpful. Store it in an airtight container in the fridge and give it a quick whisk before spreading it on the cake.
3. What’s the best chocolate to use for the ganache?
A good-quality semisweet chocolate works best. Too much sweetness can overpower the cream filling, and dark chocolate can be a bit too bitter for this delicate balance.
4. How do I prevent the cake from becoming soggy?
Make sure both the cake layers and pastry cream are completely cool before assembly. Also, avoid adding too much filling — a generous but controlled layer is key.
5. Can I freeze Boston Cream Pie?
Freezing isn’t ideal because the pastry cream can separate after thawing. If you need to prepare it ahead, make and freeze just the cake layers, then add the cream and ganache fresh before serving.
6. How long will it keep in the fridge?
Boston Cream Pie will stay fresh for about 3 days when covered and refrigerated. After that, the cake starts to lose its texture and the filling can become watery.
7. Can I make this gluten-free?
Yes, you can substitute the all-purpose flour with a 1:1 gluten-free baking blend. Just make sure it includes a binder like xanthan gum for structure.
Final Thoughts
Boston Cream Pie is one of those desserts that feels a little nostalgic and a little luxurious all at once. From the tender, buttery cake layers to the rich vanilla pastry cream and the glossy chocolate ganache, every bite is a reminder of why this recipe has stood the test of time.
If you’ve never made it from scratch before, don’t be intimidated — each step is simple on its own, and the payoff is huge. You’ll end up with a dessert that not only looks impressive but tastes like something straight out of a bakery case.
Whether you’re serving it as the grand finale to a dinner party or as a “just because” treat on a Sunday afternoon, Boston Cream Pie has a way of making people smile. And if you have any leftovers (which is rare), it’s one of those desserts that tastes even better the next day.
Print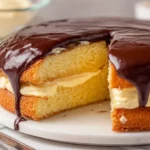
Boston Cream Pie
- Author: Andrew Recipes
Description
Boston Cream Pie is a timeless American dessert that’s actually a cake—two layers of soft, buttery sponge cake filled with smooth pastry cream and topped with a glossy chocolate ganache. The combination of airy cake, creamy custard, and rich chocolate makes this dessert a showstopper for birthdays, holidays, or any occasion where you want a touch of classic elegance.
Ingredients
1 cup all-purpose flour
1 teaspoon baking powder
1/4 teaspoon salt
1/2 cup unsalted butter, softened
1 cup granulated sugar
2 large eggs
1 teaspoon vanilla extract
1/2 cup whole milk
Ingredients for the pastry cream:
2 cups whole milk
1/2 cup granulated sugar
4 large egg yolks
1/4 cup cornstarch
2 tablespoons unsalted butter
1 teaspoon vanilla extract
Ingredients for the chocolate ganache:
4 oz semisweet chocolate, chopped
1/2 cup heavy cream
Instructions
Preheat the oven to 350°F (175°C). Grease and flour two 9-inch round cake pans.
In a bowl, whisk together flour, baking powder, and salt. In a separate large bowl, beat the butter and sugar until light and fluffy. Add eggs one at a time, beating well after each, then mix in vanilla. Add dry ingredients alternately with milk, beginning and ending with the flour mixture. Mix until just combined.
Divide the batter evenly between the two pans and bake for 20–25 minutes, or until a toothpick inserted into the center comes out clean. Let the cakes cool completely.
For the pastry cream, heat milk in a saucepan until just steaming. In a bowl, whisk sugar, egg yolks, and cornstarch until smooth. Slowly whisk in the hot milk, then return the mixture to the saucepan. Cook over medium heat, whisking constantly, until thickened. Remove from heat, stir in butter and vanilla, then cool completely.
For the ganache, place chocolate in a heatproof bowl. Heat cream until steaming, pour over the chocolate, and let sit for 2 minutes. Stir until smooth and glossy.
To assemble, place one cake layer on a serving plate. Spread the cooled pastry cream evenly over the top, then place the second cake layer on top. Pour the ganache over the cake, letting it drip slightly down the sides. Refrigerate for at least 30 minutes before serving to set the ganache.
Notes
For extra flavor, brush the cake layers with a light sugar syrup before assembling.
Make sure the pastry cream is completely cool before spreading it on the cake to prevent melting.
This dessert tastes even better the next day after the flavors have melded.

