If you’ve ever had a slice of Boston Cream Pie and thought, “This could be even better in cake form,” you’re not alone—and today, we’re making that dream a reality with this Boston Cream Pie Poke Cake from Scratch. No boxed shortcuts, no store-bought pudding mixes—just pure, homemade goodness from top to bottom. We’re talking tender vanilla cake, rich vanilla pastry cream that seeps into every bite, and a glossy ganache that’s downright dreamy.
This dessert is one of those crowd-pleasers that makes you look like a professional baker, even if you’re more of a weekend whisk warrior. It’s indulgent, comforting, and surprisingly simple to make—especially when you take it step by step.
In my kitchen, this cake has become a go-to for birthdays, potlucks, and yes, those random Tuesday nights when the sweet tooth kicks in hard. The first time I made it, I wasn’t prepared for how fast it would disappear. You might want to hide a slice in the fridge for yourself (trust me on this one).
Let’s get started with the base: a soft, buttery vanilla sponge that serves as the perfect foundation for all the goodness that follows.
Making the Cake and Preparing the Base
Ingredients for the Vanilla Cake
1 ¾ cups all-purpose flour
1 tablespoon cornstarch
1 tablespoon baking powder
½ teaspoon salt
½ cup unsalted butter, room temperature
1 cup granulated sugar
2 large eggs
2 teaspoons vanilla extract
¾ cup whole milk
¼ cup sour cream
Step-by-Step Instructions: Vanilla Cake Base
Step 1: Preheat and Prep Your Pan
Start by preheating your oven to 350°F (175°C). Lightly grease a 9×13-inch baking pan—this is going to be the canvas for our poke cake masterpiece. Set it aside while you mix your dry ingredients.
Step 2: Mix Dry Ingredients
In a medium mixing bowl, whisk together:
1 ¾ cups flour
1 tablespoon cornstarch
1 tablespoon baking powder
½ teaspoon salt
The cornstarch might seem like a minor addition, but it helps give the cake that ultra-soft, almost bakery-like crumb.
Step 3: Cream Butter and Sugar
In a large mixing bowl, cream together the butter and sugar for about 2–3 minutes until the mixture becomes light and fluffy. This step helps incorporate air into the batter, giving the cake its soft texture.
Add the eggs one at a time, beating well after each addition. Stir in the vanilla extract.
Step 4: Alternate Wet and Dry
Next, mix the sour cream into the whole milk—this combo adds both richness and moisture.
Now, with your mixer on low (or by hand), alternate adding your dry flour mixture and your milk/sour cream mix into the creamed butter. Start and end with the flour mixture. Be careful not to overmix—just stir until everything is combined.
Step 5: Bake
Pour the batter into your greased pan and smooth out the top with a spatula. Bake in your preheated oven for 28 to 32 minutes, or until a toothpick inserted into the center comes out clean.
Once out of the oven, let the cake cool for about 10 minutes. Then comes the fun part: poking the cake! Use the handle of a wooden spoon to create evenly spaced holes all over the surface of the cake. These holes are going to soak up that dreamy pastry cream like a sponge.
Let the cake cool completely before moving to the next step—this is key to making sure the custard doesn’t get runny.

Boston Cream Pie Poke Cake From Scratch: The Creamy, Dreamy Center
In Part 1, we baked up the soft and tender vanilla sponge and poked it full of holes to get it ready for that luscious filling. Now, we’re moving on to the soul of this dessert: homemade pastry cream. If you’ve never made pastry cream from scratch, don’t worry—it’s a lot easier than it sounds, and the payoff is huge.
This step is what takes this cake from simple to spectacular. The pastry cream fills those little holes we made in the cake, soaking in just enough to flavor every bite without making things soggy. Once that’s in, we’ll chill the cake so everything sets up just right, then finish with a glossy chocolate ganache that brings the whole dessert together.
If you’re still with me, get ready—this is where things get rich, creamy, and truly irresistible.
Making the Pastry Cream & Chocolate Ganache
Ingredients for the Pastry Cream Filling
2 cups whole milk
4 large egg yolks
½ cup granulated sugar
3 tablespoons cornstarch
¼ teaspoon salt
1 tablespoon unsalted butter
2 teaspoons vanilla extract
Step-by-Step Instructions: Pastry Cream Filling
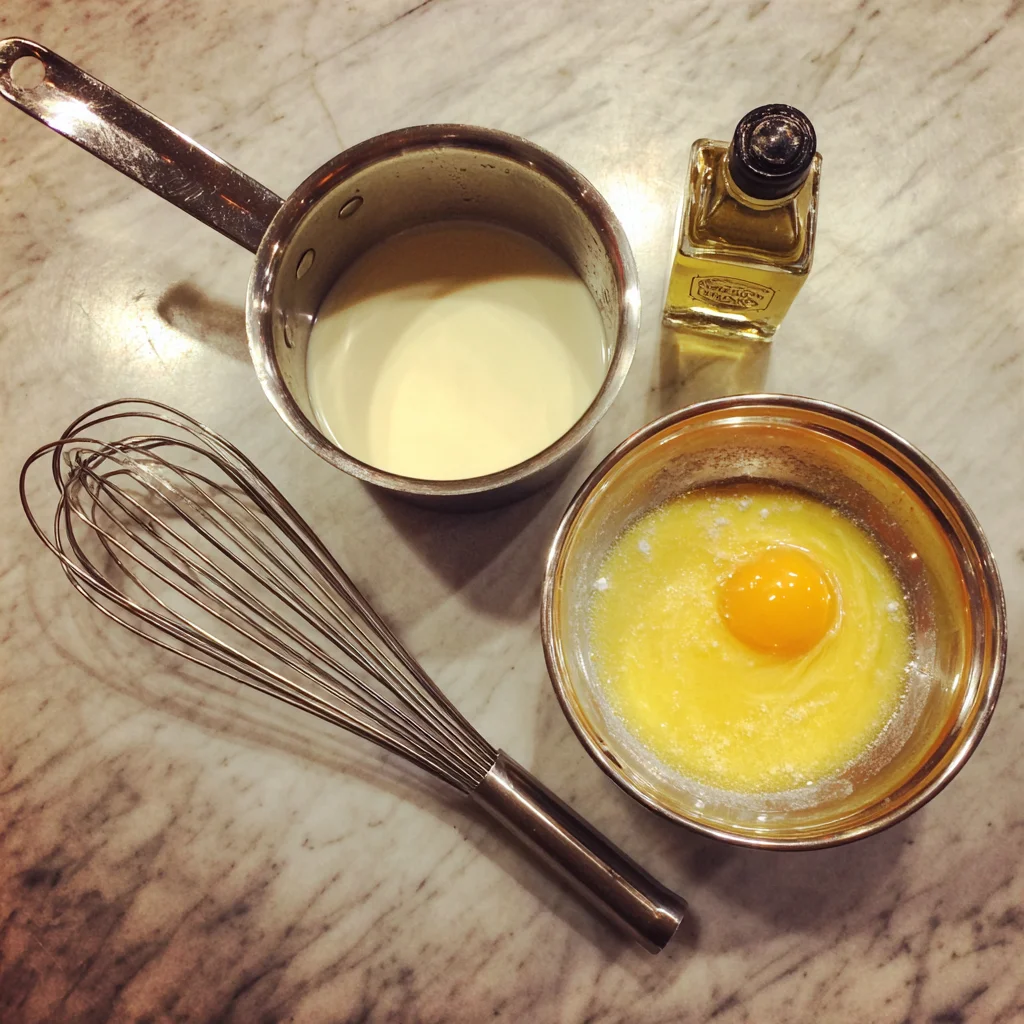
Step 6: Warm the Milk
Pour the 2 cups of whole milk into a medium saucepan and heat it over medium heat just until it starts to steam. You don’t want it boiling—just hot enough to help temper the eggs in the next step.
Step 7: Whisk the Yolks and Sugar
While the milk is heating, whisk together the egg yolks, sugar, cornstarch, and salt in a separate medium bowl. Whisk until the mixture is smooth and a little lighter in color. This should take about a minute or two.
Now, it’s time to temper the eggs. Slowly pour in a little of the hot milk into the egg mixture while whisking constantly. This brings up the temperature gradually and keeps the eggs from scrambling. Once about half of the milk has been whisked in, go ahead and pour everything back into the saucepan.
Step 8: Cook Until Thickened
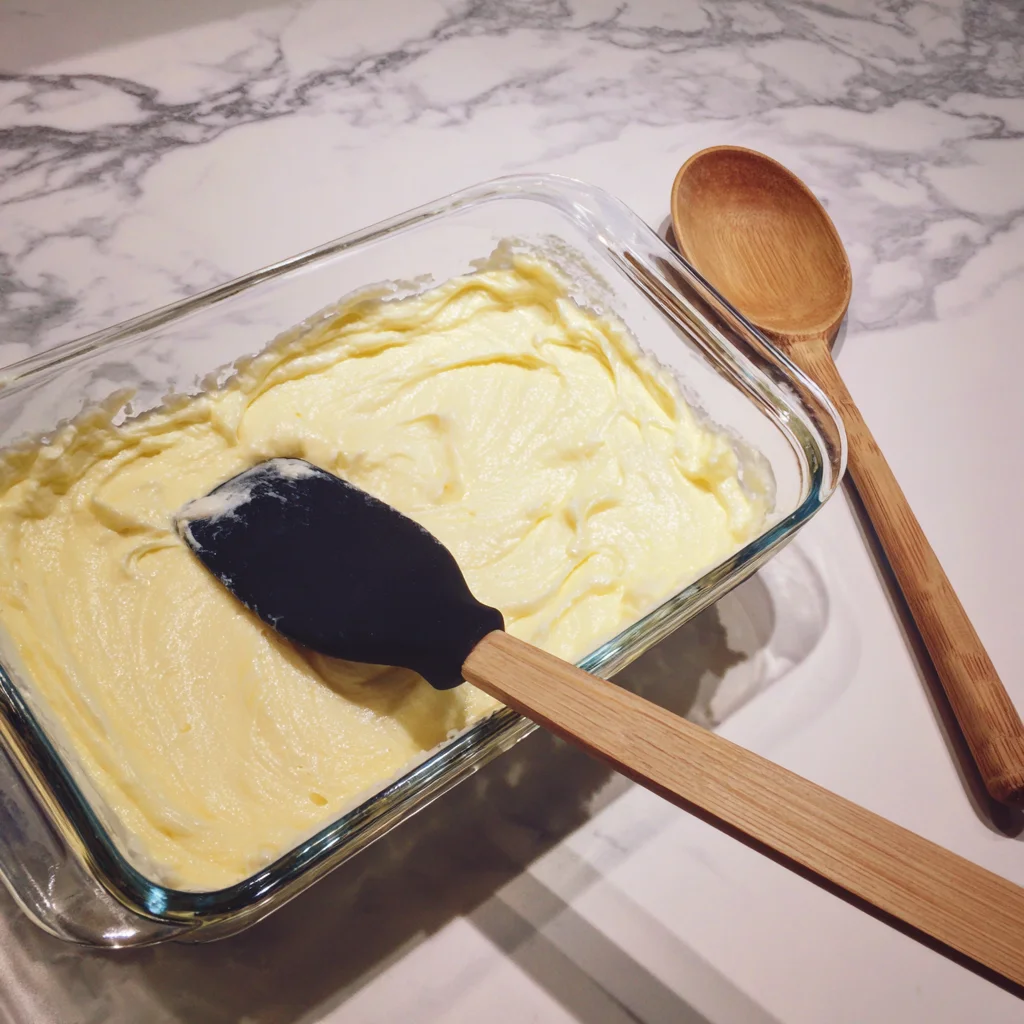
Return the saucepan to the stove over medium heat. Stir constantly with a wooden spoon or silicone spatula, making sure to scrape the bottom and sides. In about 5–7 minutes, the mixture will start to thicken and bubble. Once it reaches a pudding-like consistency, remove it from the heat.
Stir in the butter and vanilla extract until smooth.
Let the pastry cream cool for about 10–15 minutes, but don’t let it fully chill—you want it warm enough to spread but not hot.
Step-by-Step Instructions: Assembling the Cream Layer
Step 9: Fill the Cake
Once the cake has completely cooled and the pastry cream has slightly cooled, pour the pastry cream over the cake, using a spatula to gently press it into all the holes. Be generous—it’s okay if some of the cream sits on top.
Spread it evenly across the surface, making sure it gets into every crevice. Now, place the cake in the fridge and chill for at least 1 hour to let the filling set. Longer is fine too—overnight is even better if you’re planning ahead.
Ingredients for the Chocolate Ganache Topping
¾ cup heavy cream
1 cup semi-sweet chocolate chips or chopped chocolate
1 tablespoon unsalted butter
Step-by-Step Instructions: Chocolate Ganache Topping
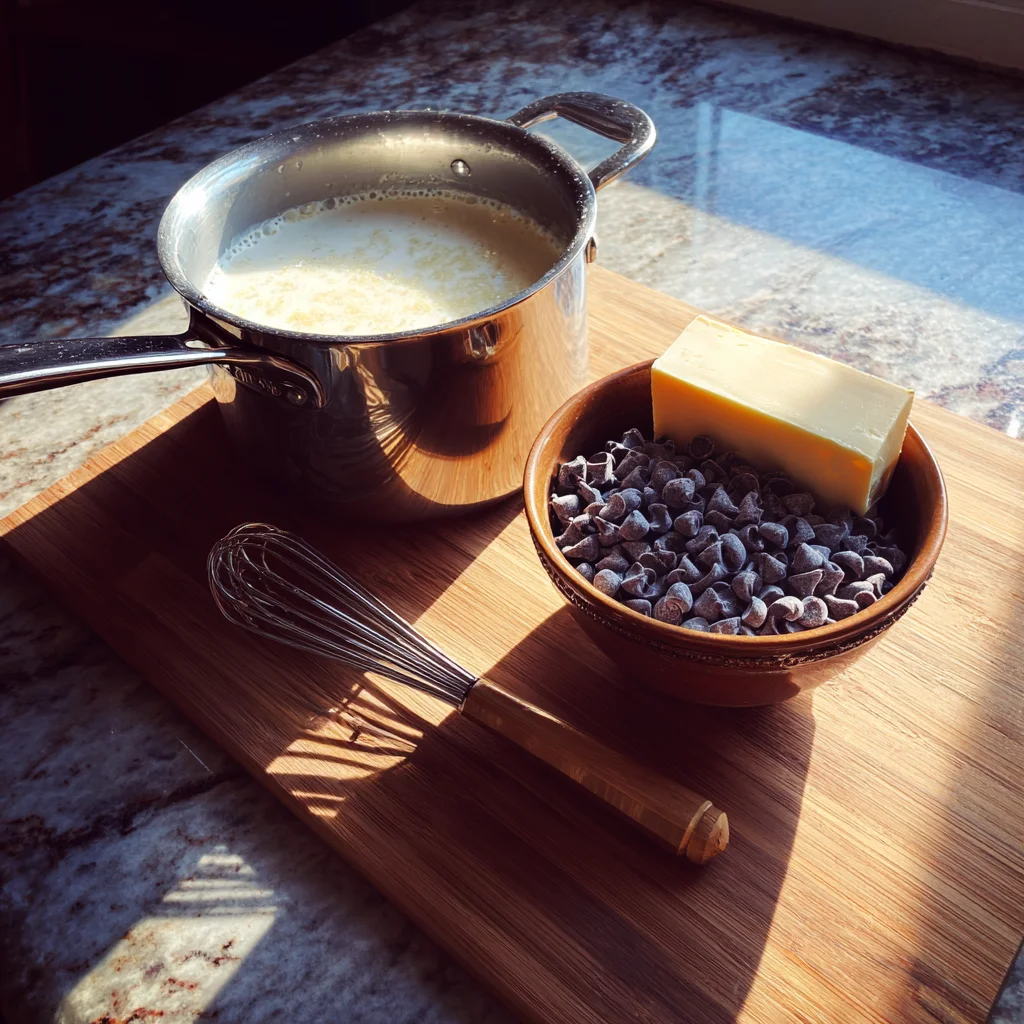
Step 10: Make the Ganache
In a small saucepan, heat the heavy cream over medium heat just until it begins to steam—don’t let it boil.
Place the chocolate in a medium heatproof bowl. Pour the hot cream over the chocolate and let it sit for 1–2 minutes. Then, add the butter and gently stir the mixture until it becomes smooth, glossy, and completely melted.
Step 11: Top the Cake
Take your chilled cake out of the fridge and pour the ganache over the top, spreading it evenly with a spatula or the back of a spoon. The ganache will firm up as it cools, forming a shiny, rich layer that perfectly contrasts with the creamy filling and fluffy cake.
Return the cake to the fridge for at least 30 minutes to let the ganache set before serving.
Tips for Success
Cool Everything Fully: It’s super important to let both the cake and pastry cream cool before assembly. If either is too warm, the filling can become runny.
Use Whole Milk: This isn’t the time to go low-fat. Whole milk gives the pastry cream its richness and body.
Chill Time Matters: The longer you let this cake sit in the fridge, the better the flavors will meld. If you can, make it a day ahead—it’s worth the wait.
Clean Knife Slices: For neat slices, run a sharp knife under hot water, dry it off, and then cut. Repeat between slices.
Boston Cream Pie Poke Cake From Scratch: FAQ & Final Thoughts
Now that we’ve built every delicious layer of this cake—from the fluffy vanilla sponge to the rich pastry cream and that decadent chocolate ganache—you’re ready to serve up a dessert that’s bound to impress. Whether you’re making this for a family gathering, a holiday table, or just a quiet weekend treat, this cake delivers the kind of homemade comfort that gets people asking for seconds (and the recipe).
But before we wrap up, let’s talk about some of the most frequently asked questions when it comes to making this cake from scratch. Whether you’re a seasoned baker or trying this for the first time, these tips will help you avoid common pitfalls and get the most out of every layer.
![]()
FAQ: Boston Cream Pie Poke Cake From Scratch
1. Can I make this cake ahead of time?
Yes! In fact, this cake actually tastes better when made ahead. The pastry cream has time to fully set, and the flavors really meld together overnight. Just be sure to store it in the fridge, covered tightly with plastic wrap or foil.
2. What kind of chocolate works best for the ganache?
I recommend semi-sweet chocolate chips or chopped semi-sweet baking chocolate. If you prefer a slightly less sweet finish, go for bittersweet chocolate. Milk chocolate is a bit too sweet when paired with the custard, but it can work if you tone down the sugar elsewhere.
3. Do I have to poke holes in the cake?
Yes—that’s what makes it a poke cake! The holes allow the pastry cream to seep down into the sponge, creating those rich, custard-filled bites. Use the handle of a wooden spoon or anything about the size of a pencil to create clean, deep holes.
4. Why is my pastry cream runny?
If your pastry cream didn’t thicken, it’s likely due to one of two things:
The mixture wasn’t cooked long enough over the heat.
The measurements were slightly off (especially the cornstarch).
Be sure to stir constantly and wait for it to bubble and thicken before removing from the heat.
5. Can I freeze this cake?
I don’t recommend freezing the assembled cake—the pastry cream and ganache don’t hold up well in the freezer. However, you can bake the cake base in advance and freeze that. Just thaw, then prepare and assemble the custard and ganache fresh.
6. What’s the best way to store leftovers?
Store leftovers covered in the fridge. It’ll keep well for up to 4 days. The ganache may firm up a bit, but it softens again at room temperature.
7. Can I make it gluten-free or dairy-free?
While this recipe hasn’t been tested with substitutions, you could try using a 1:1 gluten-free flour blend for the cake and a plant-based milk (like full-fat oat or almond milk) in both the cake and custard. The ganache can also be made with dairy-free chocolate and coconut cream.
Final Thoughts: A Cake That’s Worth Every Step
There’s something really satisfying about making a layered dessert like this from scratch. No shortcuts, no mixes—just simple ingredients, combined with care. And the result? A show-stopping dessert that tastes even better than it looks (and it looks pretty amazing).
I’ve made this cake a handful of times now, and every time it’s the same story: not a crumb left in the pan. It’s the kind of dessert that has people standing in the kitchen with a fork, sneaking “just one more bite.” And honestly, I think that’s the best compliment a home baker can get.
PrintBoston Cream Pie Poke Cake From Scratch
- Author: Andrew Recipes
Description
This Boston Cream Pie Poke Cake from scratch is a rich and indulgent twist on the classic dessert. It features a soft, tender vanilla sponge cake filled with silky homemade vanilla custard and topped with a glossy, decadent chocolate ganache. Each bite delivers the perfect balance of creamy, chocolatey, and cake textures. Unlike boxed versions, this homemade rendition uses fresh ingredients for a truly bakery-style result that’s perfect for special occasions or a weekend treat.
Ingredients
For the vanilla cake
1 ¾ cups all-purpose flour
1 tablespoon cornstarch
1 tablespoon baking powder
½ teaspoon salt
½ cup unsalted butter, room temperature
1 cup granulated sugar
2 large eggs
2 teaspoons vanilla extract
¾ cup whole milk
¼ cup sour cream
For the pastry cream filling
2 cups whole milk
4 large egg yolks
½ cup granulated sugar
3 tablespoons cornstarch
¼ teaspoon salt
1 tablespoon unsalted butter
2 teaspoons vanilla extract
For the chocolate ganache topping
¾ cup heavy cream
1 cup semi-sweet chocolate chips or chopped chocolate
1 tablespoon unsalted butter
Instructions
1 Preheat the oven to 350°F (175°C). Grease a 9×13 inch baking pan and set aside.
2 In a medium bowl, whisk together the flour, cornstarch, baking powder, and salt.
3 In a large bowl, cream the butter and sugar together until light and fluffy, about 2 to 3 minutes. Add eggs one at a time, beating well after each addition. Mix in the vanilla.
4 Stir the sour cream into the milk. Alternate adding the flour mixture and the milk mixture to the creamed butter, starting and ending with the flour. Mix until just combined.
5 Pour the batter into the prepared pan and smooth the top. Bake for 28 to 32 minutes, or until a toothpick inserted in the center comes out clean. Let the cake cool for 10 minutes, then use the handle of a wooden spoon to poke holes all over the surface of the cake. Allow it to cool completely.
6 While the cake bakes, prepare the pastry cream. In a medium saucepan over medium heat, warm the milk until just steaming.
7 In a separate bowl, whisk together egg yolks, sugar, cornstarch, and salt until smooth and pale. Slowly whisk in the hot milk, a little at a time, to temper the eggs. Return the mixture to the saucepan and cook over medium heat, stirring constantly, until it thickens and begins to bubble.
8 Remove from heat and stir in the butter and vanilla extract. Let the pastry cream cool slightly, then pour it over the cooled cake, using a spatula to spread it evenly into the holes and over the top. Chill the cake in the refrigerator for at least 1 hour.
9 For the ganache, heat the heavy cream in a small saucepan until steaming but not boiling. Pour it over the chocolate in a bowl and let sit for 2 minutes. Add butter and stir until smooth and glossy.
10 Pour the ganache over the chilled cake and spread evenly. Return the cake to the fridge to set the ganache, at least 30 minutes before serving.
Notes
Make sure the cake is completely cooled before pouring the pastry cream to prevent it from becoming runny. The poke holes should be large enough for the custard to seep in but not too wide to break the structure. For an even richer flavor, let the finished cake sit overnight in the fridge to allow all the layers to meld. This dessert is best served chilled and can be stored in the refrigerator for up to 4 days.

