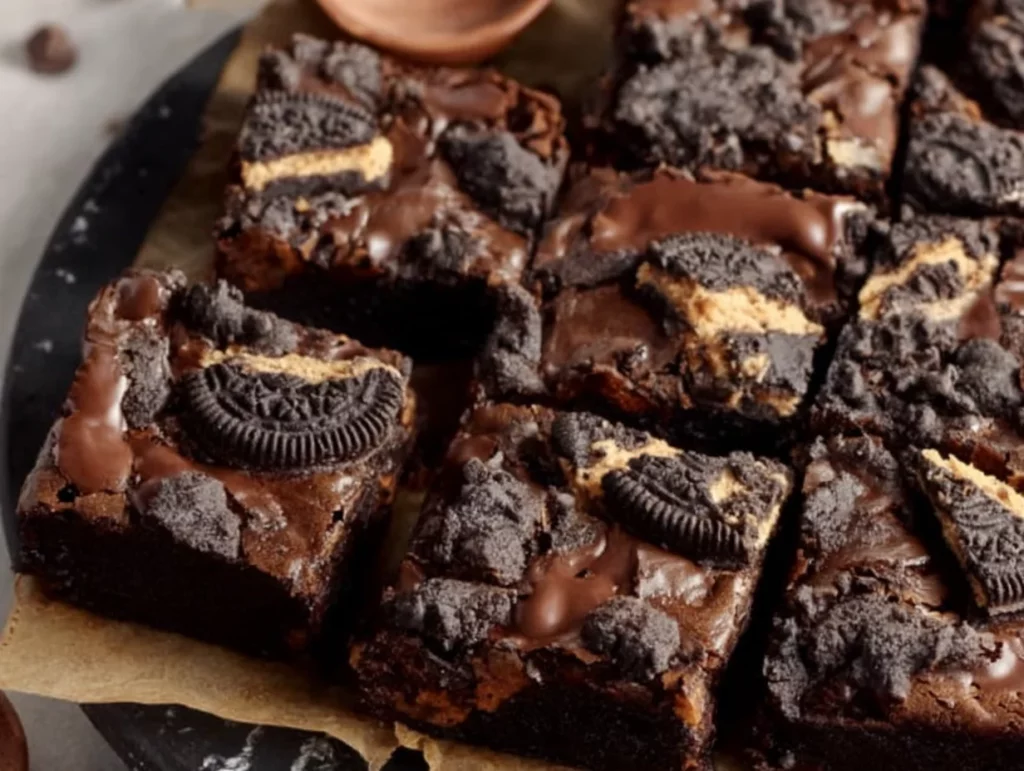
There’s just something about a warm, fudgy brownie that hits all the right notes—especially when that shiny, crackly top gives way to a chewy, chocolate-packed center. Whether you’re baking for a party, a family get-together, or just need a sweet pick-me-up on a random Tuesday, these brownie desserts have you covered. They’re easy to make, incredibly satisfying, and practically beg for creative add-ins and toppings.
I’ve made this recipe more times than I can count—sometimes as a last-minute dessert for guests, and other times just because I had a chocolate craving that wouldn’t quit. And the best part? These brownies are completely customizable. You can enjoy them straight from the pan, or dress them up with ice cream, sauces, or even layers of creamy fillings. The base recipe is simple and foolproof, but there’s room for creativity if you’re feeling adventurous.
So, if you’re looking for a go-to brownie recipe that never fails, you’ve come to the right place. Let’s dive into the ultimate classic brownie dessert that’s rich, fudgy, and ready in under 40 minutes.
Ingredients You’ll Need
½ cup unsalted butter, melted
1 cup granulated sugar
2 large eggs
1 teaspoon vanilla extract
⅓ cup unsweetened cocoa powder
½ cup all-purpose flour
¼ teaspoon salt
¼ teaspoon baking powder
½ cup chocolate chips or chunks (optional but highly recommended)
These ingredients are likely already in your pantry, which is another reason this recipe is such a keeper. I love recipes that don’t require a special trip to the store!
STEP-BY-STEP BROWNIE RECIPE
Step 1: Preheat Your Oven and Prep the Pan
Start by preheating your oven to 350°F (175°C). You’ll want to line an 8×8-inch baking pan with parchment paper or grease it lightly with butter or non-stick spray. I personally prefer using parchment paper—it makes removing the brownies a breeze and keeps cleanup nice and easy.
Step 2: Mix the Wet Ingredients
In a medium mixing bowl, whisk together your melted butter and sugar until the mixture looks smooth and glossy. This step is key for achieving that shiny, crinkly top we all love on a brownie. Once that’s well combined, add in your eggs and vanilla extract, and whisk again until everything is fully blended. Don’t skip this part—it’s what gives the brownies that perfect chewy texture.

Step 3: Add the Dry Ingredients
Now it’s time to bring in the dry ingredients. Sift in the cocoa powder, flour, salt, and baking powder. Gently fold these into the wet mixture using a spatula or wooden spoon. Be careful not to overmix here—just stir until there are no visible streaks of flour left. Overmixing can make the brownies tough instead of tender and fudgy.
Step 4: Optional Add-ins
If you’re using chocolate chips or chunks, now’s the time to fold them in. I love using semi-sweet chocolate chips for an extra hit of chocolatey goodness in every bite. You could also toss in chopped walnuts, pecans, or even a swirl of peanut butter for a fun twist.
Baking the Perfect Brownie Desserts + Fun Variations to Try
Alright, now that your brownie batter is all mixed up and ready to go, it’s time to pop it in the oven and let that chocolatey magic happen. This next part is where that irresistible aroma starts to fill the kitchen, and trust me—it’s nearly impossible to wait until they cool before digging in. But if you want clean slices and the ideal chewy texture, patience is key.
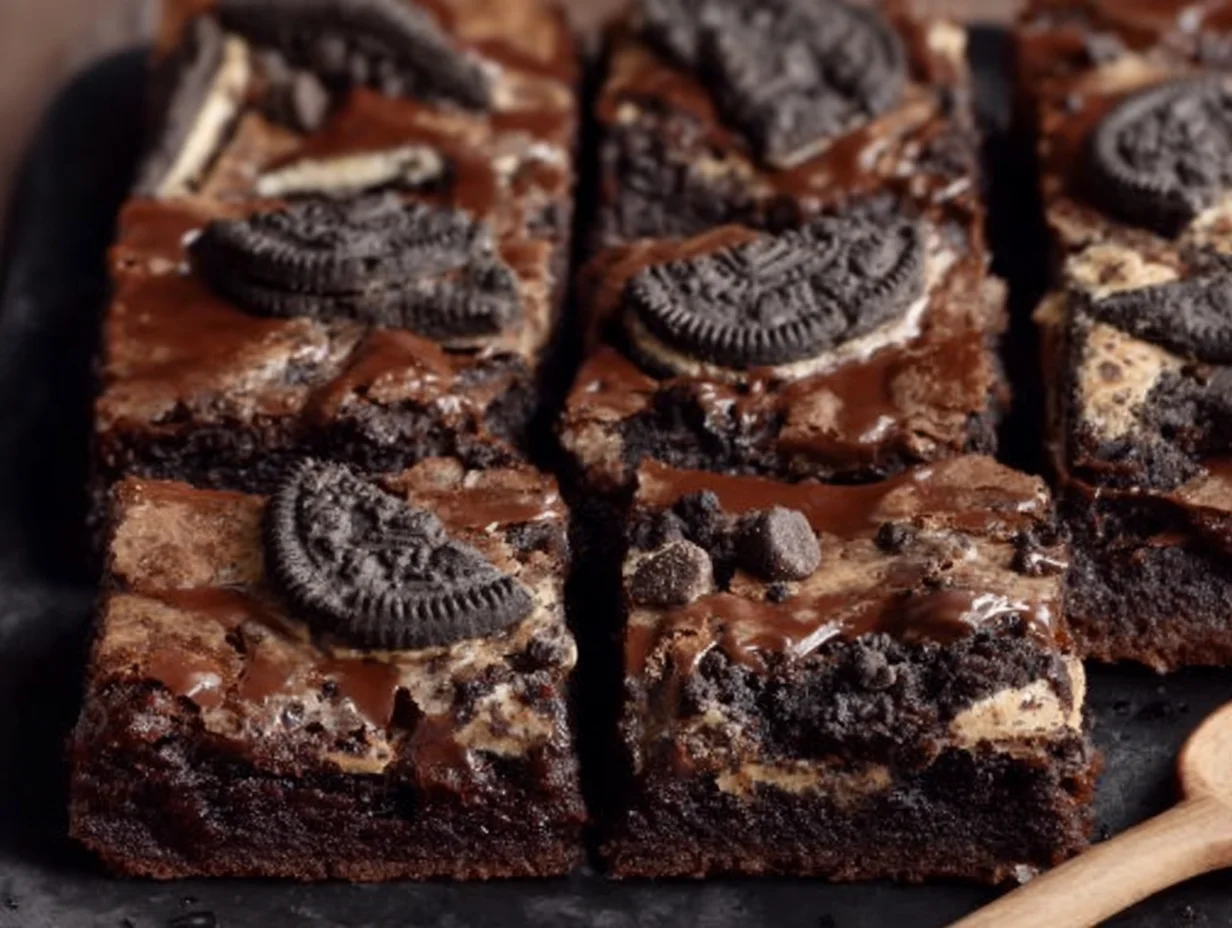
These brownies strike a beautiful balance between fudgy and chewy, with a slightly crisp top that adds just the right amount of texture. Whether you’re baking them for a casual movie night or planning to dress them up for a holiday dessert table, they never disappoint. Let’s keep going!
STEP-BY-STEP BAKING & SERVING INSTRUCTIONS
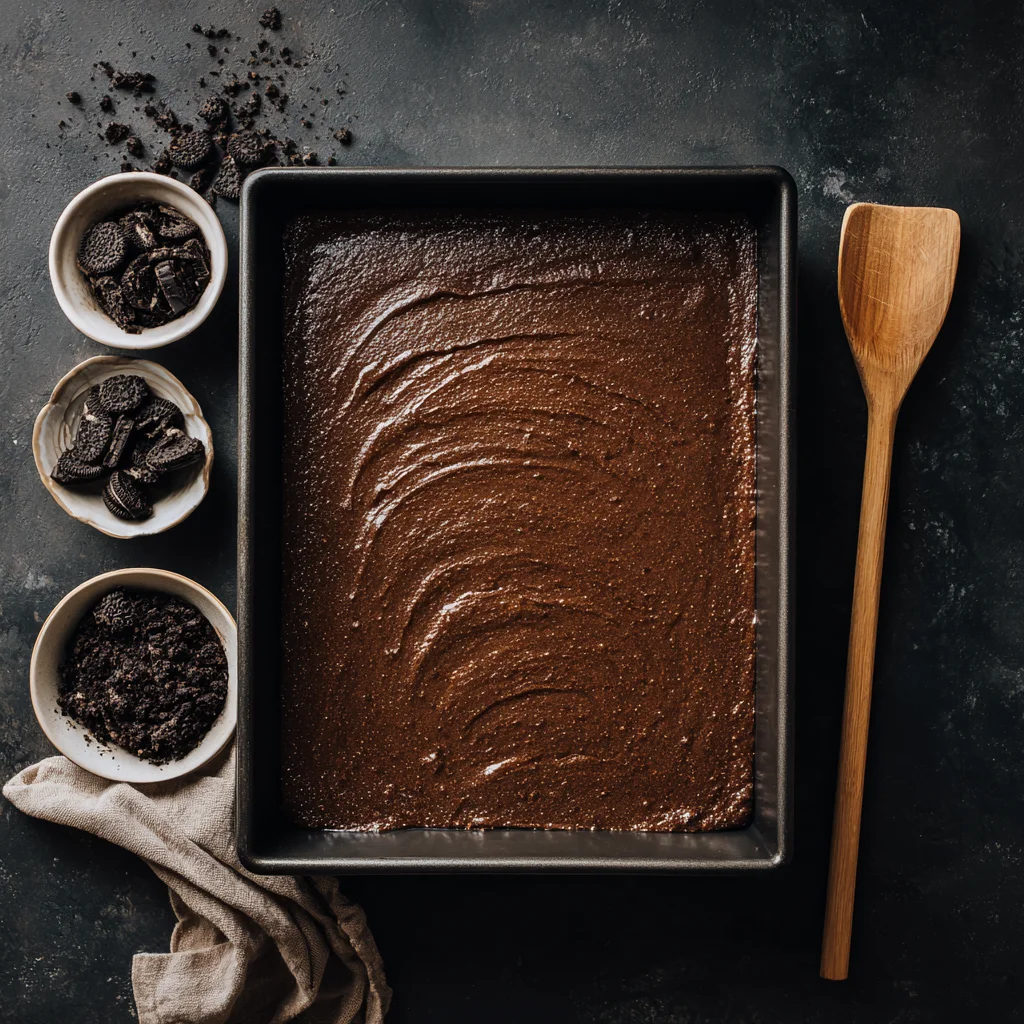
Step 5: Pour and Spread the Batter
Once your batter is ready and your pan is prepped, pour the mixture into the pan and spread it evenly with a spatula. Make sure it reaches all the corners so you don’t end up with uneven baking. The batter will be thick, so take your time smoothing it out.
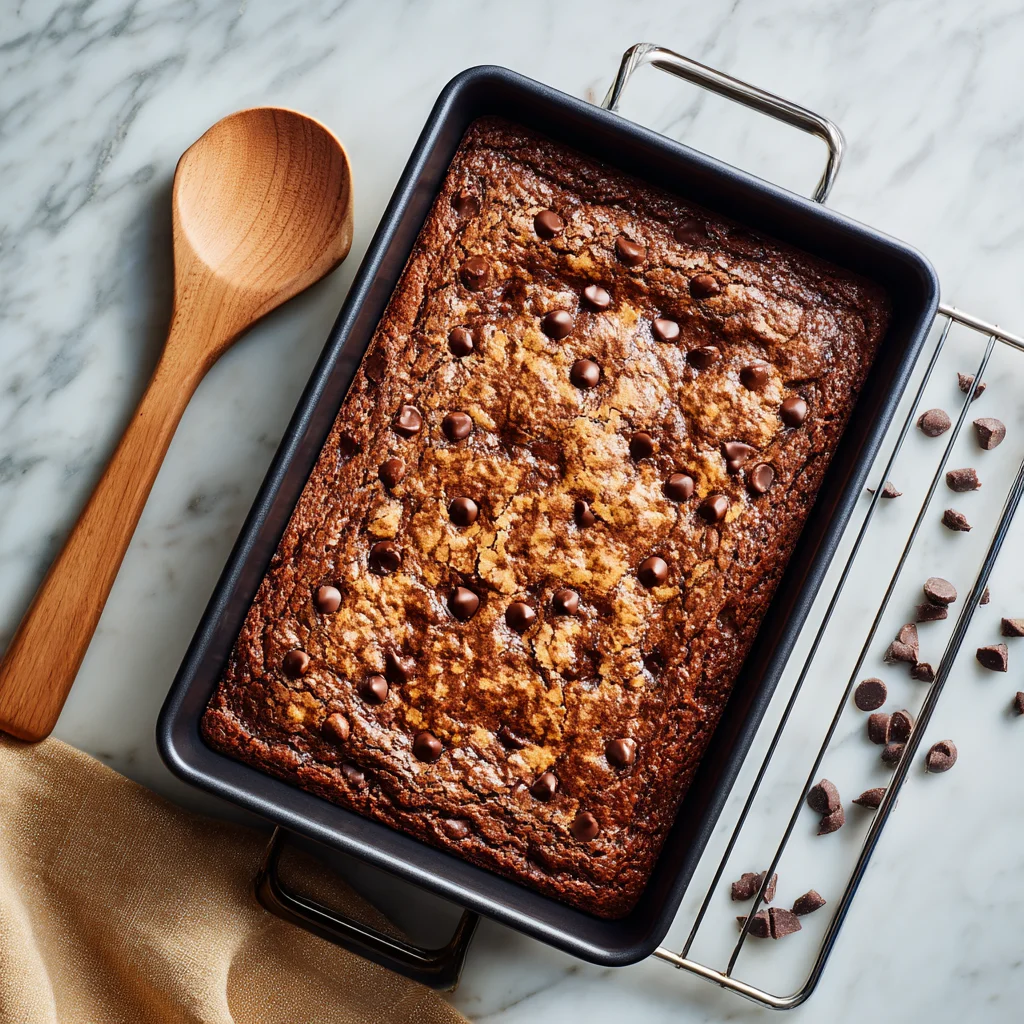
Step 6: Bake to Fudgy Perfection
Slide the pan into your preheated oven and bake for 20 to 25 minutes. This part can vary a little depending on your oven, so I recommend starting to check around the 20-minute mark. To test for doneness, insert a toothpick near the center—you want a few moist crumbs to cling to it, but not raw batter. That’s your signal for rich, fudgy brownies with just the right amount of chew.
If you prefer them even more gooey, you can shave off a minute or two from the baking time. For cakier brownies, leave them in a touch longer or add an extra egg when mixing your batter.
Step 7: Let Them Cool
Once the brownies are done, remove the pan from the oven and let them cool completely—yes, completely—in the pan. This helps them set up and makes cutting them much easier (especially if you want nice, clean squares). If you’re in a hurry, you can place the pan on a wire rack to speed up the cooling process.
BROWNIE DESSERT VARIATIONS & SERVING IDEAS
One of the best things about this brownie recipe is how flexible it is. It makes a solid base that can go in so many directions depending on what you’re craving. Here are a few fun ideas to take your brownies to the next level:
Brownie Sundae: Top a warm brownie square with a scoop of vanilla ice cream, then drizzle with chocolate or caramel sauce. Add whipped cream and crushed nuts if you’re feeling fancy.
Layered Brownie Parfaits: Cut the brownies into small cubes and layer them in glasses with whipped cream, chocolate pudding, or fresh berries.
Peanut Butter Swirl: Before baking, drop spoonfuls of peanut butter on top of the batter and swirl with a toothpick for a marbled effect.
Cream Cheese Layer: Mix 8 oz of softened cream cheese with ¼ cup sugar and 1 egg. Spread it over the brownie batter before baking for a rich cheesecake-style layer.
Nutty Crunch: Stir in ½ cup of chopped walnuts or pecans to the batter for added texture and a little crunch.
Espresso Kick: Add 1 teaspoon of instant espresso powder to the batter to deepen the chocolate flavor—perfect for grown-up brownie lovers.
STORAGE TIPS FOR MAXIMUM FRESHNESS
These brownies are just as delicious the next day—if they last that long. Here’s how to store them properly:
At Room Temperature: Store in an airtight container for up to 4 days. I like to line the container with parchment paper and stack the brownies between layers if needed.
In the Freezer: Wrap individual squares in plastic wrap, then place in a freezer-safe bag or container. They’ll keep well for up to 2 months. Thaw at room temperature or warm briefly in the microwave for a gooey treat.
Make-Ahead Tip: You can also bake the brownies a day ahead if you’re planning for a party or gathering. In fact, some say they taste even better the next day after the flavors have had time to settle.
Brownie Dessert FAQs + Final Thoughts
We’ve gone through mixing, baking, and even dressing up these brownies, but I know there are always a few lingering questions when it comes to getting that perfect texture or trying something new. Below, I’ve rounded up some of the most common questions I get when sharing this recipe with friends, family, and fellow dessert lovers.
Whether you’re making these brownies for the first time or tweaking them to match your taste, these tips should help you feel even more confident in the kitchen.
FREQUENTLY ASKED QUESTIONS
1. Can I double this recipe?
Yes! If you want to make a larger batch, just double the ingredients and bake them in a 9×13 inch pan. The baking time may increase slightly—start checking around the 30-minute mark. Be sure to test with a toothpick in the center for moist crumbs (not raw batter).
2. How do I get that shiny, crackly top?
The shiny top comes from whisking the sugar thoroughly into the melted butter and eggs. It helps dissolve the sugar just enough to create that signature crackle on top after baking. Don’t skip that step, and make sure you whisk well.
3. Why are my brownies dry or cakey?
Dry or cakey brownies usually happen when you either overbake them or add too much flour. Be sure to measure flour using the spoon-and-level method and keep a close eye on the oven. Also, don’t overmix the batter—stir just until combined.
4. Can I make these gluten-free?
Yes! You can substitute the all-purpose flour with a 1:1 gluten-free flour blend designed for baking. Just make sure the blend includes xanthan gum or a similar binding agent for best results.
5. What’s the best way to cut clean brownie squares?
Let the brownies cool completely, then use a sharp knife wiped clean between each cut. For extra precision, you can refrigerate the cooled brownies for 20–30 minutes before slicing.
6. Can I use cocoa powder instead of melted chocolate?
This recipe already uses unsweetened cocoa powder, which gives it a rich chocolate flavor without needing melted chocolate. If you want even deeper chocolate flavor, you can add chocolate chunks or chips to the batter.
7. How long do brownies last, and how should I store them?
At room temperature, they’ll stay fresh for up to 4 days in an airtight container. For longer storage, freeze individually wrapped squares for up to 2 months.
FINAL THOUGHTS: YOUR NEW GO-TO BROWNIE DESSERT
There’s a reason this brownie dessert recipe has become a favorite in so many kitchens—it’s easy, reliable, and delivers that rich, fudgy bite every single time. Whether you stick to the classic version or experiment with swirls, toppings, or mix-ins, the results are always satisfying.
Personally, I love making a double batch and freezing half for later. There’s nothing better than knowing you’ve got a chocolatey treat waiting for you when the craving hits.
If you give these brownies a try, I’d love to hear how you served them—did you go for a sundae stack, a peanut butter swirl, or keep it simple with a glass of milk? Drop a comment below and share your twist on this classic. And if you have any other questions or ideas, let’s keep the conversation going.
Print
Brownie Desserts
- Author: Andrew Recipes
Description
Brownie desserts are rich, chocolatey treats that satisfy every sweet tooth craving. Whether enjoyed on their own, layered with creamy fillings, or paired with ice cream, brownies offer endless possibilities for indulgent creations. This recipe creates classic fudgy brownies with a soft, chewy center and a slightly crisp top. Perfect for any occasion, these brownies can be easily dressed up for parties or served simply with a glass of milk.
Ingredients
½ cup unsalted butter, melted
1 cup granulated sugar
2 large eggs
1 teaspoon vanilla extract
⅓ cup unsweetened cocoa powder
½ cup all-purpose flour
¼ teaspoon salt
¼ teaspoon baking powder
½ cup chocolate chips or chunks (optional)
Instructions
Preheat the oven to 350°F and grease or line an 8×8 inch baking pan with parchment paper. In a mixing bowl, whisk together melted butter and sugar until smooth and slightly glossy. Add eggs and vanilla extract, whisking until fully combined.
Sift in cocoa powder, flour, salt, and baking powder. Stir gently until just combined, being careful not to overmix. Fold in chocolate chips if using.
Pour the batter into the prepared pan and spread it evenly. Bake for 20 to 25 minutes, or until a toothpick inserted near the center comes out with a few moist crumbs. Let cool completely in the pan before slicing into squares.
Serve as-is, or top with a scoop of vanilla ice cream, drizzle with caramel or chocolate sauce, or use them as a base for layered parfaits or ice cream sandwiches.
Notes
For extra fudgy brownies, reduce the flour slightly and underbake by a minute or two. If you prefer cakier brownies, add an extra egg. Customize with nuts, swirl in peanut butter, or add a cream cheese layer for variety. Store in an airtight container at room temperature for up to 4 days, or freeze for longer storage.

