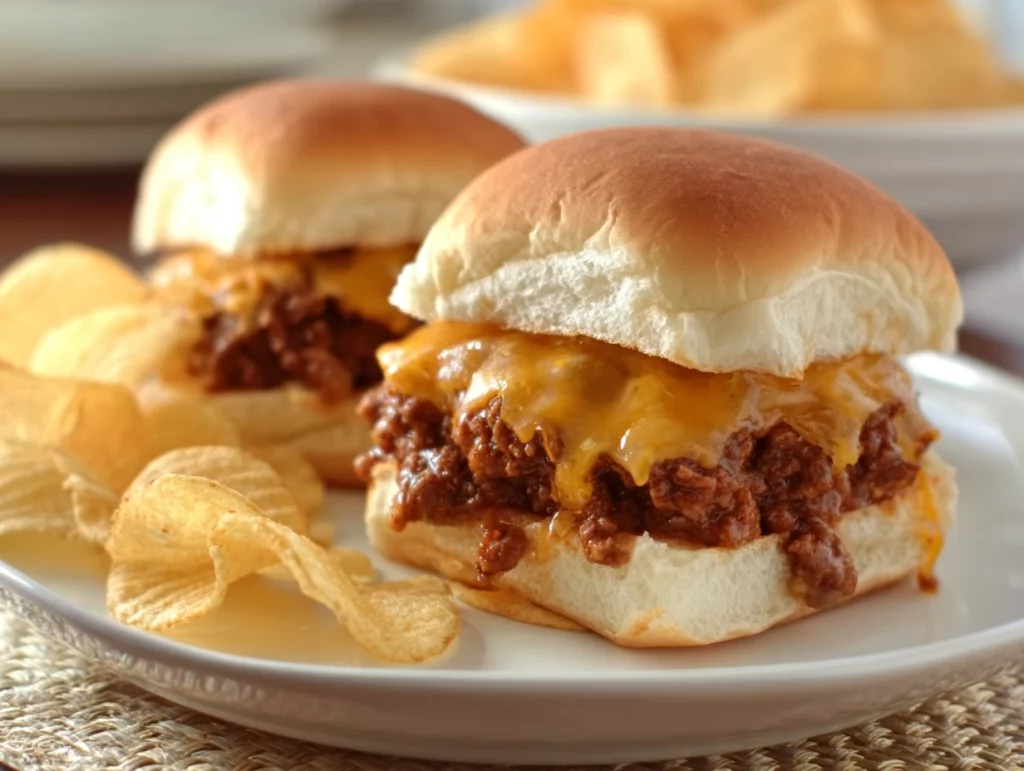
If there’s one thing I love just as much as a juicy burger, it’s a mini version that packs all that flavor into a few bold bites. These California Chili Cheeseburger Sliders are everything a good burger should be—savory, cheesy, a little messy, and absolutely loaded with flavor. They’ve got the perfect mix of West Coast freshness and hearty comfort food vibes, all nestled between soft, buttery slider buns.
Whether you’re planning your next game day spread, looking for a fun dinner idea for the family, or hosting friends for a casual backyard hangout, these sliders deliver. And when I say deliver, I mean everyone will be asking you for the recipe. Trust me, that chili-on-a-burger combo? Total showstopper.
I first made a version of these sliders for a neighborhood barbecue a couple of summers ago, and they disappeared within minutes. That’s when I knew I was onto something! Over time, I’ve tweaked them to add a little more California flair—think creamy avocado, fresh tomato, and that cool crunch from shredded lettuce. The end result is a slider that’s equal parts cozy and fresh, with just the right kick of flavor.
Ready to make your new go-to party dish? Let’s get into it!
Ingredients You’ll Need
1 pound ground beef
Salt and black pepper to taste
½ teaspoon garlic powder
½ teaspoon onion powder
1 cup prepared chili (homemade or canned)
6 to 8 slider buns
6 to 8 slices American or cheddar cheese
1 avocado, sliced
1 tomato, sliced
Shredded lettuce
Sliced red onion (optional)
Butter or oil for toasting buns
STEP 1: Shape & Season the Burger Patties
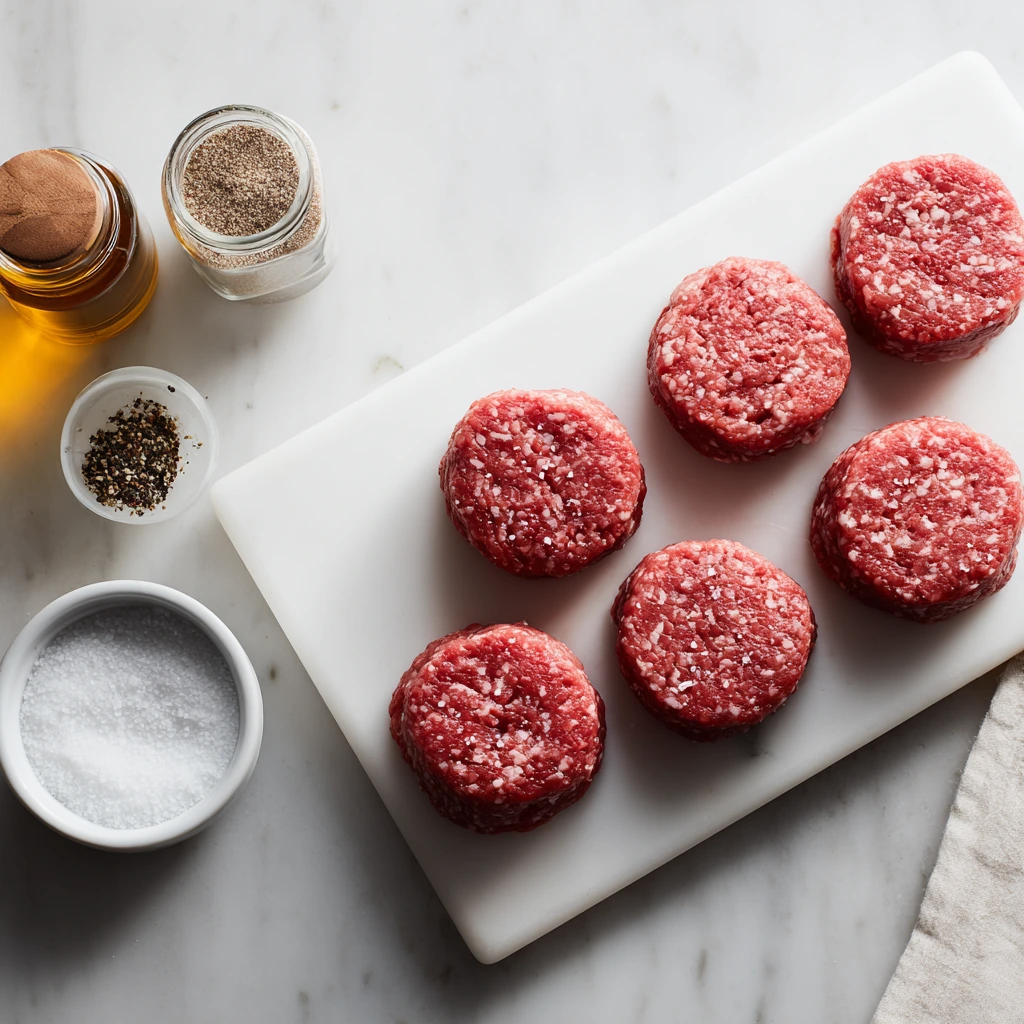
Start by preheating a skillet or grill pan over medium-high heat. While that’s warming up, divide your ground beef into 6 to 8 equal portions. I like to go for 8 if I’m feeding a crowd, or 6 if I want slightly larger sliders.
Shape each portion into a patty just a little wider than your slider buns—remember, they’ll shrink a bit as they cook. Once shaped, season both sides of each patty with a sprinkle of salt, black pepper, garlic powder, and onion powder. This seasoning mix is simple, but it brings out the beefy flavor without overpowering the rest of the toppings..
STEP 2: Cook the Patties & Melt the Cheese
Once your skillet is nice and hot, add the patties and cook them for about 3 to 4 minutes per side. You’re looking for a nice sear and fully cooked centers. Don’t press down on them—let that juicy goodness stay right where it belongs.
During the last minute of cooking, place a slice of cheese on each patty. Cover the pan with a lid (or even a baking sheet if you’re using a grill) to help the cheese melt quickly and evenly. American cheese melts beautifully, but cheddar adds that rich, slightly sharp bite—go with your favorite!
STEP 3: Warm the Chili & Toast the Buns
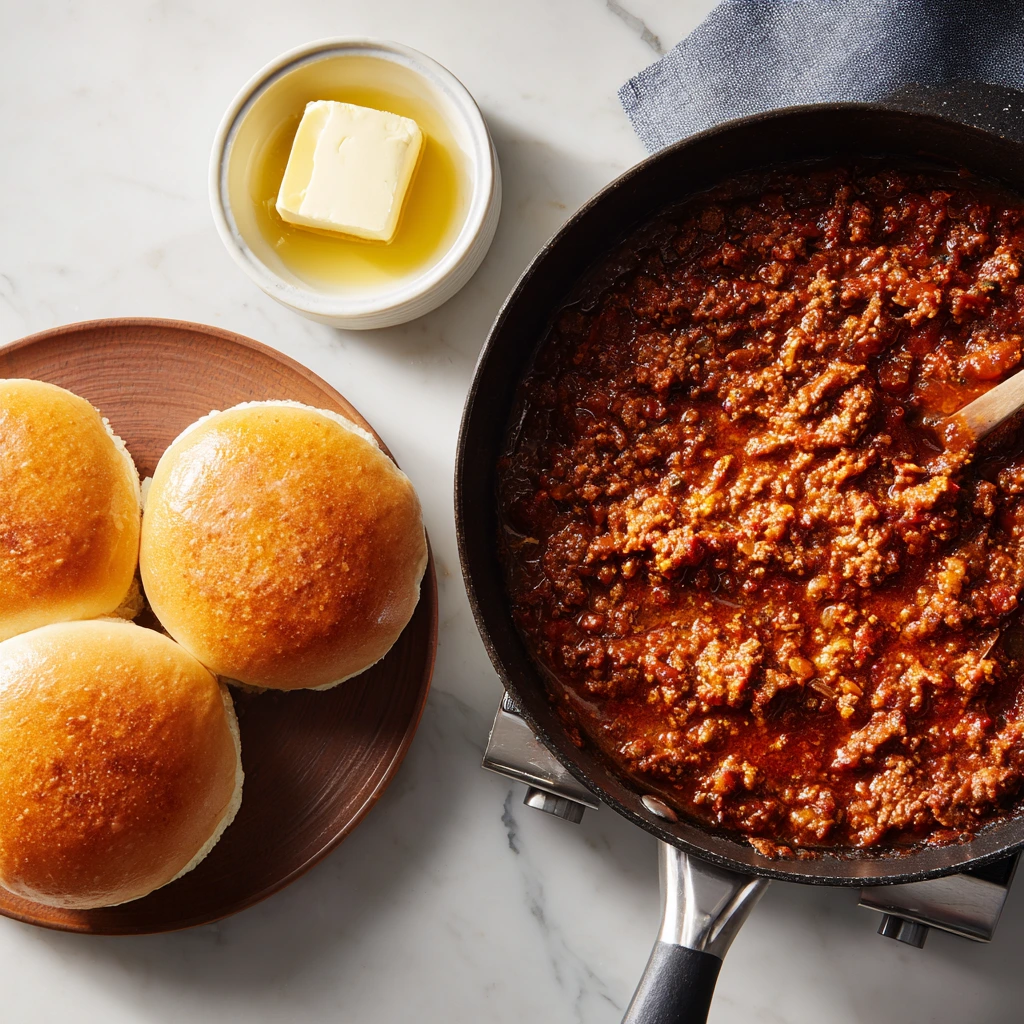
While the patties are cooking, heat up your chili in a small saucepan. If you’re using canned chili, just warm it through. If you’re going the homemade route—you hero, you!—this is a great time to pull it out of the fridge and get it bubbling.
At the same time, toast your slider buns in a separate skillet or on the grill. Just brush a little butter or oil on the cut sides and toast them until golden and slightly crispy. It only takes a minute or two, but it adds that perfect toasty texture and prevents the buns from getting soggy once the chili goes on.
Bold & Melty California Chili Cheeseburger Sliders (Perfect for Parties!)
Now that we’ve got our patties sizzling, cheese melting, chili warming, and buns toasted to golden perfection—it’s time to bring everything together. This is where the flavors really shine, especially when you start layering on those California-style toppings. The creaminess of avocado, the freshness of tomato and lettuce, and the punch of red onion (if you’re into it) all work together to balance out the richness of the beef and chili.
Let’s finish strong and get these sliders on the table!
STEP 4: Assemble the Sliders
Once all your components are ready to go, it’s time to assemble. Start by laying out the bottom halves of your toasted slider buns. Then, place one cheesy beef patty on each bun base. You want that cheese still slightly melted and gooey—trust me, it makes all the difference.
Next, spoon a generous tablespoon (or more if you’re feeling bold) of warm chili over each patty. Don’t worry if some spills over the sides—that’s part of the charm. The chili adds a comforting, hearty layer that takes these sliders from basic to full-on flavor bomb.
STEP 5: Add Those Fresh Toppings
Now for the California touch. Add a couple of avocado slices to each slider. Ripe, buttery avocado gives a creamy texture that balances beautifully with the chili and beef.
Follow up with a slice of tomato, a handful of shredded lettuce, and some thinly sliced red onion if you like a little extra bite. This combo keeps everything fresh and light, even with that rich base of beef and chili. If you’re making these for a crowd, you can set up a toppings station and let people build their own—makes it interactive and fun!
STEP 6: Top It Off and Serve
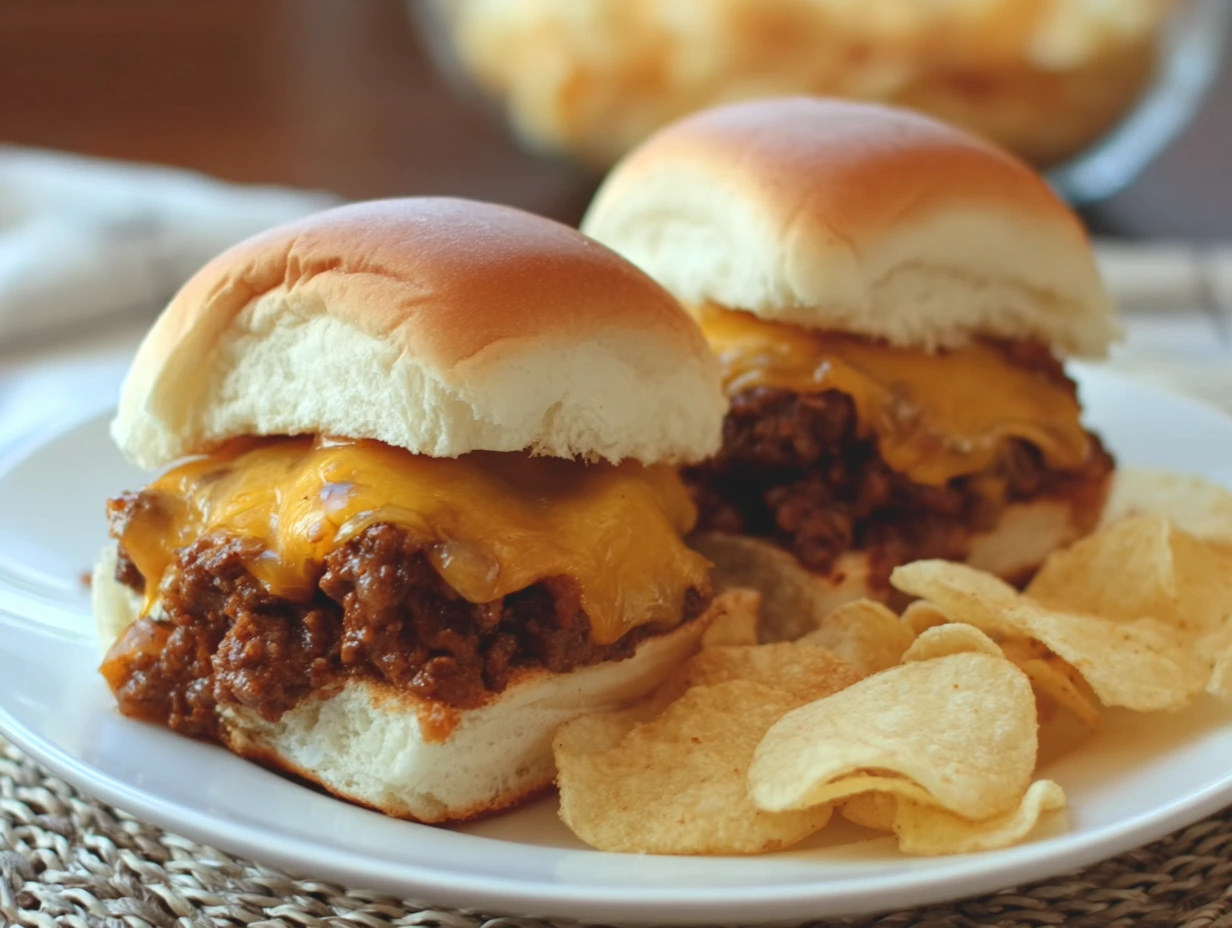
Once your sliders are stacked high with toppings, place the top bun on each and press down gently. If you’re serving these at a party or want to keep them neat, you can secure each one with a toothpick. It also makes them look extra cute and stackable on a tray.
Serve them hot and melty while everything is still fresh off the stove. You can plate them with some classic sides like fries, coleslaw, or even baked beans if you’re going full comfort food. They’re just the right size for mixing and matching, so don’t be surprised if people grab more than one.
Tips for Making These Sliders a Hit Every Time
Choose your chili wisely: A thick, hearty chili works best so it doesn’t run off the slider. Whether you go homemade or canned, aim for one with beans, meat, or both depending on your crowd.
Toast those buns: This one’s key. A quick toast with butter keeps the buns from getting soggy and adds that crisp, golden finish you want in every bite.
Cheese matters: American cheese gives you the ultra-melty, diner-style slider vibe, while cheddar adds a sharper taste. You can even mix it up and use both!
Spice it up: For a spicier version, swap in pepper jack cheese or add some sliced jalapeños on top. You could even stir a little hot sauce into the chili.
Make ahead tips: You can prep the patties and toppings in advance. Keep everything warm in the oven at about 200°F until you’re ready to serve.
Bold & Melty California Chili Cheeseburger Sliders (Perfect for Parties!)
You’ve cooked, assembled, and devoured your first batch of California Chili Cheeseburger Sliders, and now you’re probably wondering—can I make these ahead? Can I switch up the toppings? What if I’m feeding a crowd?
Don’t worry—I’ve got you covered.
Below are some of the most frequently asked questions I get about this recipe, plus a few extra tips to help you make it your own. These sliders are meant to be fun, flexible, and absolutely delicious, no matter how you serve them.
FAQ: California Chili Cheeseburger Sliders
1. Can I make these sliders ahead of time?
Yes! You can cook the patties, warm the chili, and prep the toppings ahead of time. Store everything separately and assemble right before serving. To keep the burgers warm, place them on a baking sheet in a 200°F oven covered loosely with foil.
2. What’s the best kind of chili to use?
Any thick, hearty chili works well—homemade or canned. If it’s too soupy, it’ll slide right off the patties, so aim for a chunky consistency with ground beef, beans, or both.
3. Can I freeze the cooked patties?
Absolutely. Let them cool, then wrap each one in plastic wrap and store in a freezer-safe bag or container. They’ll keep well for up to 2 months. Just reheat in a skillet or oven before assembling.
4. What are good cheese substitutes if I don’t like American or cheddar?
Pepper jack is a great spicy option. Colby, provolone, or even mozzarella will also melt nicely without overpowering the other flavors. Just go with something that melts easily.
5. Can I use ground turkey instead of beef?
Yes, ground turkey works great as a leaner option. Just be sure to season it well since turkey can be a bit milder in flavor. You can also add a splash of Worcestershire sauce to boost the taste.
6. How do I keep the sliders from getting soggy?
Toasting the buns is key. Also, don’t add the chili until just before serving. You can even use a slotted spoon to help drain extra liquid from the chili when spooning it over the patties.
7. What’s the best way to serve these for a party?
Set up a slider bar! Keep the patties and chili warm in slow cookers, and let guests build their own with toppings like avocado, tomato, lettuce, jalapeños, and onions. It makes serving easy and interactive.
Final Thoughts: Why You’ll Love These Sliders Again and Again
These California Chili Cheeseburger Sliders are more than just a fun party food—they’re a total crowd-pleaser. They’ve got everything you could want in a burger: juicy meat, melted cheese, savory chili, and a fresh, colorful crunch from the toppings. Plus, they’re customizable, easy to scale up for a group, and just plain fun to eat.
I love serving these during football season or backyard BBQs, but honestly, they’re just as good for a weeknight dinner with the family. They come together quickly, and the mix of comfort food and fresh flavors makes them something you’ll want to come back to again and again.
Print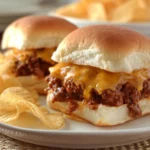
California Chili Cheeseburger Sliders
- Author: Andrew Recipes
Description
California Chili Cheeseburger Sliders are bold, satisfying mini burgers packed with juicy beef patties, gooey melted cheese, a spoonful of hearty chili, and fresh California-style toppings. Served on soft slider buns, these are ideal for game days, parties, or casual family dinners.
Ingredients
1 pound ground beef
Salt and black pepper to taste
½ teaspoon garlic powder
½ teaspoon onion powder
1 cup prepared chili (homemade or canned)
6 to 8 slider buns
6 to 8 slices American or cheddar cheese
1 avocado, sliced
1 tomato, sliced
Shredded lettuce
Sliced red onion (optional)
Butter or oil for toasting buns
Instructions
1 Preheat a skillet or grill pan over medium-high heat. Divide the ground beef into 6 to 8 equal portions and shape them into small patties slightly larger than the slider buns.
2 Season both sides of the patties with salt, pepper, garlic powder, and onion powder.
3 Cook the patties for about 3 to 4 minutes per side, or until fully cooked and browned. During the last minute of cooking, place a slice of cheese on each patty and cover to melt.
4 While the burgers cook, heat the chili in a small saucepan until warm. Toast the slider buns with a little butter or oil until golden.
5 To assemble, place each cheesy patty on the bottom half of a toasted bun. Spoon a tablespoon or more of chili over the patty.
6 Top with avocado slices, tomato, lettuce, and red onion if using. Add the top bun and secure with a toothpick if desired.
7 Serve immediately while hot and melty.
Notes
Use your favorite homemade or canned chili for convenience. These sliders can be made ahead of time and kept warm in the oven until ready to serve. For a spicier version, add jalapeños or use pepper jack cheese. Serve with fries or a side of coleslaw for a complete meal.
