There’s just something magical about the combination of warm apples, gooey caramel, and a golden oat topping that gets me every time. I remember the first time I made this Caramel Apple Crisp on a chilly fall afternoon — my kitchen smelled like heaven, the kind that wraps around you like a blanket. It’s that kind of recipe that turns simple ingredients into a rustic, bakery-worthy dessert with very little fuss.
This one’s a total crowd-pleaser. Whether you’re baking it up for a holiday gathering or just want a cozy treat to curl up with after dinner, this Caramel Apple Crisp checks all the boxes: easy, comforting, and absolutely delicious.
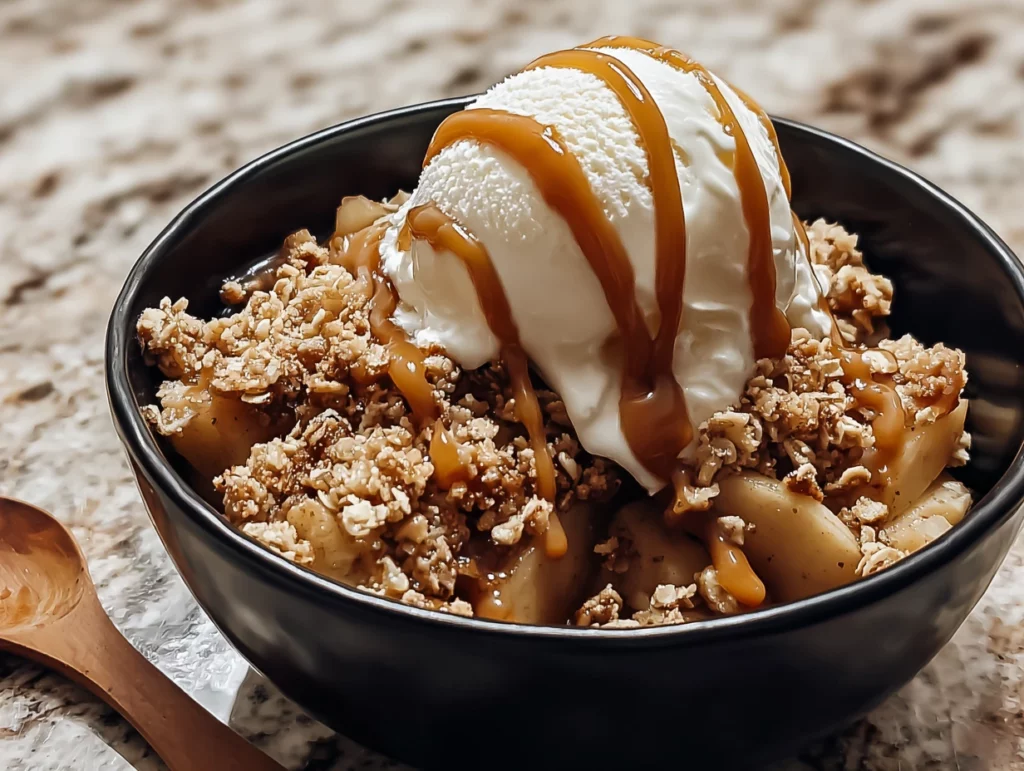
And let’s be honest — while it screams fall with all those warm spices and apples, I make this all year round. It’s especially dreamy served warm with a scoop of vanilla ice cream that slowly melts into the cracks of that golden crisp topping. Are you drooling yet? Because I definitely am.
Let’s get into it!

Why You’ll Love This Caramel Apple Crisp
Quick to Prep: Just 15 minutes of prep time — no peeling dozens of apples or making a complicated crust.
Pantry-Friendly: Uses simple ingredients you probably already have on hand.
Customizable: Make it your own with extra mix-ins like pecans or a splash of vanilla.
That Caramel Drizzle: Adds the perfect rich, buttery flavor that takes this crisp over the top.
Ingredients You’ll Need
For the Apple Filling:
5 cups peeled and sliced apples (Granny Smith or Honeycrisp are best)
¼ cup granulated sugar
1 teaspoon cinnamon
¼ teaspoon nutmeg
¼ teaspoon salt
2 tablespoons all-purpose flour
½ cup caramel sauce (store-bought or homemade)
For the Crisp Topping:
¾ cup old-fashioned oats
½ cup all-purpose flour
⅓ cup brown sugar
½ teaspoon cinnamon
¼ teaspoon salt
½ cup unsalted butter, cold and cut into cubes
STEP 1: PREHEAT AND PREP
First things first — preheat your oven to 350°F (175°C) and lightly grease a 9×9-inch baking dish. I usually use a little butter or nonstick spray, just to make sure nothing sticks to the corners.
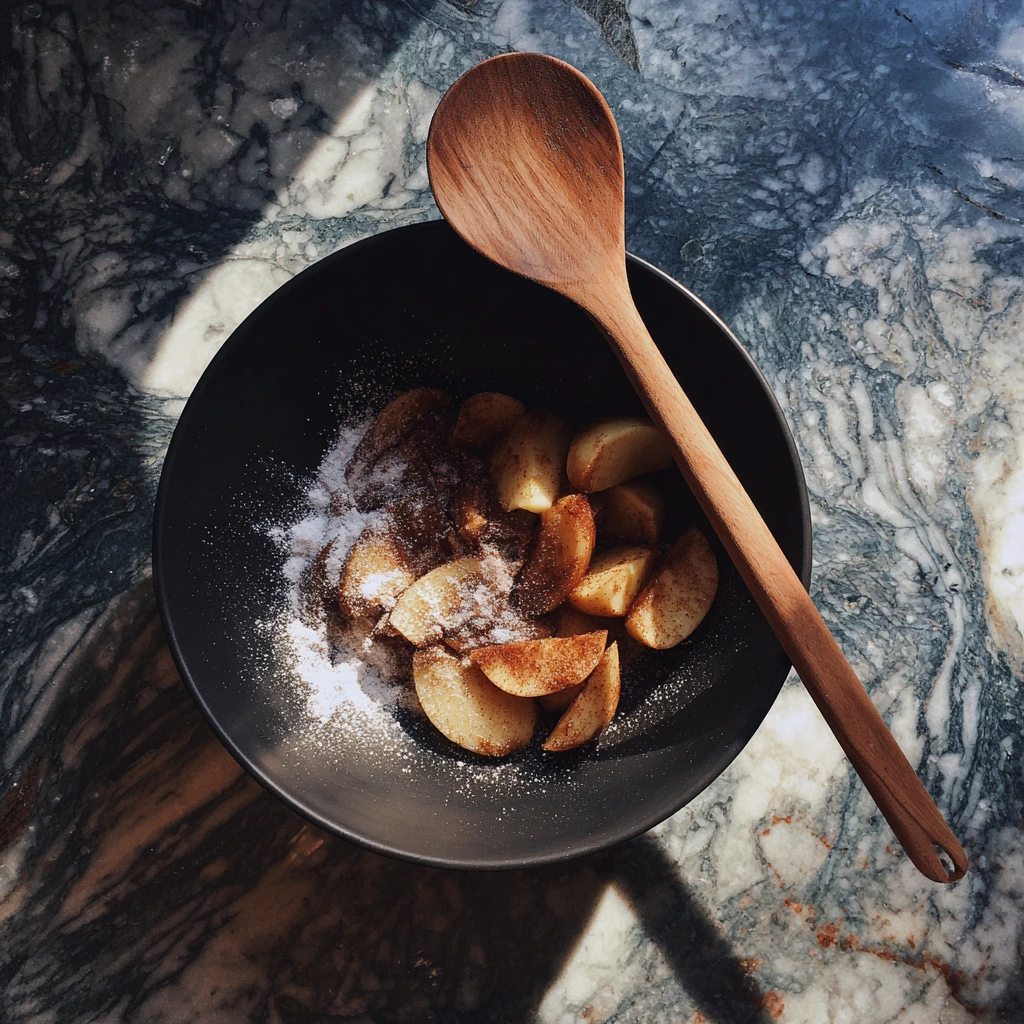
STEP 2: MIX THE APPLE FILLING
In a large mixing bowl, combine your sliced apples, sugar, cinnamon, nutmeg, salt, and flour. The flour helps thicken the juices from the apples as they bake so you don’t end up with a soggy bottom (nobody wants that). Toss everything together until the apples are evenly coated.
I personally like to use a mix of Granny Smith and Honeycrisp apples — the tartness from the Granny Smith balances beautifully with the sweet caramel.
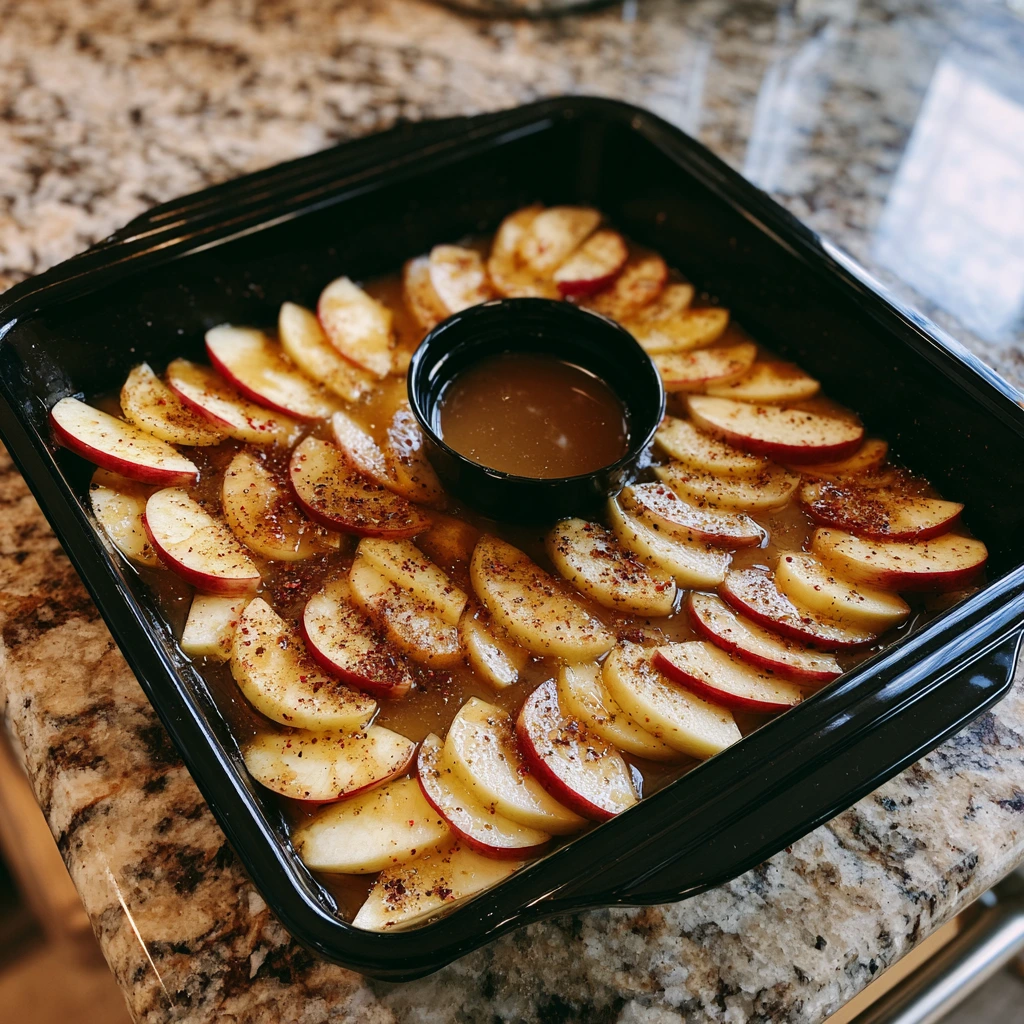
STEP 3: ASSEMBLE THE BASE
Pour your apple mixture into the prepared baking dish and spread it out evenly. Don’t worry if it looks like a lot — the apples will shrink down as they bake.
Now comes the fun part: drizzle the ½ cup of caramel sauce right over the top. Don’t worry about being precise here — those sweet rivers of caramel will bubble up and blend perfectly with the apples as they bake.
STEP 4: MAKE THE CRISP TOPPING
In a separate bowl, stir together the oats, flour, brown sugar, cinnamon, and salt. Then add your cold, cubed butter. Use a pastry cutter or your fingers to work the butter into the dry ingredients. The mixture should look crumbly and a little chunky, like coarse sand.
If you want to mix it up, you can toss in a handful of chopped pecans or even some chopped walnuts for a little added crunch.
STEP 5: TOP AND BAKE
Sprinkle your crumble topping evenly over the caramel-coated apples. Try to cover the fruit as much as possible — the topping is one of the best parts, after all.
Pop the dish into your preheated oven and bake for 40–45 minutes, or until the top is golden brown and the apples are tender and bubbling around the edges.
Cozy Up with This Caramel Apple Crisp
Now that your Caramel Apple Crisp is in the oven and your kitchen smells like cinnamon and caramel dreams, let’s talk about what happens next — and how to make sure this dessert is absolutely perfect every single time. This part of the recipe is where all the textures and flavors come together: buttery crisp topping, bubbling sweet apples, and that signature caramel finish.
Let’s finish this beauty and dive into some tried-and-true tips, tricks, and variations you’ll want to try.
STEP 6: LET IT COOL (JUST A LITTLE)
Once the crisp comes out of the oven, the hardest part is letting it sit for a few minutes — I know, trust me. But allowing it to cool slightly (about 10–15 minutes) helps the caramel and juices settle a bit so your serving isn’t a total puddle.
That said, don’t wait too long — this dessert is best served warm when the topping is still crisp and the caramel is nice and gooey.
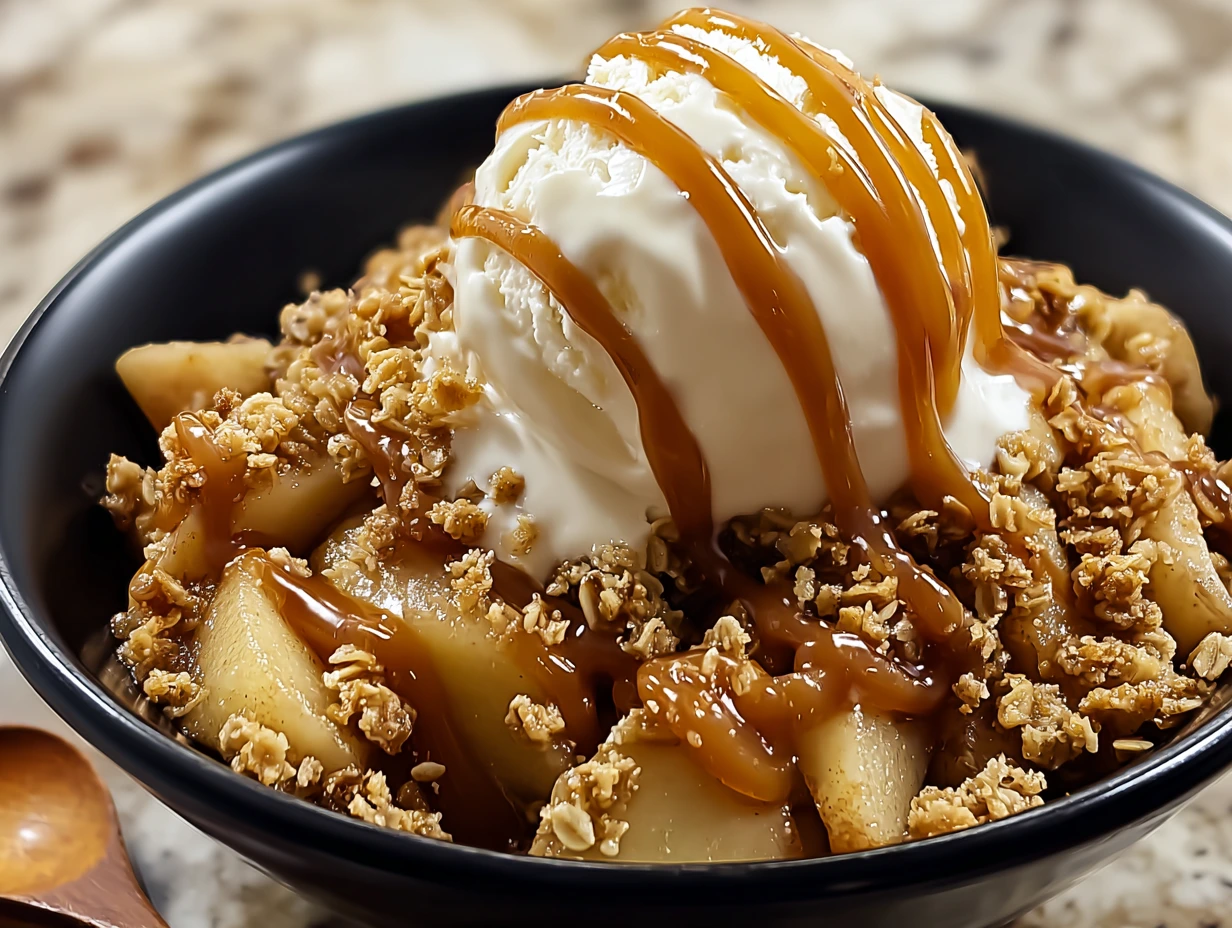
SERVING SUGGESTIONS
While this crisp is amazing on its own, serving it with a scoop of vanilla ice cream takes it to the next level. The contrast between warm and cold, soft and crunchy, sweet and slightly tart — it’s basically dessert harmony.
Here are a few other ways to level up your serving game:
Drizzle with extra caramel sauce just before serving (especially if you’re serving guests).
Top with whipped cream for a lighter, fluffier finish.
Dust with powdered sugar for a little extra presentation sparkle.
TIPS FOR THE BEST CARAMEL APPLE CRISP
Choose the Right Apples: A mix of tart and sweet apples gives you the best flavor. Granny Smiths hold their shape well, while Honeycrisps add natural sweetness.
Cold Butter is Key: Don’t skip this! Cold butter helps keep the topping crumbly and crisp. Soft or melted butter will make the topping greasy and flat.
Don’t Overbake: Keep an eye on your crisp during the last 5-10 minutes. You want the top golden and crunchy, but not burnt. The apples should be soft but not mushy.
Make it Ahead: You can assemble the filling and topping separately ahead of time. Store them in the fridge, then layer and bake fresh when you’re ready to serve.
EASY VARIATIONS TO TRY
Once you’ve mastered the classic version, here are a few fun twists to experiment with:
Add Chopped Nuts: A handful of chopped pecans or walnuts mixed into the topping adds great crunch and flavor.
Switch Up the Fruit: Try mixing in some sliced pears or fresh berries with the apples for a fruitier variation.
Spice It Up: Add a pinch of ground ginger or cardamom to the filling for a spiced twist.
Boozy Version: Stir a tablespoon of bourbon or spiced rum into the caramel sauce before drizzling it over the apples — it adds amazing depth.
Gluten-Free Option: Use a gluten-free all-purpose flour blend and certified gluten-free oats to make this crisp gluten-free.
STORAGE AND LEFTOVERS
Got leftovers? Lucky you. Here’s how to store and reheat:
Fridge: Let the crisp cool completely, then cover it and refrigerate for up to 3 days.
Reheating: Warm individual servings in the microwave for about 30–60 seconds. For larger portions, pop it back in the oven at 300°F for 10–15 minutes to re-crisp the topping.
Freezing: You can freeze the baked crisp, but keep in mind that the topping may lose some of its crunch when thawed. If you do freeze it, wrap tightly and thaw in the fridge overnight before reheating in the oven.
Your Caramel Apple Crisp Questions Answered
We’ve gone through all the steps to make this delicious Caramel Apple Crisp, and now it’s time to tackle some of the most common questions I get whenever I share this recipe. Whether you’re a first-timer or just looking to perfect your version, these quick answers will help you bake with confidence.
FREQUENTLY ASKED QUESTIONS
Can I make Caramel Apple Crisp ahead of time?
Absolutely! You can prep both the apple filling and the crisp topping ahead of time. Store them separately in the fridge (for up to 24 hours), then assemble and bake when ready. This makes it perfect for holiday dinners or when you’re entertaining.
Which apples are best for this recipe?
Granny Smith and Honeycrisp are my go-to choices. Granny Smith adds that tart bite to balance the sweetness, while Honeycrisp brings a natural sweetness and holds its texture well. Feel free to mix both for the best of both worlds!
What kind of caramel sauce should I use?
You can use store-bought or homemade caramel sauce — whichever you prefer. If you’re short on time, a good-quality jarred caramel works great. But if you’ve got a homemade version on hand, go for it! Just make sure it’s not too runny, or it may make the filling too liquidy.
Can I make this recipe gluten-free?
Yes! To make it gluten-free, swap the all-purpose flour with a 1:1 gluten-free flour blend and be sure to use certified gluten-free oats. The texture and flavor are still amazing.
How do I reheat leftovers without losing the crisp topping?
The best way is to reheat it in the oven at 300°F for about 10–15 minutes. This helps the topping stay crisp. Microwaving works in a pinch but can make the topping soft.
Can I freeze Caramel Apple Crisp?
You can, but be aware that the topping may lose some crispiness after thawing. Let the baked crisp cool completely, wrap tightly in plastic wrap and foil, and freeze for up to 2 months. Thaw overnight in the fridge and reheat in the oven before serving.
Is it okay to use quick oats instead of old-fashioned oats?
Quick oats will work in a pinch, but the texture of the topping won’t be quite the same. Old-fashioned oats give that hearty, crumbly topping we all love. If you do use quick oats, reduce the amount slightly, as they absorb moisture faster.
FINAL THOUGHTS: A DESSERT YOU’LL MAKE AGAIN AND AGAIN
Caramel Apple Crisp isn’t just another dessert — it’s that reliable, comforting treat you’ll keep coming back to. Whether it’s fall, winter, or the middle of summer and you’re just craving something sweet and cozy, this recipe delivers every single time.
It’s easy enough for a weeknight treat, but impressive enough to serve at your next gathering. Plus, once you start playing with variations like nuts, berries, or even a splash of bourbon, it becomes endlessly customizable.
So go ahead — grab those apples, get that caramel ready, and treat yourself (and maybe your loved ones, if you feel like sharing) to a dessert that never disappoints.
Print
Caramel Apple Crisp
- Author: Andrew Recipes
Description
Caramel Apple Crisp is a warm, comforting dessert that combines tender baked apples with rich caramel and a buttery oat topping. It’s the perfect fall treat but delicious any time of year. Serve it fresh out of the oven with a scoop of vanilla ice cream for an irresistible finish.
Ingredients
For the apple filling:
5 cups peeled and sliced apples (such as Granny Smith or Honeycrisp)
¼ cup granulated sugar
1 teaspoon cinnamon
¼ teaspoon nutmeg
¼ teaspoon salt
2 tablespoons all-purpose flour
½ cup caramel sauce
For the crisp topping:
¾ cup old-fashioned oats
½ cup all-purpose flour
⅓ cup brown sugar
½ teaspoon cinnamon
¼ teaspoon salt
½ cup unsalted butter, cold and cut into cubes
Instructions
Preheat your oven to 350°F (175°C) and grease a 9×9-inch baking dish.
In a large bowl, combine the sliced apples, granulated sugar, cinnamon, nutmeg, salt, and flour. Toss until the apples are well coated.
Spread the apple mixture evenly into the prepared baking dish, then drizzle the caramel sauce over the top.
In a separate bowl, mix together the oats, flour, brown sugar, cinnamon, and salt. Add the cold butter and use a pastry cutter or your fingers to mix until the topping is crumbly and resembles coarse sand.
Sprinkle the oat mixture evenly over the caramel-covered apples.
Bake for 40–45 minutes, or until the top is golden brown and the apples are tender and bubbly.
Allow to cool slightly before serving.
Notes
For extra flavor, add a splash of vanilla extract or a handful of chopped pecans to the topping. You can also use store-bought or homemade caramel sauce depending on preference. Store leftovers in the fridge for up to 3 days and reheat before serving.

