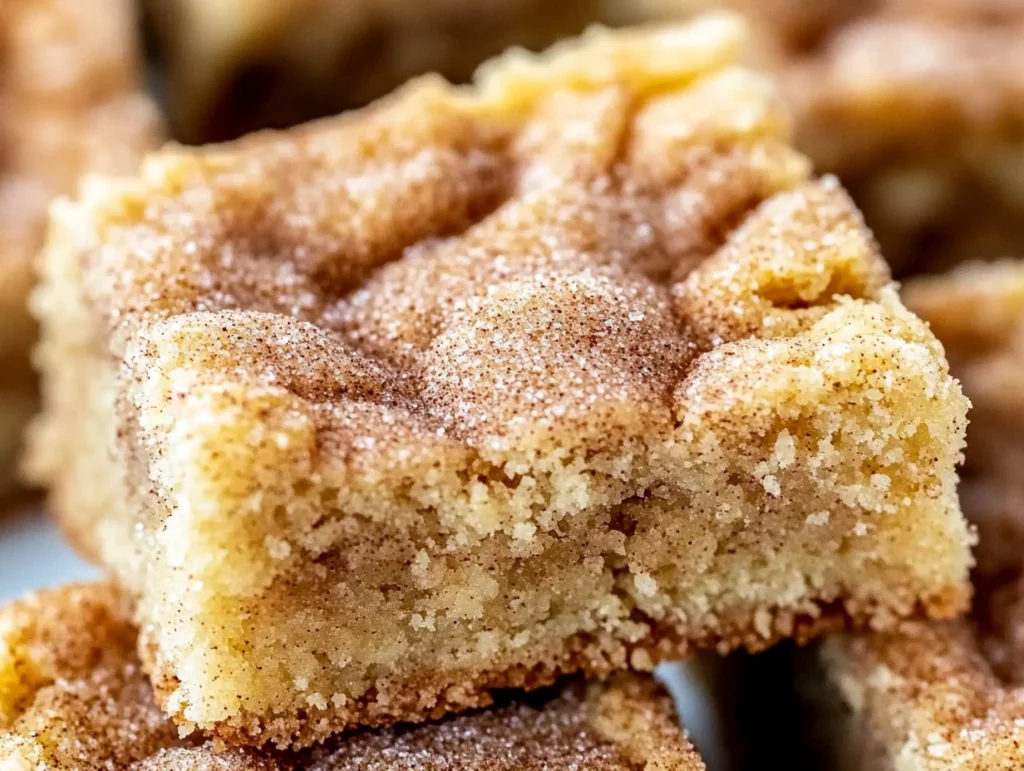
There’s something about the soft, warm, and cinnamon-infused goodness of Snickerdoodles that makes them one of the most beloved cookies. But what if I told you there was a way to take that classic cookie and turn it into a bar—one that’s just as chewy, flavorful, and ridiculously easy to make? That’s right, my friends—Chewy Snickerdoodle Cookie Bars are here to change the snickerdoodle game.
If you love the melt-in-your-mouth texture of Snickerdoodles, but want to skip the rolling, shaping, and chilling steps, then these bars are for you. You’ll still get all of the delightful cinnamon-sugar flavor and that irresistible chewy texture, but with half the work. Whether you’re baking for a cozy night at home or a special occasion, these bars are guaranteed to disappear in no time. Trust me, they’re that good.
I first stumbled upon the idea for these Chewy Snickerdoodle Cookie Bars during one of those days where I wanted Snickerdoodles but didn’t feel like dealing with the usual cookie-making routine. I figured I could take the dough and spread it into a pan, bake it as a single slab, and voila! The result was just as dreamy as I imagined. Since then, I’ve been making these bars on repeat—especially when I’m craving something warm, comforting, and quick to bake.
So, let’s dive into how you can make your very own batch of these chewy, cinnamon-sugar delights! Here’s everything you need to know.
Step 1: Preheat Your Oven
Before we start mixing up the dough, let’s get that oven heated up so it’s ready to bake our delicious bars. Preheat your oven to 350°F (175°C). This is the perfect temperature to achieve that golden-brown, slightly crispy exterior while keeping the inside perfectly chewy.
Next, grab an 8×8-inch baking pan. Line it with parchment paper, making sure there’s enough overhang so you can easily lift the bars out once they’re baked. A little grease on the parchment paper will help the dough stick less and make cleanup a breeze.
Step 2: Make the Dough
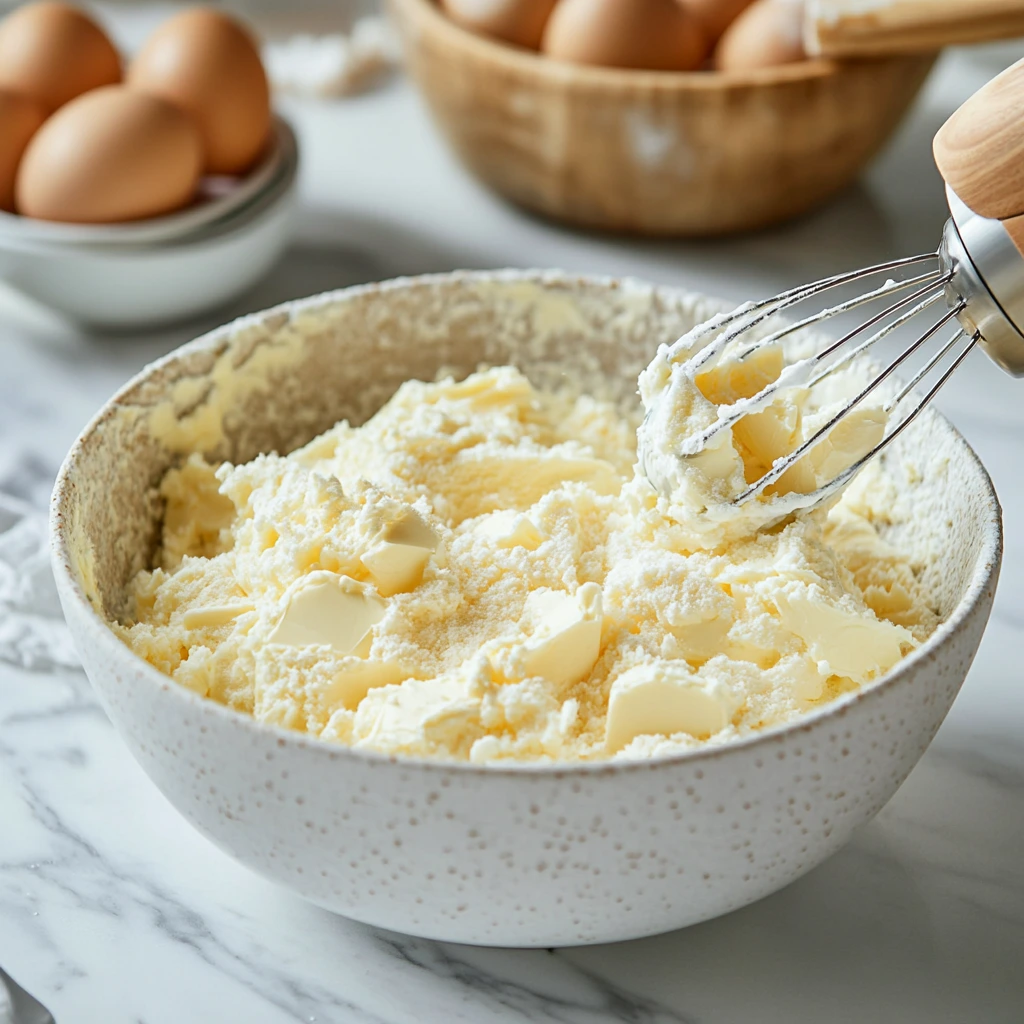
Now comes the fun part: making the dough! Start by creaming 1 cup of softened unsalted butter and 1 ½ cups of granulated sugar together in a large mixing bowl. Use a hand mixer or stand mixer to beat them together for about 2–3 minutes until it’s light, fluffy, and dreamy.
Once the butter and sugar are properly creamed, beat in 2 large eggs, one at a time, allowing each to fully incorporate before adding the next. After that, mix in 2 teaspoons of vanilla extract—this is where the flavor really starts to come together.
In a separate bowl, whisk together 1 ¾ cups of all-purpose flour, 1 teaspoon of cream of tartar, ½ teaspoon of baking soda, and ¼ teaspoon of salt. The cream of tartar is key in giving Snickerdoodles that signature tangy flavor and chewy texture. Now, slowly add the dry ingredients to the wet ingredients. Stir them together until just combined—don’t overmix or you’ll end up with tougher bars.
Step 3: Prepare the Cinnamon-Sugar Topping
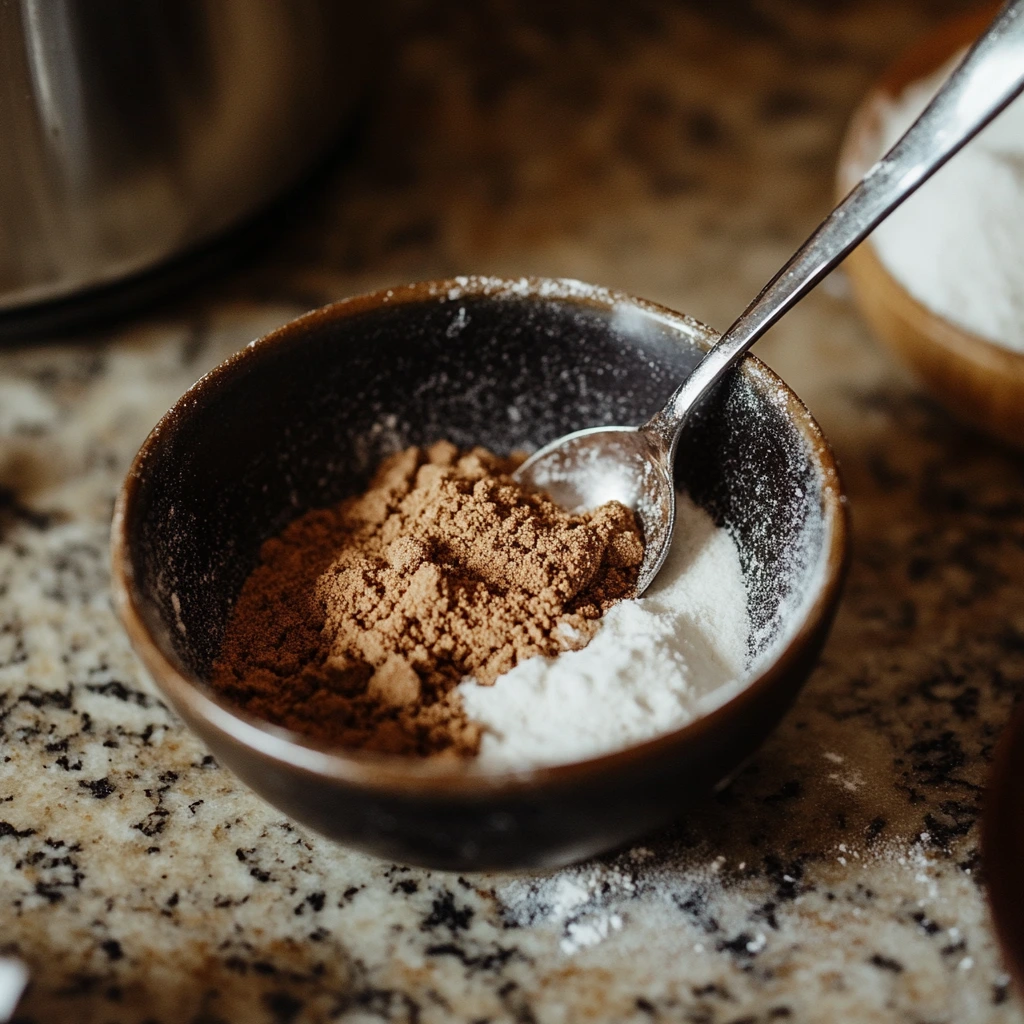
While your dough is coming together, let’s work on the cinnamon-sugar topping that’s going to give these bars their signature flavor. In a small bowl, mix ¼ cup of granulated sugar with 2 teaspoons of ground cinnamon. This combination will create that perfect layer of cinnamon-sugar goodness that goes on top of the dough. You’ll use some of it inside the bars and the rest on top, so it’s important to have it all mixed up and ready to go.
Step 4: Assemble the Bars
Time to assemble! Press half of the dough evenly into the prepared baking pan. You can use a spatula or your hands to spread it out as evenly as possible. Once that’s done, sprinkle about 2 tablespoons of the cinnamon-sugar mixture evenly over the dough. This cinnamon-sugar layer is going to melt into the dough as it bakes, creating pockets of sweet, cinnamon-flavored goodness.
Next, take the remaining dough and drop spoonfuls of it over the cinnamon-sugar layer. Gently spread it out to cover as much of the base as you can, but don’t worry if it’s not perfectly even. That’s part of the charm of these bars! Finally, sprinkle the remaining cinnamon-sugar mixture over the top. This will give the bars a deliciously sweet, slightly crispy top that’s to die for.
Step 5: Bake the Bars
Now that the bars are assembled and looking gorgeous, it’s time to bake! Pop the pan into your preheated oven and bake for about 25–30 minutes. Keep an eye on them—you’ll know they’re done when the edges are golden brown, and the center has set. A toothpick inserted into the center should come out mostly clean, though it’s fine if there are a few crumbs. This means your bars will be soft and chewy in the middle.
Let the bars cool completely in the pan on a wire rack. You want them to firm up a bit before slicing. Patience is key!
Perfecting Your Chewy Snickerdoodle Cookie Bars
Now that your Chewy Snickerdoodle Cookie Bars have been baked to golden perfection, let’s finish them off and ensure that every bite is as delicious as it can be. In this section, we’ll walk through the final steps to slice and serve these delectable bars, plus I’ll share some pro tips to elevate your baking game even further.
Step 6: Slice and Serve
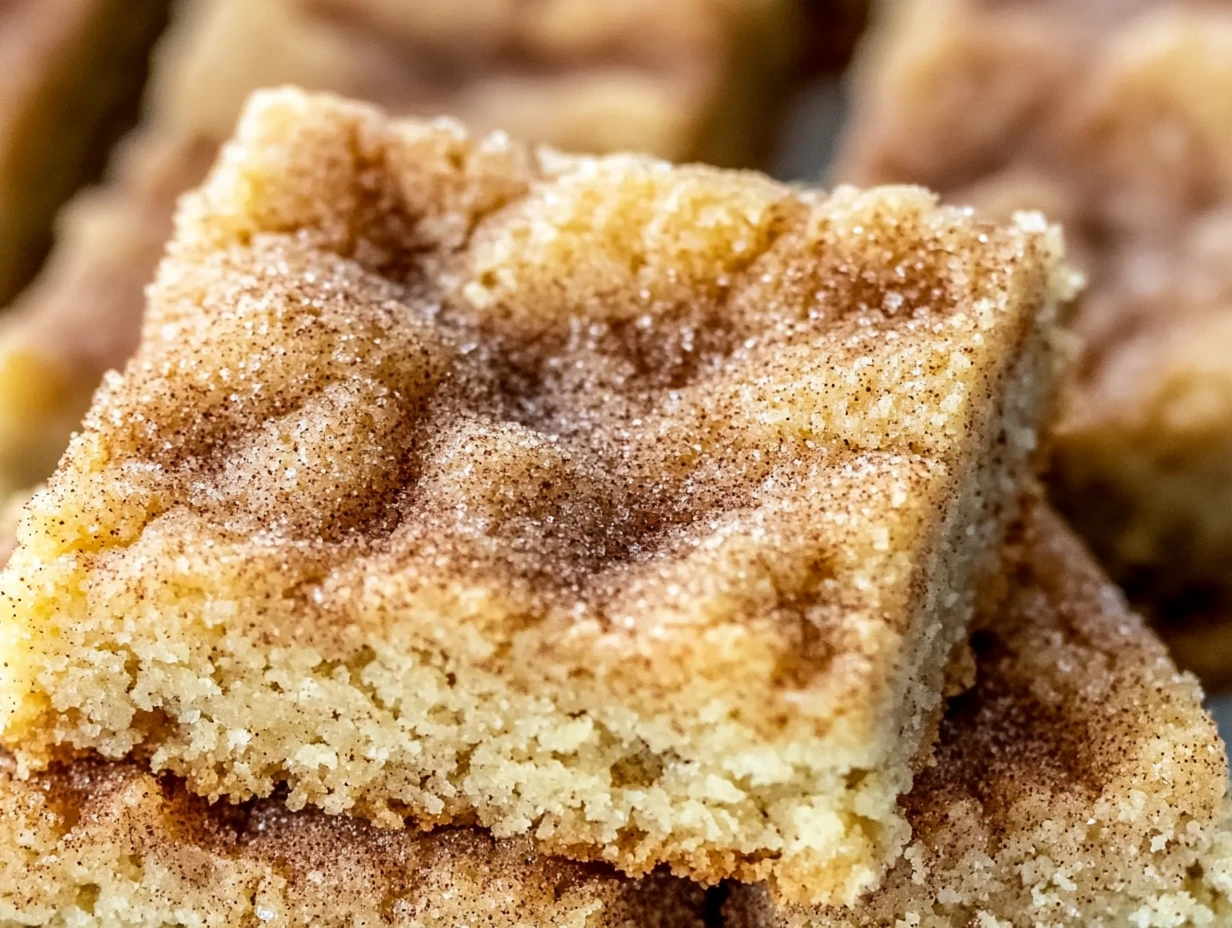
Once your bars have cooled completely in the pan (this is an important step—don’t rush it!), it’s time to slice them into perfect squares or rectangles. The beauty of making bars instead of individual cookies is that you get neat, even portions, and slicing them is a breeze with the parchment paper overhang. Simply lift the bars out of the pan using the parchment, place them on a cutting board, and use a sharp knife to cut them into your desired size.
I like to cut mine into larger squares for a more substantial treat, but if you’re serving a crowd, smaller squares or rectangles can be the perfect bite-sized snack. These bars are soft, gooey, and just sweet enough, so be prepared for a bite that might melt in your mouth.
Step 7: Serve and Enjoy
Once sliced, the Chewy Snickerdoodle Cookie Bars are ready to be served! These bars are perfect on their own, but if you’re feeling fancy or want to dress them up for a special occasion, you can add a drizzle of vanilla glaze or a dusting of powdered sugar. But, honestly, these bars are so flavorful that they don’t really need any embellishments—they shine just as they are.
Serve them at your next gathering, pack them in your lunchbox, or just indulge in one (or two) with a hot cup of coffee or tea. Trust me, once you take that first bite, you’ll understand why these Chewy Snickerdoodle Cookie Bars are such a hit in my kitchen. They’re comforting, sweet, and simply irresistible.
Pro Tips for Making the Best Chewy Snickerdoodle Cookie Bars
While the recipe is pretty straightforward, there are a few pro tips that will help you get the best results every time.
Room Temperature Ingredients Are Key: Make sure your butter and eggs are at room temperature before you start. This helps the ingredients combine more evenly, ensuring a smooth dough with the perfect texture.
Don’t Overmix the Dough: When combining the dry and wet ingredients, be careful not to overmix. Overworking the dough can lead to tougher bars, and nobody wants that! Just mix until everything is incorporated, and then stop.
Chill the Dough for Extra Chewiness: If you have time and want an even chewier texture, you can chill the dough in the fridge for 30 minutes before assembling the bars. It helps the dough firm up a bit and makes for a slightly denser texture.
Use Fresh Cinnamon: Fresh, high-quality cinnamon can make a big difference in flavor. If you have a jar of cinnamon that’s been sitting in your pantry for a while, it might be time to replace it with a fresh batch. The cinnamon-sugar topping will be so much more aromatic!
Don’t Skip the Cream of Tartar: The cream of tartar is an essential ingredient in Snickerdoodle recipes because it helps give the bars their characteristic tangy flavor and chewy texture. It also helps activate the baking soda. So, definitely don’t leave it out.
Storage: These bars stay soft and chewy for several days. Store them in an airtight container at room temperature for up to 5 days. If you want to keep them longer, you can refrigerate them for up to a week or freeze them for up to 3 months. Just make sure they’re fully cooled before storing.
Customizing Your Chewy Snickerdoodle Cookie Bars
One of the things I love most about baking is the endless possibilities for customization. While these Chewy Snickerdoodle Cookie Bars are absolutely perfect on their own, there are a few ways you can get creative and make them your own.
Add White Chocolate Chips: If you love a little extra sweetness, try folding some white chocolate chips into the dough before you bake. The creamy chocolate pairs wonderfully with the cinnamon-sugar flavor.
Use Brown Sugar: For a slightly richer, more caramel-like flavor, you can replace half of the granulated sugar with brown sugar. This adds a little extra depth to the bars without overpowering the classic Snickerdoodle taste.
Mix in Chopped Nuts: If you’re a fan of nuts, chopped pecans or walnuts can add a delightful crunch to these chewy bars. Simply fold in about ½ cup of chopped nuts when mixing the dough.
Drizzle with Caramel Sauce: For a decadent twist, drizzle some homemade or store-bought caramel sauce over the top before serving. This will add a luscious, buttery flavor that complements the cinnamon perfectly.
FAQ and Final Thoughts on Chewy Snickerdoodle Cookie Bars
You’ve made it this far, and your Chewy Snickerdoodle Cookie Bars are surely ready to be devoured. But I know there might still be a few lingering questions or concerns. Don’t worry, I’ve got you covered! Below, I’ve answered some of the most frequently asked questions about this recipe to make sure you’re able to nail it every time.
FAQ: Common Questions About Chewy Snickerdoodle Cookie Bars
1. Can I use salted butter instead of unsalted butter?
While you can use salted butter, I highly recommend using unsalted butter for this recipe. Salted butter has a higher sodium content, which could throw off the balance of flavors. If you only have salted butter on hand, just omit the additional salt in the recipe to avoid making the bars too salty.
2. Can I double the recipe?
Absolutely! If you’re making a larger batch or need to feed a crowd, you can easily double the recipe. Simply use a 9×13-inch baking pan instead of the 8×8-inch pan and bake for a bit longer (start checking around 30 minutes). Keep an eye on them to ensure they don’t overbake, and make sure the center is set before you pull them out of the oven.
3. Can I use whole wheat flour instead of all-purpose flour?
If you’re looking for a slightly healthier twist, you can use whole wheat flour in place of all-purpose flour. However, note that whole wheat flour will give the bars a denser texture and a slightly nuttier flavor. If you decide to use it, I’d recommend using half whole wheat and half all-purpose flour for the best results.
4. How do I know when the bars are done baking?
You’ll know your Chewy Snickerdoodle Cookie Bars are done when the edges are golden brown and the center has set. To test for doneness, insert a toothpick into the center—if it comes out mostly clean (a few crumbs are okay), they’re ready. Keep in mind that the bars will continue to cook a bit as they cool, so don’t worry if they’re a little soft in the center when you take them out of the oven.
5. Can I freeze these Chewy Snickerdoodle Cookie Bars?
Yes! These bars freeze wonderfully. Once they’ve cooled completely, cut them into squares and place them in an airtight container or freezer-safe bag. They’ll stay fresh in the freezer for up to 3 months. When you’re ready to enjoy them, simply let them thaw at room temperature or pop them in the microwave for a few seconds for that freshly-baked taste.
6. Can I add other spices to the cinnamon-sugar topping?
Of course! If you’re feeling adventurous, you can experiment with different spices in the cinnamon-sugar mixture. Nutmeg is a great choice and pairs well with cinnamon, giving the bars an extra layer of flavor. You can also try adding a pinch of ginger or cloves for a more festive, spiced twist. Just be sure to balance the amounts to not overpower the cinnamon.
7. How do I store these bars?
These bars stay fresh for up to 5 days when stored in an airtight container at room temperature. If you need them to last longer, you can refrigerate them for up to a week or freeze them for up to 3 months. Be sure to let the bars cool completely before storing them to prevent condensation from forming and making them soggy.
Conclusion: Time to Bake Your Chewy Snickerdoodle Cookie Bars
And that’s it! With these Chewy Snickerdoodle Cookie Bars, you’ve got a treat that’s sure to become a favorite in your baking repertoire. The soft, chewy texture combined with the irresistible cinnamon-sugar topping makes these bars perfect for any occasion, from cozy family nights to holiday parties.
Don’t forget that this recipe is also super versatile. You can add your own personal twist with mix-ins like chocolate chips or nuts, or even drizzle them with a little glaze for an extra touch of sweetness. However you decide to enjoy them, I promise they’ll be a hit!
I’d love to hear about your experience baking these Chewy Snickerdoodle Cookie Bars. Have you tried any fun variations? Or maybe you made them as a gift for someone special? Leave a comment below and share your thoughts. Happy baking, and I hope these bars bring a little extra sweetness to your day!
Print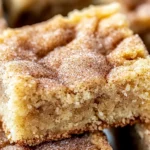
Chewy Snickerdoodle Cookie Bars
- Author: Andrew Recipes
Description
These Chewy Snickerdoodle Cookie Bars are a delicious, easy-to-make twist on the classic snickerdoodle cookie. Soft, chewy, and filled with that irresistible cinnamon-sugar flavor, these bars are perfect for satisfying your sweet tooth. With a golden, slightly crisp exterior and a tender center, they’re the ultimate comfort treat, whether for a snack, dessert, or special occasion.
Ingredients
For the Dough:
1 cup unsalted butter (softened to room temperature)
1 ½ cups granulated sugar
2 large eggs (room temperature)
2 teaspoons vanilla extract
1 ¾ cups all-purpose flour
1 teaspoon cream of tartar
½ teaspoon baking soda
¼ teaspoon salt
For the Cinnamon-Sugar Topping:
¼ cup granulated sugar
2 teaspoons ground cinnamon
Instructions
1️⃣ Preheat your oven: Preheat your oven to 350°F (175°C). Line an 8×8-inch baking pan with parchment paper, leaving some overhang for easy removal. Lightly grease the parchment paper.
2️⃣ Make the dough: In a large mixing bowl, cream the softened butter and sugar together until light and fluffy, about 2–3 minutes. Beat in the eggs, one at a time, followed by the vanilla extract. Mix until smooth. In a separate bowl, whisk together the flour, cream of tartar, baking soda, and salt. Gradually add the dry ingredients to the wet ingredients, mixing until just combined. Be careful not to overmix.
3️⃣ Prepare the cinnamon-sugar topping: In a small bowl, mix the granulated sugar and cinnamon until well combined.
4️⃣ Assemble the bars: Press half of the cookie dough evenly into the prepared baking pan. Sprinkle about 2 tablespoons of the cinnamon-sugar mixture evenly over the dough. Drop spoonfuls of the remaining dough over the cinnamon-sugar layer, gently spreading it to cover as much as possible. Sprinkle the remaining cinnamon-sugar mixture evenly over the top.
5️⃣ Bake the bars: Bake in the preheated oven for 25–30 minutes, or until the edges are golden brown and the center is set. A toothpick inserted into the center should come out mostly clean (a few crumbs are okay). Let the bars cool completely in the pan on a wire rack before slicing.
6️⃣ Slice and serve: Use the parchment paper overhang to lift the bars out of the pan. Cut into squares or rectangles and serve. Enjoy the gooey, cinnamon-sugar goodness!
Notes
These bars stay soft and chewy for days, making them perfect for making ahead or taking to a gathering. For an extra touch, you can drizzle some glaze or frosting over the top, though they’re just as delicious on their own!
