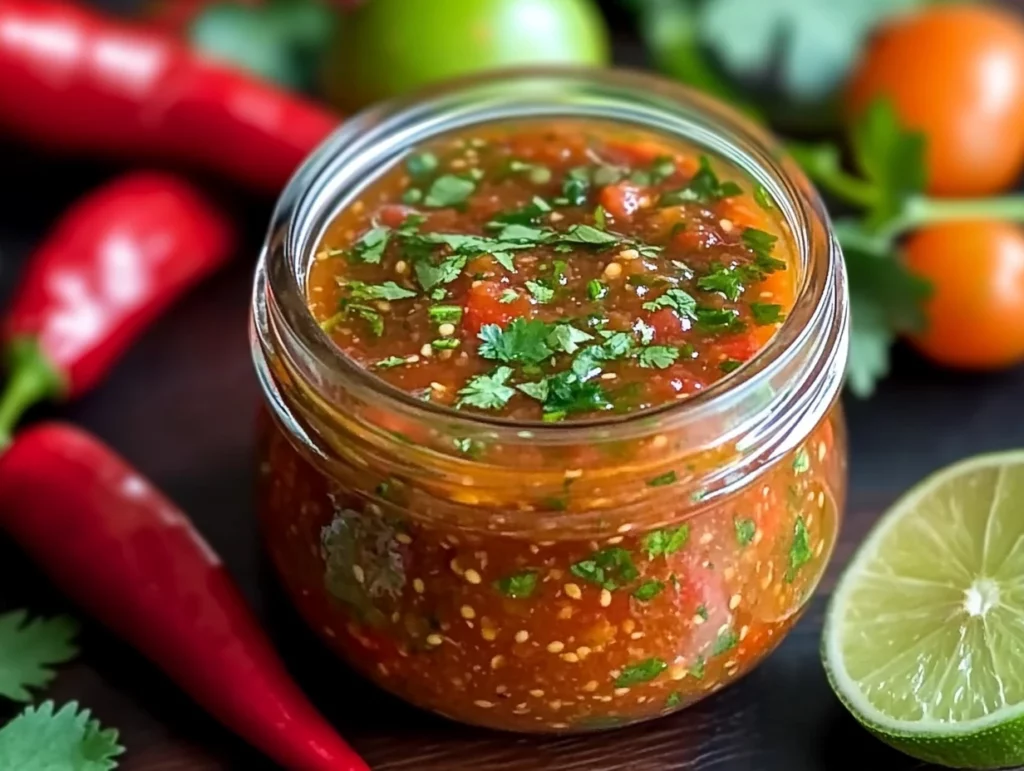
If you’re like me and you’ve got a soft spot for spicy salsas that light up your taste buds just the right amount, then you’re in for a treat with this one. This Chili de Árbol Salsa is one of those recipes that’s simple to make but delivers big flavor—smoky, spicy, and totally irresistible. Whether you’re spooning it over tacos, drizzling it onto eggs, or just dunking your chips into it like there’s no tomorrow, this salsa has a way of taking whatever you’re eating to the next level.
I first came across this salsa at a little taco spot tucked into a street corner in Mexico City, where they served it in small clay bowls next to grilled meats. One bite and I was hooked. The heat, the smokiness, the punch of garlic—it all came together in the most magical way. And guess what? It turns out, making this at home is surprisingly easy. It’s now become a staple in my fridge for when I need to give my meals a little kick.
Let’s dive into the first part of this fiery recipe and get that bold, deep flavor going right in your own kitchen.
Ingredients You’ll Need:
15–20 dried chile de árbol peppers (adjust to your spice preference)
2 Roma tomatoes
2 garlic cloves
1/4 medium onion
1/4 teaspoon salt (or to taste)
1 tablespoon vegetable oil
1/2 cup water
1 tablespoon white vinegar (optional, for added tanginess)
STEP 1: Toast the Dried Chiles
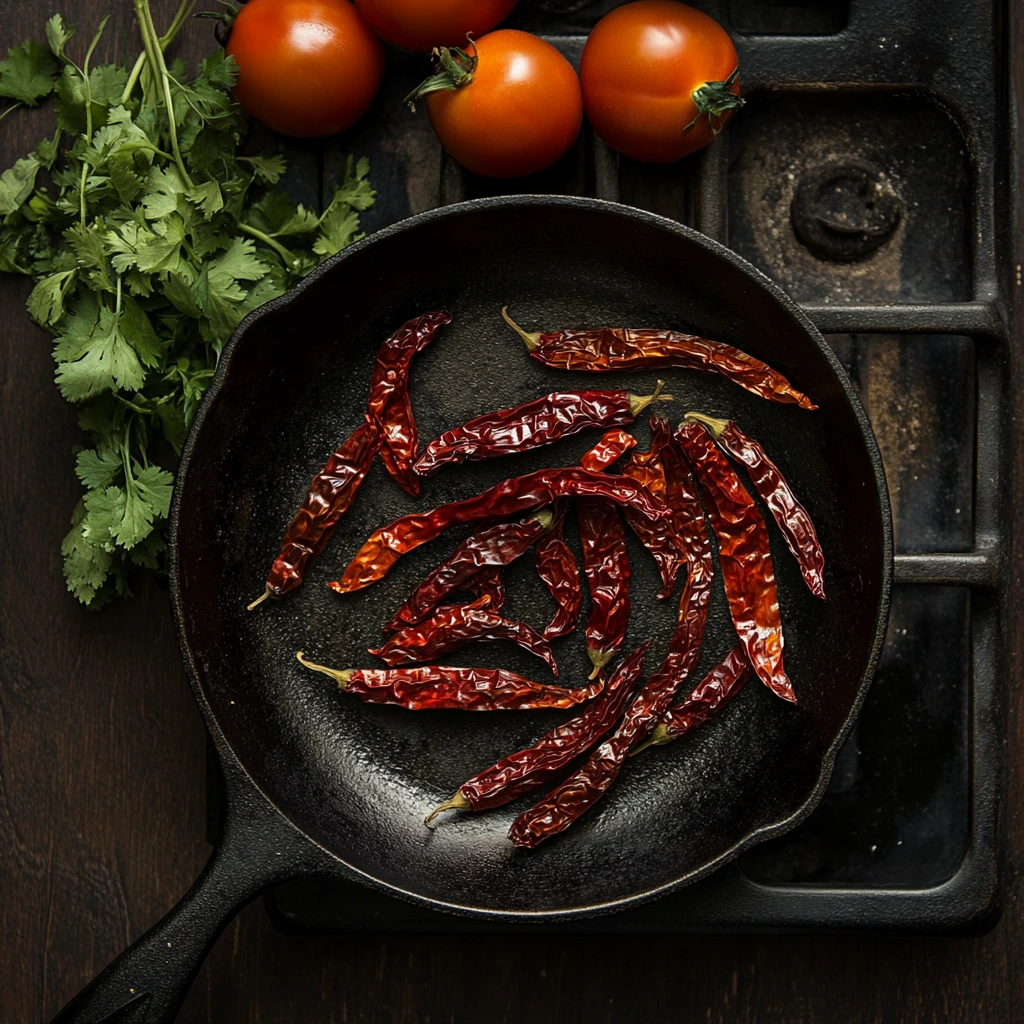
This is where the magic begins. Grab a dry skillet—no oil needed just yet—and heat it over medium heat. Once it’s warm, toss in your chile de árbol peppers.
Now, chile de árbol packs some serious heat, but the flavor only deepens when you toast them. Stir the chiles frequently to make sure they don’t burn. You want them just slightly darker and fragrant—this should take about 1 to 2 minutes. As soon as you smell that toasty, slightly nutty aroma, go ahead and take them off the heat. Set them aside and keep the windows open—trust me on this one. Toasting chiles can release some strong fumes that’ll have you coughing if you’re not careful!
Pro Tip: If you want to tone down the heat a bit, you can remove some of the seeds after toasting the chiles. It’s a great way to customize the spice level to your taste.
STEP 2: Char the Tomatoes, Garlic, and Onion
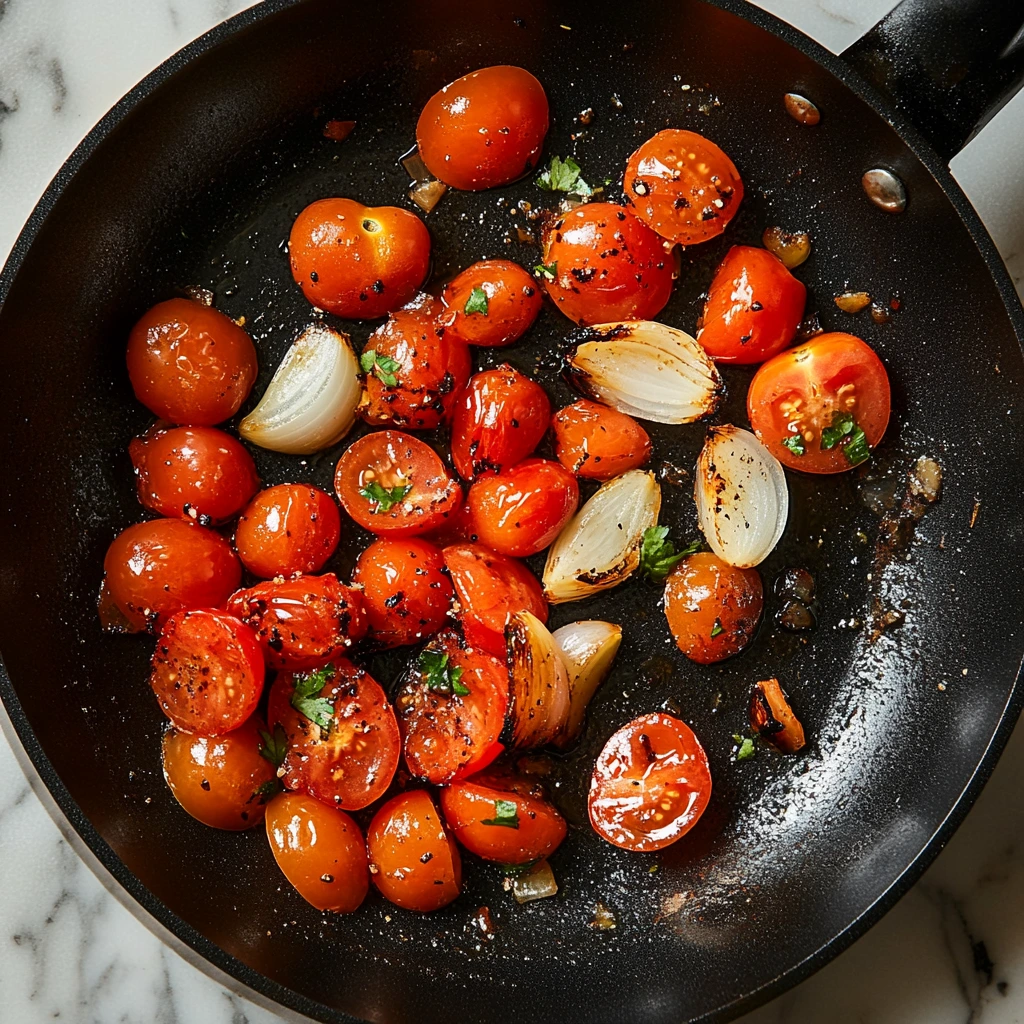
Using the same skillet (yay for fewer dishes!), add a tablespoon of vegetable oil and let it heat up for just a bit. Then add your halved Roma tomatoes, garlic cloves, and a quarter of a medium onion.
Let everything cook for about 4 to 5 minutes, turning occasionally so you get a nice char on all sides. That light blackening? That’s exactly what you want—it adds so much flavor and brings out the natural sweetness in the tomatoes and onion. Garlic gets mellow and delicious once it’s softened and slightly golden.
This step is key for giving your salsa that deep, roasted flavor that makes it taste like something straight out of an authentic taquería.
STEP 3: Blend It All Together
Once your veggies are charred and your chiles are nice and toasty, it’s time to bring everything together.
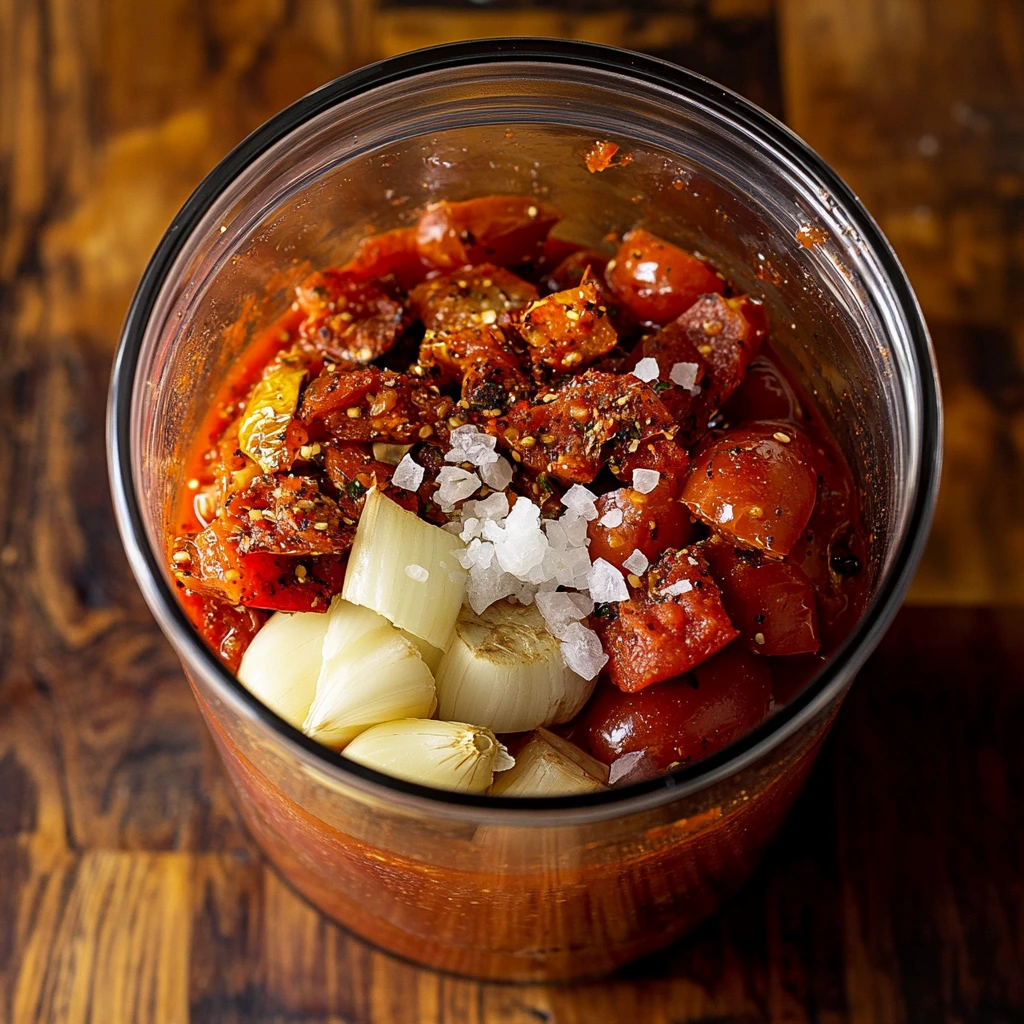
In a blender, add the toasted chiles, charred tomatoes, garlic, onion, 1/4 teaspoon of salt, 1/2 cup of water, and that optional tablespoon of white vinegar if you want to add a little tangy punch. Blend it all up until it’s smooth.
If your salsa ends up a bit thick, don’t worry—just splash in a little more water until you get your perfect consistency. Some like it spoonable, others like it pourable. Totally your call.
How to Finish and Customize Your Homemade Chili de Árbol Salsa
Alright, so now that you’ve got your smoky, spicy mixture blended to perfection, let’s take it across the finish line and get this salsa ready for serving. This final simmering step helps marry all those bold flavors together—don’t skip it, even if you’re tempted to dive right in with a chip. (I’ve definitely been guilty of that a few times!)
This part of the process is super simple, but I’ll also walk you through a few helpful tips and variations that can help you customize the salsa to your liking. Whether you like it face-meltingly hot or just a bit punchy, this recipe can flex with your taste.
STEP 4: Simmer to Bring the Flavors Together
Now that your salsa is blended, it’s time to bring everything back to the skillet for one final step that really makes the difference: simmering.
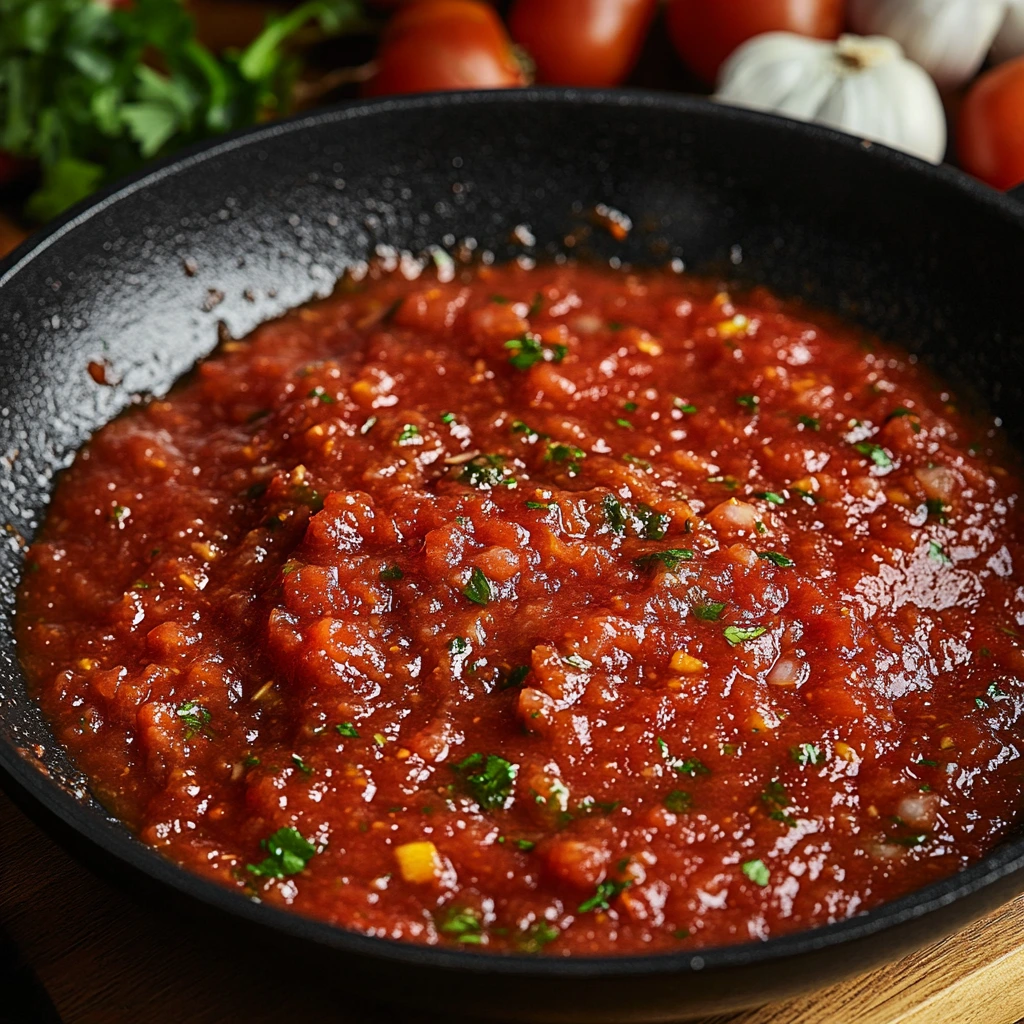
Pour your blended salsa back into the skillet over low heat. Stir it gently as it begins to warm through. Let it simmer for about 5 to 7 minutes, stirring occasionally. You’ll see the color deepen a bit, and the texture will become slightly thicker as it reduces.
This is when all the flavors really come together—the chiles mellow slightly (but don’t worry, they’ll still have a kick), the garlic gets cozy with the tomato, and everything just harmonizes. You’ll also get a chance to adjust the consistency and seasoning here. Give it a taste, and if it needs a bit more salt or water, go ahead and add it now.
Tip: If you’re not into vinegar, leave it out. But if you do enjoy that little hit of acidity, it really brings out the brightness in the tomatoes and balances the heat. It’s a subtle addition, but it makes a big difference.
How Spicy Is This, Really?
Let’s talk heat level. Chile de árbol is no joke when it comes to spice. On the Scoville scale, these little guys range from 15,000 to 30,000 units, which puts them well above jalapeños. So yes, this salsa has a kick—but how much is totally up to you.
If you want it less spicy:
Use only 10 chiles instead of 15–20.
Remove the seeds from some or all of the chiles after toasting.
Add an extra tomato or a splash more water to dilute the heat.
If you want it more spicy:
Add a couple more chiles.
Leave all the seeds in.
Skip the vinegar if you want the heat to stand out even more.
This salsa is super adaptable, and once you make it a few times, you’ll know exactly how to adjust it for your ideal spice level.
Storage and Make-Ahead Tips
One of the best things about this salsa is that it keeps beautifully, which means you can make a batch on Sunday and enjoy it all week long.
Here’s how to store it:
Let the salsa cool completely before transferring it to a glass jar or airtight container.
It’ll keep in the fridge for up to 7 days.
Want to keep it longer? Pop it in the freezer for up to 3 months. Just thaw it overnight in the fridge before using.
If you’re like me, you might find yourself doubling the batch just so you have enough for every taco night, egg scramble, or quick snack in between. It’s honestly hard to go back to store-bought once you taste how fresh and bold this homemade version is.
Ways to Use Your Chili de Árbol Salsa
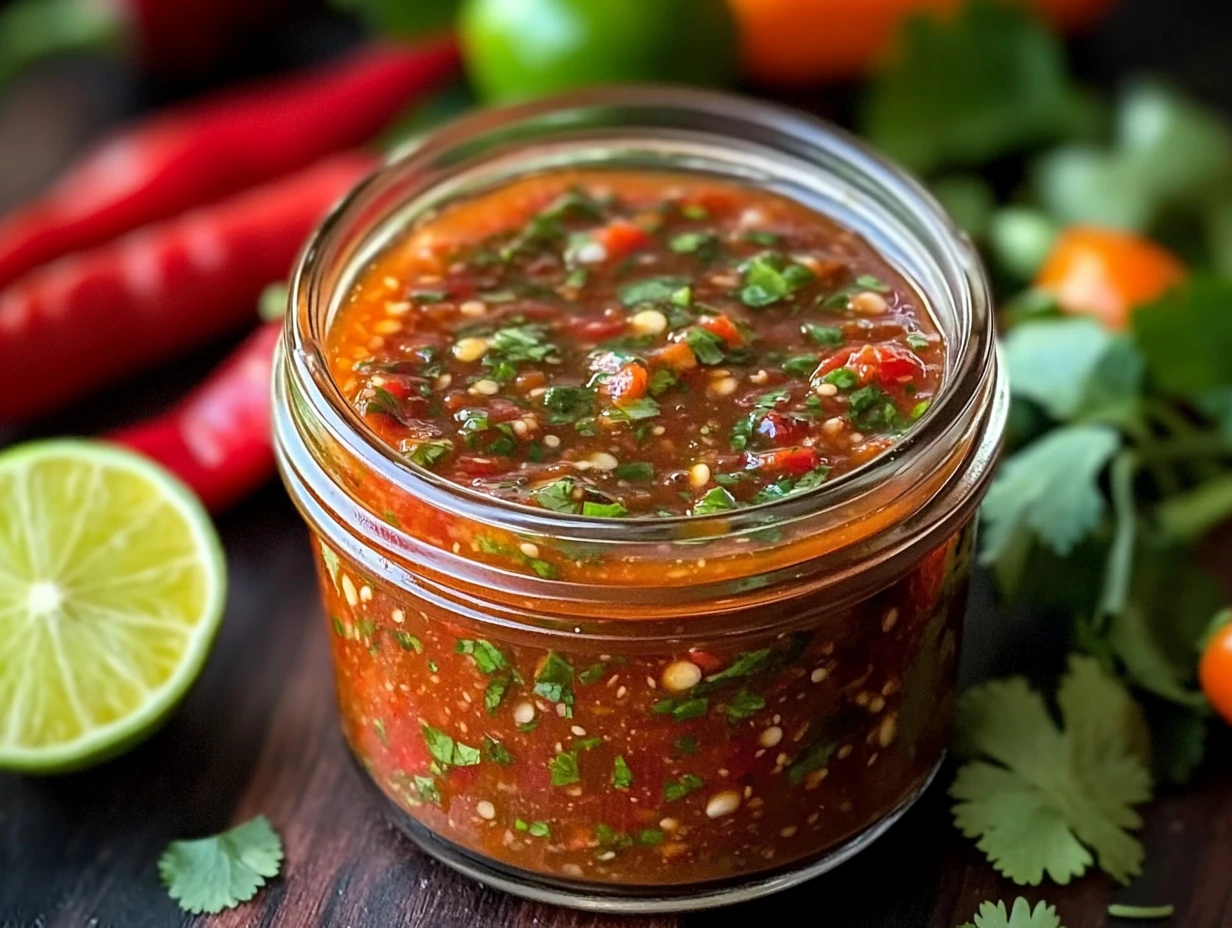
This salsa is super versatile, and I mean that. Here are a few of my favorite ways to use it:
Tacos: Obviously. It’s perfect on carne asada, al pastor, or even veggie tacos.
Grilled meats: Drizzle it over grilled chicken, steak, or pork chops.
Eggs: A spoonful on scrambled eggs or a fried egg sandwich? Game changer.
Soups: Stir a bit into brothy soups for extra depth and heat.
Dipping sauce: Chips, quesadillas, taquitos—dip away.
Honestly, once you start using it, you’ll find endless ways to add this salsa into your meals. And if you’re serving it for a crowd? Prepare for people to ask for the recipe. It happens every time.
Chili de Árbol Salsa: FAQ and Final Thoughts
By now, you’ve got the full rundown on how to make this bold, smoky, spicy Chili de Árbol Salsa, and hopefully you’re already thinking about what to serve it with first. Before we wrap things up, let’s go over some of the most common questions people have when making this kind of salsa at home.
Whether you’re trying to figure out how to tone down the heat, store it safely, or switch up the ingredients a bit, I’ve got you covered below.
Frequently Asked Questions
1. Can I make this salsa ahead of time?
Absolutely! In fact, this salsa tastes even better after it sits in the fridge for a day or two. Just be sure to store it in an airtight container and keep it refrigerated. It stays fresh for up to 7 days.
2. Is there a way to make it less spicy without losing flavor?
Yes! You can reduce the number of chile de árbol peppers or remove their seeds after toasting. You can also add an extra tomato to mellow out the spice while keeping that rich, roasted flavor.
3. Can I use canned tomatoes instead of fresh?
Fresh tomatoes are ideal for the roasted flavor in this recipe, but in a pinch, canned fire-roasted tomatoes can work. Just skip the charring step and adjust the seasoning to taste.
4. What can I use instead of chile de árbol if I can’t find them?
If chile de árbol isn’t available, you can try dried japones chiles or even dried cayenne peppers. Just note that the flavor and heat level might vary, so adjust accordingly.
5. Do I have to use vinegar?
Nope! The vinegar is totally optional. It adds a subtle tanginess that brightens the salsa, but if you prefer a more traditional, smoky flavor without the acidity, feel free to leave it out.
6. Can I freeze this salsa?
Yes! Let the salsa cool completely, then transfer it to a freezer-safe container or bag. It can be frozen for up to 3 months. Just thaw it overnight in the fridge before using.
7. Why does the salsa thicken after being refrigerated?
That’s totally normal. Chilled salsa tends to firm up a bit. Just give it a good stir and add a splash of water if needed to loosen it back up before serving.
Final Thoughts: Bring the Heat to Your Table
There’s something really special about making your own salsa from scratch. It’s such a simple process, but the payoff is huge—flavor that’s bold, fresh, and totally customizable. This Chili de Árbol Salsa is one of those recipes that’s easy enough for everyday use but flavorful enough to impress at any gathering.
Once you get the hang of it, don’t be surprised if you start tweaking the recipe to make it your own. Maybe you’ll char a few extra tomatoes, play with different chiles, or add a squeeze of lime for brightness. The beauty of this salsa is that it’s flexible—and it always delivers.
I’d love to hear how it turns out for you! Leave a comment with your favorite way to serve it, any tweaks you made, or how spicy you went. And if you have any questions I didn’t cover, drop those too—I’m always happy to help.
Now go grab your chips, fire up those tacos, and enjoy the heat!
Print
Chili de Árbol Salsa
- Author: Andrew Recipes
Description
This fiery and flavorful Chili de Árbol Salsa brings a bold kick to any dish. Made with toasted chile de árbol peppers, charred tomatoes, garlic, and onion, it’s a classic Mexican salsa that’s smoky, spicy, and incredibly versatile. Add a splash of vinegar for tang or adjust the number of chiles to suit your heat tolerance—perfect as a dip or topping for tacos, grilled meats, eggs, and more.
Ingredients
- 15–20 dried chile de árbol peppers (adjust to your spice preference)
- 2 Roma tomatoes
- 2 garlic cloves
- 1/4 medium onion
- 1/4 teaspoon salt (or to taste)
- 1 tablespoon vegetable oil
- 1/2 cup water
- 1 tablespoon white vinegar (optional, for added tanginess)
Instructions
Heat a dry skillet over medium heat.
Add the dried chile de árbol peppers and toast for 1–2 minutes, stirring frequently to prevent burning. Remove when they become fragrant and slightly darker. Set aside.
In the same skillet, heat the vegetable oil and add the tomatoes, garlic cloves, and onion.
Cook for 4–5 minutes, turning occasionally, until they develop a slight char.
In a blender, combine the toasted chiles, charred tomatoes, garlic, onion, salt, water, and vinegar (if using).
Blend until smooth. If the salsa is too thick, add a little more water to achieve your desired consistency.
Pour the blended salsa back into the skillet and bring it to a simmer over low heat.
Cook for 5–7 minutes to meld the flavors, stirring occasionally.
Taste and adjust the seasoning as needed.
Notes
Always ventilate your kitchen when toasting dried chiles—they can release intense fumes.
For a milder version, reduce the number of chiles or remove some seeds.
This salsa stores well in the fridge for up to a week in an airtight container and can also be frozen for longer storage.
