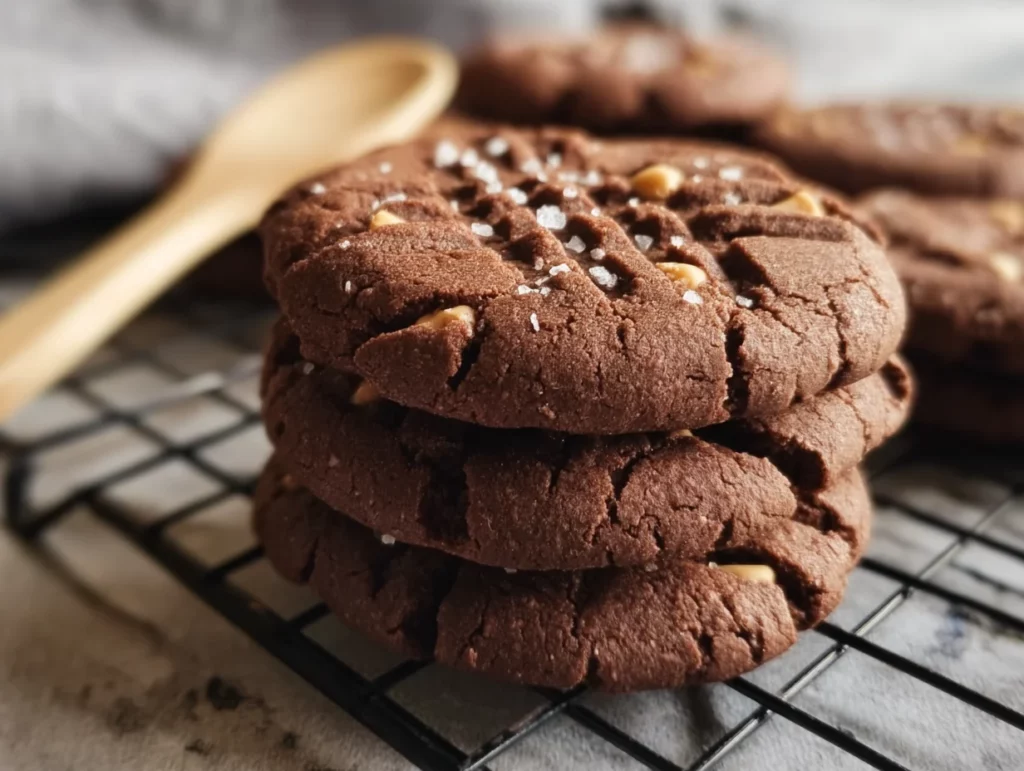
There’s just something about the combination of chocolate and peanut butter that hits all the right notes. It’s nostalgic, a little indulgent, and always comforting. These Chocolate Peanut Butter Cookies bring those flavors together in the best way—with rich cocoa, creamy peanut butter, and a soft, chewy texture that keeps you coming back for “just one more.”
These cookies are the kind you whip up when you want to impress with minimal effort or when you’re craving something sweet and salty but don’t want anything overly fancy. Honestly, I’ve made these for everything from casual get-togethers to late-night baking sessions, and there’s never a crumb left behind.
And the best part? You probably already have most of the ingredients sitting in your pantry right now. So let’s not waste any time—get your oven preheating, and let’s make a batch of these irresistible cookies.
Why You’ll Love These Chocolate Peanut Butter Cookies
Let me just say: these cookies are next-level good. They’re soft in the center, slightly crisp on the edges, and packed with that classic combo of chocolate and peanut butter. But what makes them really shine?
Simple pantry ingredients: Nothing fancy, just basics you likely already have.
Soft and chewy texture: Thanks to the perfect balance of sugar, butter, and flour.
Sweet and salty flavor: The cocoa brings the richness, while the peanut butter adds a savory depth.
Customizable: Toss in chocolate chips, peanut butter chips, or sprinkle a little flaky sea salt on top.
Alright, let’s jump into how to make them step by step!
Ingredients You’ll Need
Here’s what you’ll want to gather before getting started:
For the cookie dough:
1 cup all-purpose flour
½ cup unsweetened cocoa powder
½ teaspoon baking soda
¼ teaspoon salt
½ cup unsalted butter, softened
½ cup granulated sugar
½ cup packed brown sugar
½ cup creamy peanut butter
1 large egg
1 teaspoon vanilla extract
Optional toppings:
Sea salt for sprinkling
Extra chocolate chips or peanut butter chips
STEP 1: Preheat Your Oven & Prep Your Baking Sheet
Before anything else, preheat your oven to 350°F (175°C). You’ll want your oven fully hot before the cookies go in so they bake evenly.
Line a baking sheet with parchment paper (or a silicone baking mat if you’ve got one) and set it aside. This keeps your cookies from sticking and makes cleanup a breeze.

STEP 2: Mix the Dry Ingredients
In a medium bowl, whisk together:
1 cup flour
½ cup cocoa powder
½ teaspoon baking soda
¼ teaspoon salt
Give it a good mix until everything’s evenly combined and lump-free. This step ensures that the cocoa powder and baking soda get evenly distributed through the dough, which helps with that rich, chocolatey flavor and a good rise.
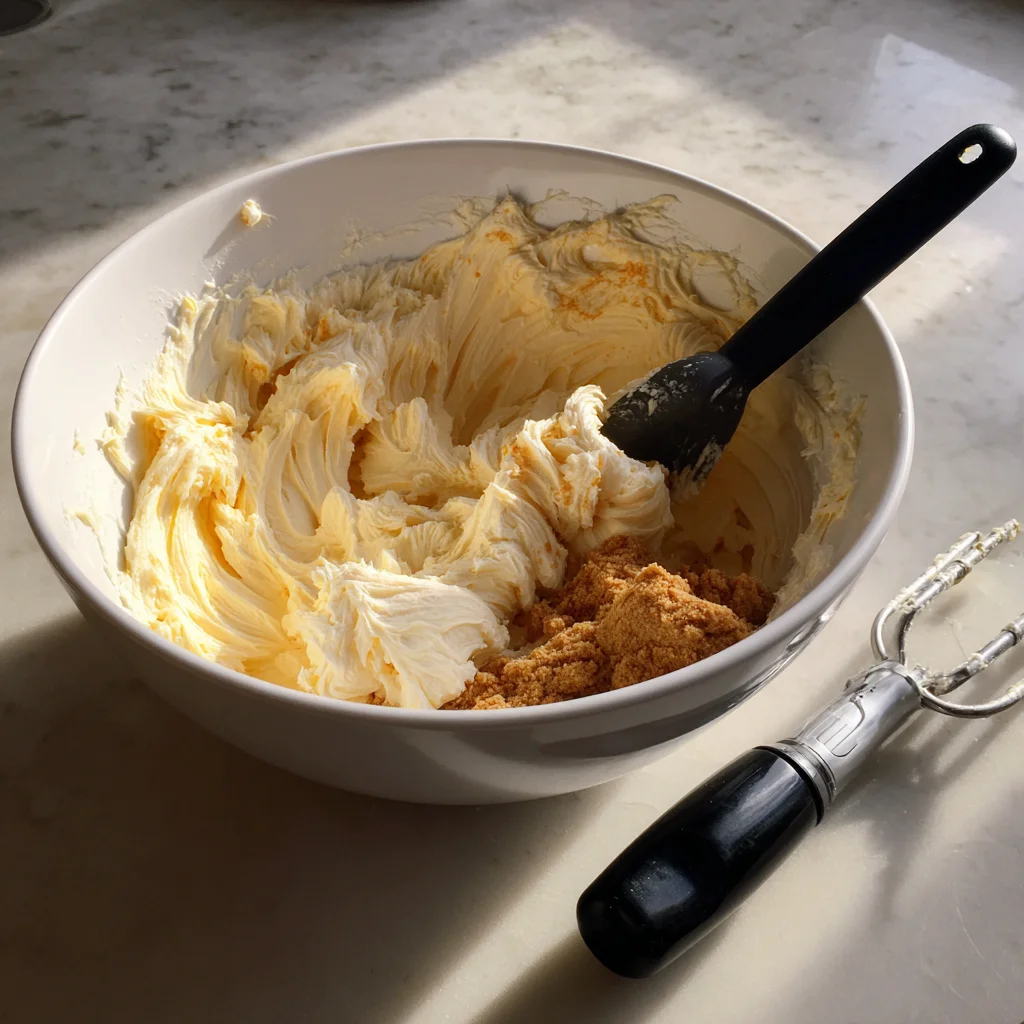
STEP 3: Cream the Butter and Sugars
In a large mixing bowl, use a hand mixer or stand mixer to beat together:
½ cup unsalted butter (softened)
½ cup granulated sugar
½ cup packed brown sugar
You’ll want to mix until the texture is light and fluffy, which usually takes about 2-3 minutes. This step is key to getting that soft, chewy texture later.
![]()
STEP 4: Add Peanut Butter, Egg, and Vanilla
Once your butter and sugars are fluffy, go ahead and add:
½ cup creamy peanut butter
1 large egg
1 teaspoon vanilla extract
Mix until everything is smooth and fully incorporated. The peanut butter gives this dough a thick, creamy consistency—and adds that irresistible flavor combo we’re going for.
STEP 5: Combine the Wet and Dry Ingredients
Slowly add the dry ingredients to your wet mixture, about half at a time. Mix just until combined—don’t overmix here. Overworking the dough can make the cookies tough, and we want them soft and tender.
At this point, if you’re feeling fancy, you can fold in a handful of chocolate chips or peanut butter chips. Totally optional, but highly recommended if you want to amp up the gooey factor.
Bake, Cool & Customize Like a Pro
Welcome back! If you’ve followed along so far, your cookie dough should be ready to go, and your kitchen probably smells like sweet, chocolatey heaven. We’ve already mixed the perfect soft dough with all that rich cocoa and creamy peanut butter goodness—now it’s time to shape, bake, and let these cookies work their magic.
In this part, I’ll guide you through the final steps of baking and cooling, along with some easy tips to customize them just the way you like. Whether you love them plain and simple or with a little extra chocolate flair, this next step is where the cookie magic really happens.
Let’s get into it!
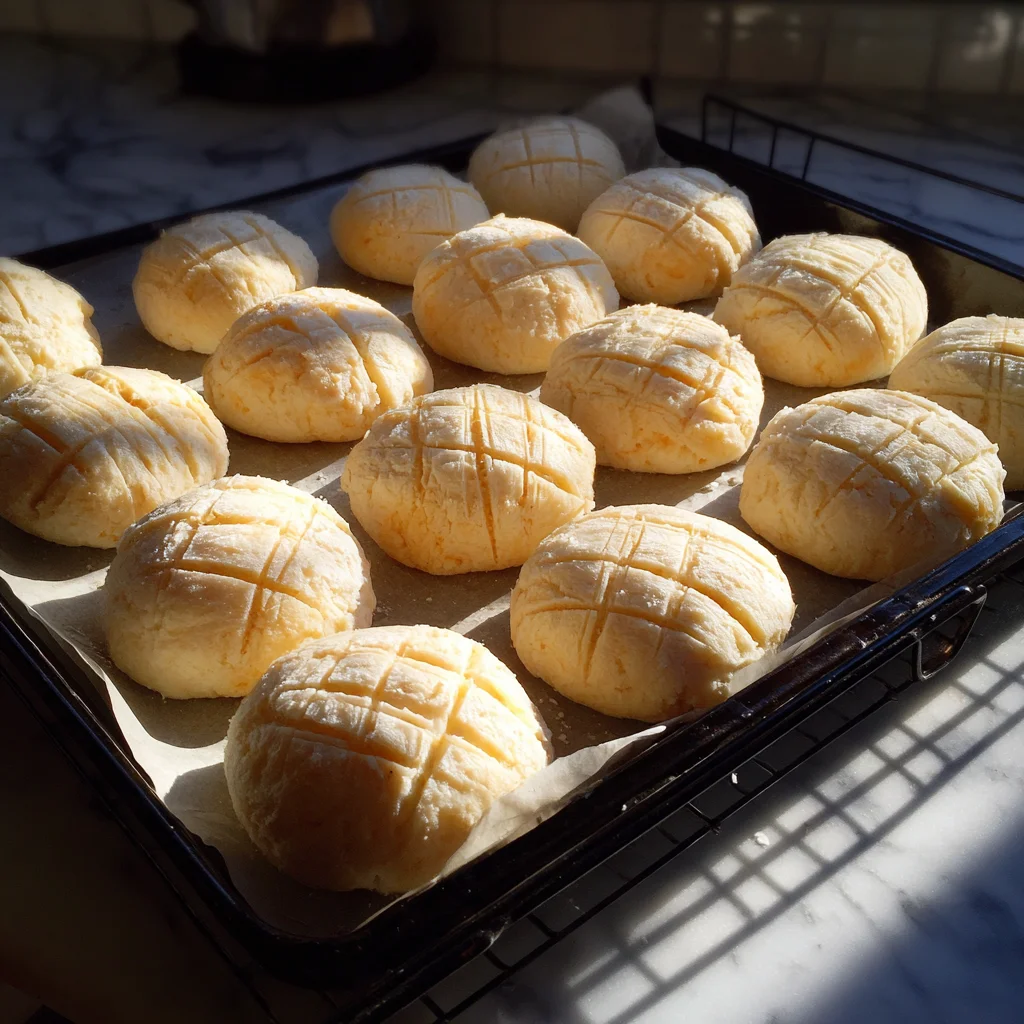
STEP 6: Scoop and Shape the Cookies
Using a tablespoon or cookie scoop, portion out the dough into even-sized scoops and place them on your prepared baking sheet. Be sure to space them about 2 inches apart—these cookies spread a bit while baking, and giving them some room helps keep them from merging into one giant cookie (unless that’s your goal, of course).
Optional step: For that classic peanut butter cookie look, gently press each dough ball down with the back of a fork in a crisscross pattern. This step is totally up to you—some days I do it, some days I don’t. If you skip it, the cookies will be puffier and more rounded, which also has its charm.
STEP 7: Bake to Perfection
Pop your tray in the preheated oven and bake the cookies for 9 to 11 minutes, or until:
The edges look set
The centers still look slightly soft
This is the sweet spot for soft and chewy cookies. They’ll finish setting up as they cool, so resist the urge to leave them in longer—overbaking will make them dry and cakey instead of fudgy and soft.
If you’re adding a sprinkle of sea salt on top, do it right when they come out of the oven while they’re still warm. That little salty pop really enhances the peanut butter flavor and balances the sweetness.
STEP 8: Cool and Set
Once out of the oven, let the cookies cool on the baking sheet for about 5 minutes. They’re still finishing up their baking process at this point, and moving them too soon can cause them to fall apart.
After 5 minutes, transfer them to a wire rack to cool completely (or at least mostly—no one will judge if you snag one while they’re still warm and gooey).
Tips for the Best Chocolate Peanut Butter Cookies
These cookies are pretty much foolproof, but here are a few tips that can make them even better:
Chill the dough for thicker cookies: If you want a cookie that’s more dense and doesn’t spread as much, refrigerate the dough for 30 minutes to 1 hour before baking. It helps control the spread and intensifies the flavor.
Use high-quality cocoa powder: Since chocolate is front and center here, the better the cocoa, the richer the flavor. Dutch-process cocoa will give you a smoother, deeper chocolate taste.
Mix in fun extras: Want to switch things up? Try adding:
Mini peanut butter cups (chopped)
White chocolate chips
Crushed pretzels for a salty crunch
A swirl of Nutella or peanut butter in the dough
Make sandwich cookies: Take two cookies and sandwich them together with a spoonful of peanut butter or chocolate spread. It’s like a homemade cookie version of a peanut butter cup—absolutely worth it.
Storage tip: These cookies stay fresh in an airtight container at room temperature for up to 5 days. You can also freeze them—either the baked cookies or the raw dough—for later.
FAQ & Final Thoughts
We’ve mixed, baked, and maybe even taste-tested a few warm cookies straight off the tray (you’re not alone). These Chocolate Peanut Butter Cookies are just the right blend of rich cocoa and creamy peanut butter, and they come together without any complicated steps or hard-to-find ingredients.
Before we wrap things up, I wanted to go over a few frequently asked questions that come up with this recipe. Whether you’re a seasoned baker or making cookies from scratch for the first time, these tips will help you get the best possible results every single time.
Frequently Asked Questions
1. Can I use natural peanut butter in this recipe?
You can, but it may change the texture of the cookies. Natural peanut butter tends to have more oil separation and less sugar, which can make the dough looser and the cookies slightly more crumbly. For best results, use a traditional creamy peanut butter like Jif or Skippy.
2. How do I keep the cookies soft after baking?
The key to soft cookies is not overbaking them. Pull them from the oven when the centers still look a little underdone—they’ll firm up as they cool. For storage, keep them in an airtight container with a slice of bread inside to maintain moisture.
3. Can I make these cookies gluten-free?
Yes! You can substitute the all-purpose flour with a 1:1 gluten-free baking flour blend. Just make sure the blend includes xanthan gum or another binding agent to help hold the cookies together.
4. How do I freeze the dough or baked cookies?
To freeze the dough: Scoop the dough into balls and freeze them on a baking sheet. Once solid, transfer to a freezer-safe bag or container. You can bake them straight from the freezer—just add a minute or two to the baking time.
To freeze baked cookies: Let them cool completely, then store in an airtight freezer-safe container for up to 3 months.
5. What if I don’t have cocoa powder?
If you’re out of cocoa powder, you can’t make these exact cookies—but you can switch gears and make regular peanut butter cookies instead. For that, just use the same base recipe and omit the cocoa powder, slightly increasing the flour by 1–2 tablespoons.
6. Can I double this recipe?
Absolutely. This recipe doubles beautifully, which is great if you’re baking for a party or want to freeze a batch for later. Just be sure to use a large enough mixing bowl and mix the dough evenly.
7. Do I need to chill the dough?
Nope! This recipe works great without chilling the dough. But if you want a thicker, puffier cookie, chilling the dough for 30–60 minutes helps the cookies spread less in the oven and gives you a firmer texture.
Final Thoughts: Give These a Try!
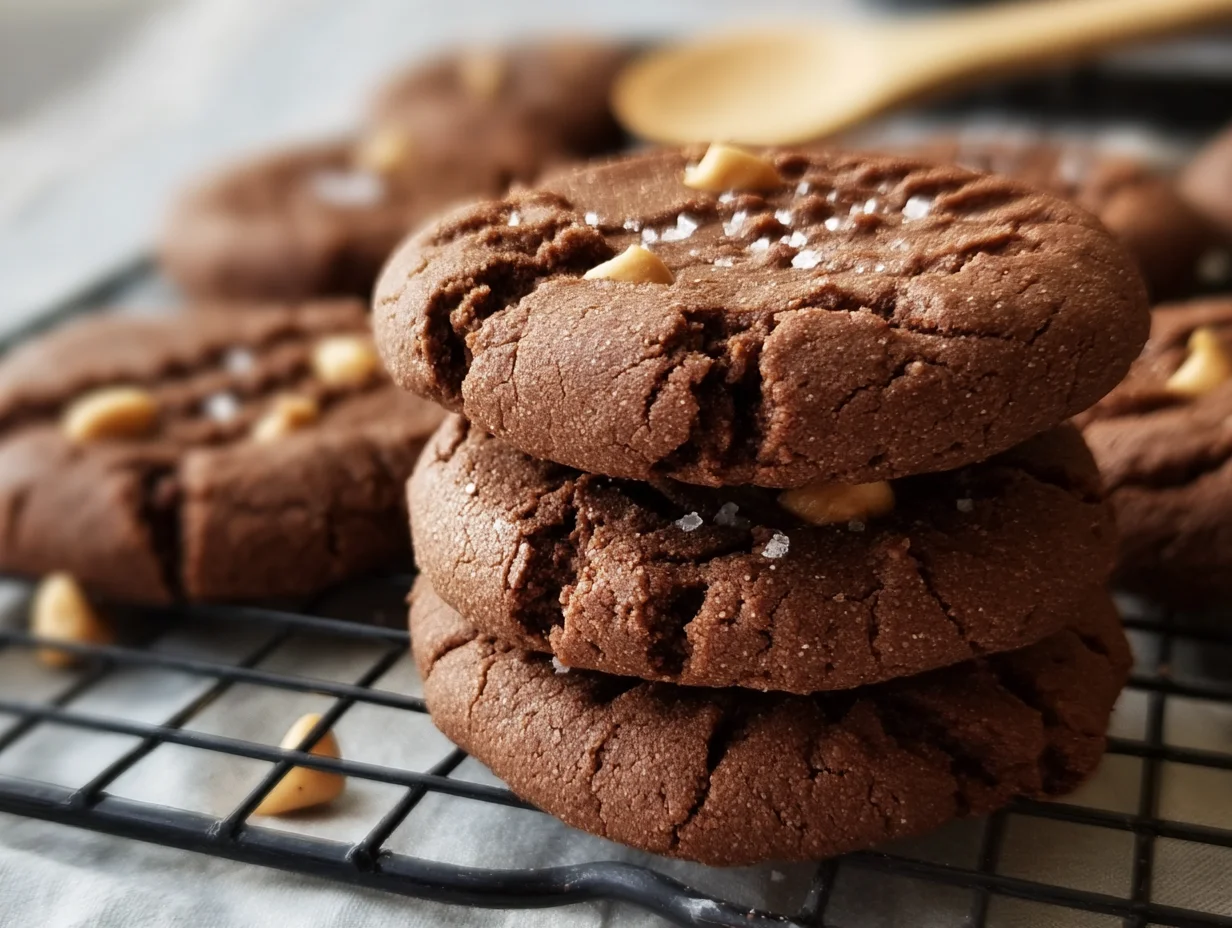
These Chocolate Peanut Butter Cookies are truly the kind of treat that hits all the right notes—easy to make, packed with flavor, and guaranteed to satisfy those chocolate and peanut butter cravings. Whether you’re baking a batch for a cookie exchange, packing lunchbox treats, or just making a little something sweet for yourself, this recipe delivers every time.
What I love most about this recipe is its versatility. You can keep things simple and classic, or have a little fun by tossing in chocolate chips, adding a pinch of sea salt, or turning them into sandwich cookies. It’s really hard to go wrong here.
Print
Chocolate Peanut Butter Cookies
- Author: Andrew Recipes
Description
These Chocolate Peanut Butter Cookies are the perfect blend of rich cocoa and creamy peanut butter, delivering a soft, chewy texture with a deep, satisfying flavor. The balance between sweet chocolate and salty peanut butter makes them irresistible for cookie lovers of all ages. Whether enjoyed warm from the oven or cooled with a glass of milk, these cookies will be a hit for any occasion.
Ingredients
For the cookie dough:
1 cup all-purpose flour
½ cup unsweetened cocoa powder
½ teaspoon baking soda
¼ teaspoon salt
½ cup unsalted butter, softened
½ cup granulated sugar
½ cup packed brown sugar
½ cup creamy peanut butter
1 large egg
1 teaspoon vanilla extract
Optional for topping:
Sea salt for sprinkling
Extra chocolate chips or peanut butter chips
Instructions
Preheat the oven to 350°F (175°C). Line a baking sheet with parchment paper and set aside.
In a medium bowl, whisk together the flour, cocoa powder, baking soda, and salt until well combined.
In a large mixing bowl, cream the butter, granulated sugar, and brown sugar together until light and fluffy using a hand or stand mixer.
Add the peanut butter and mix until smooth. Then beat in the egg and vanilla extract until fully incorporated.
Gradually add the dry ingredients to the wet mixture, mixing just until combined. Do not overmix. If desired, fold in chocolate chips or peanut butter chips at this stage.
Scoop tablespoon-sized portions of dough onto the prepared baking sheet, spacing them about 2 inches apart. If desired, gently press down with a fork for a crisscross pattern or leave them rounded.
Bake for 9 to 11 minutes, or until the edges are set and the centers are still soft. Do not overbake as they will continue to set while cooling.
Remove from the oven and allow cookies to cool on the baking sheet for 5 minutes before transferring to a wire rack to cool completely.
Notes
For a more intense chocolate flavor, add a handful of dark chocolate chips. These cookies store well in an airtight container for up to five days. If you prefer a firmer texture, chill the dough for 30 minutes before baking. For a fun twist, sandwich two cookies with a dollop of peanut butter or chocolate spread between them.

