If there’s one side dish that always earns a spot on our holiday table—and honestly, even on a casual Sunday dinner menu—it’s scalloped potatoes. There’s just something about those tender slices of potato baked in a rich, velvety sauce that feels like a warm hug on a plate. Whether you’re serving up roast chicken, glazed ham, or even a simple green salad, this dish brings it all together.
Today, I’m sharing my go-to Classic Scalloped Potatoes recipe. It’s simple, deeply satisfying, and always gets rave reviews. I’ve made this dish more times than I can count, and I’ve tweaked it over the years to strike just the right balance of creaminess and texture. You can keep it classic, or add cheese for a little extra indulgence (which I highly recommend!).
Let’s dive into the cozy, creamy goodness.
Why You’ll Love These Scalloped Potatoes
This recipe is comfort food at its finest. It uses pantry staples, requires minimal prep, and always comes out beautifully golden and bubbling. Plus, it’s super versatile—you can make it ahead of time, reheat it easily, and even add in extras like onions, herbs, or cheese to customize the flavor to your liking.
And while scalloped potatoes may seem like a fancy or time-consuming side dish, the truth is, it’s much easier than you think. Once you get your potatoes sliced and your sauce made, the oven does the rest of the work.

Ingredients You’ll Need
Here’s everything you’ll need to bring this classic dish to life:
2 pounds russet or Yukon Gold potatoes, peeled and thinly sliced
2 tablespoons butter
2 tablespoons all-purpose flour
2 cups whole milk (or substitute with half-and-half for a richer version)
1 cup shredded sharp cheddar cheese (optional, but delicious!)
1 garlic clove, minced
Salt and black pepper, to taste
1 teaspoon dried thyme or 1 tablespoon fresh thyme (optional)
Cooking spray or butter, for greasing the baking dish
Tip: Using a mandoline makes slicing the potatoes quick and uniform, which helps them cook evenly.
STEP 1: Prep Your Baking Dish and Oven
Preheat your oven to 375°F (190°C) and grease a 9×13-inch baking dish with butter or cooking spray. This helps prevent sticking and makes cleanup a lot easier later on.
STEP 2: Make the Creamy Sauce
In a medium saucepan, melt the butter over medium heat. Once melted, stir in the minced garlic and sauté for about 1 minute, just until it becomes fragrant (don’t let it brown—burnt garlic is a no-go here).
Next, whisk in the flour and cook for another minute to form a simple roux. This is what’s going to give your sauce that luscious, thick consistency.
Slowly pour in the milk, whisking constantly to keep the mixture smooth. Keep whisking until the sauce thickens slightly—it should take about 5 to 7 minutes. You’re looking for a consistency similar to a light gravy.
Season the sauce with salt, black pepper, and the thyme, if using. If you’re going the cheesy route (which I usually do), stir in the shredded cheddar cheese and mix until it’s completely melted and silky smooth.

STEP 3: Start Layering the Potatoes
Now it’s time to layer! Arrange half of the sliced potatoes in the greased baking dish in an even layer. Don’t worry about being too perfect here—just make sure they’re spread out fairly evenly.
Pour half of the sauce over the top, using a spoon or spatula to spread it out so all the potatoes are coated.
Repeat this process with the remaining potatoes and finish with the rest of the sauce on top. You want all the layers nicely covered so the potatoes absorb that creamy goodness as they bake.
Classic Scalloped Potatoes: Creamy, Comforting, and Perfect for Any Occasion
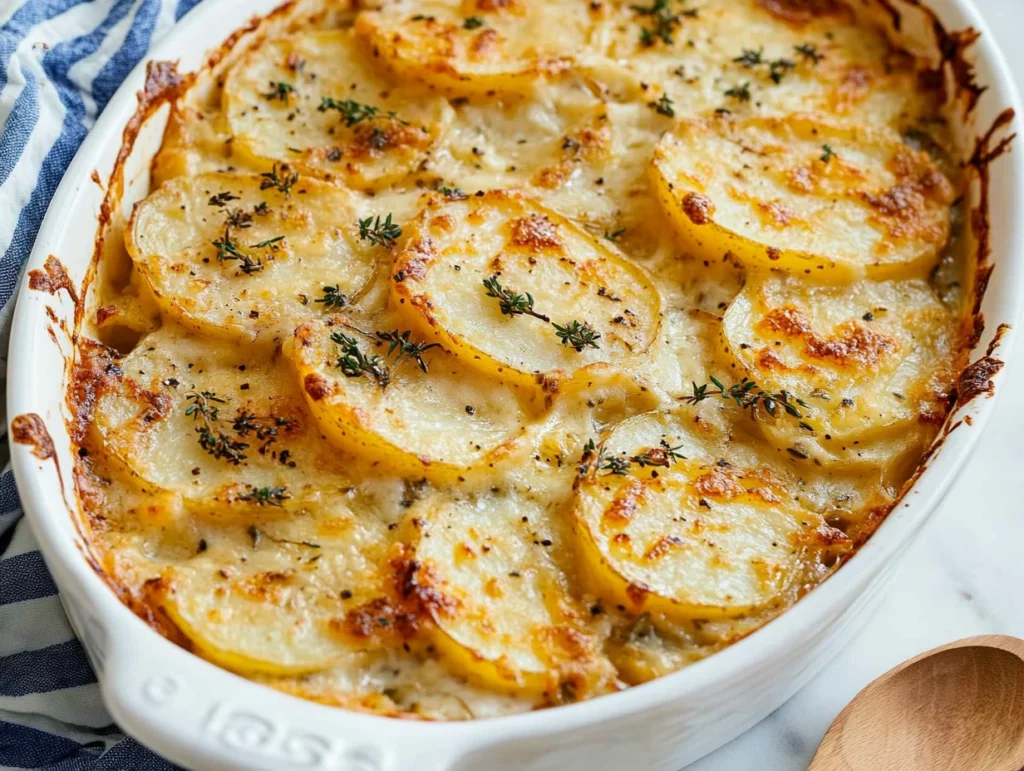
We left off with our beautifully layered potatoes, all tucked in under a blanket of creamy sauce. Now it’s time to move into the best part—baking them until tender, bubbly, and golden. This is where the magic happens in the oven, and your kitchen starts to smell like absolute heaven.
There’s something so satisfying about pulling a dish of scalloped potatoes out of the oven and seeing those golden edges and that rich, creamy sauce bubbling up around the sides. It’s rustic, it’s cozy, and it’s exactly what comfort food should be.
Let’s finish things up and talk about some helpful tips and flavor variations to really make this recipe your own.
STEP 4: Cover and Bake
Once your potatoes are fully layered and the sauce is spread evenly on top, cover the dish tightly with aluminum foil. This traps the steam and helps the potatoes cook evenly and become nice and tender.
Place the dish on the center rack of your preheated 375°F oven and bake, covered, for 45 minutes. This gives the potatoes a good start and allows them to soak up all that flavorful sauce.
STEP 5: Uncover and Finish Baking
After 45 minutes, remove the foil and continue baking for another 25 to 30 minutes. This is when the top starts to brown, and the sauce thickens up into that creamy, dreamy texture we all love.
To check for doneness, use a fork or knife to pierce through the layers of potatoes—if it slides in easily, they’re done. You should also see a golden color forming on the top, especially if you added cheese.
If you like a little extra crisp on top (I definitely do), you can broil the dish for the last 2–3 minutes of baking. Just keep a close eye on it so it doesn’t burn—browned is good, burnt is not.
STEP 6: Let It Rest Before Serving
I know it’s tempting to dig in right away, but trust me—let the dish rest for about 10 minutes after it comes out of the oven. This gives the sauce a chance to set slightly, making it easier to serve and giving the flavors time to come together.
You’ll be rewarded with perfectly creamy, sliceable scalloped potatoes that hold their shape on the plate.
Tips for the Best Scalloped Potatoes
Making scalloped potatoes from scratch isn’t hard, but here are a few little tips that can make a big difference in the final result:
Use a mandoline slicer for even potato slices. Uniform thickness means even cooking and a better texture overall.
Choose the right potatoes. Russets give you that soft, melt-in-your-mouth feel, while Yukon Golds hold their shape better and have a buttery flavor.
Don’t skip the roux. That flour-butter mixture creates a stable base for your creamy sauce and keeps it from breaking or separating.
Cheese it up! While traditional scalloped potatoes don’t include cheese (technically that’s what makes them “au gratin”), I love adding a handful of sharp cheddar or even Gruyère for extra richness.
Add onions for more depth. Thinly sliced onions layered in with the potatoes add a subtle sweetness and make the dish feel even more comforting.
Make-Ahead and Reheating Tips
This dish is a total win when it comes to prep-ahead meals. You can fully assemble it the day before, cover it tightly with foil, and store it in the fridge overnight. When you’re ready to bake, let it sit out at room temperature for about 30 minutes, then follow the baking instructions as usual.
To reheat: Cover with foil and warm in a 350°F oven until heated through, about 20–25 minutes. If the top needs refreshing, uncover it for the last few minutes.
Scalloped potatoes also reheat beautifully in the microwave—just heat in short bursts and stir gently to keep that creamy texture intact.
Classic Scalloped Potatoes: Creamy, Comforting, and Perfect for Any Occasion
We’ve made it to the final part of our scalloped potato journey! By now, your kitchen probably smells amazing and you’re just about ready to serve up this classic dish. But before we wrap things up, let’s dive into some of the most frequently asked questions. Whether you’re making this for the first time or looking to tweak it for your family’s preferences, these tips and answers should help you feel confident every step of the way.
Frequently Asked Questions
Can I make scalloped potatoes ahead of time?
Yes! Scalloped potatoes are perfect for making ahead. Assemble the dish completely, cover it tightly, and refrigerate it for up to 24 hours. When you’re ready to bake, let it sit out at room temperature for 30 minutes, then bake as directed. You may need to add a few extra minutes of bake time if it’s still cold when it goes into the oven.
What’s the best way to slice the potatoes?
A mandoline slicer is ideal for thin, uniform slices that cook evenly. If you don’t have one, a sharp knife works fine—just try to keep the slices as even as possible, around 1/8-inch thick.
Can I use a different type of cheese?
Absolutely. Sharp cheddar adds great flavor, but you can experiment with other cheeses like Gruyère, mozzarella, fontina, or even Parmesan. Just make sure to use a cheese that melts well for the best texture.
How do I make this dish gluten-free?
To make scalloped potatoes gluten-free, simply substitute the all-purpose flour with a gluten-free flour blend or cornstarch. If using cornstarch, use half the amount (1 tablespoon) and whisk it into the cold milk before heating it up to avoid lumps.
Can I freeze scalloped potatoes?
Technically yes, but the texture might change slightly upon reheating. For best results, freeze leftovers in individual portions. Reheat in the oven at 350°F, covered with foil, until warmed through. Be aware that the creamy sauce may separate a bit after freezing.
Why are my scalloped potatoes still hard after baking?
If your potatoes are still firm after the full baking time, they may have been sliced too thick, or your oven may run a little cool. Try slicing them thinner next time, and make sure your sauce is fully simmered and thickened before pouring it over the potatoes. You can also loosely re-cover the dish and continue baking for an additional 10–15 minutes until tender.
Can I add meat or veggies to this recipe?
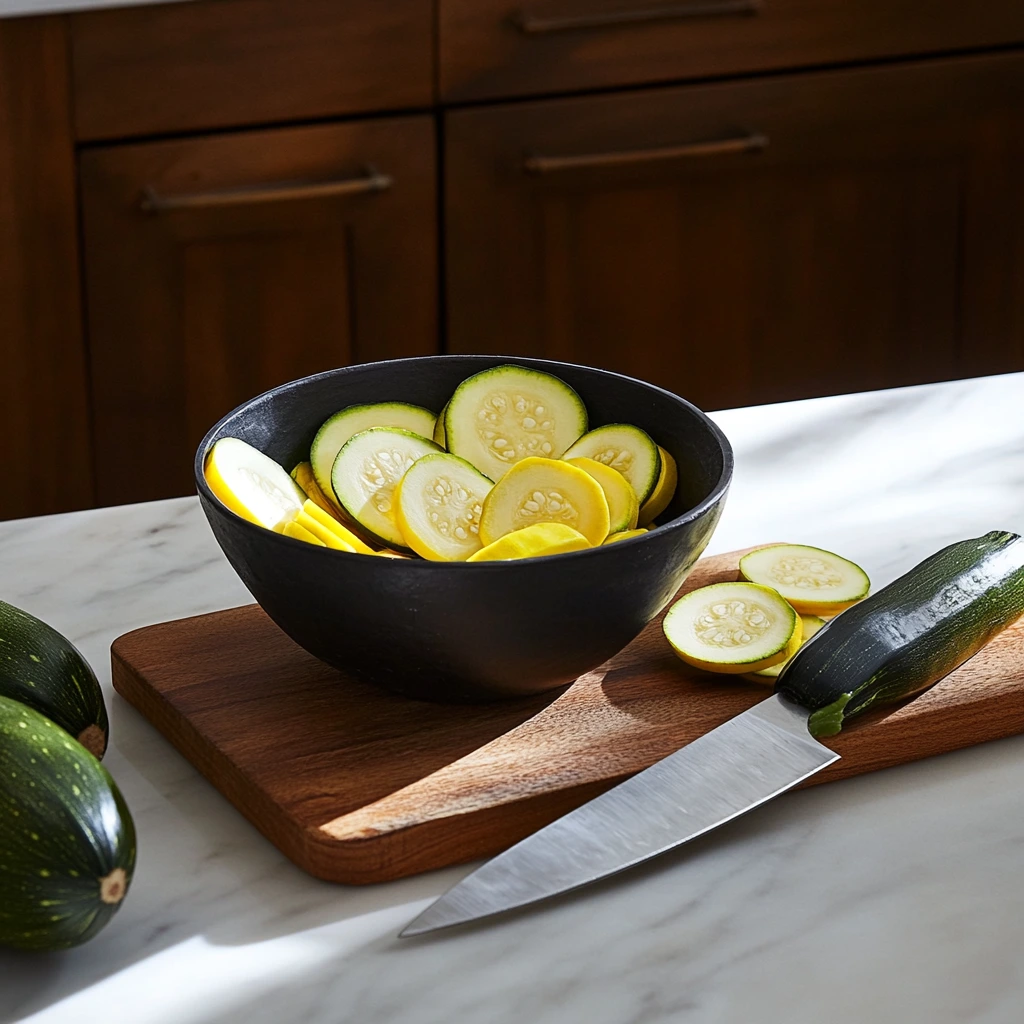
Yes! You can add cooked ham, bacon, or even caramelized onions between the layers. For vegetables, thinly sliced zucchini or spinach can work, but avoid anything with too much moisture, as it can thin out the sauce.
Final Thoughts: A Dish That Always Delivers
There’s a reason scalloped potatoes have stood the test of time—they’re comforting, versatile, and always a hit on the table. Whether you’re serving them for a holiday feast, a weekend gathering, or just because you’re craving something cozy, this recipe never disappoints.
What I love most about scalloped potatoes is that they’re as flexible as they are delicious. You can keep things traditional, lean into the cheesy goodness, or load them up with herbs and add-ins to make them your own. They pair with everything and make even the simplest meal feel like something special.
Print
Classic Scalloped Potatoes
- Author: Andrew Recipes
Description
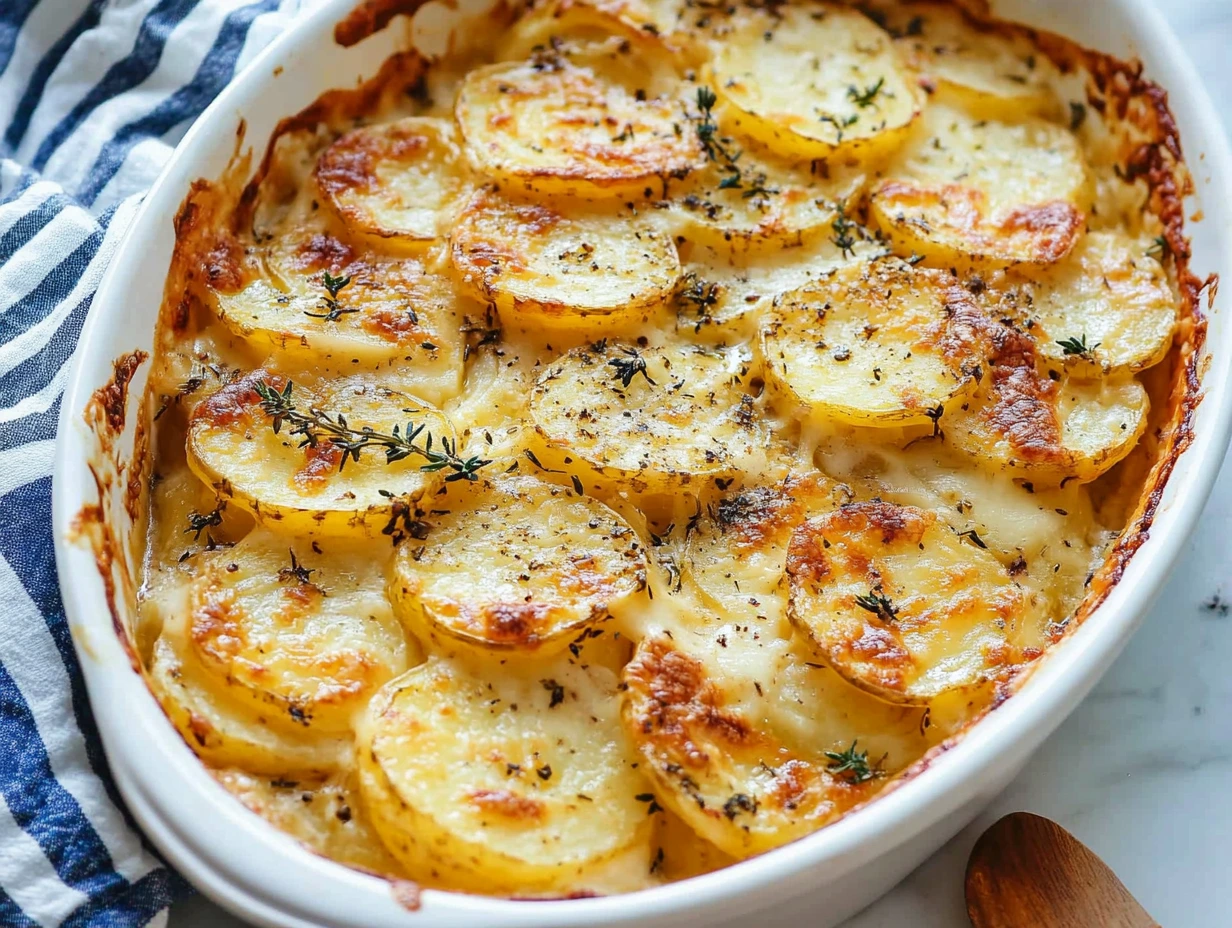
Scalloped potatoes are a timeless comfort food, featuring thinly sliced potatoes baked in a creamy, savory sauce until tender and golden. This dish is perfect as a side for holiday dinners, Sunday roasts, or any meal that calls for a rich and satisfying addition. The layers of soft potatoes absorb the creamy sauce and bake into a melt-in-your-mouth texture.
Ingredients
2 pounds russet or Yukon Gold potatoes, peeled and thinly sliced
2 tablespoons butter
2 tablespoons all-purpose flour
2 cups whole milk (or half-and-half for extra richness)
1 cup shredded sharp cheddar cheese (optional)
1 garlic clove, minced
Salt and black pepper to taste
1 teaspoon dried thyme or 1 tablespoon fresh thyme (optional)
Cooking spray or butter for greasing the baking dish
Instructions
1️⃣ Preheat your oven to 375°F (190°C) and grease a 9×13-inch baking dish with cooking spray or butter.
2️⃣ In a medium saucepan, melt the butter over medium heat. Add the minced garlic and cook for about 1 minute until fragrant. Whisk in the flour and cook for another minute to form a roux.
3️⃣ Gradually pour in the milk, whisking constantly to avoid lumps. Bring the mixture to a gentle simmer and cook until it thickens, about 5–7 minutes. Stir in the salt, pepper, and thyme if using. For a cheesier version, add the shredded cheddar and stir until melted and smooth.
4️⃣ Arrange half of the sliced potatoes in the prepared baking dish in an even layer. Pour half of the sauce over the potatoes, spreading it evenly. Repeat with the remaining potatoes and top with the rest of the sauce.
5️⃣ Cover the dish with foil and bake for 45 minutes. Remove the foil and bake uncovered for an additional 25–30 minutes, or until the top is golden and the potatoes are tender when pierced with a fork.
6️⃣ Let the dish rest for 10 minutes before serving to allow the sauce to thicken slightly and the flavors to settle.
Notes
For extra flavor, add sliced onions between the potato layers. You can also use a mandoline for even slicing. If you prefer a crispier top, broil the dish for the last 2–3 minutes of baking. This dish can be made a day ahead and reheated, making it ideal for entertaining.

