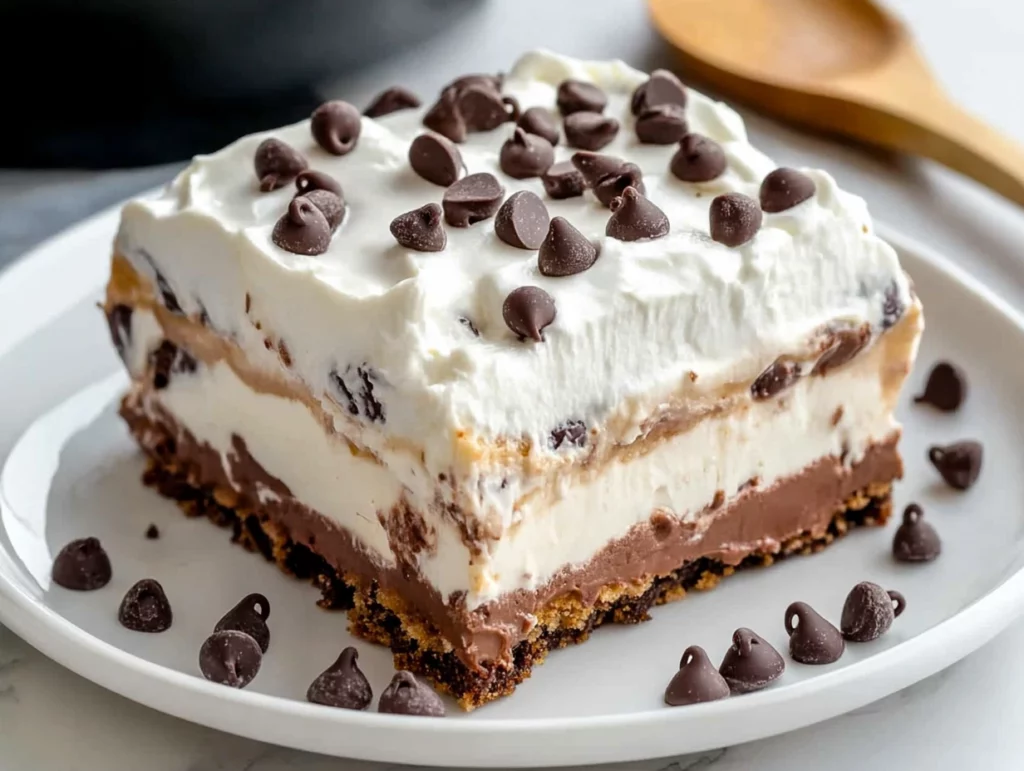
There’s something undeniably comforting about warm chocolate chip cookies paired with a creamy, dreamy frosting. When I first stumbled upon this Cookie Monster Dessert at a summer potluck, I couldn’t believe how effortlessly it combined the nostalgia of fresh-baked cookie dough with the cool silkiness of whipped pudding and cream cheese. One bite felt like a hug from childhood—chocolatey, sweet, and just a little bit indulgent. It quickly became my go-to “wow” dessert for gatherings, because who doesn’t love layers of cookie crunch, frosting fluff, and mini-chip studded fun?
What makes this recipe a real crowd-pleaser is how simple it is. No standing by the mixer for hours or hunting down obscure ingredients. You’ll use a convenient refrigerated cookie dough, instant pudding mixes, and a block of cream cheese—all staples you can keep on hand. In about 90 minutes, you’ll have a show-stopping 9×13-inch tray that serves a dozen happy dessert lovers. Whether you’re headed to a weekend BBQ or craving an easy treat at home, this is the one to keep in your back pocket.
In this three-part guide, we’ll walk through everything you need, from softening the dough to that final sprinkle of mini chocolate chips. Part 1 covers the story behind the recipe and the first essential steps—transforming cookie dough into a golden, chewy base. Part 2 will pick up with the creamy layers and expert tips for perfect texture. Finally, Part 3 offers a quick FAQ and a warm send-off to encourage you to make this dessert your own. Let’s dive in!

Ingredients for the Cookie Base
16.5 ounce tube refrigerated chocolate chip cookie dough
Nonstick cooking spray
Essential Equipment
9×13-inch baking dish
Oven preheated to 350 °F
Wet or oiled fingertips (this trick helps spread sticky dough evenly)
Prep at a Glance
Prep Time: 15 minutes (plus 20–30 minutes to soften dough)
Bake Time: 14–16 minutes
Total for Part 1: ~45 minutes, including cooling
Steps
Soften the Dough
Remove your refrigerated cookie dough from the fridge and let it sit on the counter for 20–30 minutes. You want it soft enough to spread easily, but not melting or greasy. While it warms up, gather your baking dish and cooking spray.Preheat and Prep
Preheat your oven to 350 °F. Meanwhile, liberally coat a 9×13-inch baking pan with nonstick spray—this ensures your cookie layer lifts out easily when it’s time to serve.Spread the Cookie Layer
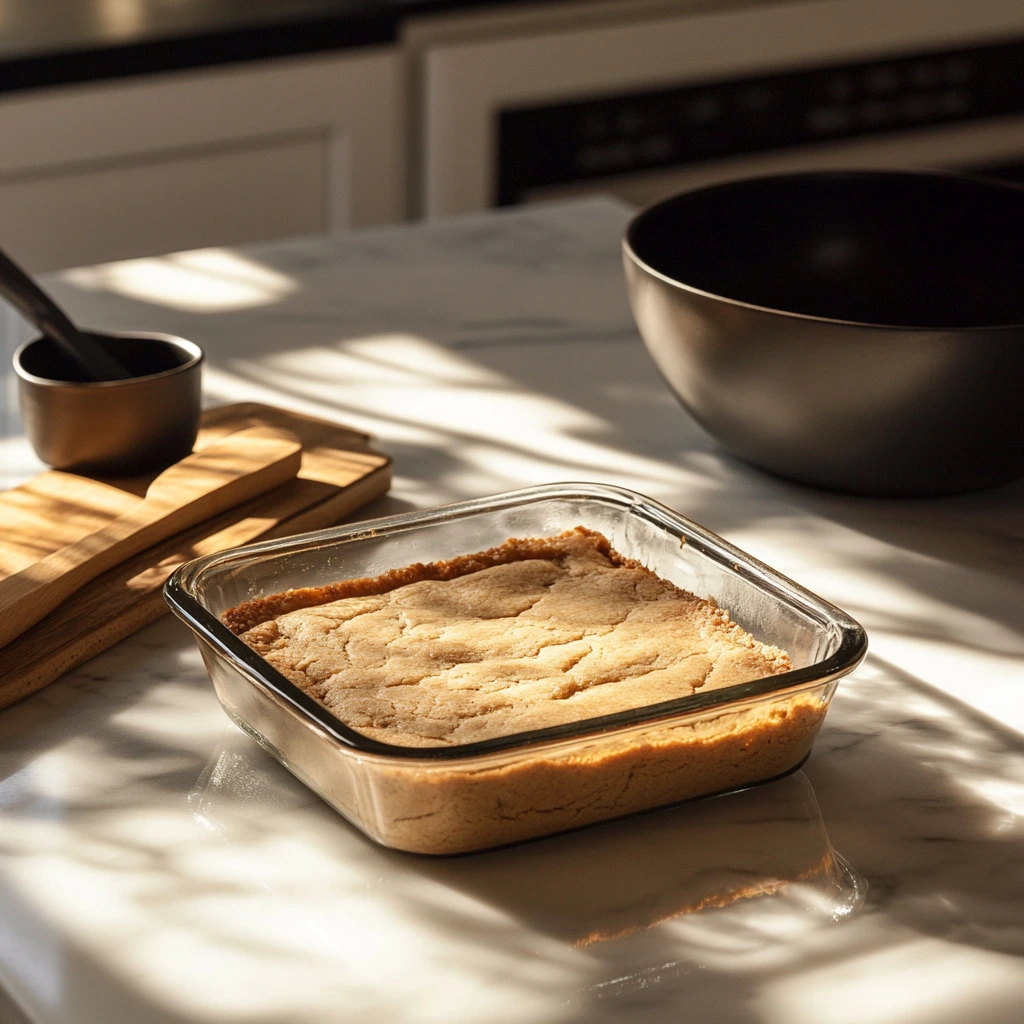
Once the dough is pliable, transfer it into the prepared pan. Using wet or lightly oiled fingertips, press and stretch the dough to fill the pan in one smooth layer. Don’t worry about a perfectly uniform edge—the baked crust will crisp up beautifully.Bake to Golden Perfection
Slide the pan into the preheated oven and bake for 14–16 minutes, until the top is just set and lightly golden brown. You want a chewy center, so avoid over-baking. Once done, remove the pan and let it cool completely on a wire rack before moving on to the creamy layers.
Building the Cream-Cheese & Pudding Layers (Plus Expert Tips!)
Now that your chewy cookie base is cooled and ready, it’s time to turn it into the playful, layered masterpiece that makes this dessert so addictive. In this section, we’ll whip up a tangy cream-cheese frosting, blend two flavors of instant pudding for maximum nostalgia, and finish with the light whipped topping and mini-chip sprinkling that bring each bite to life. Follow these steps closely for perfectly even layers, and don’t miss the pro tips to customize texture and add extra crunch.
Ingredients for Cream-Cheese Layer & Pudding
Cream-Cheese Layer
8 oz block cream cheese, softened to room temperature
1 cup powdered sugar
2 cups Cool Whip whipped topping, thawed and divided
Pudding Layer
3.9 oz box instant chocolate pudding mix
3.4 oz box instant vanilla pudding mix
3 cups cold milk
Topping & Garnish
Remaining Cool Whip (from the 2 cups divided)
½ cup mini chocolate chips
Steps
Make the Cream-Cheese Frosting
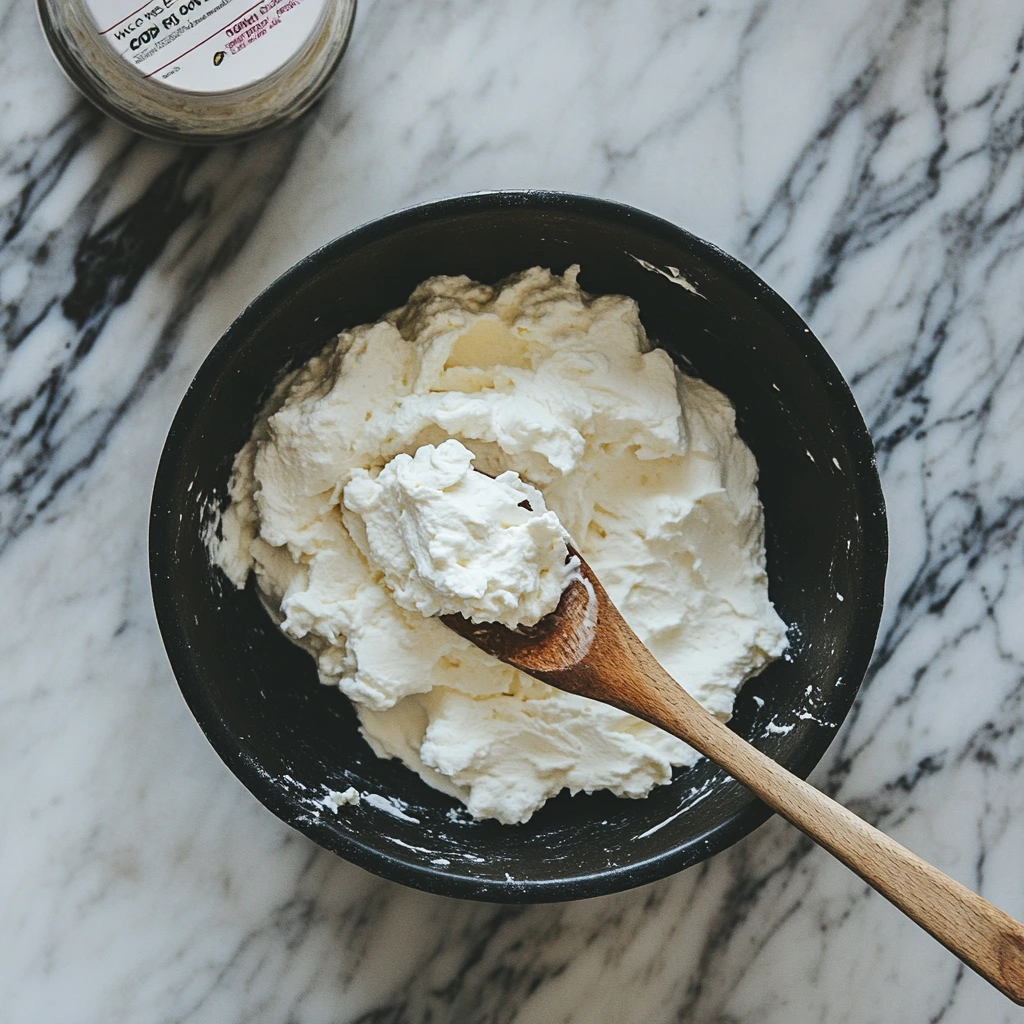
In a medium mixing bowl, beat the softened cream cheese and powdered sugar with an electric mixer on medium speed until completely smooth and lump-free (about 1–2 minutes). Scrape down the sides of the bowl to ensure an even texture.Fold in the Whipped Topping
Gently fold 1½ cups of the thawed Cool Whip into the sweetened cream cheese using a rubber spatula. This lightens the frosting without deflating it too much—your goal is a fluffy but stable layer that won’t slide off.Spread the Cream-Cheese Layer
Carefully dollop the cream-cheese mixture over the cooled cookie base. Use an offset spatula or the back of a spoon to smooth it into an even layer, all the way to the edges. The thickness should be about ¼–½ inch—enough to add tang and richness without overwhelming the cookie beneath.Whisk Up Dual-Flavor Pudding
In a clean bowl, whisk together both instant pudding mixes and 3 cups of ice-cold milk for about 2 minutes, until the mixture thickens slightly but is still pourable. The combo of chocolate and vanilla swirls through every bite, giving you that camp-classic taste.Assemble the Pudding Layer
Pour the pudding over the cream-cheese layer, then use a spatula to gently spread it into a uniform top. Take care not to dig into the layer below—you want a crisp separation between the tangy cream cheese and the sweet, silky pudding.Finish with Whipped Topping & Chips
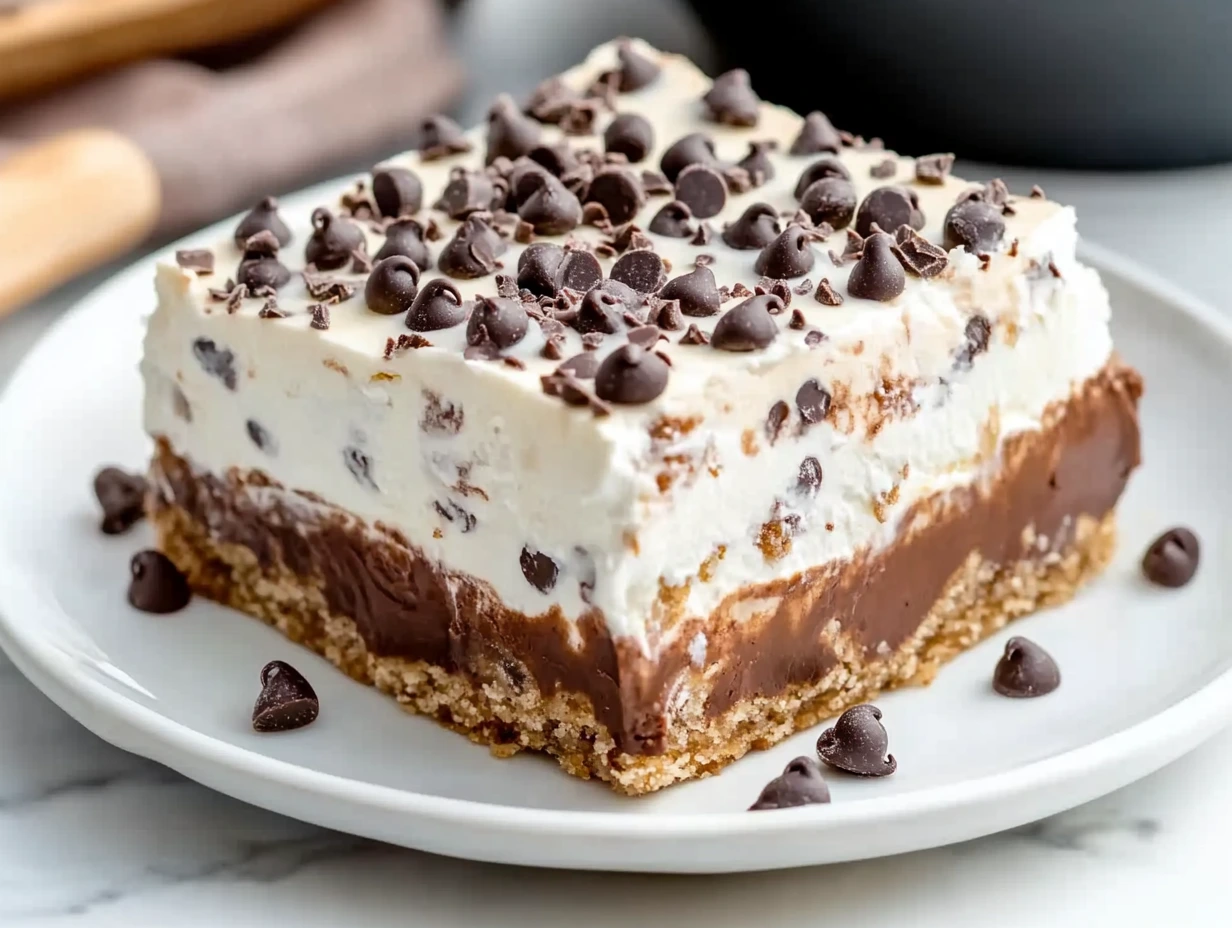
Top the pudding with the remaining ½ cup of Cool Whip, smoothing it out into a final fluffy blanket. Immediately sprinkle mini chocolate chips evenly over the surface, pressing in any that tumble off so they stay put during chilling.Chill to Set
Cover the pan with plastic wrap or foil and refrigerate for at least 1 hour. This resting time lets the pudding firm up and the layers to meld together into a sliceable bar. For best texture, aim for closer to 2 hours.
Pro Tips & Variations
Extra Cookie Crunch: Gently fold ½ cup of coarsely chopped baked cookies into the cream-cheese layer before spreading for added textural contrast.
Firmer Pudding: Reduce the milk by ¼ cup when whisking the pudding mixes to achieve a denser, more scoopable filling.
Make-Ahead: You can assemble everything up to 24 hours in advance—just cover tightly and keep refrigerated. Serve within 48 hours for peak freshness.
Flavor Swaps: Swap the chocolate pudding for butterscotch or banana instant pudding to experiment with new flavor combos that complement chocolate chip cookies.
Frequently Asked Questions
1. Can I use homemade cookie dough instead of the refrigerated tube?
Absolutely! If you have a favorite chocolate chip cookie dough recipe, feel free to roll or press it into the pan just as you would the store-bought tube. Keep in mind that homemade dough can spread more in the oven, so you may need to chill it briefly before baking to help it hold its shape.
2. My pudding layer seemed a bit runny—what went wrong?
Runny pudding usually means it wasn’t thickened enough. Try reducing the milk by ¼ cup next time; this firmer ratio helps the pudding set more quickly and prevents it from seeping into the cream-cheese layer. Also, be sure to whisk for a full two minutes until you see the mixture start to thicken.
3. How do I get clean, even slices?
Use a sharp knife dipped in hot water and wiped dry before each cut. The warm blade glides through the chilled layers without dragging. For best results, slice when the dessert is well chilled—about 2 hours in the fridge—so the layers are firm and distinct.
4. Can I freeze leftovers?
Yes, you can! Cut the dessert into individual squares, wrap each tightly in plastic, and store in a freezer-safe container. They’ll keep for up to one month. Thaw in the refrigerator for a few hours before serving—this helps preserve the creamy texture.
5. What substitutions work well for dietary restrictions?
Dairy-free: Use plant-based cream cheese and whipped topping, plus non-dairy milk with dairy-free pudding mixes.
Lower sugar: Substitute powdered sugar with a granulated sugar alternative (like erythritol) in the frosting, and look for sugar-free instant pudding. Keep in mind texture may vary slightly.
6. Can I make this in smaller or individual portions?
Definitely! Use a muffin tin or small ramekins. Reduce bake time by a few minutes (test with a toothpick to ensure the cookie layer is set) and layer as usual. You’ll have cute individual servings that are perfect for parties or lunchboxes.
Cookie Monster Dessert
- Author: Andrew Recipes
Description
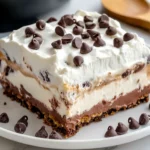
Layers of warm, chewy chocolate chip cookie, fluffy cream cheese frosting, dual-flavor pudding and light whipped topping come together in a playful, no-fuss crowd-pleaser. Each bite delivers cookie crunch, cool creaminess and mini-chip studded fun—perfect for potlucks, parties or any time you want a nostalgic treat.
Ingredients
For the cookie base
16.5 ounce tube refrigerated chocolate chip cookie dough
For the cream-cheese layer
8 ounce block cream cheese, softened to room temperature
1 cup powdered sugar
2 cups Cool Whip whipped topping, thawed and divided
For the pudding layer
3.9 ounce box instant chocolate pudding
3.4 ounce box instant vanilla pudding
3 cups cold milk
For the topping
Mini chocolate chips, for garnish
Instructions
1️⃣ Allow the cookie dough to sit at room temperature until soft enough to spread easily—about 20–30 minutes.
2️⃣ Preheat the oven to 350 °F. Spray a 9×13-inch baking dish with nonstick cooking spray.
3️⃣ Spread the softened dough evenly in the prepared pan, using wet or oiled fingertips to press it out to the edges.
4️⃣ Bake for 14–16 minutes, or until golden brown and just set. Let the cookie layer cool completely in the pan.
5️⃣ Meanwhile, in a medium bowl beat the cream cheese and powdered sugar until smooth. Gently fold in 2 cups of Cool Whip until fully incorporated.
6️⃣ Once the cookie base is cool, spread the cream-cheese mixture over it in an even layer.
7️⃣ In a separate bowl whisk together both pudding mixes and the cold milk until smooth and slightly thickened (about 2 minutes). Spread the pudding layer atop the cream cheese.
8️⃣ Top with the remaining Cool Whip and smooth to cover.
9️⃣ Sprinkle mini chocolate chips evenly over the top. Chill the assembled dessert for at least 1 hour before slicing into squares.
Notes
Make-ahead: Assemble the full dessert up to a day in advance, cover tightly and keep refrigerated—serve within 48 hours for best texture. For extra cookie crunch, fold ½ cup chopped baked cookies into the cream-cheese layer. If you prefer a firmer set, prepare the pudding with ¼ cup less milk. Leftovers keep well under airtight cover in the fridge for up to 3 days.
7. How long can I refrigerate the assembled dessert before it loses its texture?
For the best balance of chewy cookie, fluffy frosting, and firm pudding, enjoy within 48 hours. After that, the cookie base can soften and the layers may begin to blend together. Always store covered to prevent flavor transfer in the fridge.
Conclusion
There you have it—your full, no-fuss guide to the ultimate Cookie Monster Dessert! From that golden cookie base to the light cream-cheese frosting and dual-flavor pudding, this treat is all about playful layers and easy prep. Whether you’re feeding a crowd or treating yourself, the simplicity of refrigerated dough, instant pudding, and Cool Whip makes it a go-to recipe for busy days and spontaneous gatherings.
I hope these tips and tricks help you feel confident as you build each layer. Don’t hesitate to experiment with different pudding flavors or add extra crunch with chopped cookies in the frosting. Once you’ve made it, come back and let me know how it turned out—your feedback and creative twists always inspire new ideas here.

