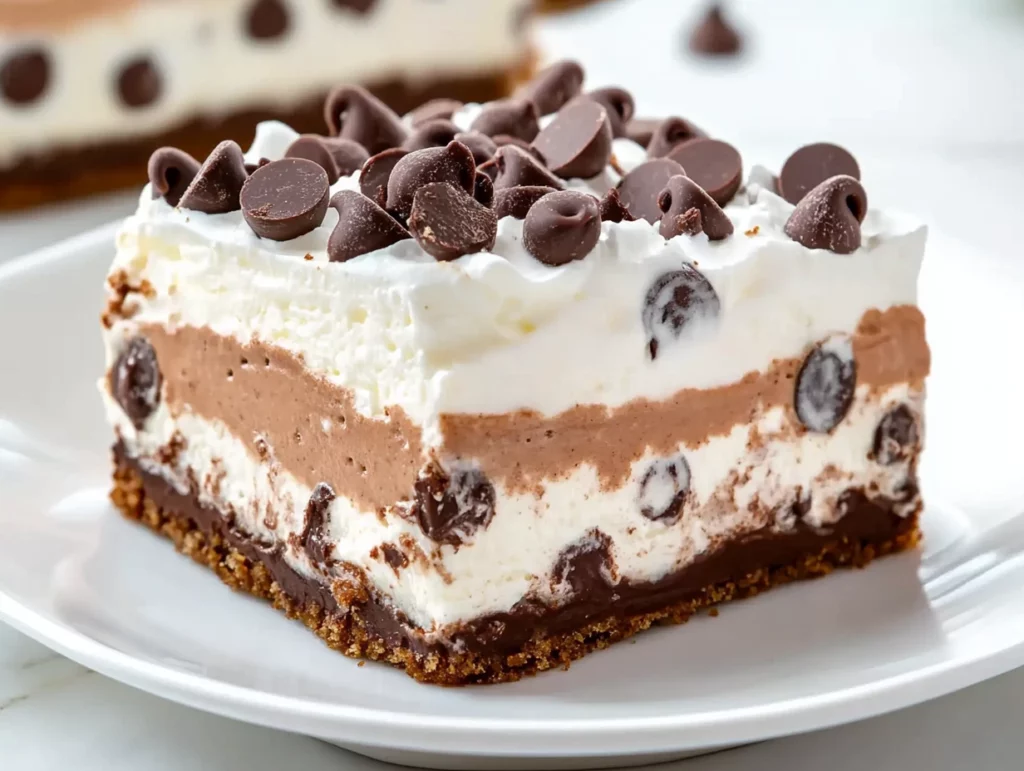
If you’re on the hunt for a dessert that screams fun, indulgence, and pure happiness, let me introduce you to this Cookie Monster Layered Dessert. It’s got everything—chewy chocolate chip cookie crust, luscious cream cheese filling, smooth pudding, and a cloud of whipped topping. Oh, and let’s not forget the mini chocolate chips scattered on top like a little chocolate party. It’s a no-bake-meets-bake kind of situation, and honestly? It’s perfect for just about any occasion.
This layered dessert was a total hit the first time I made it for a backyard BBQ. I thought it might be a bit too playful for the adults, but jokes on me—every single person went back for seconds. The best part? You don’t need any fancy ingredients or baking skills to pull it off. It’s as simple as layering, chilling, and watching it disappear.
Whether you’re bringing it to a potluck, whipping it up for a birthday bash, or just want to surprise your family with a sweet treat after dinner, this recipe checks all the boxes: easy, delicious, and always a favorite.
Let’s get into the first part of this dreamy dessert and start building those layers.
Ingredients You’ll Need
16 ounce tube refrigerated chocolate chip cookie dough
8 ounce block cream cheese, softened
1 cup powdered sugar
16 ounce tub COOL WHIP, thawed (divided use)
3 cups cold milk
4 ounce box instant chocolate pudding
4 ounce box instant vanilla pudding
Mini chocolate chips, for topping
STEP 1: Soften the Cookie Dough
Take your chocolate chip cookie dough out of the fridge and let it sit at room temperature. This makes it way easier to spread in the pan. Trust me—trying to press cold dough into a dish is a workout nobody wants.

STEP 2: Preheat and Prep
Set your oven to 350°F and give your 9×13-inch baking dish a quick spray with nonstick cooking spray. This helps the cookie crust lift out nice and clean when it’s time to serve.
STEP 3: Form the Cookie Crust
Now that the dough is nice and soft, press it into the bottom of the dish. Try to spread it as evenly as you can—you want a good, solid base for all those creamy layers we’re adding later. If it’s a little sticky, you can lightly grease your fingers or use a piece of wax paper to press it down.
STEP 4: Bake the Crust
Pop the dish into your preheated oven and bake for 14 to 16 minutes. You’re looking for a nice golden brown finish—slightly chewy, slightly crisp, just like the perfect cookie. Once it’s done, take it out and let it cool completely. This part is key because if it’s even a little warm, your cream cheese layer could melt into a mess. Patience pays off here.
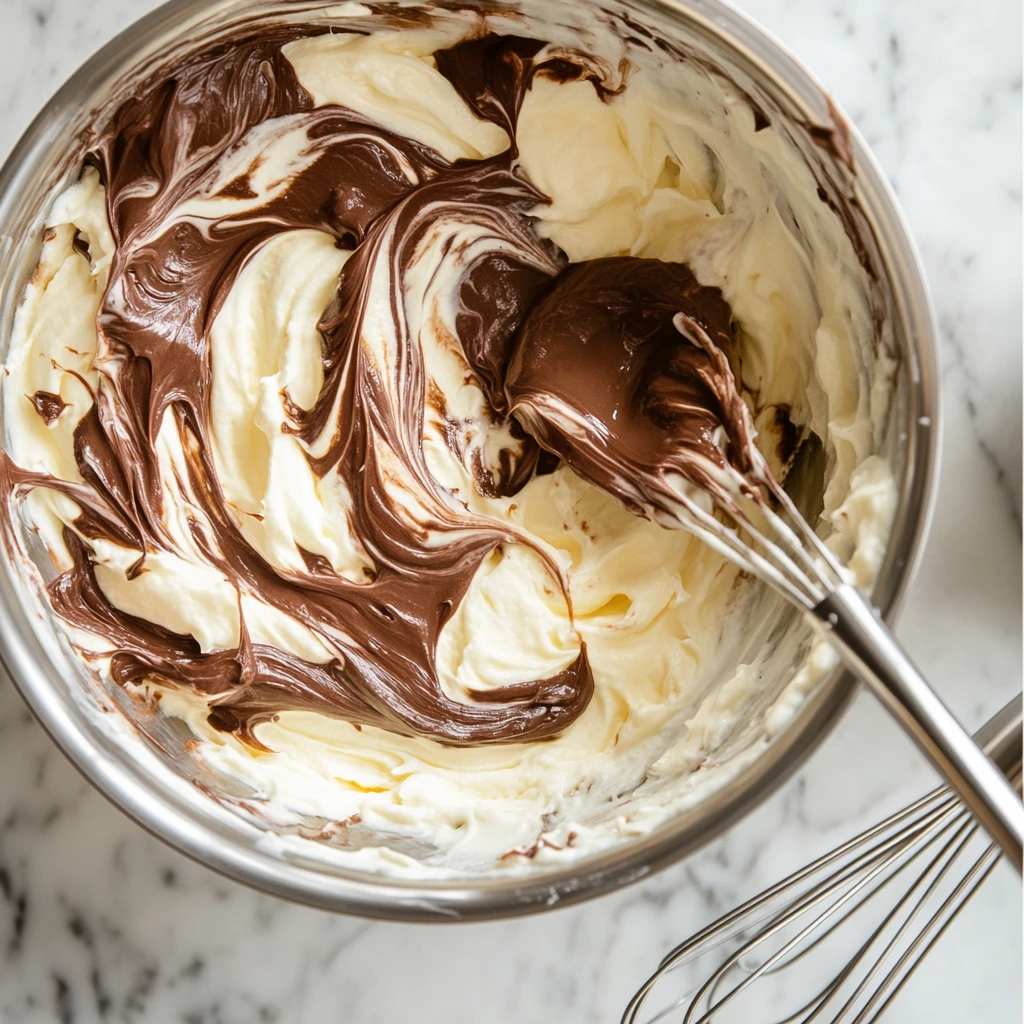
STEP 5: Mix Up the Cream Cheese Layer
While your cookie base cools, grab a mixing bowl and beat together the softened cream cheese and powdered sugar. You want this mixture smooth and creamy with no lumps—this is the silky layer that makes the whole dessert feel rich and decadent.
STEP 6: Fold in the COOL WHIP
Next, fold in about 2 cups of the thawed COOL WHIP. You don’t need to be aggressive here—gently mix until it’s fully combined but still fluffy. This layer is going right over the cookie crust, and it adds that light, creamy bite everyone loves.
STEP 7: Layer It Up
Once your cookie crust is completely cooled, spread the cream cheese mixture right on top. Use a spatula to smooth it out evenly. Now it’s starting to look like something special.
Cookie Monster Layered Dessert: Creamy, Dreamy Layers You’ll Love
Now that we’ve got our chewy chocolate chip cookie base and that creamy cheesecake layer chilling in the pan, it’s time to take this Cookie Monster Layered Dessert to the next level. This next part is where the real magic happens—hello, pudding layers!
We’re talking a rich combo of chocolate and vanilla pudding that not only adds amazing flavor but also that irresistible, silky-smooth texture. And once that’s in place, we’re topping it all off with a fluffy cloud of COOL WHIP and a generous sprinkle of mini chocolate chips for that perfect cookie-monster finish.
Let’s keep going and build this dessert, layer by delicious layer.
STEP 8: Mix the Pudding Layer
In a clean mixing bowl, whisk together the chocolate and vanilla pudding mixes with the cold milk. The key here is to whisk for about 1 to 2 minutes until everything is smooth and creamy. Let the mixture sit for another minute or two to thicken just slightly—it shouldn’t be runny, but not too stiff either. Think creamy and pourable.
This pudding layer is what really sets this dessert apart—it gives it that nostalgic, cool-and-creamy texture that contrasts so well with the cookie crust and cheesecake layer.
STEP 9: Spread the Pudding
Once your pudding has thickened a bit, spread it gently over the cream cheese layer. Try to get it as even as possible without mixing the layers together. A silicone spatula works great here because it lets you spread gently and evenly without dragging.
You’ll see the layers start to really stack up now, and it’s hard not to want to dive in already—but we’re almost there!
STEP 10: Add the Whipped Topping
Now it’s time for the final fluffy layer: the rest of your thawed COOL WHIP. Spread it over the top of the pudding layer just like frosting a cake. You can keep it simple and smooth or give it some pretty swirls if you want to get fancy.
This layer ties everything together and gives the dessert that light, whipped finish that everyone goes crazy for.
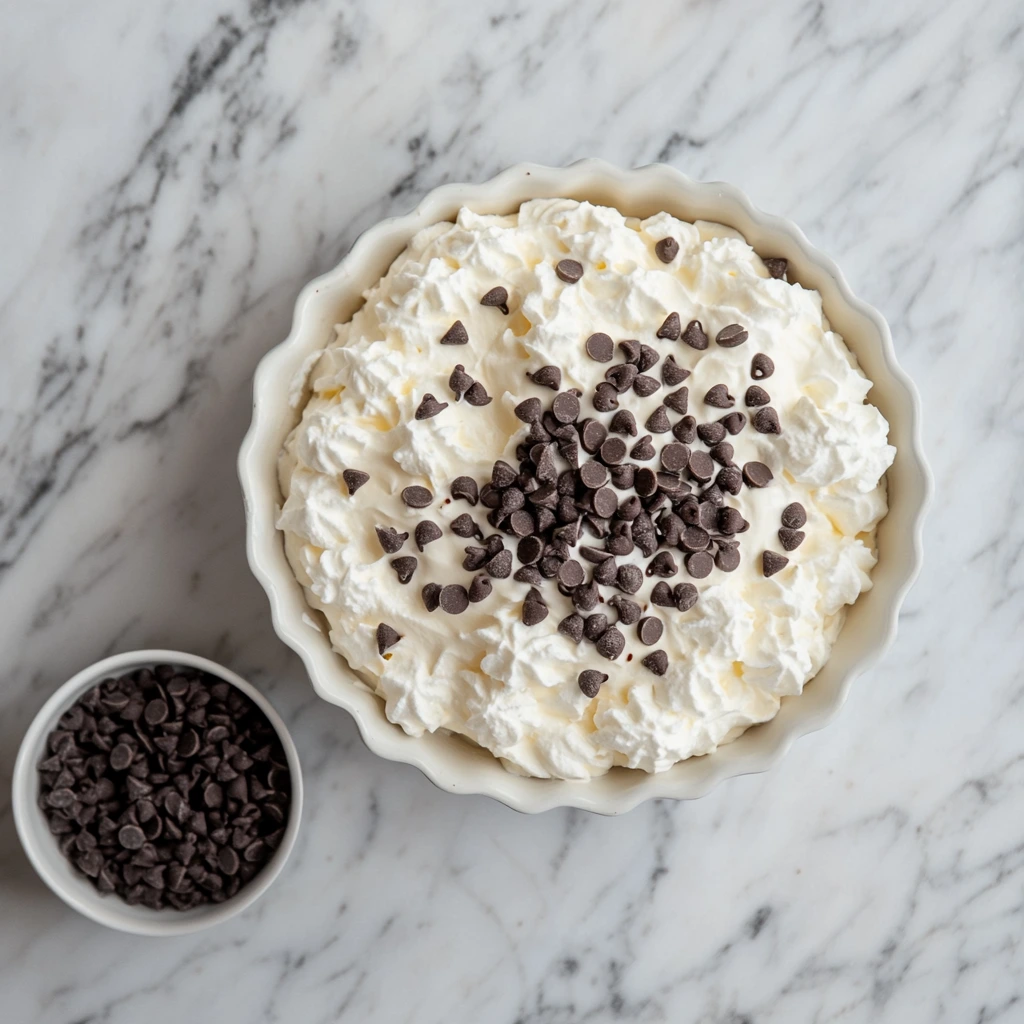
STEP 11: Finish with Chocolate Chips
Last but definitely not least—sprinkle a generous handful of mini chocolate chips over the top. Not only does this make it look adorable (hello, Cookie Monster vibes!), but it adds a little chocolatey crunch to each bite.
You can even get creative here and add crushed cookies, chopped chocolate bars, or even a drizzle of chocolate syrup if you’re feeling extra indulgent.
Chill Before Serving
This part is important: once all your layers are in place, cover the dish and chill it in the fridge for at least an hour. This helps everything firm up and makes slicing much easier.
If you have the time, letting it sit for two to three hours—or even overnight—is even better. The layers meld together just enough to stay cohesive but still distinct, and the flavors get even more delicious.
Tips and Variations to Try
Here are a few ways to mix things up and make this dessert your own:
Swap the Cookie Base: Try using peanut butter cookie dough or even Oreo cookie crust for a totally different flavor profile.
Add Texture to the Pudding Layer: Stir in mini cookies, chopped Oreos, or chocolate chunks for a little extra surprise in each bite.
Homemade Whipped Cream: If you prefer to skip the COOL WHIP, homemade whipped cream works beautifully—just make sure to stabilize it with a bit of powdered sugar so it holds up.
Get Creative with Toppings: Try crushed cookies, a drizzle of chocolate sauce, or even some sprinkles for a festive touch.
Make It Mini: This recipe can easily be portioned into individual cups or jars for party-ready servings.
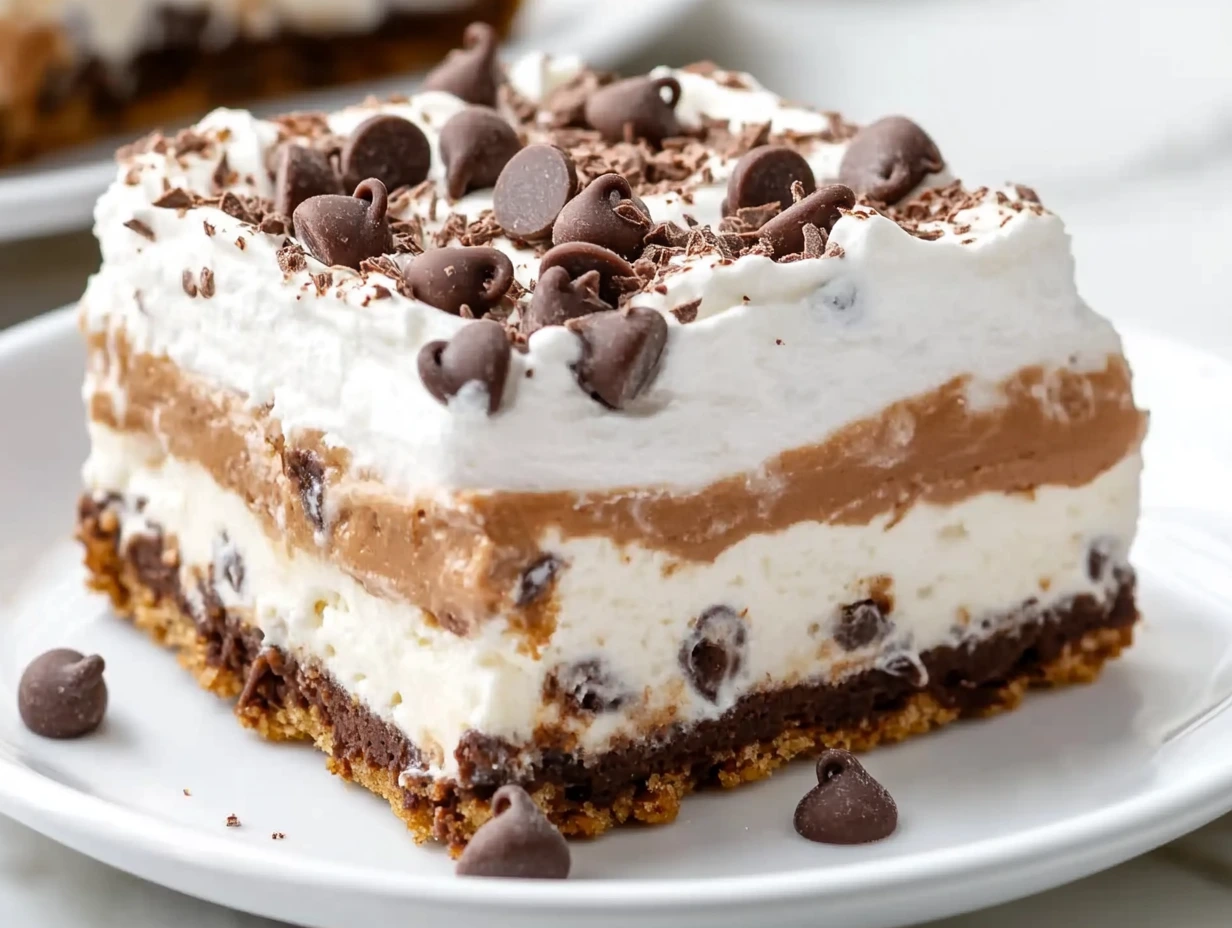
Cookie Monster Layered Dessert: FAQ + Final Thoughts
By now, your Cookie Monster Layered Dessert should be chilling in the fridge, those delicious layers setting up perfectly. The best part? That moment when you slice into it and reveal the beautiful layers—chewy cookie base, fluffy cheesecake filling, creamy pudding, and a whipped topping dusted with mini chocolate chips. It’s every dessert lover’s dream.
Before we wrap things up, I wanted to answer a few common questions that tend to come up with layered desserts like this one. Whether you’re prepping ahead for a party or making it on a whim for family movie night, these tips will help make the process even smoother.
Frequently Asked Questions
1. Can I make this Cookie Monster Layered Dessert ahead of time?
Absolutely! In fact, this dessert is even better when it’s had a few hours—or overnight—to chill in the fridge. Just cover it tightly and store it cold until you’re ready to serve.
2. How long does it keep in the fridge?
It’ll stay fresh in the refrigerator for about 3–4 days. After that, the layers may start to lose their texture. Be sure to store it covered so it doesn’t dry out.
3. Can I freeze this dessert?
Freezing is not recommended. The whipped topping and pudding can separate or become watery once thawed. If you need to prep way in advance, make the cookie base ahead and freeze that separately.
4. What’s a good substitute for COOL WHIP?
If you prefer not to use COOL WHIP, you can make homemade whipped cream using heavy whipping cream and powdered sugar. Just make sure to stabilize it if you’re planning to store the dessert for more than a day.
5. Can I use different pudding flavors?
Yes! Chocolate and vanilla are classic, but you can get creative. Try cookies and cream pudding, butterscotch, or even banana cream for a twist. Just keep the total pudding amount to about 8 ounces of mix.
6. Can I make this gluten-free?
You can! Just swap the refrigerated cookie dough for a gluten-free version and double-check that your pudding mixes are certified gluten-free. Most are, but it’s always good to confirm.
7. What’s the best way to slice and serve it cleanly?
Use a sharp knife, and wipe it clean between cuts. Chilling the dessert thoroughly makes it much easier to slice without the layers getting messy.
Final Thoughts: A Dessert Worth Sharing
If there’s one dessert that always gets people talking, it’s this Cookie Monster Layered Dessert. It’s fun, it’s playful, and it’s packed with classic flavors everyone loves. From the chewy cookie base to the creamy layers of pudding and whipped topping, each bite is the perfect balance of rich, cool, and sweet.
It’s also one of those recipes that’s just plain fun to make. No need to be a pastry chef or spend hours in the kitchen. This dessert is approachable and customizable—and honestly, it’s hard to mess it up. Whether you’re making it for a party, a school function, or just because you’ve got a serious sweet tooth, it’s sure to impress.
I’d love to hear if you try this recipe! Leave a comment, share how you made it your own, or tell me how it went over with your crowd. Did you add a twist? Use different pudding flavors? Go wild with toppings? I’m all ears.
Print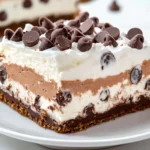
Cookie Monster Layered Dessert
- Author: Andrew Recipes
Description
This Cookie Monster Layered Dessert is a dreamy, no-fuss treat that combines a chewy chocolate chip cookie crust with creamy cheesecake, rich pudding, and fluffy whipped topping. It’s a multi-layered delight that’s perfect for potlucks, birthday parties, or anytime you’re craving a fun, indulgent dessert.
Ingredients
16 ounce tube refrigerated chocolate chip cookie dough
8 ounce block cream cheese, softened
1 cup powdered sugar
16 ounce tub COOL WHIP, thawed (divided use)
3 cups cold milk
4 ounce box instant chocolate pudding
4 ounce box instant vanilla pudding
Mini chocolate chips, for topping
Instructions
1️⃣ Let the cookie dough sit out at room temperature to soften, which makes it easier to spread.
2️⃣ Preheat your oven to 350°F. Spray a 9 x 13-inch baking dish with nonstick cooking spray.
3️⃣ Press the softened cookie dough into the bottom of the prepared dish, spreading it as evenly as possible.
4️⃣ Bake for 14–16 minutes or until golden brown. Remove from oven and let cool completely.
5️⃣ In a medium bowl, beat together the softened cream cheese and powdered sugar until smooth and creamy.
6️⃣ Fold in 2 cups of the thawed COOL WHIP and gently mix to combine.
7️⃣ Spread the cream cheese mixture over the completely cooled cookie crust.
8️⃣ In another bowl, whisk together the chocolate and vanilla pudding mixes with the cold milk until smooth. Let it sit for about 2 minutes to thicken slightly.
9️⃣ Spread the pudding mixture over the cream cheese layer.
🔟 Top the dessert with the remaining COOL WHIP, spreading it evenly.
🔟 Sprinkle mini chocolate chips generously over the top for a fun and chocolatey finish.
Notes
Make sure each layer is fully cooled or set before adding the next to keep clean layers. You can substitute homemade whipped cream if preferred. For added texture, fold crushed cookies or chocolate chunks into the pudding layer. Chill for at least an hour before serving to let everything firm up.

