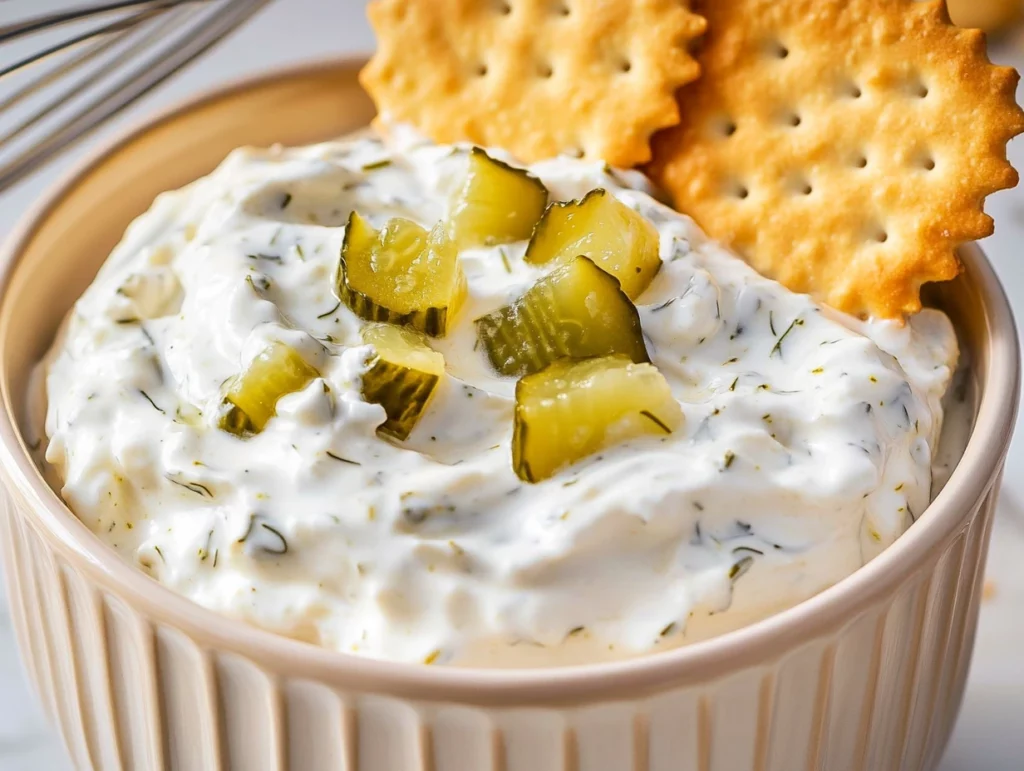
Let’s just get this out of the way—if you love pickles, you’re going to be obsessed with this Dill Pickle Dip. It’s creamy, tangy, packed with flavor, and ridiculously easy to throw together. Whether you’re hosting a game day party, planning a summer BBQ, or just need a snack to keep in the fridge for cravings, this dip checks all the boxes. Crunchy, zippy, rich, and herby? Yes, please!
I first made this dip when I was looking for a fun alternative to my go-to ranch or onion dip for chips. I had a few leftover dill pickles in the fridge, some cream cheese that needed using up, and boom—this little miracle happened. Since then, it’s become one of my most-requested recipes. People go wild for it, and I totally get why.
There’s just something so satisfying about that tangy bite from the pickles balanced out by the creamy goodness of sour cream and cream cheese. And the best part? It’s make-ahead friendly. You can whip it up in 10 minutes, let it chill in the fridge, and it’ll only get better the longer it sits. Talk about a low-effort, high-reward kind of snack.
This dip is versatile too. It’s amazing with chips and fresh veggies, but don’t stop there—try it spread onto sandwiches or wraps, or even dolloped onto a baked potato. Once you make it, you’ll start dreaming up excuses to keep a batch on hand all week.
Let’s dive in and walk through how to make it!
INGREDIENTS YOU’LL NEED:
1 cup sour cream
1 cup cream cheese, softened
½ cup mayonnaise
1 cup dill pickles, finely chopped
2 tablespoons pickle juice
1 tablespoon fresh dill, chopped (or 1 teaspoon dried dill)
½ teaspoon garlic powder
½ teaspoon onion powder
Salt and black pepper to taste
Simple, right? You probably already have most of these on hand. And if you’re a pickle lover like me, I’m betting there’s always a jar of dill pickles in your fridge.
STEP-BY-STEP INSTRUCTIONS: FIRST STAGE
Step 1: Mix the Creamy Base
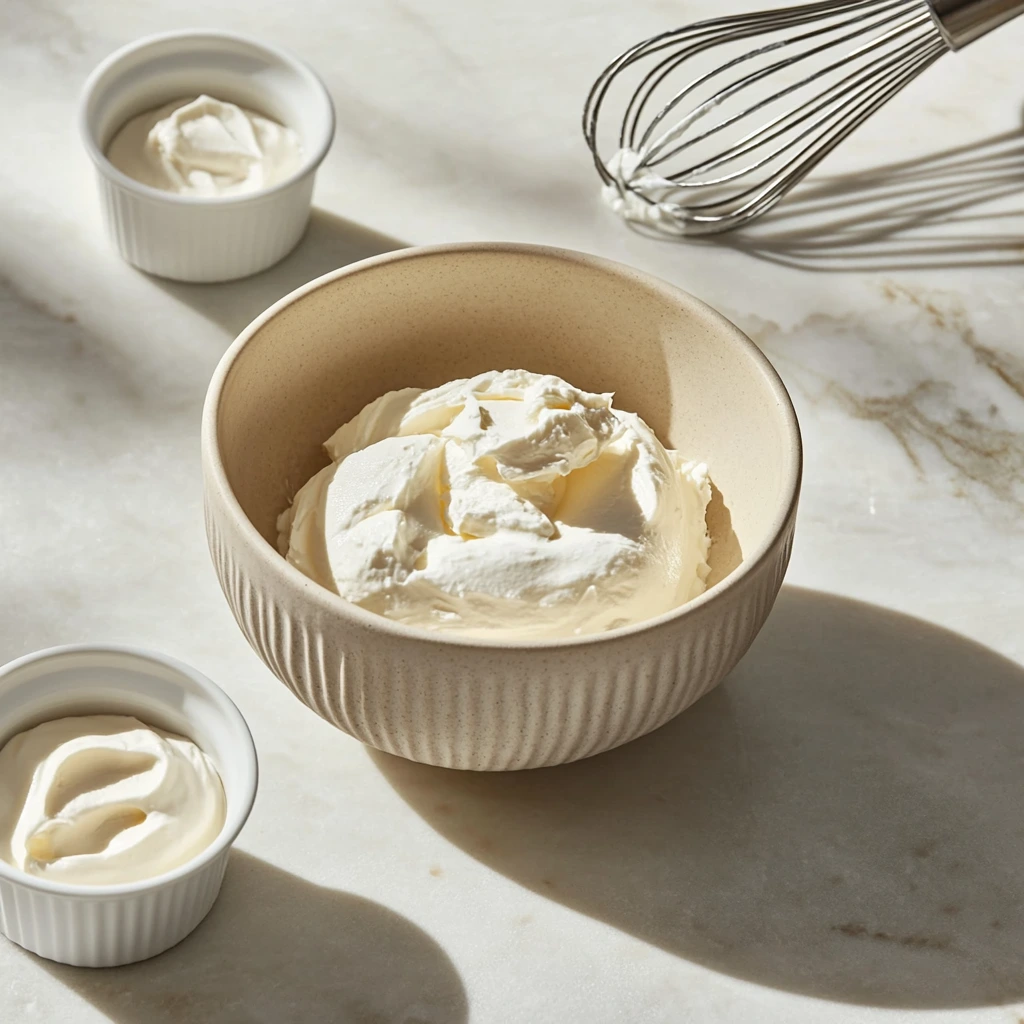
Start by grabbing a medium mixing bowl and add the softened cream cheese, sour cream, and mayonnaise. If you’re using an electric mixer, this will go quickly and come out super smooth. But if you’re whisking by hand, no problem—just make sure your cream cheese is soft enough to blend easily.
Mix until you’ve got a creamy, unified base. You want everything smooth and free of lumps.
Step 2: Add the Pickles and Juice
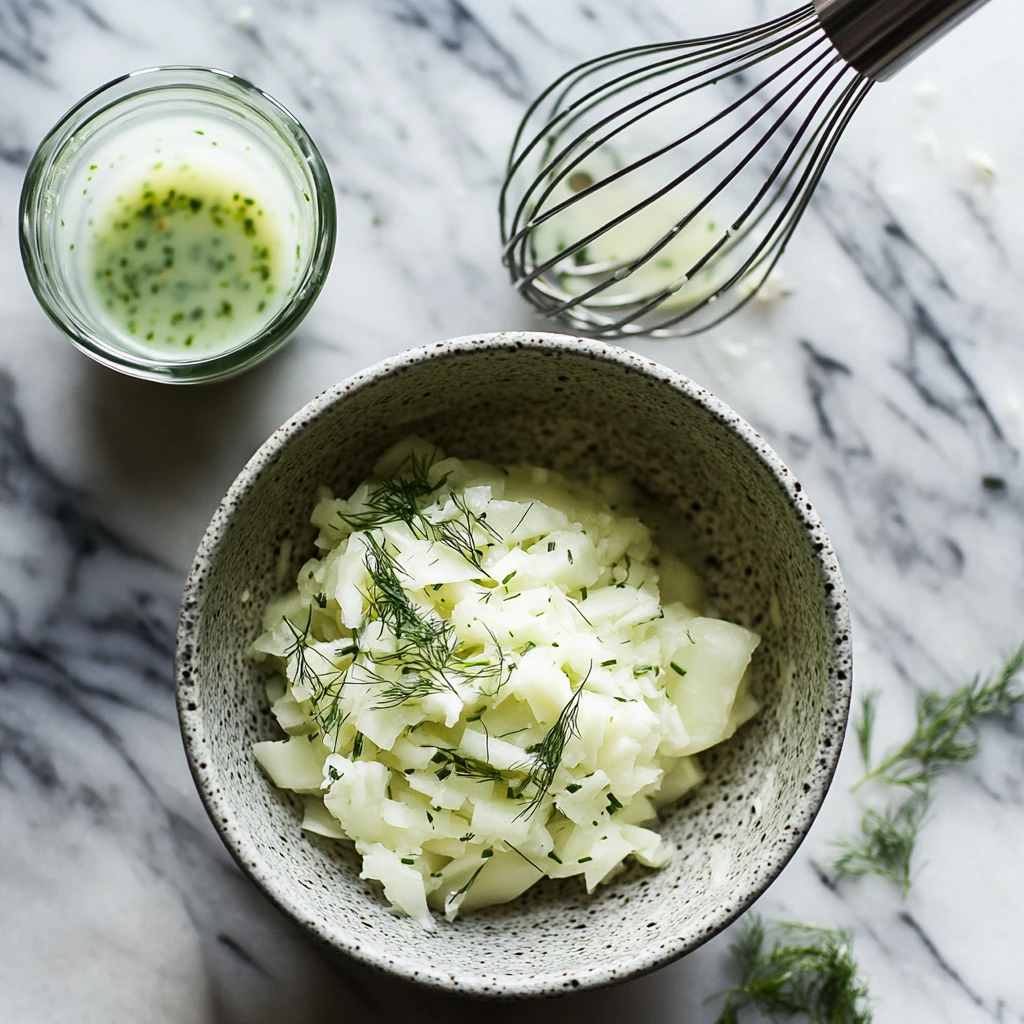
Next, fold in the chopped dill pickles and pour in the pickle juice. This is where that amazing tangy flavor really starts to shine through. Stir gently so the pickles stay evenly spread throughout the dip.
Pro Tip: If you like extra crunch, set aside a tablespoon of chopped pickles to sprinkle on top just before serving.
Step 3: Season It Up
Now, add the fresh dill (or dried, if that’s what you’ve got), along with the garlic powder and onion powder. Stir everything together until all the herbs and seasonings are evenly incorporated.
Give it a taste and decide if it needs more salt or pepper. Depending on your pickles, it might already be perfectly seasoned, but a pinch of black pepper can really round it out.
Zesty Dill Pickle Dip: A Tangy Crowd-Pleaser You’ll Make Again and Again
Alright, now that we’ve got the base of our Dill Pickle Dip ready to go, let’s move on to the finishing touches. This is where the magic really happens—chilling the dip so all the flavors come together, and talking about some tasty variations and serving ideas that will take it to the next level.
Seriously, if you’ve made it this far, you’re only one step away from your new favorite party dip. Let’s finish it off strong.
Step 4: Let It Chill
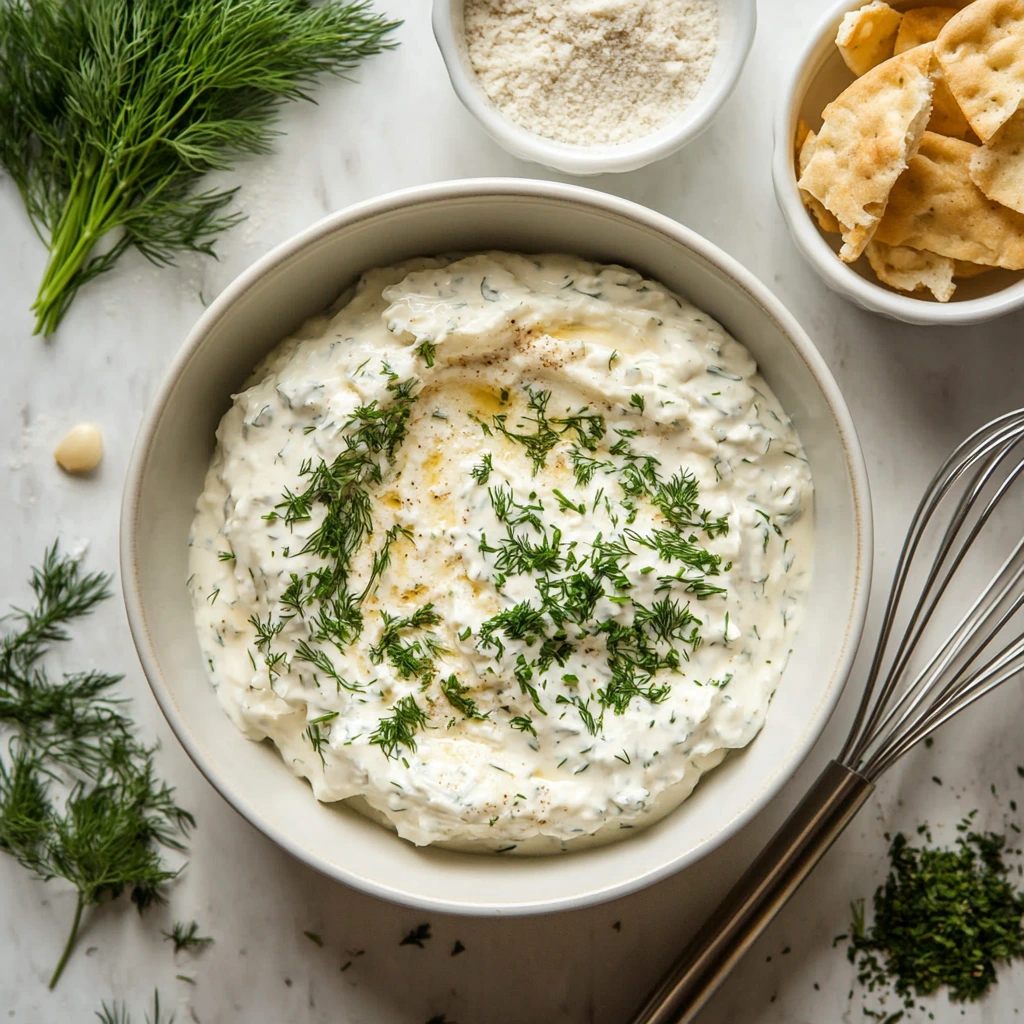
Once all your ingredients are mixed together and you’ve seasoned it just right, it’s time to let the dip rest. Cover the bowl with plastic wrap or transfer the mixture to an airtight container and pop it into the fridge for at least one hour.
This part is important—not just for food safety but for flavor. That hour in the fridge lets the dill, garlic, onion powder, and pickle brine fully soak into the creamy base. The result? A richer, deeper, more balanced flavor that’s totally worth the wait.
Now, if you’re in a rush, you can chill it for just 20 minutes. It’ll still be delicious. But if you’ve got the time, go the full hour. Trust me.
Step 5: Give It a Final Stir and Serve
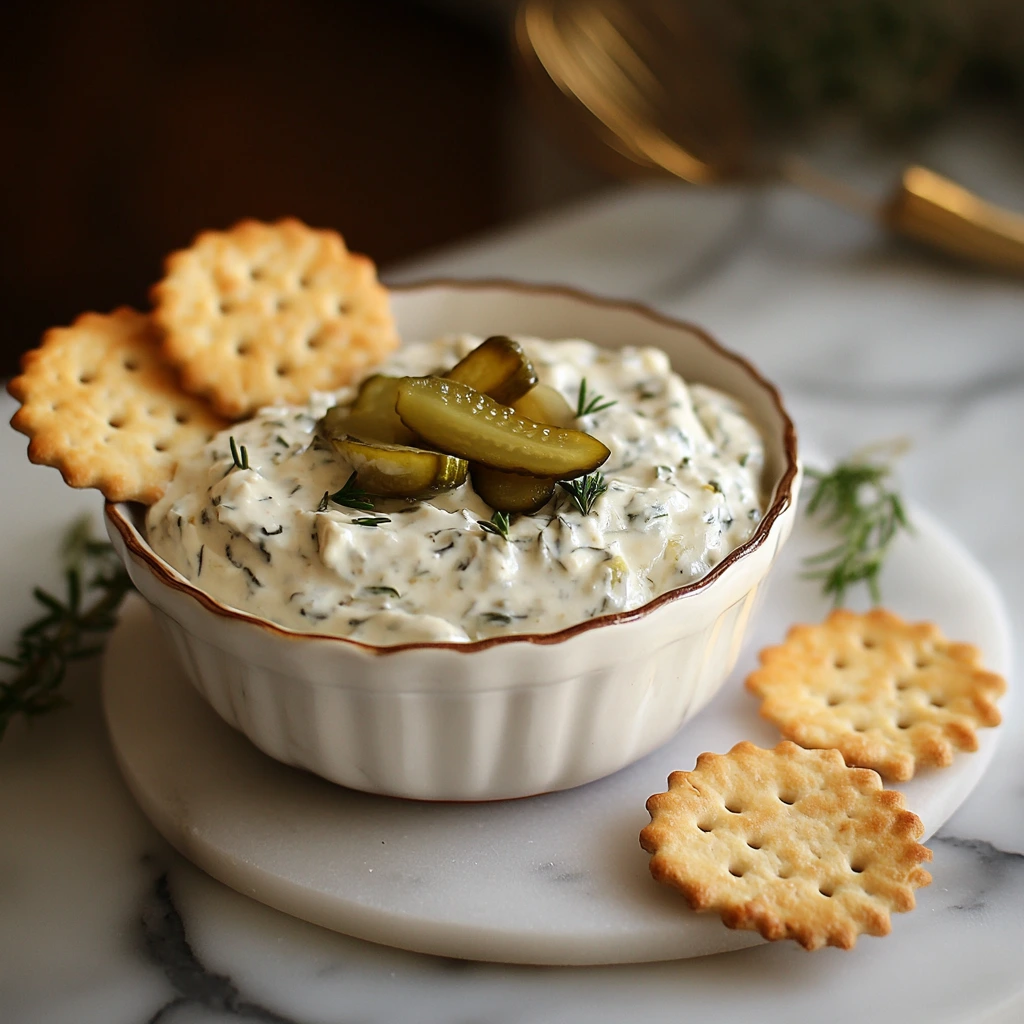
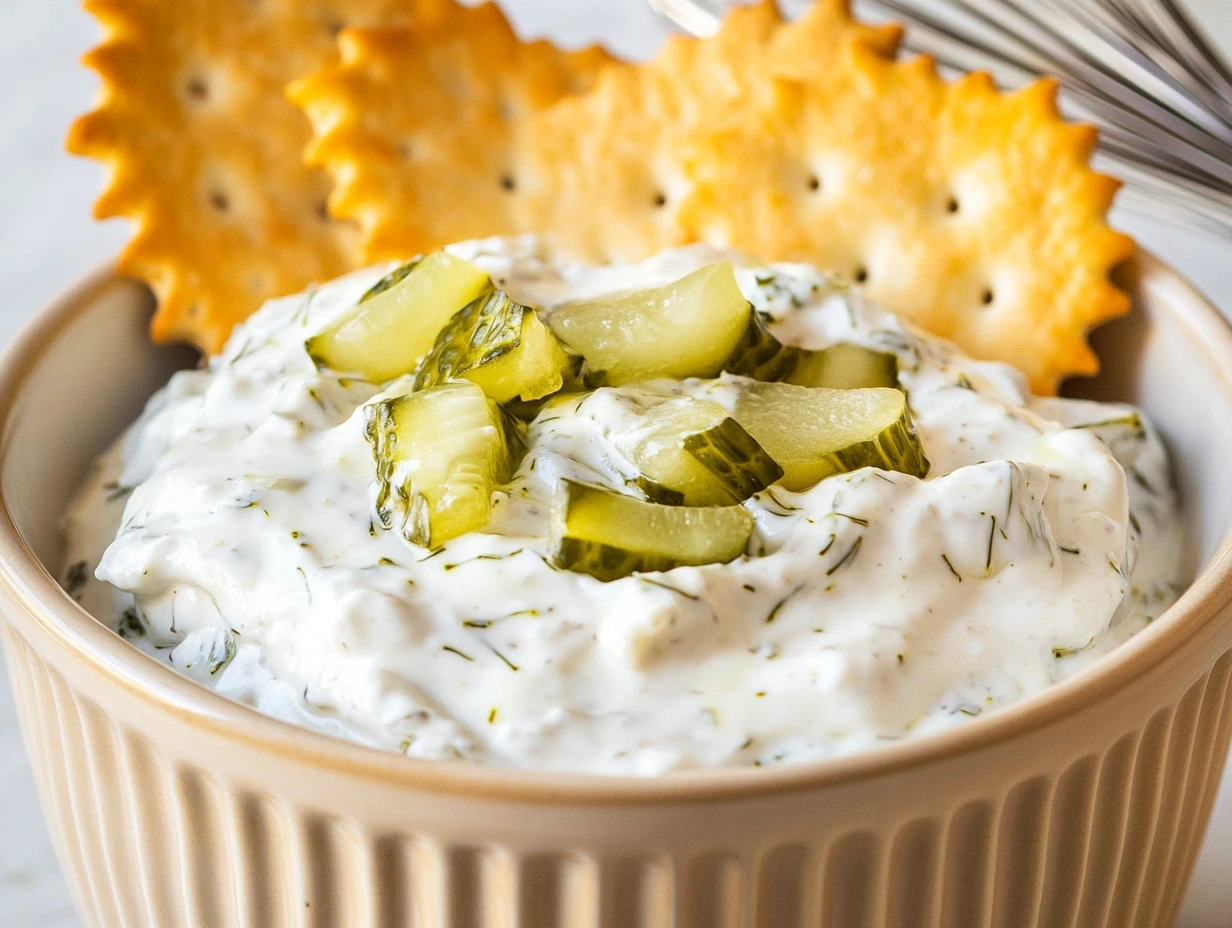
After chilling, give the dip a quick stir to wake everything up. Then transfer it to a serving bowl. If you reserved any chopped pickles from earlier, now’s the time to sprinkle them on top for that extra crunch and a little pop of texture.
Want to make it look a little fancier? Add a few sprigs of fresh dill or even a tiny drizzle of pickle juice right before serving.
TIPS & VARIATIONS FOR THE PERFECT DILL PICKLE DIP
This dip is super versatile and easy to customize, depending on what you like and what’s in your fridge. Here are a few fun ideas to make it your own:
1. Add a Little Heat
If you like a spicy kick, toss in a teaspoon of finely chopped jalapeños or a pinch of red pepper flakes. It pairs really well with the briny pickle flavor.
2. Try Different Pickles
Dill pickles are the classic choice, but don’t be afraid to experiment. Kosher dill, garlic dill, or even spicy pickles can add an unexpected twist.
3. Lighten It Up
Looking for a healthier option? Swap half the sour cream for plain Greek yogurt. You’ll still get that creamy texture, but with a little extra protein and tang.
4. Make It Chunky or Smooth
Want a smoother dip? Chop your pickles finely or pulse them briefly in a food processor. Prefer it chunky? Dice the pickles a bit larger for a more rustic texture. Both ways are great—it just depends on your style.
5. Serving Ideas
Here are a few of my favorite things to serve with this dip:
Tortilla chips or pita chips
Sliced cucumbers, bell peppers, or carrot sticks
Pretzels or pretzel crisps
Crackers or toasted baguette slices
As a sandwich spread (especially good on turkey or ham!)
I’ve even used it as a topping for baked potatoes and grilled burgers. It’s seriously that versatile.
STORAGE & MAKE-AHEAD TIPS
This dip holds up really well in the fridge, which makes it a great make-ahead option. Just cover tightly and refrigerate—it’ll stay fresh for up to 3 days. Give it a good stir before serving to bring it back to life.
If you’re prepping for a party or gathering, you can make it the night before and check one more thing off your list. In fact, it’ll taste even better the next day once the flavors have had more time to meld.
Zesty Dill Pickle Dip: A Tangy Crowd-Pleaser You’ll Make Again and Again
We’ve covered all the steps, tips, and serving ideas, but before we wrap things up, let’s go over a few questions that come up pretty often. Whether you’re wondering about ingredient swaps, storing leftovers, or just trying to make the dip work for your dietary needs, I’ve got you covered.
FREQUENTLY ASKED QUESTIONS ABOUT DILL PICKLE DIP
1. Can I make this dip ahead of time?
Yes! In fact, it’s even better when made ahead. Prepping it a few hours or even a day in advance gives the flavors more time to blend. Just be sure to store it in an airtight container in the fridge and give it a stir before serving.
2. Can I freeze dill pickle dip?
Freezing is not recommended for this dip. The creamy base (especially the cream cheese and sour cream) can separate and become watery when thawed. It’s best enjoyed fresh or within a few days of making it.
3. How long does it keep in the fridge?
Stored properly in a sealed container, this dip will last for up to 3 days in the refrigerator. After that, the texture can start to change, and the flavor won’t be as fresh.
4. Can I make this dairy-free?
You can! Swap the cream cheese, sour cream, and mayonnaise for dairy-free alternatives. There are great vegan versions of all three available in most grocery stores. Just be aware that the flavor and texture may vary slightly depending on the brands you use.
5. What kind of pickles work best?
Classic dill pickles are ideal for this recipe, but you can get creative. Kosher dills, spicy dills, or even pickled cucumbers with garlic make great options. Just avoid sweet pickles—they’ll change the flavor entirely and might not pair well with the creamy base.
6. Can I use dried dill instead of fresh?
Absolutely. If fresh dill isn’t available, 1 teaspoon of dried dill will work just fine. The flavor is slightly different, but still gives the dip that signature herby note.
7. Is this dip gluten-free?
Yes! The ingredients in the recipe are naturally gluten-free. Just make sure any dippers you’re serving it with (like crackers or chips) are gluten-free as well if that’s a concern.
FINAL THOUGHTS: MAKE THIS DIP YOUR OWN
Whether you’re making this Dill Pickle Dip for a casual family night or bringing it to a party, you really can’t go wrong. It’s simple, flavorful, and always gets people talking (and going back for seconds). What I love most is how customizable it is—whether you’re into spicy add-ins, fresh herbs, or looking for a healthier twist, this recipe is ready to flex with your needs.
It’s one of those back-pocket recipes that feels a little different from the usual suspects, but doesn’t require anything fancy or hard to find. Just creamy, crunchy, pickle-y goodness in a bowl.
Print
Dill Pickle Dip
- Author: Andrew Recipes
Description
This tangy, creamy dip brings the bright flavor of dill pickles together with a rich base of cream cheese and sour cream. It’s perfect for chips, veggies, or as a spread on crackers—anywhere you want a zesty, crunchy bite.
Ingredients
1 cup sour cream
1 cup cream cheese, softened
½ cup mayonnaise
1 cup dill pickles, finely chopped
2 tablespoons pickle juice
1 tablespoon fresh dill, chopped (or 1 teaspoon dried dill)
½ teaspoon garlic powder
½ teaspoon onion powder
salt and black pepper to taste
Instructions
In a medium bowl, use a whisk or electric mixer to blend the softened cream cheese, sour cream, and mayonnaise until smooth and well combined. Stir in the chopped dill pickles and drizzle in the pickle juice, mixing gently so the pieces stay evenly distributed.
Add the fresh dill (or dried dill), garlic powder, and onion powder. Fold everything together until the spices and herbs are fully incorporated. Taste the mixture and season with salt and pepper as needed—remember that the pickles and pickle juice already contribute some saltiness.
Cover the bowl and refrigerate for at least one hour to allow the flavors to meld and the dip to firm up slightly. If you’re short on time, a twenty-minute chill will still yield a tasty result, though the flavor will deepen with longer resting.
Give the dip a final stir before transferring it to a serving bowl. Surround it with tortilla chips, pita chips, fresh vegetables, or use it as a spread for sandwiches and wraps.
Notes
For extra crunch, reserve a few pickle pieces to sprinkle on top just before serving. A squeeze of fresh lemon juice brightens the dip further. To make a lighter version, swap half of the sour cream for plain Greek yogurt. Leftovers keep well, covered, in the refrigerator for up to three days.
