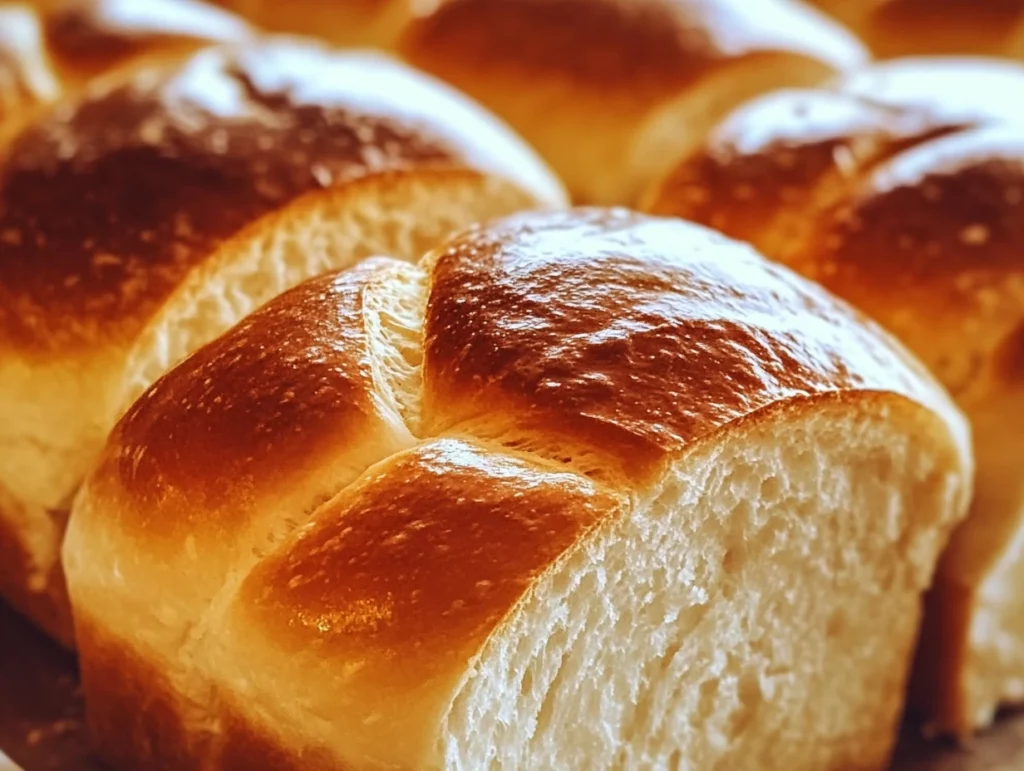
There’s just something so comforting about warm, freshly baked bread, right? That smell drifting through the kitchen, the crackly crust giving way to a soft, steamy center—it’s pure magic. But if you’re like me, there are days when the idea of kneading dough for 10 minutes and waiting hours for it to rise just doesn’t fit into your schedule. That’s where this Quick 20-Minute Homemade Bread swoops in to save the day.
What makes this recipe truly shine is how ridiculously simple it is. No yeast, no fancy equipment, no long prep time. Just six pantry staples and a quick trip to the oven, and you’ve got yourself a warm, golden loaf that’s begging to be slathered with butter or dunked into a bowl of soup. I can’t count how many times this recipe has come to my rescue when I’ve needed a last-minute side dish or just wanted something fresh out of the oven to go with dinner.
The texture is somewhere between a biscuit and a rustic loaf—soft and tender on the inside, with a lightly crisped crust on the outside. It’s versatile, satisfying, and pretty much foolproof, making it a great option for beginner bakers or anyone short on time. Whether you’re whipping it up for a cozy weeknight meal or just craving something homemade, this is one of those recipes you’ll want to keep tucked in your back pocket.
Let’s get into it!
Ingredients You’ll Need
2 cups all-purpose flour
1 tablespoon baking powder
1 teaspoon salt
1 tablespoon sugar
1 cup milk
2 tablespoons vegetable oil or melted butter
That’s it—nothing fancy, just your basic kitchen staples. If you’ve got those on hand, you’re already halfway there.
STEP 1: PREHEAT AND PREP
Start by preheating your oven to 400°F (200°C). While the oven is heating up, lightly grease a baking sheet or line it with parchment paper. This helps the bread bake evenly and makes cleanup a breeze.
This might seem like a small detail, but I’ve learned over the years that getting your oven hot and ready before the dough is even mixed really helps the bread rise properly. It’s the kind of step that makes this bread go from “good” to “great.”

STEP 2: MIX THE DRY INGREDIENTS
In a large mixing bowl, whisk together:
2 cups all-purpose flour
1 tablespoon baking powder
1 teaspoon salt
1 tablespoon sugar
Make sure everything is evenly combined before moving on. The baking powder is doing all the heavy lifting here (literally—it’s your leavening agent), so you want it evenly distributed throughout the flour to ensure the loaf rises uniformly.
STEP 3: ADD THE WET INGREDIENTS
Pour in:
1 cup milk
2 tablespoons vegetable oil or melted butter
Using a spoon or spatula, stir everything together until a soft dough forms. The key here is to mix just until everything comes together. Do not overmix, or your bread might turn out dense and heavy. The dough should be soft and a little sticky, but manageable.
If you’re like me and tend to be a bit enthusiastic when stirring, remind yourself that gentle is the name of the game here. A light hand makes a tender loaf.
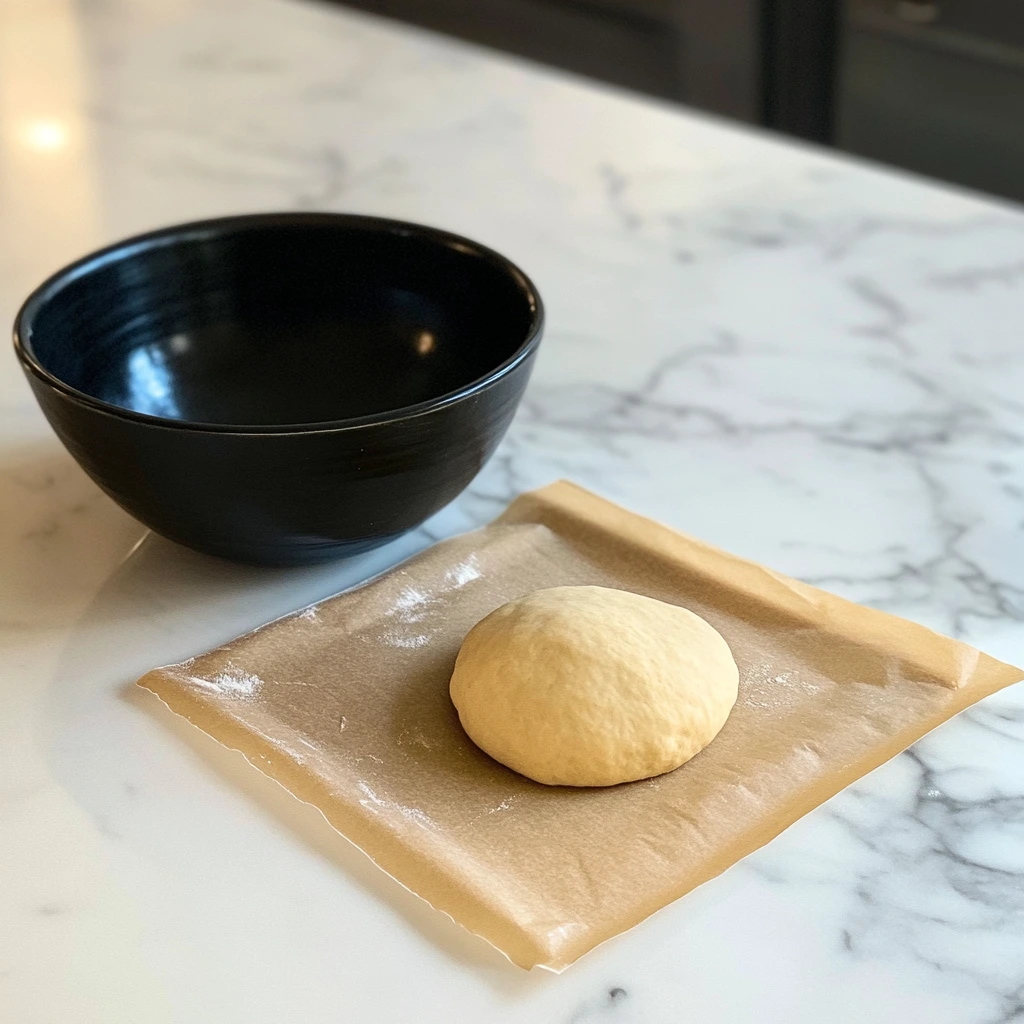
STEP 4: SHAPE THE DOUGH
Transfer the dough directly onto your prepared baking sheet. Using your hands, shape it into a round or slightly oval loaf, gently flattening the top just a bit. Don’t worry if it looks a little rustic—this isn’t the kind of bread that needs to be picture-perfect. The charm is in its simplicity.
I love how quick this step is—no rolling pins, no waiting, no second guessing. Just shape and go.
Quick & Easy 20-Minute No-Yeast Bread: Perfect for Last-Minute Cravings
Alright, now that we’ve got our dough mixed, shaped, and ready to go, let’s move on to the best part—baking that beautiful loaf and watching it transform into something golden, crusty, and seriously delicious. If you’re anything like me, this is where the anticipation really kicks in. The oven starts to smell amazing, and suddenly everyone in the house is peeking into the kitchen asking, “Is that fresh bread?”
In Part 2, I’ll walk you through the final baking step and share a few of my favorite variations and tips to make this recipe your own. It’s incredibly flexible, so feel free to experiment once you’ve got the basic version down.
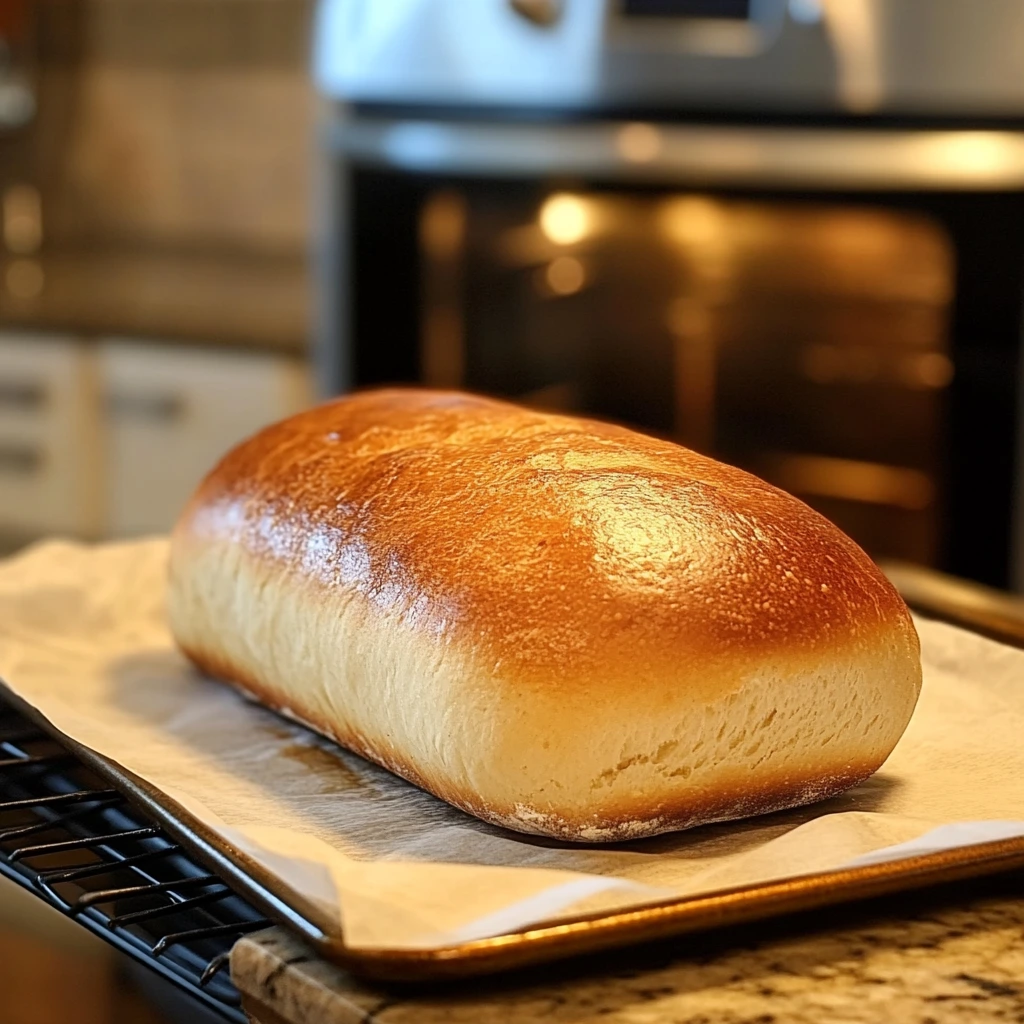
STEP 5: BAKE YOUR LOAF
Now that your dough is shaped and sitting pretty on the baking sheet, it’s time to let the oven work its magic.
Place the baking sheet in your preheated oven (400°F / 200°C).
Bake for 18 to 20 minutes, or until the top is golden and the loaf sounds hollow when gently tapped.
Depending on your oven, you might want to check it at the 17-minute mark just to be safe. You’re looking for a light golden color on top and that telltale hollow sound when you tap the top or bottom of the loaf. That’s your sign that it’s cooked all the way through.
Once it’s out of the oven, let it cool for just a few minutes before slicing. This gives the steam inside a chance to settle and makes for cleaner, softer slices.
Pro Tips for Bread Success
Here are a few little tricks I’ve learned from making this quick bread more times than I can count:
Don’t Overmix the Dough: I know I already mentioned this, but it’s worth repeating. Stir just until everything is combined—no need to knead!
Use a Light Hand When Shaping: This isn’t a stiff bread dough. It should feel soft and even a little sticky. If it sticks too much, you can lightly flour your hands, but don’t overdo it.
Add Flavors Right Into the Dough: Want to take it up a notch? Try mixing in:
1 teaspoon garlic powder or Italian seasoning for a savory twist.
½ cup shredded cheddar or mozzarella for cheesy goodness.
A tablespoon of chopped fresh herbs like rosemary or chives for a fresh flavor boost.
I’ve even thrown in a handful of chopped sun-dried tomatoes before, and it was amazing served with a creamy soup.
Storage & Reheating Tips
This bread is best served warm and fresh, but it does keep pretty well for a couple of days if stored correctly.
Storage: Wrap the cooled bread in foil or keep it in an airtight container at room temperature for up to 2 days.
Reheating: Warm slices in the oven at 300°F for 5-7 minutes or toast lightly to bring back that crusty edge.
You can also freeze the loaf if you want to make it ahead of time. Just wrap it tightly in plastic wrap and then foil. To reheat, thaw completely and then warm in the oven for that just-baked feel.
Serving Suggestions
This quick bread is truly a blank canvas, which is why I keep it on regular rotation in my kitchen. Here are a few of my favorite ways to serve it:
Alongside Soups & Stews: It’s the perfect companion to a warm bowl of soup. I love it with creamy tomato or hearty beef stew.
For Breakfast with Butter & Jam: A slightly sweet note from the sugar makes it ideal for spreading with jam in the morning.
As a Dinner Side: Serve it next to a roast chicken, pasta dish, or even a salad for a complete meal.
Quick & Easy 20-Minute No-Yeast Bread: Perfect for Last-Minute Cravings
We’ve made it to the final part of this quick bread journey, and hopefully, by now, your kitchen smells incredible, and you’re enjoying a warm slice slathered with butter. Before we wrap things up, I want to go over a few of the most frequently asked questions about this recipe. Whether you’re a first-time baker or just looking for ways to tweak it to your taste, this FAQ section is here to help.
Frequently Asked Questions
1. Can I use a different type of flour?
Yes, you can substitute whole wheat flour for up to half of the all-purpose flour if you’d like a slightly nuttier flavor and denser texture. Using 100% whole wheat might make the bread heavier, so I recommend starting with a 50/50 mix.
2. Is it possible to make this bread dairy-free?
Absolutely. You can use any plant-based milk like almond, oat, or soy. Just make sure it’s unsweetened to avoid altering the flavor. You can also use a dairy-free butter alternative or stick with vegetable oil.
3. Can I double the recipe?
Yes, this recipe doubles well. Just be sure to divide the dough into two loaves so it bakes evenly, or you can shape it into smaller rounds to create mini loaves. Baking time may need to be adjusted slightly depending on loaf size.
4. Why did my bread turn out dense?
This usually happens if the dough is overmixed or too much flour is added. Mix just until combined and try not to pack the flour when measuring—use the spoon-and-level method for best results.
5. Can I add sweet mix-ins like raisins or cinnamon?
You sure can! This bread can be customized easily. Try folding in ½ cup of raisins and a teaspoon of cinnamon for a sweet breakfast variation. Drizzle with a little honey or maple syrup when serving.
6. What should I do if my dough is too sticky to handle?
If your dough feels too sticky, sprinkle just a bit of flour on your hands or the surface where you’re shaping it. Avoid adding too much flour to the dough itself or it may become dry after baking.
7. How do I know when it’s done baking?
The top should be golden brown, and the bread should sound hollow when tapped. If you’re unsure, insert a toothpick into the center—it should come out clean or with just a few crumbs.
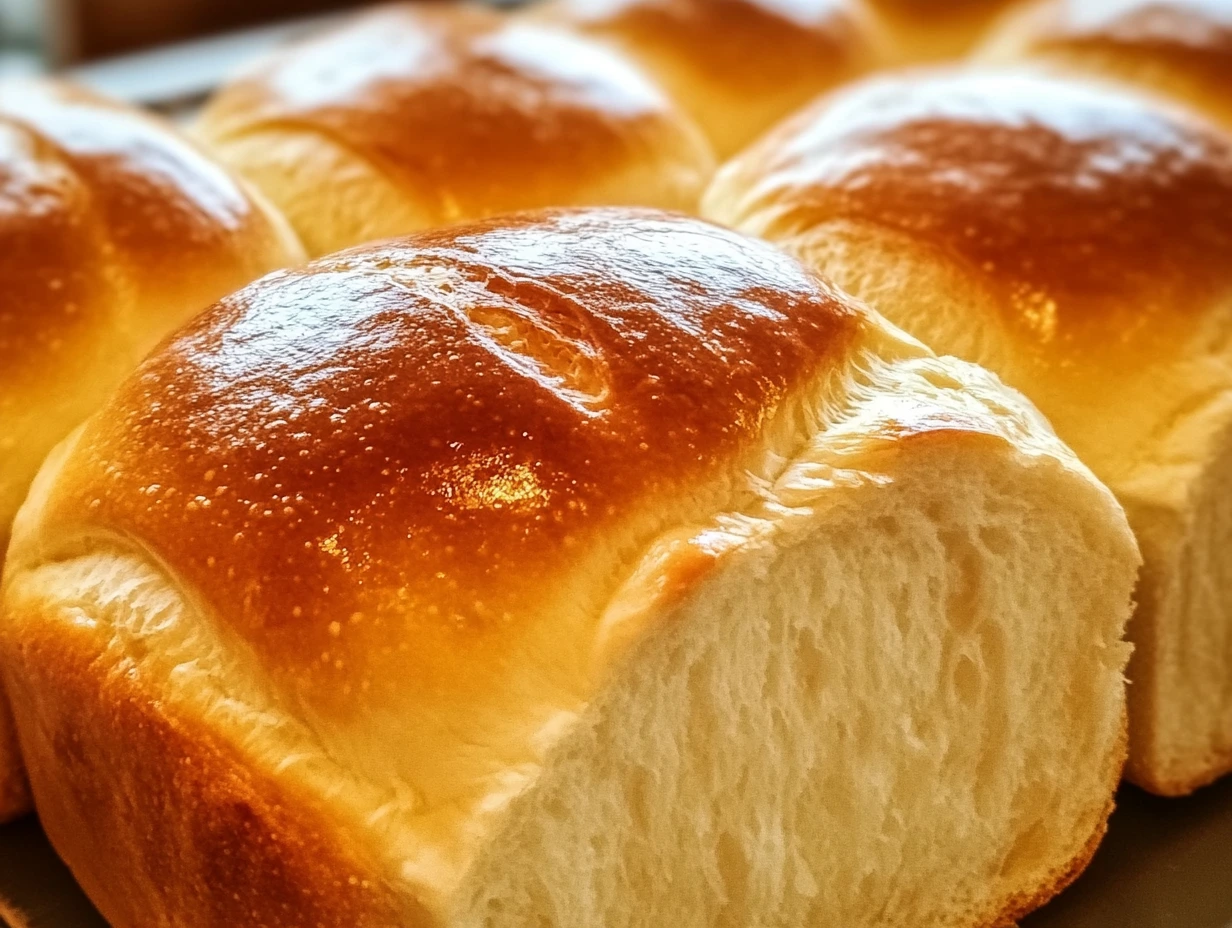
Final Thoughts: Keep It Simple, Keep It Homemade
One of the reasons I love this recipe so much is that it takes the intimidation out of baking bread. No yeast, no rise time, no special tools. Just mix, shape, bake, and you’ve got a warm loaf on the table in under half an hour.
It’s become my go-to when dinner needs just a little something extra or when I want to serve up something homemade without spending hours in the kitchen. And the fact that you can tweak it with herbs, cheese, garlic, or even go the sweet route with raisins or cinnamon? That just makes it even better.
Whether you’re dipping it into a bowl of chili, pairing it with a creamy soup, or toasting it for breakfast, this quick 20-minute bread is a recipe you’ll turn to again and again.
If you give it a try, I’d love to hear how it turned out! Leave a comment with any fun mix-ins you used or tips that worked well for you. And don’t forget to share this recipe with friends and family—it’s too good (and too easy) not to.
Happy baking!
Print
Quick 20-Minute Homemade Bread
- Author: Andrew Recipes
Description
This quick homemade bread recipe is perfect for when you’re short on time but still crave warm, freshly baked bread. With just a few pantry staples and no yeast required, this simple bread comes together in under 30 minutes from start to finish. It’s soft on the inside, slightly crisp on the outside, and ideal for pairing with soups, stews, or even enjoying with a bit of butter and jam.
Ingredients
2 cups all-purpose flour
1 tablespoon baking powder
1 teaspoon salt
1 tablespoon sugar
1 cup milk
2 tablespoons vegetable oil or melted butter
Instructions
Preheat your oven to 400°F (200°C) and lightly grease a baking sheet or line it with parchment paper.
In a large mixing bowl, whisk together the flour, baking powder, salt, and sugar until evenly combined.
Pour in the milk and oil, then stir until a soft dough forms. Be careful not to overmix to avoid a dense texture.
Transfer the dough onto the prepared baking sheet. Shape it into a round or oval loaf, flattening it slightly with your hands.
Place the baking sheet in the oven and bake for 18 to 20 minutes, or until the bread is golden on top and sounds hollow when tapped.
Remove from the oven and allow it to cool for a few minutes before slicing and serving.
Notes
This bread is best enjoyed fresh and warm, though it can be stored in an airtight container for up to two days. You can customize it by adding herbs, shredded cheese, or garlic powder to the dough for extra flavor. This recipe is especially great for beginner bakers or as a last-minute addition to a meal.

