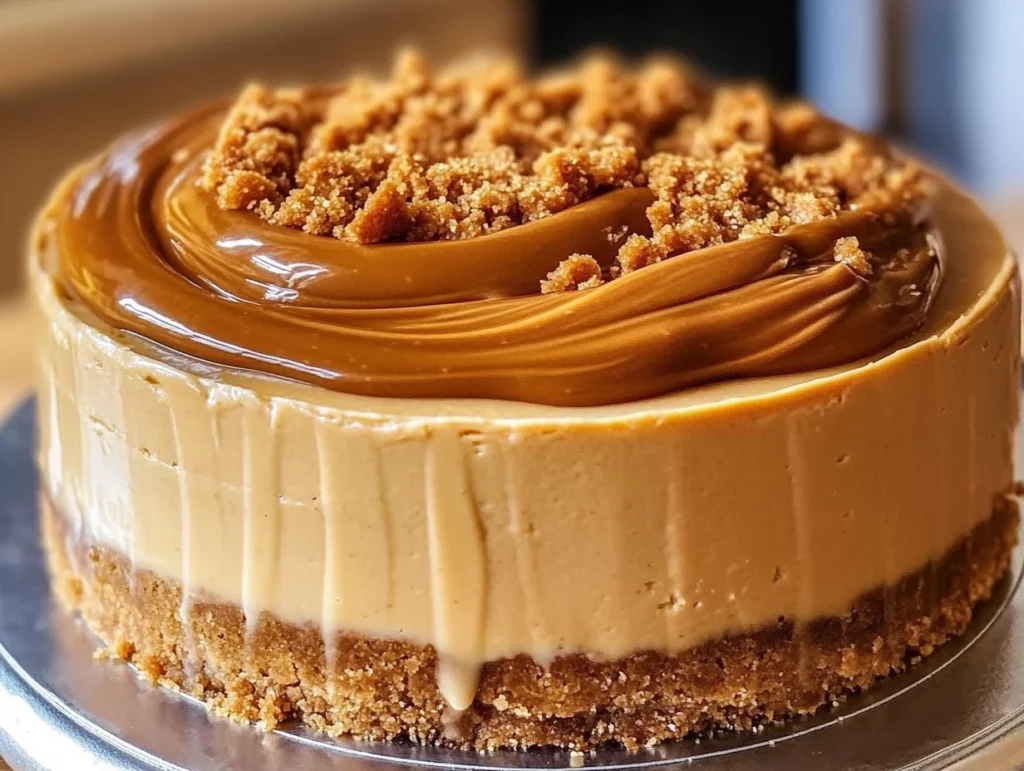
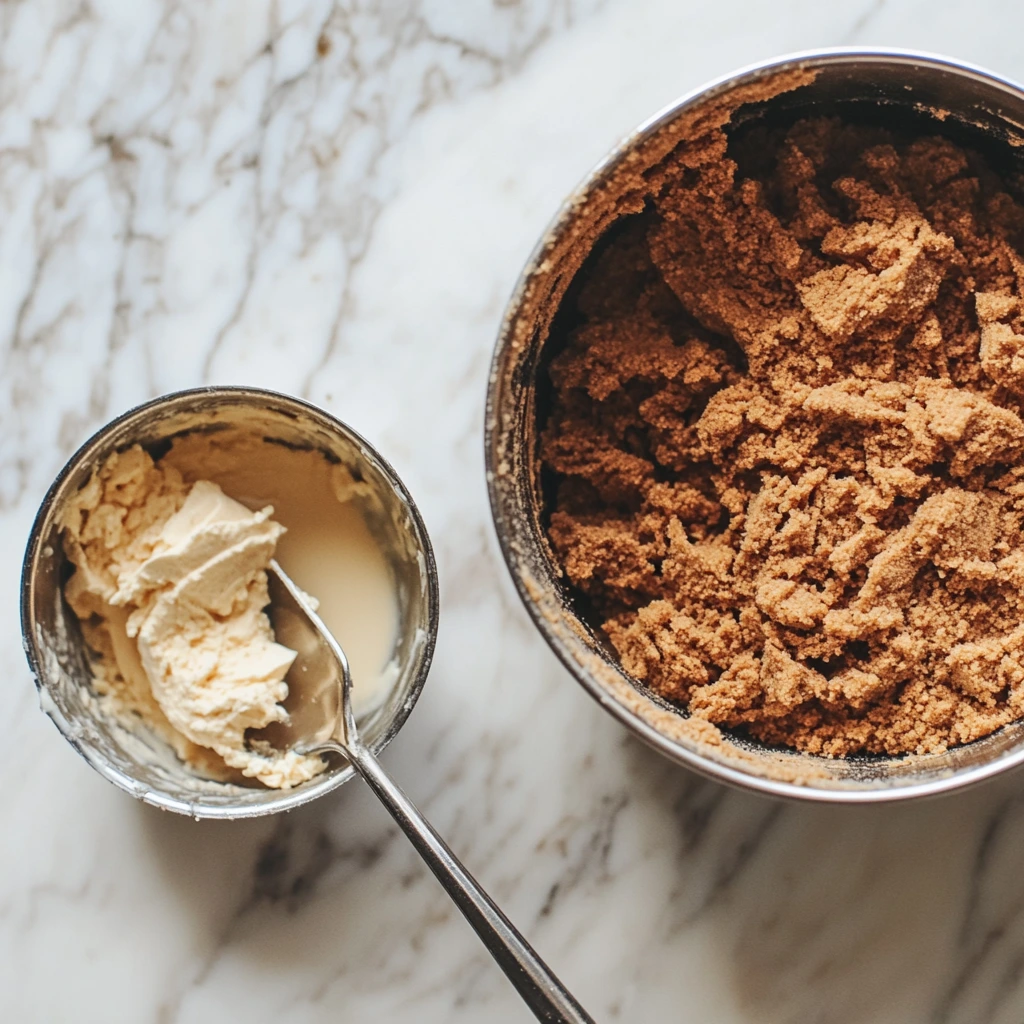
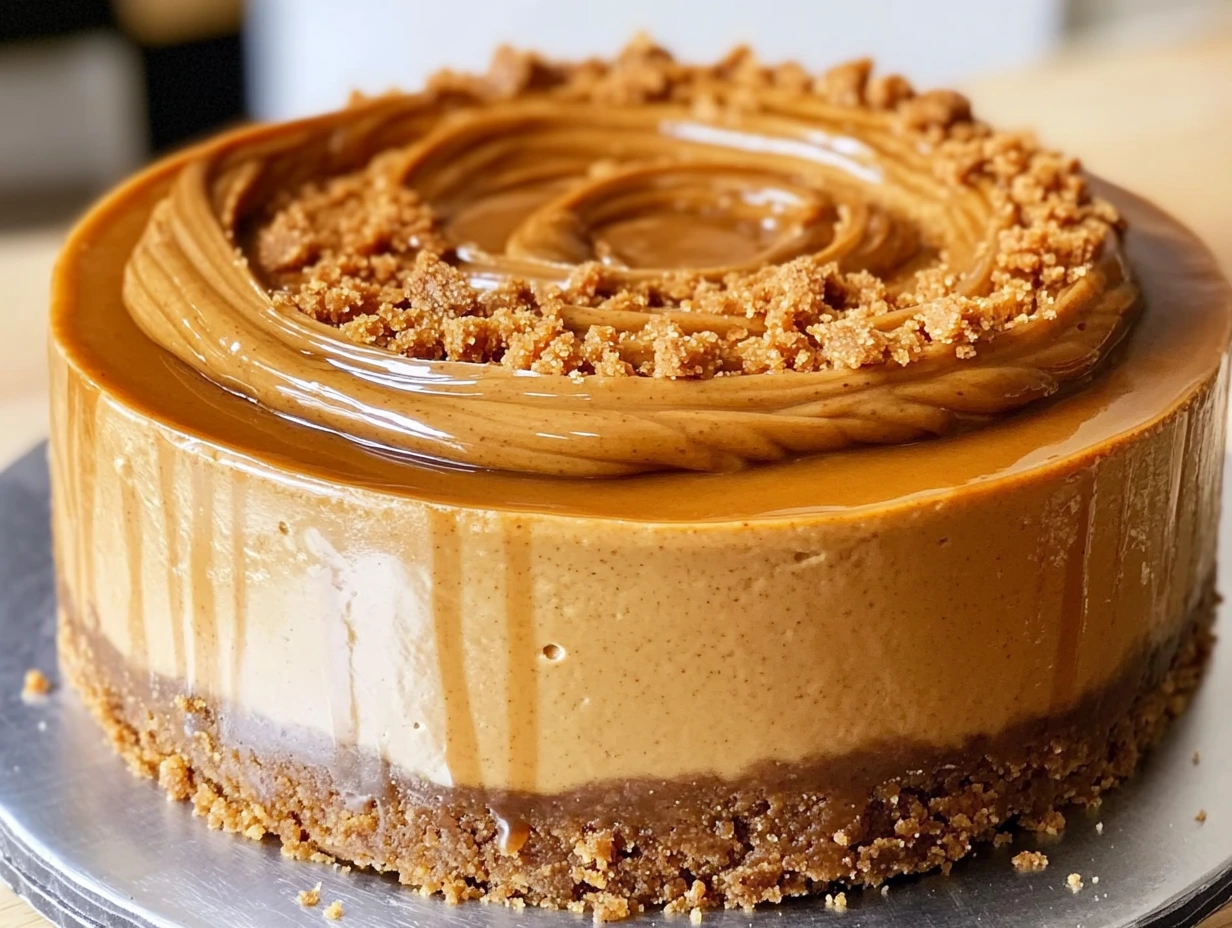
If you’re anything like me and have a deep, unwavering love for Biscoff cookies (you know, those magical little spiced biscuits that somehow taste like a warm hug?), then this Biscoff Cookie Butter Cheesecake is about to become your new favorite treat. We’re talking a buttery cookie crust, a luscious, creamy filling that’s bursting with Biscoff cookie butter flavor, and a dreamy whipped topping with extra cookie crumbles for good measure.
Now, I have to admit—I first made this cheesecake on a bit of a whim. It was one of those chilly afternoons when I wanted something sweet, but not just any dessert. I needed something rich, cozy, and downright comforting. That’s when I remembered the jar of Biscoff cookie butter hiding in the back of my pantry and thought, “Why not turn this into a cheesecake?” And let me tell you, the results were next-level delicious.
Whether you’re planning a holiday dessert, a weekend baking project, or just want to treat yourself (because, why not?), this cheesecake is a crowd-pleaser that’s actually super easy to pull together. Let’s get started!
Ingredients You’ll Need
For the crust:
200g Biscoff cookies, crushed
80g melted butter
For the filling:
500g cream cheese, softened
200g Biscoff cookie butter
150g granulated sugar
200ml heavy cream
2 large eggs
1 tsp vanilla extract
1 tbsp flour
For the topping:
150ml heavy cream, whipped
2 tbsp Biscoff cookie butter, melted (for drizzling)
Extra Biscoff cookies for garnish
STEP 1: Prep Your Pan and Preheat the Oven
Before you dive into cheesecake bliss, go ahead and preheat your oven to 160°C (320°F). Lightly grease a 9-inch springform pan and line the base with parchment paper. This will make it so much easier to remove the cheesecake later—trust me, you’ll be glad you did this part.
STEP 2: Make the Crust
Now for the base of our dreamy dessert. Take 200g of Biscoff cookies and crush them up nice and fine. You can do this in a food processor or pop them into a ziplock bag and give them a good bash with a rolling pin (honestly, a little therapeutic).
Next, melt 80g of butter and mix it in with the crushed cookies until everything is evenly combined. You’re aiming for a texture similar to wet sand. Pour this mixture into your prepared pan and press it down firmly to form an even crust. I like to use the bottom of a measuring cup to get it nice and compact.
Pop the crust into the refrigerator to chill while you get started on that rich, creamy filling.
STEP 3: Whip Up the Cheesecake Filling
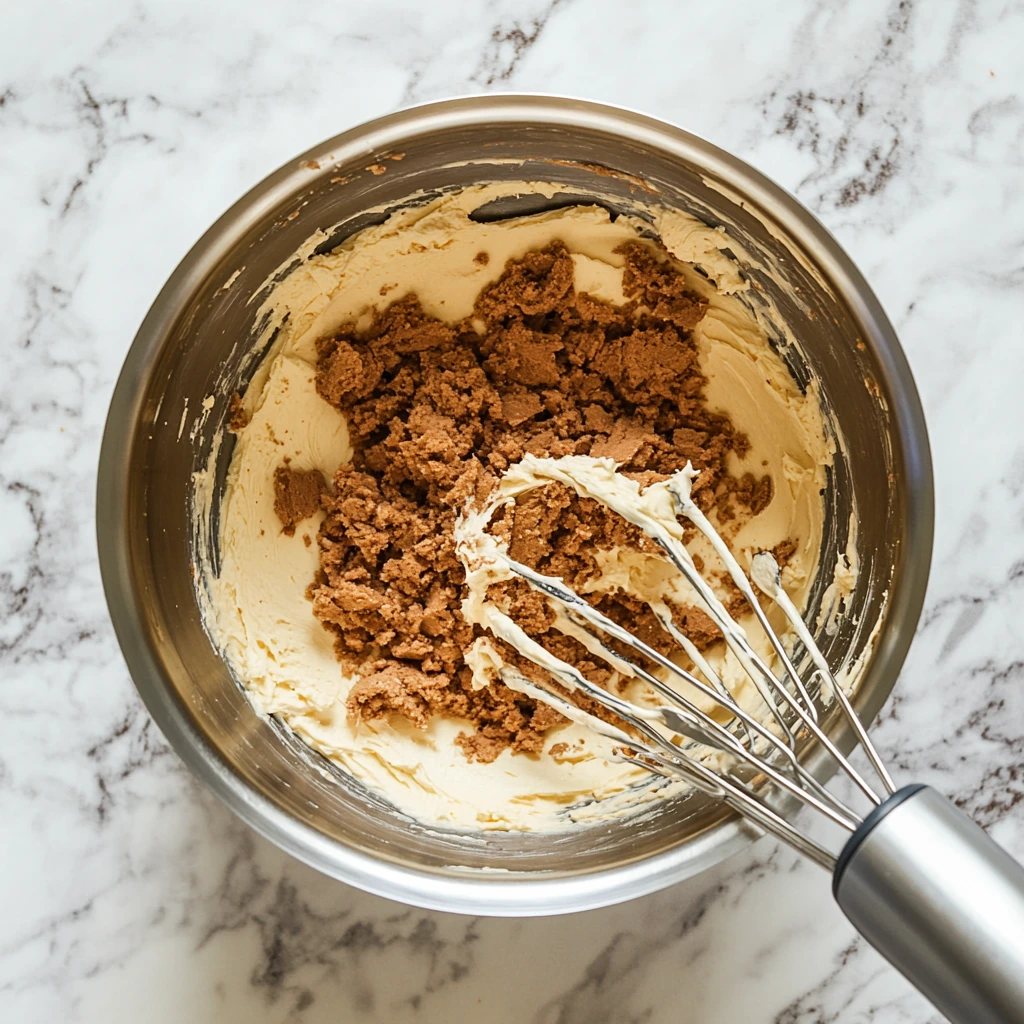
In a large mixing bowl, beat 500g of softened cream cheese until smooth and velvety. The key here is making sure your cream cheese is at room temperature—this helps avoid lumps and gives you that silky texture we’re after.
Once it’s smooth, add in the 200g of Biscoff cookie butter and 150g of granulated sugar, and mix until everything’s beautifully blended.
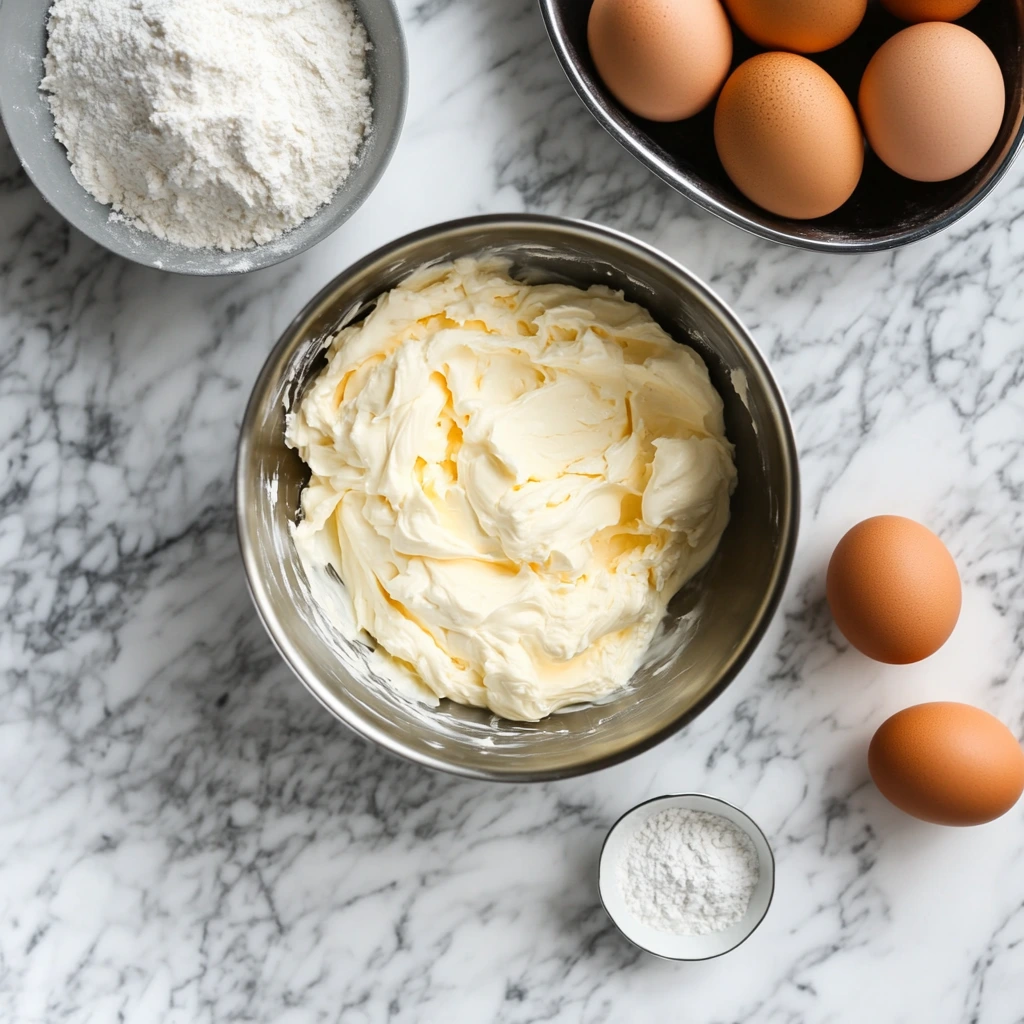
Now, beat in the eggs one at a time. Add the first egg, mix until just combined, then do the same with the second. It’s important not to overbeat the mixture at this stage to keep the cheesecake texture just right.
Finish by adding 1 tsp of vanilla extract and 1 tbsp of flour, mixing just until the batter is fully incorporated. Don’t overdo it—you want everything smooth but not overworked.
STEP 4: Assemble and Bake
Pour the cheesecake filling right over your chilled crust, smoothing the top with a spatula. Tap the pan gently on the counter a couple of times to release any trapped air bubbles (a small but helpful step for a flawless top).
Bake the cheesecake for 50–60 minutes. You’ll know it’s ready when the edges are set but the center still has a slight jiggle. Don’t worry—it’ll firm up as it cools.
Once baked, turn off the oven, crack the door open slightly, and let the cheesecake rest inside for 1 hour. This gradual cooling process helps prevent cracks on top.
Biscoff Cookie Butter Cheesecake: The Ultimate Indulgent Dessert for Cookie Lovers
Alright, now that your cheesecake has cooled slowly in the oven and is resting peacefully in the fridge, it’s time for the finishing touches—and honestly, this is my favorite part. There’s something so satisfying about adding that final layer of whipped topping and drizzle, especially when you know just how good that first slice is going to be.
But before we get into decorating, let’s talk about chilling. I know it can be tempting to dig in early (been there, done that), but giving your cheesecake time to chill overnight really takes the texture and flavor to the next level. The filling sets up perfectly, the flavors meld together, and it slices like a dream.
Let’s finish up this beauty!
STEP 5: Chill the Cheesecake
Once the cheesecake has cooled in the oven for an hour, take it out and let it come to room temperature. Then cover the pan with plastic wrap and refrigerate for at least 4 hours, though overnight is ideal. The longer chill time allows the texture to firm up and makes for cleaner slices.
You’ll know it’s ready when the center is fully set and feels firm to the touch.
STEP 6: Whip Up the Topping
Right before serving, make your whipped topping. In a clean bowl, whip 150ml of heavy cream until it forms soft peaks. You can sweeten it slightly with a teaspoon of powdered sugar if you like, but honestly, the cheesecake is rich enough that a simple whipped cream does the job beautifully.
You can either spread the whipped cream over the top of the cheesecake with a spatula for a rustic look, or if you’re feeling a bit fancy, pipe it on using a piping bag with a star tip for a bakery-style finish.
STEP 7: Drizzle and Decorate
Now, for that glorious drizzle. Melt 2 tablespoons of Biscoff cookie butter until it’s pourable (a quick zap in the microwave—about 10–15 seconds—should do it). Use a spoon to drizzle it over the top of the whipped cream.
And of course, don’t forget the garnish! Crush up a few extra Biscoff cookies and sprinkle them over the top, or break some in half and gently press them into the whipped cream. Not only does it look pretty, but it also adds a nice little crunch that complements the creamy filling.
Tips to Make This Cheesecake Even Better
Now that you’ve mastered the basics, here are a few tips and variations to help you make this recipe your own (or troubleshoot, just in case):
Room temperature ingredients are key. Cold cream cheese can leave you with a lumpy batter, and no one wants that. Take your ingredients out at least 30 minutes before starting.
Use a water bath for extra insurance. If you’ve ever had issues with cracked cheesecake tops, try baking your cheesecake in a water bath. Wrap the bottom of your springform pan in foil and place it in a larger pan filled with hot water. It creates gentle, even heat and helps avoid those pesky cracks.
Add a layer of Biscoff spread on top before chilling. Want to go even more decadent? Spread a thin layer of melted cookie butter on top of the cooled cheesecake (before adding whipped cream) and let it firm up in the fridge. It creates a beautiful glossy finish and adds even more flavor.
Try a chocolate version. If you’re feeling creative, sprinkle a handful of mini chocolate chips into the batter before baking, or add a chocolate drizzle over the whipped topping.
Make it mini. This recipe works great in individual ramekins or a muffin tin lined with cupcake liners. Perfect for parties or if you’re just not in the mood to slice and serve a full cheesecake.
Serving Suggestions
This cheesecake is rich and satisfying all on its own, but if you’re serving it at a dinner party or holiday gathering, it pairs beautifully with a cup of strong coffee or a warm chai latte. The spice notes in the cookie butter really shine with something a little bold and cozy.
And let me just say—don’t skip the extra drizzle of warm cookie butter on the side. Trust me, it’s the kind of indulgent touch that has everyone asking for seconds.
Biscoff Cookie Butter Cheesecake: The Ultimate Indulgent Dessert for Cookie Lovers
You’ve baked it, chilled it, topped it, and maybe even snuck a little taste (no judgment here)—now let’s wrap this recipe up with answers to your most common questions and a few final thoughts to help you serve the perfect slice every time.
Whether this is your first homemade cheesecake or you’re a seasoned pro, there’s always something new to learn when it comes to getting that flawless finish and amazing flavor. So, let’s dive right into the FAQs!
FAQ: Your Biscoff Cheesecake Questions Answered
1. Can I make this cheesecake ahead of time?
Absolutely. This cheesecake actually gets better as it chills. You can make it 1–2 days in advance and keep it refrigerated until ready to serve. Just hold off on adding the whipped topping and drizzle until right before serving.
2. What’s the best way to slice cheesecake cleanly?
Use a sharp, non-serrated knife, and wipe it clean between each cut. For even cleaner slices, run the knife under hot water and dry it before slicing. It really makes a difference in presentation.
3. Can I freeze Biscoff cheesecake?
Yes, you can! Once fully chilled and set, wrap the cheesecake tightly in plastic wrap and foil, then freeze for up to 1 month. Thaw in the fridge overnight before serving. Skip the whipped topping and drizzle until after it’s thawed.
4. What can I use if I don’t have a springform pan?
If you don’t have a springform pan, you can use a regular 9-inch round cake pan lined with parchment. Just be aware that removing the cheesecake might be a bit trickier. You may want to freeze it slightly to firm it up before unmolding.
5. Can I use another brand of cookie butter or cookies?
Definitely. Any spiced speculoos-style cookie or cookie butter spread will work here, but the Biscoff brand really nails that distinct flavor. If you’re using another brand, make sure it has the same creamy consistency.
6. Why did my cheesecake crack?
Cracks usually happen due to overbaking, sudden temperature changes, or overmixing the batter. Don’t worry, though—cracks won’t affect the flavor, and that whipped cream topping will cover them right up!
7. How long will leftovers last?
Store any leftover cheesecake in an airtight container in the refrigerator for up to 4–5 days. The crust may soften slightly over time, but the flavor stays rich and delicious.
Final Thoughts: A Cheesecake Worth Savoring
This Biscoff Cookie Butter Cheesecake isn’t just a dessert—it’s a little celebration on a plate. Whether you’re baking it for a special occasion, a cozy weekend in, or just to treat yourself, it’s one of those recipes that feels indulgent but isn’t complicated to make.
What I love most is how the deep caramelized flavor of the Biscoff cookies shines through in every layer—from the crunchy crust to the creamy filling and the final drizzle. And even though it tastes like something you’d get from a fancy bakery, it’s totally doable at home with just a few basic ingredients and a little bit of patience.
If you try this cheesecake, I’d love to hear how it turned out! Did you add any twists or variations? Share your baking adventures in the comments—your ideas might inspire someone else to give it a go.
Until next time, happy baking!
Print
Biscoff Cookie Butter Cheesecake
- Author: Andrew Recipes
Description
This Biscoff Cookie Butter Cheesecake is a creamy, indulgent dessert that blends the warm spiced flavor of Biscoff cookies with a smooth, rich cheesecake base. Featuring a cookie crust, a luscious cookie butter filling, and a whipped topping, it’s the ultimate treat for cookie butter lovers.
Ingredients
For the crust:
200g Biscoff cookies, crushed
80g melted butter
For the filling:
500g cream cheese, softened
200g Biscoff cookie butter
150g granulated sugar
200ml heavy cream
2 large eggs
1 tsp vanilla extract
1 tbsp flour
For the topping:
150ml heavy cream, whipped
2 tbsp Biscoff cookie butter, melted (for drizzling)
Extra Biscoff cookies for garnish
Instructions
Preheat your oven to 160°C (320°F). Lightly grease a 9-inch springform pan and line the base with parchment paper.
Combine the crushed Biscoff cookies and melted butter in a bowl. Press the mixture firmly into the bottom of the prepared pan to form a crust. Place in the refrigerator while you prepare the filling.
In a large mixing bowl, beat the cream cheese until smooth and creamy. Add the cookie butter and granulated sugar, mixing until well combined. Beat in the eggs one at a time, then add the vanilla extract and flour. Mix just until the batter is smooth and well incorporated.
Pour the cheesecake filling over the prepared crust. Smooth the top with a spatula and tap the pan gently on the counter to release any air bubbles.
Bake for 50-60 minutes, or until the center is just set with a slight jiggle. Turn off the oven, crack the door slightly, and let the cheesecake cool inside for 1 hour.
Once cooled, refrigerate the cheesecake for at least 4 hours or overnight to fully set.
Before serving, spread or pipe the whipped cream on top. Drizzle with melted cookie butter and decorate with additional Biscoff cookies for garnish.
Notes
To ensure a smooth texture, bring all filling ingredients to room temperature before mixing. Chilling the cheesecake overnight enhances the flavor and makes slicing cleaner. For extra indulgence, serve with a spoonful of warm cookie butter on the side.
