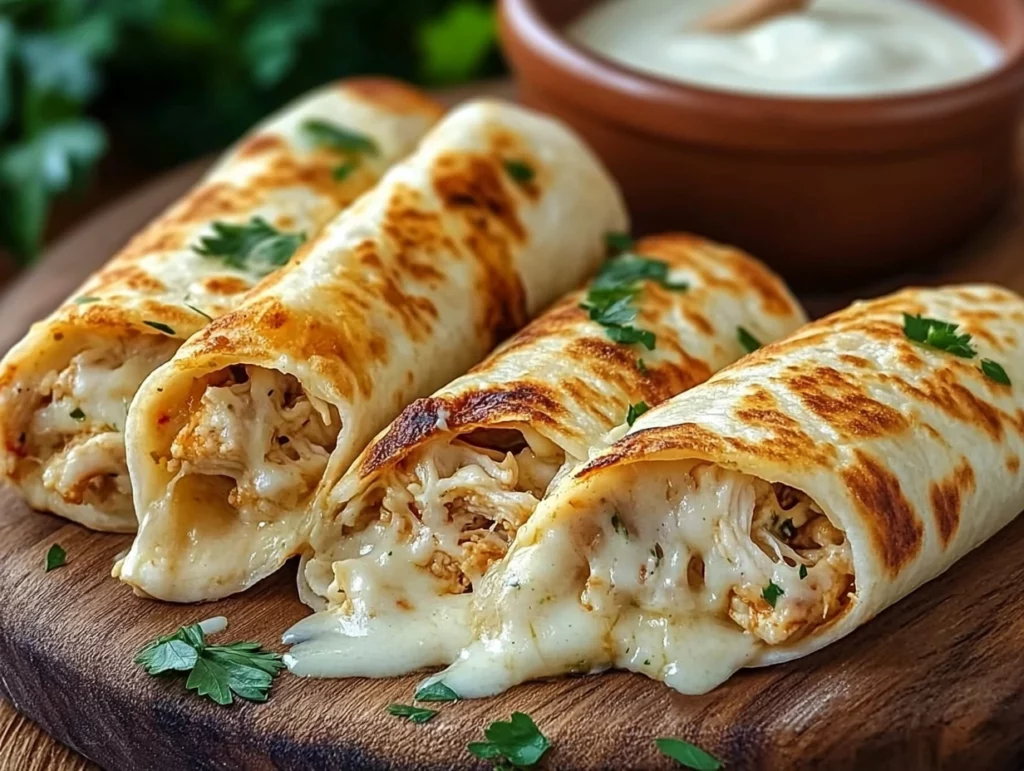
There’s something wildly satisfying about biting into a warm, cheesy, garlicky chicken wrap—especially when it’s bursting with juicy chicken, fresh veggies, and gooey melted cheese. That’s why these Cheesy Garlic Chicken Wraps have become a go-to in our kitchen. Whether I’m pulling together a quick lunch or scrambling for a last-minute dinner idea that everyone will actually eat without complaint, this recipe always delivers.
And here’s the kicker: it’s fast. Like, weeknight-after-a-long-day kind of fast. With just a handful of pantry spices, some fresh ingredients, and a hot skillet, you’ve got a hearty, comforting wrap that hits all the right notes—savory, melty, fresh, and just the right amount of garlicky.
These wraps remind me a little of the ones my mom used to make when we had leftover rotisserie chicken and no time to spare. We’d just mix it up with whatever veggies were in the fridge and load it into a tortilla with cheese. But this version? This one takes it up a notch, with perfectly seasoned chicken and all the fixings that make each bite feel like a mini flavor explosion.
Let’s get started, shall we?
Ingredients You’ll Need
2 boneless, skinless chicken breasts, sliced thin
1 tbsp olive oil
1 tsp garlic powder
1/2 tsp onion powder
1/2 tsp smoked paprika
Salt and pepper to taste
1 cup shredded mozzarella or cheddar cheese (or mix both!)
4 large flour tortillas
1/2 cup ranch or garlic sauce (optional but highly recommended)
1 cup shredded lettuce
1 tomato, diced
STEP 1: Cook the Chicken Just Right
The first and most important part of this wrap is the chicken—because bland chicken is a deal breaker, right?
Start by heating a tablespoon of olive oil in a skillet over medium heat. Once it’s hot, toss in your thinly sliced chicken breasts. Now, let’s season this up: sprinkle in the garlic powder, onion powder, smoked paprika, and a little salt and pepper. Stir everything around so the chicken is evenly coated in those spices.
Cook it for about 6–8 minutes, flipping occasionally, until it’s cooked through and slightly golden on the edges. You’ll know it’s done when there’s no pink left in the center and the outside has a light sear—that’s where the flavor magic happens.
If your pan is big enough, try to keep the chicken in a single layer. This helps it get that slightly crispy edge without steaming. Trust me, it’s worth the extra minute of spreading it out.
STEP 2: Warm Up Those Tortillas
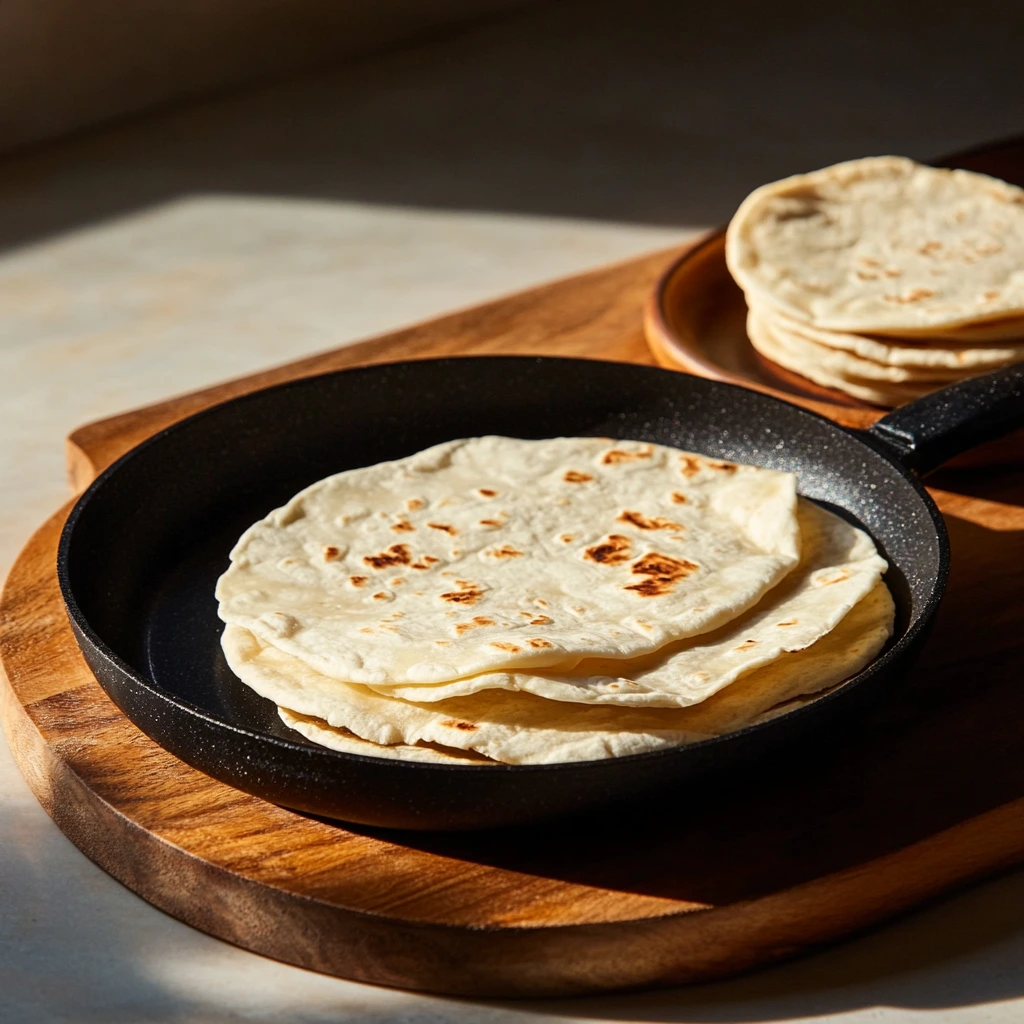
While the chicken is finishing up, go ahead and warm your tortillas. You can do this in a dry skillet for about 20–30 seconds per side or just pop them in the microwave for 10–15 seconds.
The goal here is to make them soft and pliable—no cracking or breaking when you roll them up. Warm tortillas just hold together better, and they help melt the cheese faster when you toast the wrap (which we’ll get to in a sec).
STEP 3: Build the Wrap Like a Pro
Now comes the fun part—assembly.
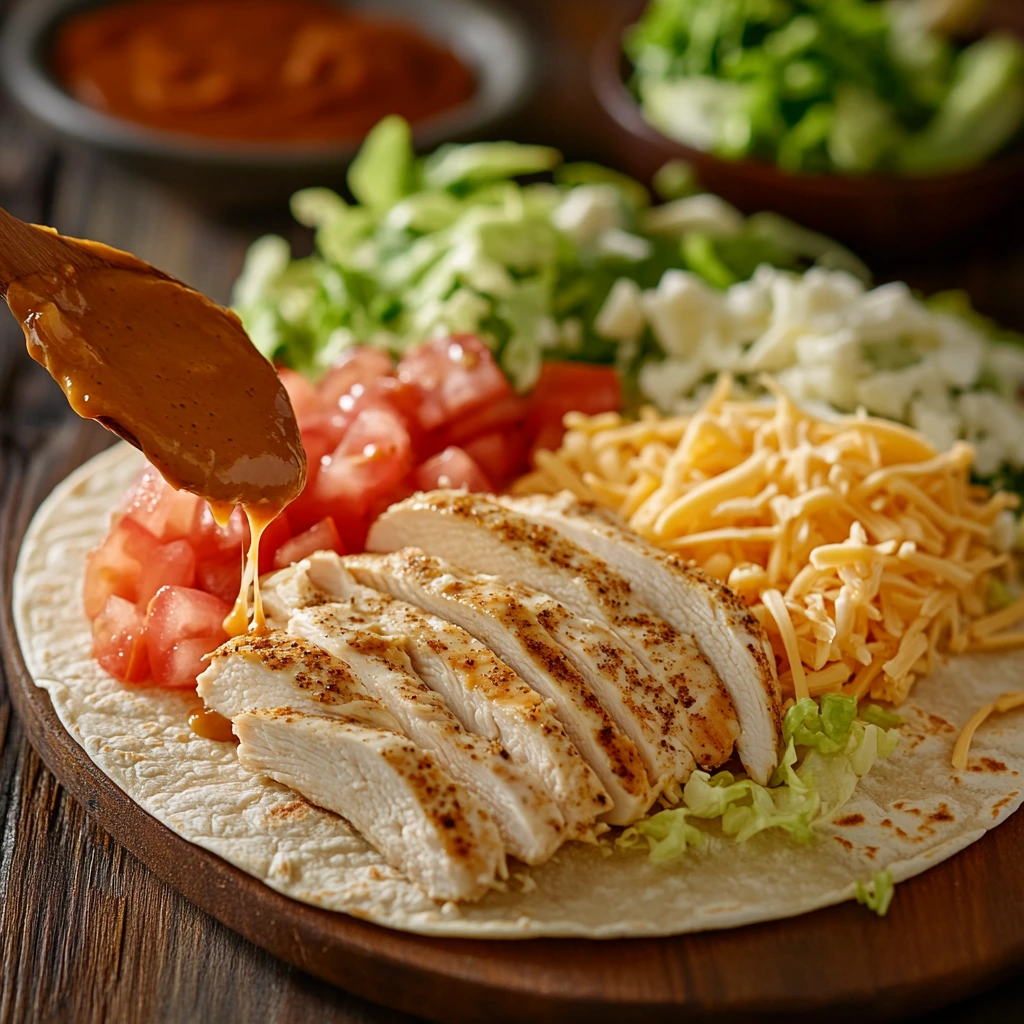
Start by spreading a spoonful (or more, we don’t judge) of ranch or garlic sauce in the center of each tortilla. That creamy base sets the tone for the whole wrap. Next, pile on the cooked chicken, then sprinkle on the shredded cheese.
From there, add a handful of shredded lettuce and a good spoonful of diced tomato. Keep everything centered—you’ll be folding it all in soon, and you don’t want your filling escaping from the sides.
If you’re a fan of layering, you can alternate chicken and cheese to make sure every bite gets a little of everything.
Cheesy Garlic Chicken Wraps: Toasting, Customizing, and Serving Tips
Welcome back! If you’ve made it this far, your kitchen probably smells amazing right now—garlicky chicken sizzling on the stove, tortillas warming up, cheese ready to melt. In Part 1, we walked through cooking the chicken and prepping the fillings. Now it’s time to bring it all together with a perfect wrap and toast.
Trust me, this next step is where the magic happens. That final toast in the skillet makes all the difference—melting the cheese into gooey perfection while giving the outside a lightly crispy texture. Let’s roll (literally) into the next steps.
STEP 4: Fold and Roll Like a Pro
Once you’ve got your fillings layered in the center of each tortilla, it’s time to fold. Here’s the simple technique I swear by:
Fold the sides of the tortilla inward, over the filling.
Then take the bottom edge and roll it up tightly, tucking as you go.
You want to make sure it’s rolled snugly enough that nothing falls out, but not so tight that it tears. A good roll means everything stays together whether you’re eating this at the table or wrapping it for lunch on the go.
If you’re new to wrap-rolling, don’t stress. The first one might look a little wonky, but by the second or third, you’ll get into the groove. And even if it’s not perfect? Still totally delicious.
STEP 5: Toast for Ultimate Flavor and Texture
Now for the finishing touch that elevates these wraps from “pretty good” to can’t-stop-eating-these level.
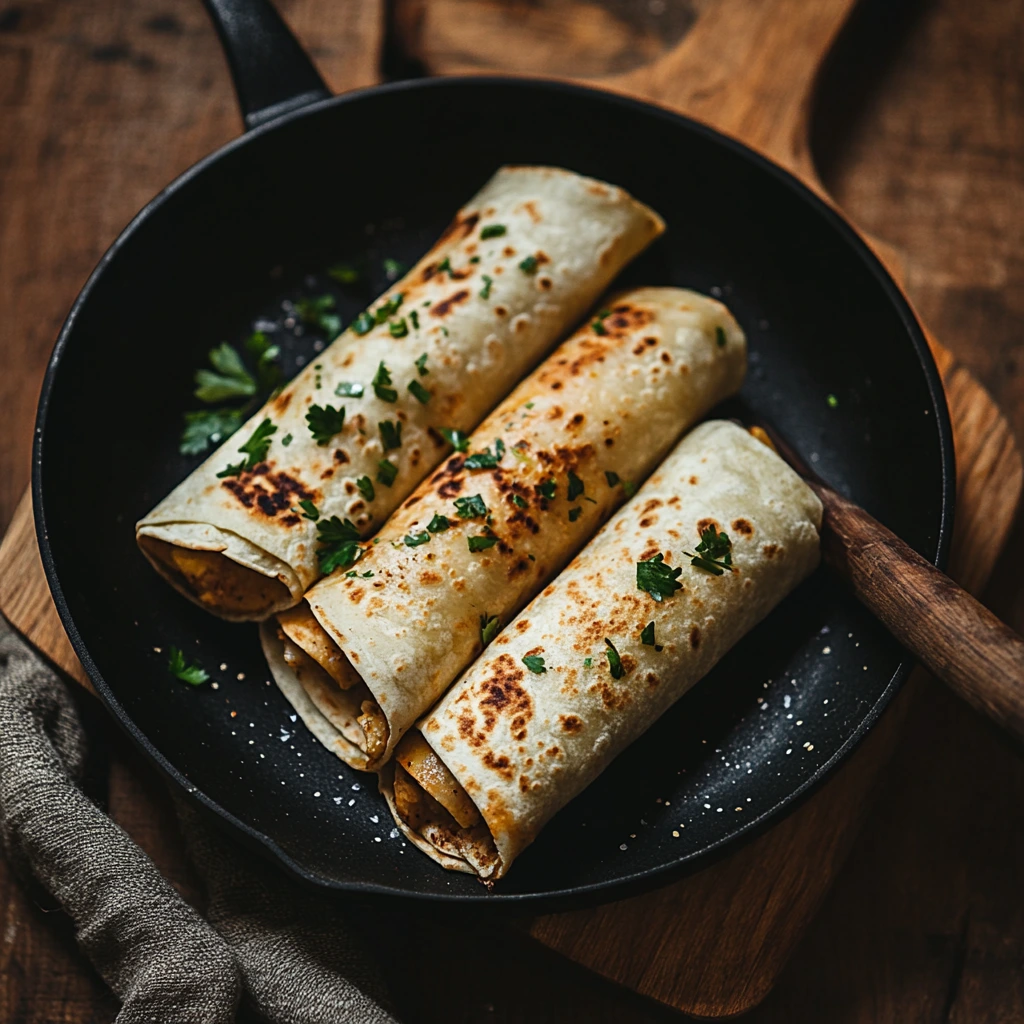
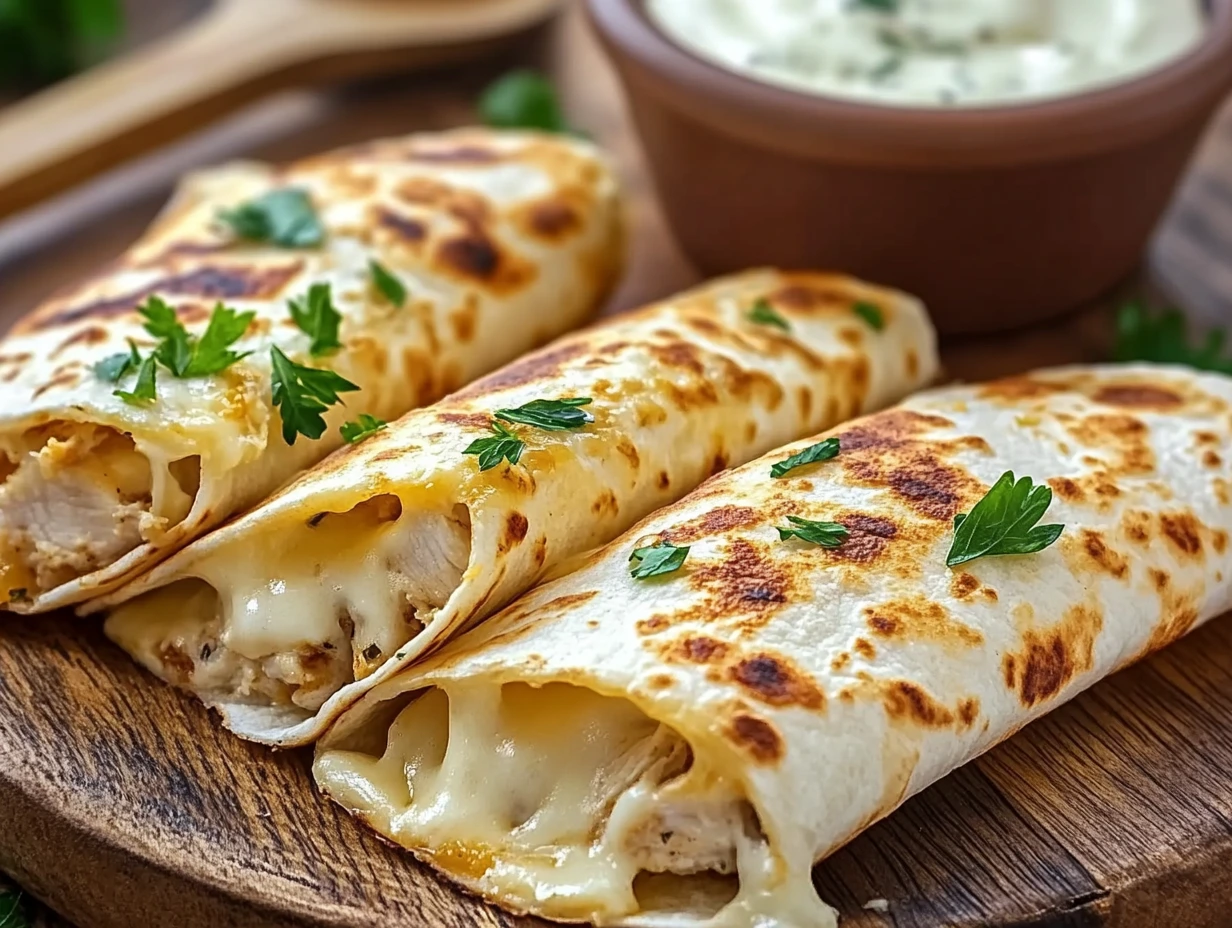
Heat a clean skillet over medium heat—no oil needed. Place your wrapped tortillas seam-side down in the pan and let them toast for 1–2 minutes per side. You’re looking for a nice golden brown finish and slightly melted cheese inside.
Not only does this help seal the wrap closed, but it gives a light crunch that contrasts beautifully with the tender chicken and crisp lettuce. It also brings the cheese to that perfect melt without making the wrap soggy.
Customize It Your Way
One of the best things about these Cheesy Garlic Chicken Wraps? They’re endlessly adaptable. You can easily tweak them based on what you have on hand or what your family likes. Here are a few of my favorite add-ins and swaps:
Avocado Slices: Creamy and cool, they add great texture.
Crispy Bacon: Adds a smoky crunch and pairs amazingly with ranch.
Pickled Jalapeños: For a little kick if you like some heat.
Whole Wheat Tortillas: A bit healthier, still delicious.
Greek Yogurt Garlic Sauce: A lighter option if you’re cutting back on traditional dressings.
You can even turn these wraps into a wrap bowl—just layer everything over a bed of rice or greens and skip the tortilla.
Meal Prep and Storage Tips
These wraps are ideal for meal prep, especially if your mornings are hectic or you need something quick for lunch during the workweek. Here’s how I like to do it:
Make a batch ahead: Cook and season the chicken in advance, then store it in an airtight container in the fridge.
Wrap and store: Once your wraps are assembled and cooled, wrap them in foil and keep in the fridge for up to 3 days.
Reheat: If you want a warm wrap later, just toast it in a skillet or warm it up in the oven or air fryer. (Microwave works too, but you’ll miss that crispy texture.)
One tip: If you’re adding lettuce and tomato in a make-ahead version, consider storing those separately and adding them just before serving. That keeps everything fresh and prevents the tortilla from getting soggy.
Cheesy Garlic Chicken Wraps: FAQs and Final Thoughts
We’ve cooked the chicken, warmed the tortillas, rolled everything up, and toasted our way to cheesy perfection. These Cheesy Garlic Chicken Wraps are easy, satisfying, and endlessly flexible—which is why they’ve quickly become one of my most-requested weeknight dinners.
Before we wrap things up (pun intended), let’s go over some of the most common questions people ask about this recipe. Whether you’re wondering about storage, ingredient swaps, or how to make them extra crispy, I’ve got you covered.
Frequently Asked Questions
1. Can I use pre-cooked or rotisserie chicken instead of cooking it from scratch?
Absolutely. This is a great shortcut if you’re low on time. Just shred or slice the rotisserie chicken and toss it with the seasoning mix (garlic powder, onion powder, smoked paprika, salt, and pepper). Warm it in a skillet for a few minutes so the flavors blend before assembling your wraps.
2. Do I have to toast the wraps in a skillet?
Nope! While toasting adds that extra crunch and melts the cheese beautifully, you can skip this step if you’re in a rush or prefer a softer wrap. That said, if you’re making these ahead of time, toasting them before storing helps keep them from getting soggy.
3. What’s the best cheese to use for these wraps?
Mozzarella gives you that classic melt and mild flavor, while cheddar adds a sharper, richer taste. I personally love a mix of the two. Feel free to experiment with pepper jack or provolone if you’re looking to change things up.
4. How do I keep the wraps from falling apart?
Warming the tortillas before assembling makes them more flexible and less likely to crack. Rolling them tightly and toasting seam-side down first also helps seal them. If you’re taking them on the go, wrapping them in foil is a lifesaver.
5. Can I make these wraps gluten-free?
Yes! Just use your favorite gluten-free tortillas. Keep in mind that some gluten-free varieties can be a bit more delicate, so warming them first is even more important for a successful roll.
6. How long will these wraps last in the fridge?
When stored properly in foil or an airtight container, these wraps will keep for up to 3 days. For best results, keep any fresh ingredients like lettuce or tomato separate until just before serving.
7. What side dishes go well with these wraps?
They pair perfectly with sweet potato fries, a crisp side salad, coleslaw, or even a simple fruit cup. For something heartier, try roasted vegetables or a corn and black bean salad.
Final Thoughts: Try It Once, Crave It Forever
Cheesy Garlic Chicken Wraps are one of those recipes that check all the boxes—easy, flavorful, filling, and versatile. Whether you’re meal prepping for the week or throwing something together in 20 minutes flat, this recipe gives you the best of both worlds: home-cooked comfort with zero stress.
I love how customizable they are. You can keep it classic or go all out with your favorite extras. And honestly? These wraps are one of the few meals where no one in the house complains—kids, teens, adults… everyone’s happy.
Print
Cheesy Garlic Chicken Wraps
- Author: Andrew Recipes
Description
Cheesy Garlic Chicken Wraps are a quick, flavorful meal featuring juicy garlic-seasoned chicken, melted cheese, and crisp vegetables wrapped in a warm tortilla. They’re perfect for lunch, dinner, or an easy grab-and-go option, combining comfort-food vibes with fresh ingredients.
Ingredients
2 boneless, skinless chicken breasts, sliced thin
1 tbsp olive oil
1 tsp garlic powder
1/2 tsp onion powder
1/2 tsp smoked paprika
Salt and pepper to taste
1 cup shredded mozzarella or cheddar cheese
4 large flour tortillas
1/2 cup ranch or garlic sauce (optional)
1 cup shredded lettuce
1 tomato, diced
Instructions
In a skillet over medium heat, heat olive oil. Add the sliced chicken and season with garlic powder, onion powder, smoked paprika, salt, and pepper. Cook for 6-8 minutes until the chicken is cooked through and lightly browned.
Warm the tortillas in a dry pan or microwave until soft and pliable.
Spread a spoonful of ranch or garlic sauce in the center of each tortilla. Layer with cooked chicken, shredded cheese, lettuce, and diced tomato.
Fold the sides of the tortilla inward, then roll tightly into a wrap. If desired, place the wraps seam-side down in the skillet for 1-2 minutes per side to toast and melt the cheese.
Slice in half and serve warm.
Notes
Add avocado slices, pickled jalapeños, or crispy bacon for extra flavor. For a lighter option, use whole wheat tortillas and Greek yogurt-based dressing. These wraps are great for meal prep—wrap in foil and store in the fridge for up to 3 days.
