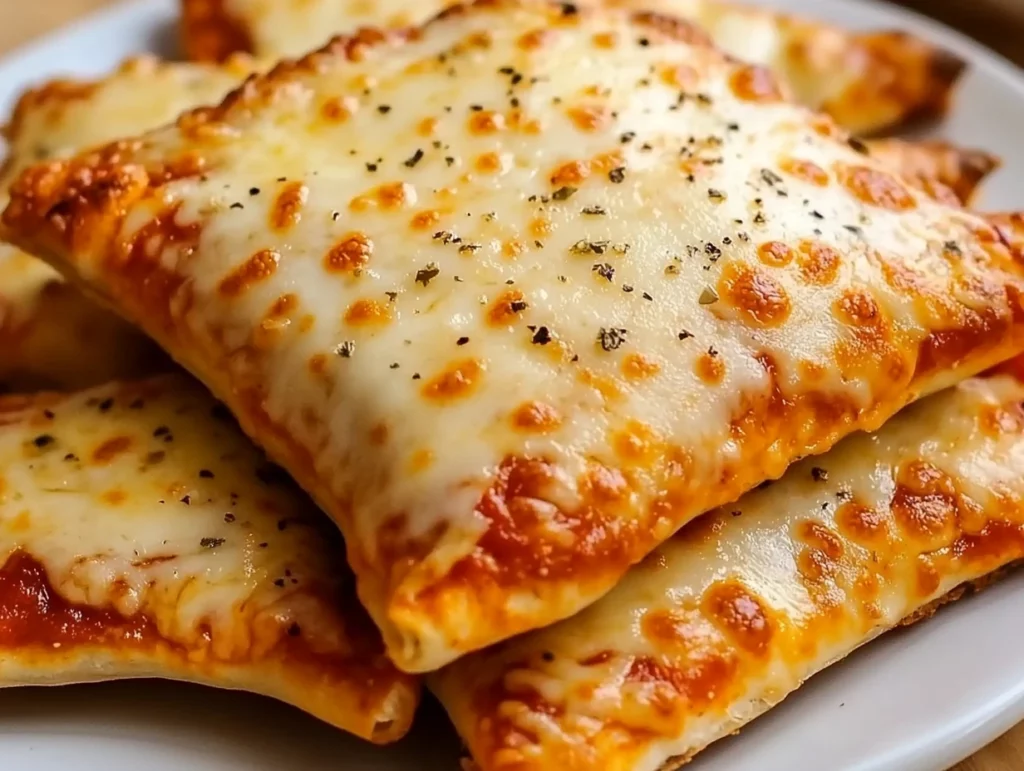
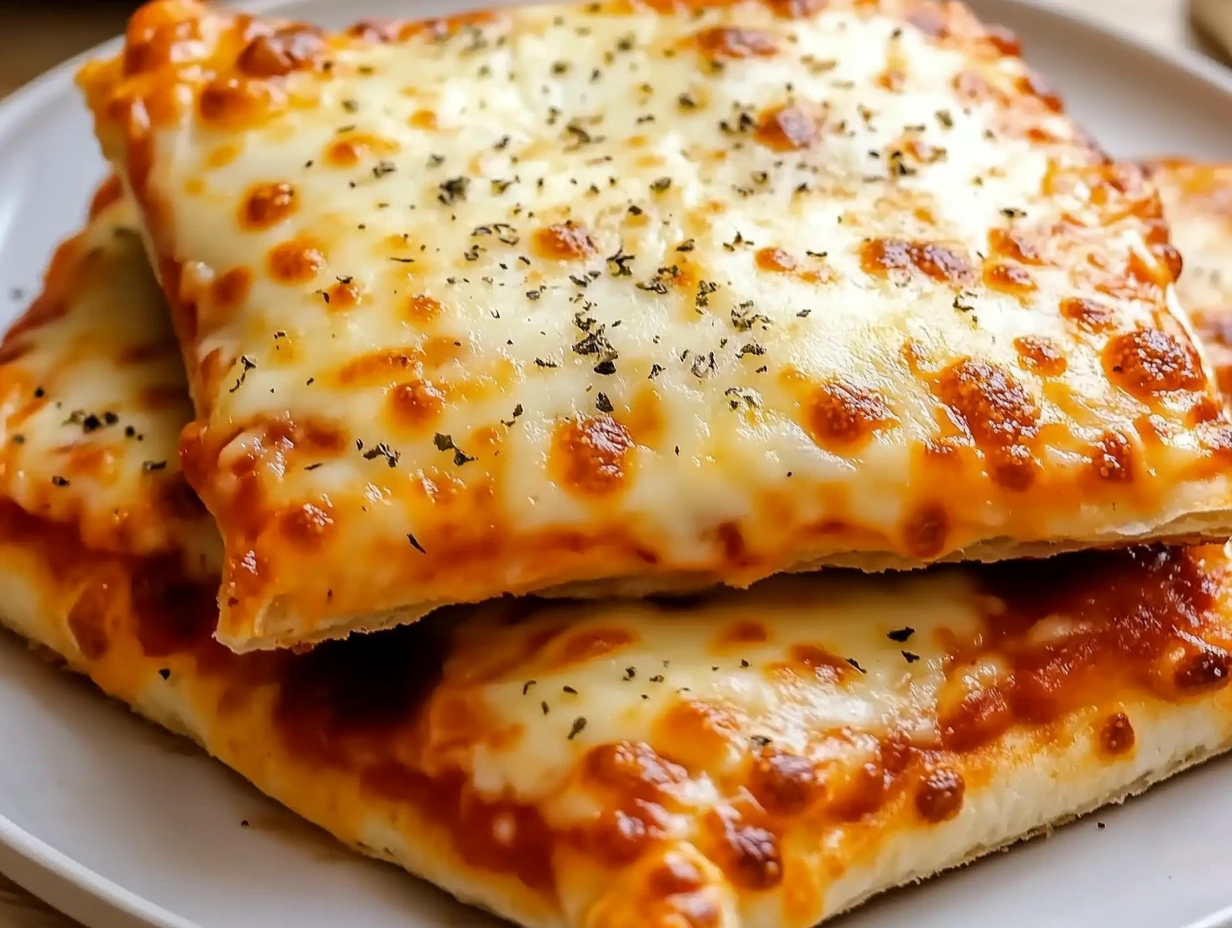
There’s just something magical about pizza, isn’t there? It’s one of those universally loved comfort foods that you can enjoy in so many different ways. And today, I’m sharing a recipe that takes all the best parts of pizza and wraps them into perfectly portioned, hand-held bites: Homemade Easy Cheesy Pizza Pockets.
These little pockets of goodness have quickly become a family favorite at my house. Whether it’s a busy weeknight dinner, a weekend movie snack, or even a fun appetizer for a get-together, these pizza pockets deliver every single time. Plus, they’re incredibly customizable — you can load them up with your favorite toppings or keep them simple for picky eaters.
I first started making these when my kids asked for something “fun” for dinner one Friday night. I didn’t feel like ordering out, so I grabbed some pizza dough, raided the fridge for whatever toppings I had, and within 30 minutes, we were biting into warm, cheesy pockets that everyone loved. And the best part? No messy slices or plates required — just grab and go!
Alright, let’s jump right into how you can make these easy cheesy pizza pockets at home.
Ingredients You’ll Need
Here’s what you’ll need to get started. Feel free to mix and match the fillings depending on what you have on hand or what you’re craving!
1 can (13.8 oz) refrigerated pizza dough or homemade dough
¾ cup pizza sauce
1½ cups shredded mozzarella cheese
½ cup mini pepperoni or diced regular pepperoni (optional)
¼ cup Parmesan cheese (optional)
1 teaspoon Italian seasoning
1 tablespoon olive oil or melted butter (for brushing)
Optional Fillings:
Cooked sausage
Bell peppers
Mushrooms
Olives
STEP 1: PREHEAT YOUR OVEN AND PREP THE BAKING SHEET
Start by preheating your oven to 400°F (200°C). This ensures that your pizza pockets will bake evenly and get that beautiful golden-brown color. While the oven is heating, line a baking sheet with parchment paper to prevent sticking and make cleanup a breeze.
STEP 2: ROLL OUT AND CUT YOUR DOUGH
Lightly flour your work surface to prevent the dough from sticking. Roll out your pizza dough into a rectangle. If you’re using store-bought dough, it’s already pretty close to the right size, but give it a quick roll to even it out. Then, using a sharp knife or pizza cutter, slice the dough into 8 equal rectangles or squares. This will be the base for your pockets.
STEP 3: ADD THE FILLINGS
Now comes the fun part — filling your pockets! On one side of each dough rectangle, spread about 1 tablespoon of pizza sauce. Don’t go too close to the edges; you’ll need some space to seal the pockets later.
Next, sprinkle a generous amount of shredded mozzarella cheese over the sauce. If you’re adding pepperoni, cooked sausage, bell peppers, mushrooms, or olives, now is the time to do it. I love adding a bit of diced bell pepper for a pop of color and a little extra sweetness. Finally, sprinkle with Parmesan cheese and a pinch of Italian seasoning for that classic pizza flavor.
Homemade Easy Cheesy Pizza Pockets: Finishing, Baking & Helpful Tips
Welcome back! Now that we’ve got our pizza pockets filled with all that cheesy, saucy goodness, it’s time to seal them up, bake them to golden perfection, and share a few tried-and-true tips to help you get the very best results. Let’s get right into it.

STEP 4: SEAL THE POCKETS
Once your fillings are in place, gently fold the dough over the filling to create a pocket shape. You’ll want to make sure the edges line up as closely as possible.
Now, here’s a little trick I’ve learned over time: use a fork to crimp and press down on the edges. This not only helps to seal the pocket securely (keeping all that gooey cheese inside) but also gives the pockets a cute, rustic edge. If any filling tries to sneak out while you’re sealing, just gently tuck it back in before pressing.
If you’re worried about the dough not sticking, you can lightly moisten the edges with a bit of water before folding — it acts like a glue and helps the dough stick together better.
STEP 5: PREPARE FOR BAKING
Place each sealed pizza pocket onto your prepared baking sheet, leaving a little space between each one to allow for even baking.
Next, brush the tops with olive oil or melted butter. This step is optional but highly recommended — it helps the pockets bake up beautifully golden and adds an extra layer of flavor. If you want to get a little fancy, sprinkle a bit more Italian seasoning or grated Parmesan cheese on top. The extra seasoning on top gives each bite that irresistible pizza shop vibe.
STEP 6: BAKE TO GOLDEN PERFECTION
Pop the baking sheet into your preheated 400°F oven and bake for about 15 to 18 minutes. Keep an eye on them around the 15-minute mark — you’re looking for a beautiful golden-brown crust and bubbly cheese peeking out of any tiny openings.
Every oven is a little different, so if your pockets need an extra minute or two, that’s perfectly fine. You want them fully cooked through and nicely crisp on the outside.
STEP 7: COOL AND SERVE
Once the pizza pockets are done baking, remove them from the oven and let them cool for a few minutes before serving. This little bit of cooling time helps the cheese set slightly so you don’t lose all that delicious filling with your first bite.
Serve them warm with extra pizza sauce on the side for dipping. Trust me, the extra sauce is a game-changer — my kids love dunking their pockets like mini calzones.
Helpful Tips for the Perfect Pizza Pockets
Over the years, I’ve picked up a few simple tips that make a big difference:
Don’t overfill: It can be tempting to pile on the fillings, but too much can make sealing difficult and may cause leaks during baking.
Use parchment paper: This not only prevents sticking but also makes cleanup super easy.
Let the dough rest: If your dough is shrinking while you’re rolling it out, let it sit at room temperature for 10 minutes. This relaxes the gluten and makes it easier to work with.
Customize your fillings: This is one of the best parts of making these at home. You can cater to everyone’s taste — from veggie-packed to fully loaded meat lovers.
Reheat like a pro: Leftovers heat up wonderfully in a toaster oven or air fryer. This keeps the crust crispy instead of soggy like the microwave sometimes does.
Homemade Easy Cheesy Pizza Pockets: FAQ & Final Thoughts
We’ve covered the step-by-step process of making these delicious Homemade Easy Cheesy Pizza Pockets, but I know that whenever I try a new recipe, a few questions always pop up. So, to help make sure your pizza pockets turn out perfectly every time, I’ve gathered some of the most frequently asked questions.
Frequently Asked Questions
1. Can I use homemade pizza dough instead of store-bought?
Absolutely! Homemade dough works beautifully for these pizza pockets. If you have a favorite recipe, go for it. Just make sure the dough is rolled out evenly and isn’t too thick, so it bakes through properly.
2. How do I prevent the filling from leaking out during baking?
The key is not to overfill and to seal the edges tightly. Using a fork to crimp the edges helps a lot. You can also lightly brush a bit of water along the edges before folding to help the dough stick better.
3. Can I freeze these pizza pockets?
Yes, they freeze very well. You can freeze them either before baking (after sealing) or after they’ve been baked and cooled. If freezing before baking, just add a couple of extra minutes to your baking time. If freezing after baking, reheat them in the oven or air fryer to keep the crust nice and crisp.
4. What other fillings work well?
The sky’s the limit! Besides pepperoni, sausage, bell peppers, mushrooms, and olives, you can try cooked bacon, spinach, sun-dried tomatoes, or even a little ricotta for a creamy twist.
5. Can I make these ahead of time?
Definitely. You can assemble the pockets and keep them covered in the fridge for a few hours before baking. When you’re ready, just pop them into the oven. Perfect for prepping ahead for parties or busy weeknights.
6. What’s the best way to reheat leftovers?
The best method is using a toaster oven or air fryer. Both help maintain that crispy crust. If using a microwave, place a paper towel underneath to absorb moisture, but keep in mind the crust might not be as crisp.
7. Can I make mini versions for parties or appetizers?
Yes! Just cut smaller squares of dough and reduce the baking time slightly — about 10-12 minutes should do the trick. They’re perfect for parties, game day, or even kids’ lunchboxes.
Final Thoughts
And there you have it — Homemade Easy Cheesy Pizza Pockets that are as fun to make as they are to eat. What I love most about this recipe is how flexible it is. You can keep things simple or get creative with all kinds of fillings and toppings. It’s one of those recipes that truly works for any occasion — whether you’re looking for a quick dinner solution, a tasty party snack, or a fun weekend cooking project with the kids.
If you give these a try, I’d love to hear how they turned out for you. Feel free to drop a comment, share your favorite filling combinations, or let me know if you discovered any fun variations. Happy cooking!
Print
Homemade Easy Cheesy Pizza Pockets
- Author: Andrew Recipes
Description
Homemade Easy Cheesy Pizza Pockets are a fun, customizable meal that combines all the flavors of classic pizza in a portable, hand-held form. With gooey melted cheese, savory sauce, and your favorite fillings wrapped in golden-brown pizza dough, these pockets are perfect for a quick dinner, party appetizer, or snack.
Ingredients
1 can (13.8 oz) refrigerated pizza dough or homemade dough
¾ cup pizza sauce
1½ cups shredded mozzarella cheese
½ cup mini pepperoni or diced regular pepperoni (optional)
¼ cup Parmesan cheese (optional)
1 teaspoon Italian seasoning
1 tablespoon olive oil or melted butter (for brushing)
Optional Fillings:
Cooked sausage
Bell peppers
Mushrooms
Olives
Instructions
Step 1: Preheat the oven to 400°F (200°C). Line a baking sheet with parchment paper.
Step 2: Roll out the pizza dough on a lightly floured surface. Cut the dough into 8 equal rectangles or squares.
Step 3: On one side of each dough piece, spread about 1 tablespoon of pizza sauce. Top with a generous sprinkle of shredded mozzarella cheese. Add pepperoni or any additional optional fillings if desired. Sprinkle with Parmesan cheese and Italian seasoning.
Step 4: Fold the dough over the filling to create a pocket. Use a fork to crimp and seal the edges securely.
Step 5: Place the sealed pockets onto the prepared baking sheet. Brush the tops with olive oil or melted butter. For extra flavor, sprinkle a little additional Italian seasoning or Parmesan on top.
Step 6: Bake for 15 to 18 minutes, or until the pizza pockets are golden brown and crisp.
Step 7: Allow the pockets to cool for a few minutes before serving. Serve warm with extra pizza sauce on the side for dipping.
Notes
These pizza pockets are easy to customize with your favorite pizza toppings. Be sure not to overfill the dough to prevent leaks while baking. Brushing the tops with butter or olive oil not only adds flavor but also helps achieve a golden, crisp crust. Perfect for meal prepping or serving at gatherings, these pockets reheat well and are always a hit with kids and adults alike.

