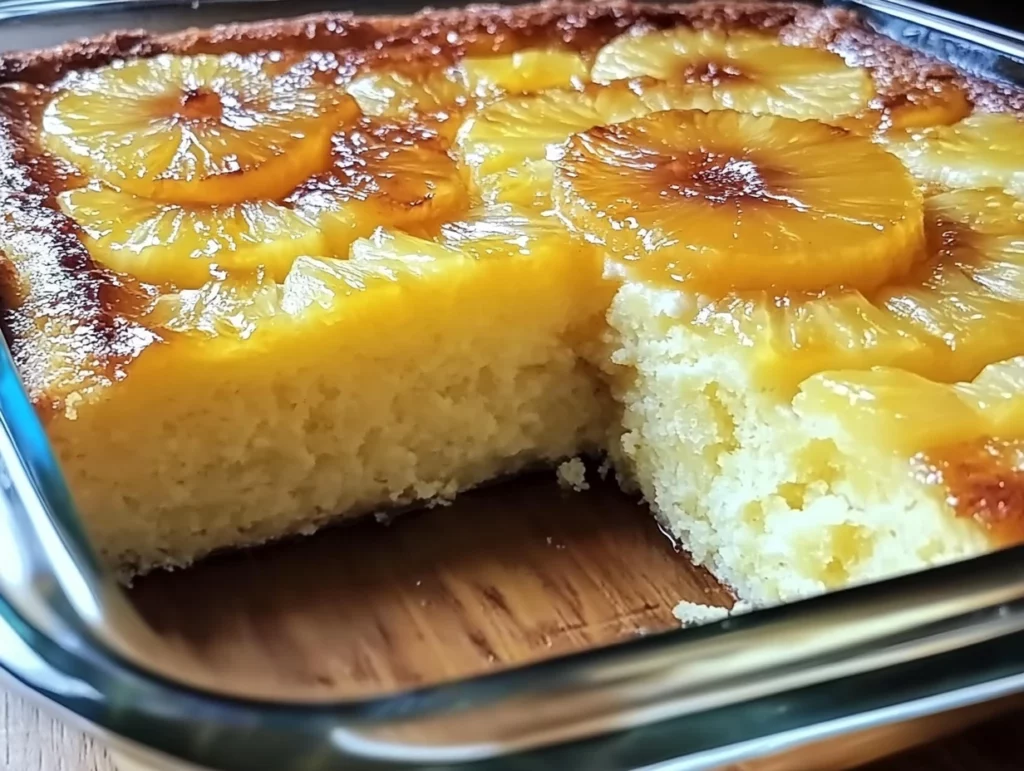
There’s something undeniably nostalgic about an upside-down cake, right? Whether it reminds you of grandma’s kitchen or that potluck where it disappeared in minutes, the combo of warm fruit and fluffy cake just hits the sweet spot. Now, take that classic vibe, give it a tropical twist, and you’ve got this Juicy Pineapple Heaven Cake — a simple, crowd-pleasing dessert that’s as stunning to look at as it is delicious to eat.
This cake brings together the sunny sweetness of pineapple, the richness of brown sugar caramel, and a super moist yellow cake that holds it all together. And here’s the secret weapon: crushed pineapple and sour cream in the batter. That combo gives it an unbeatable texture — soft, tender, and packed with flavor in every bite. Plus, it’s made with a box mix as the base, so you’re not spending hours in the kitchen to get something that looks like it came from a bakery display.
I love making this cake when I need something that travels well and impresses even more. Family gatherings, BBQs, birthdays — this one always gets people asking for seconds (and the recipe). Bonus: it looks like you spent way more time on it than you actually did.
Ready to bring the sunshine to your dessert table? Let’s get started.
Ingredients You’ll Need
For the Cake:
1 box yellow cake mix (or homemade equivalent)
1 can (20 oz) crushed pineapple, undrained
1/2 cup sour cream
1/2 cup vegetable oil
4 large eggs
1 tsp vanilla extract
For the Topping:
1/2 cup unsalted butter, melted
1 cup packed brown sugar
6–8 pineapple rings (fresh or canned, drained)
Maraschino cherries (optional, for garnish)
STEP 1: PREHEAT AND PREP THE PAN
First things first, go ahead and preheat your oven to 350°F (175°C). You can use a 9×13-inch pan if you’re feeding a crowd or a round cake pan if you want that classic upside-down cake look.
Make sure to grease your pan well — spray it with nonstick spray or brush with butter to prevent sticking, especially important with that sticky caramel base.
STEP 2: MAKE THE CARAMEL TOPPING
In a small bowl, stir together your melted butter and brown sugar until it becomes a thick, grainy mixture. This is going to caramelize as the cake bakes and create that dreamy topping once flipped.
Spread this mixture evenly over the bottom of your prepared pan. Try to coat the entire base so you don’t miss a bite of that sweet buttery goodness.
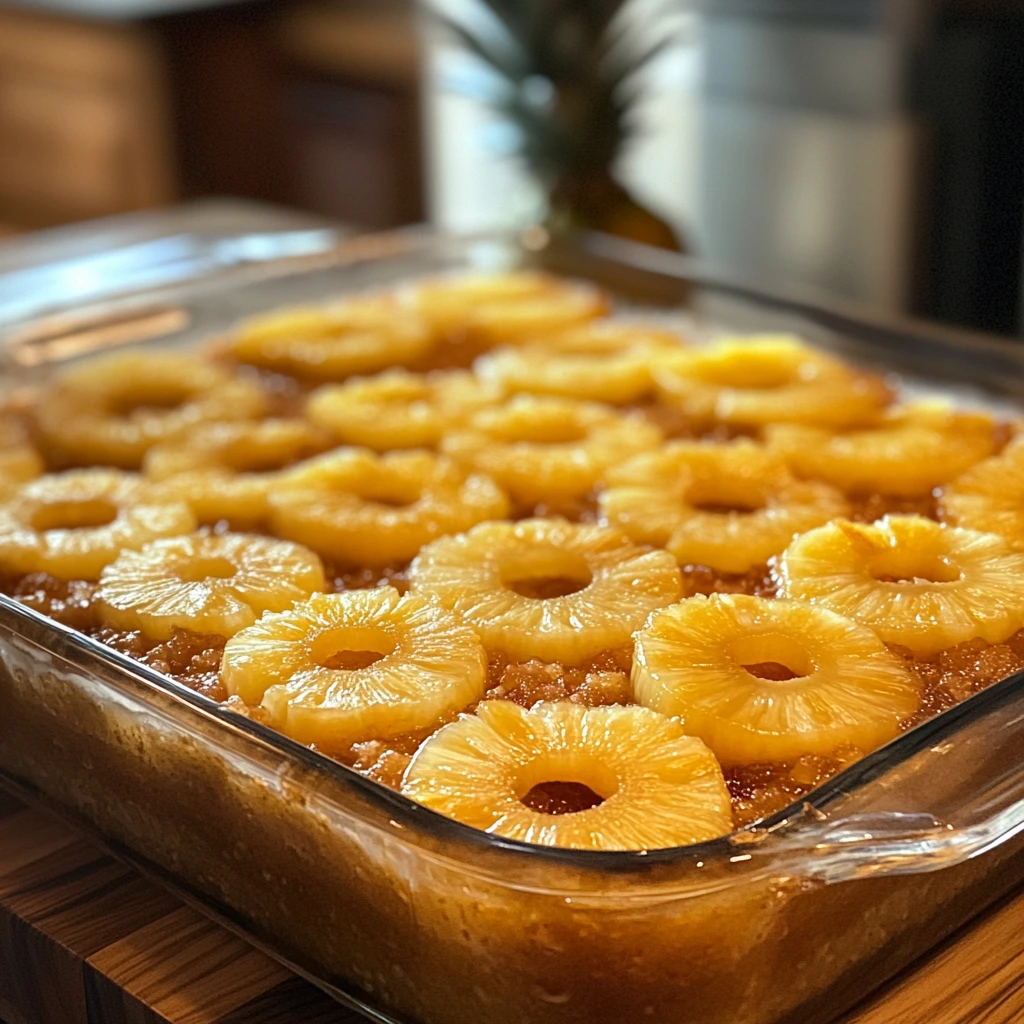
Now, lay your pineapple rings right on top of the sugar layer. You can be as creative as you like here — overlap them for a floral look or space them evenly for a more traditional layout. And if you’re into that pop of red and retro charm, go ahead and pop a maraschino cherry into the center of each ring. Totally optional, but always a crowd-pleaser.
STEP 3: MIX THE BATTER
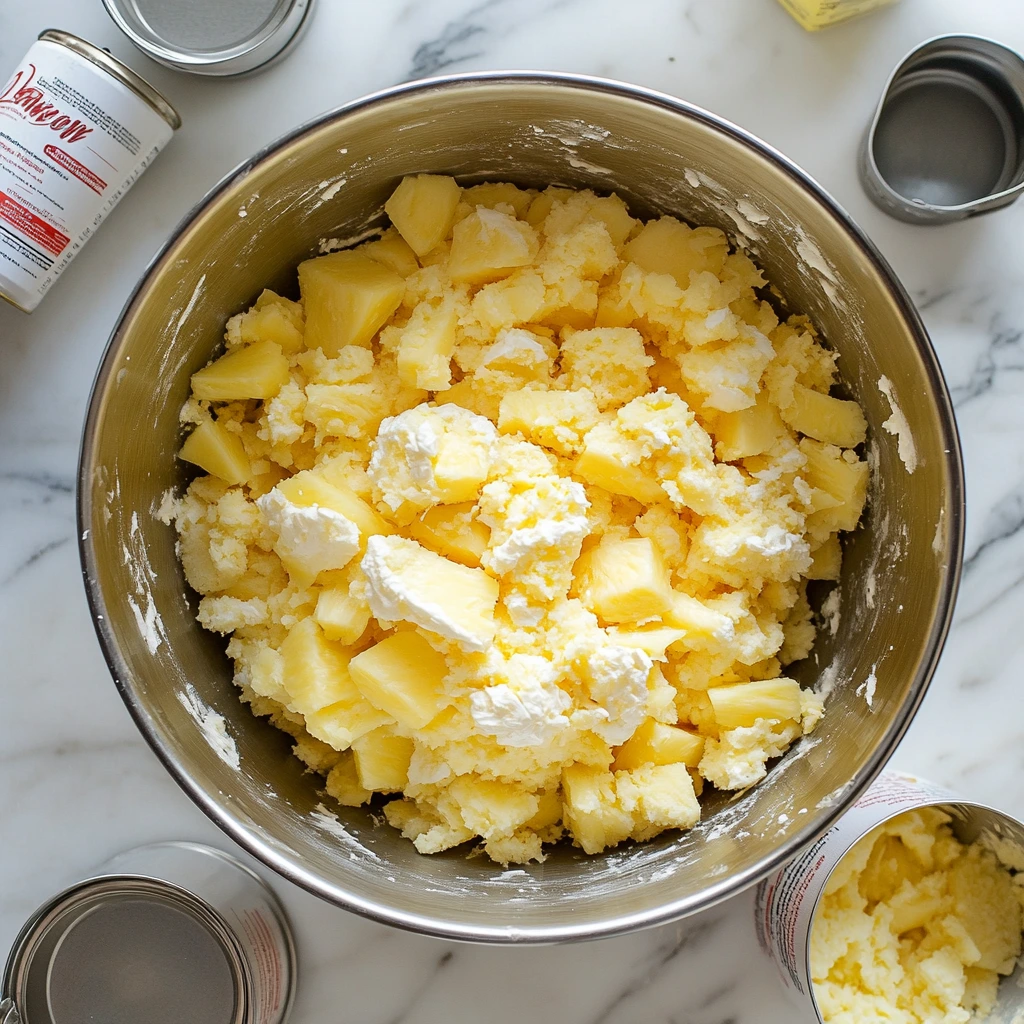
In a large mixing bowl, dump in your cake mix, undrained crushed pineapple, sour cream, vegetable oil, eggs, and vanilla extract. Yes, the whole can of pineapple juice and all — don’t drain it! That moisture is key.
Using a hand mixer (or a stand mixer if that’s more your style), beat the mixture on medium speed for about 2–3 minutes until everything is smooth and well incorporated. You’re looking for a rich, thick batter that’s evenly blended and pineapple-flecked.
STEP 4: ASSEMBLE THE CAKE
Now carefully pour the batter over your pineapple layer in the pan. Try to do this gently to keep your fruit from shifting too much. Once it’s all in, use a spatula to smooth it out and make sure everything is evenly covered.
How to Bake and Flip the Perfect Pineapple Heaven Cake
Alright, if your kitchen is already smelling like a tropical vacation, you’re on the right track. In Part 1, we prepped the pan, built our caramel pineapple topping, and whipped up that moist pineapple-infused cake batter. Now it’s time to bring it all together, bake it to golden perfection, and unveil that gorgeous upside-down presentation.
The best part? This cake doesn’t need fancy layers or frosting — just a simple flip and it’s showtime. But I’ll walk you through it step by step so you don’t miss a beat.
STEP 5: BAKE UNTIL GOLDEN AND SET
Once your cake batter is evenly spread over the pineapple and brown sugar base, slide the pan into your preheated 350°F (175°C) oven.
Bake for 35 to 45 minutes, but start checking around the 35-minute mark. Every oven runs a little differently, so you’re looking for a cake that’s golden on top and springs back lightly when touched. The real test? Insert a toothpick into the center — if it comes out clean (or with just a few moist crumbs), you’re good to go.
Don’t worry if you see a little bubbling around the edges; that’s just the brown sugar caramel doing its thing.
STEP 6: COOL AND INVERT THE CAKE
Once your cake is baked, remove it from the oven and let it cool in the pan for about 10 minutes. This gives the topping time to settle and makes it easier to flip.
After the short cool-down, run a knife gently around the edges to loosen the cake from the sides of the pan. Then comes the fun part: the flip.
Here’s how to do it:
Place your serving platter (make sure it’s slightly larger than your pan) on top of the cake pan.
Hold both the platter and pan firmly and flip them together in one confident motion.
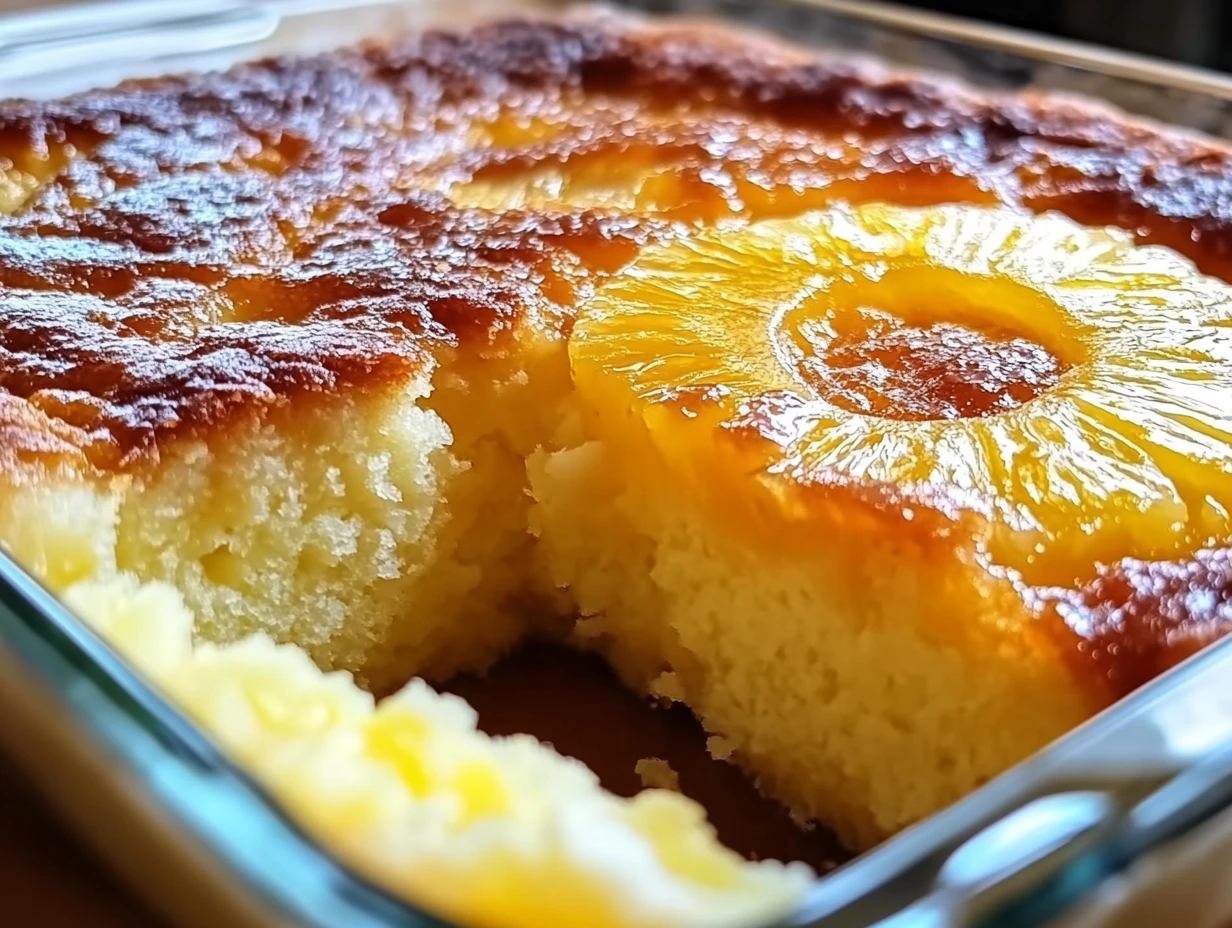
Slowly lift the pan away. If you greased your pan well, the cake should release easily and you’ll see that glossy, golden pineapple topping front and center.
STEP 7: SERVE IT UP
You can serve this beauty warm, at room temperature, or even chilled — it’s incredibly versatile. For extra indulgence, top it off with a dollop of whipped cream or a scoop of vanilla ice cream.
One of the best things about this cake is that it stays moist for days, thanks to the sour cream and crushed pineapple in the batter. That makes it a great make-ahead option for parties or holiday gatherings.
Tips to Make It Even Better
Here are a few extra tips and fun variations if you’re feeling creative:
Fresh Pineapple? Absolutely! Just make sure to slice it thin and drain any excess juice. You want the pineapple to caramelize, not steam.
Add a Rum Twist: Add a tablespoon of dark rum to the batter or drizzle it over the cake after baking for a grown-up tropical vibe.
Want a Taller Cake? Use a deep round pan (like a springform or deep cake tin), but be sure to extend the baking time and check for doneness often.
Skip the Cherries: Not a fan of maraschino cherries? No worries — you can leave them out or replace them with fresh raspberries for a tart twist.
Make It Your Go-To Dessert
This Juicy Pineapple Heaven Cake checks all the boxes: it’s easy, impressive, and packed with flavor. It’s one of those recipes you’ll want to keep in your back pocket for when you need something that travels well and tastes even better the next day.
In Part 3, we’ll wrap things up with an FAQ section and a few final thoughts to help you master this cake every time. See you there!
You said:
ChatGPT said:
Pineapple Heaven Cake FAQs + Final Thoughts
You’ve made it to the final stretch — your kitchen smells amazing, your cake is cooling, and you’ve probably already gotten compliments if anyone’s walked by. Before we wrap up, let’s go over some of the most common questions I get about this cake, because let’s be real — we’ve all wondered “Can I freeze this?” or “What if I don’t have sour cream?”
Below are the quick answers you need to make sure your Juicy Pineapple Heaven Cake turns out perfect every single time.
Frequently Asked Questions
1. Can I use a homemade yellow cake instead of a box mix?
Absolutely! If you have a go-to yellow cake recipe, feel free to swap it in. Just make sure it’s equivalent to a standard box mix (about 15.25 ounces). Keep the rest of the ingredients the same.
2. Do I have to use sour cream in the batter?
Sour cream helps make the cake extra moist and rich. If you don’t have it, you can substitute with plain Greek yogurt or even full-fat buttermilk in a pinch.
3. Can I use fresh pineapple instead of canned?
Yes! Just make sure your fresh pineapple is thinly sliced and well-drained. You don’t want too much moisture on the bottom layer or the cake can get soggy.
4. How do I store leftovers?
Cover the cake with plastic wrap or store it in an airtight container. It will stay moist at room temperature for up to 2 days, or you can refrigerate it for 4–5 days. The flavor is even better on day two!
5. Can this cake be made ahead of time?
Yes! This is one of those rare cakes that tastes just as good (if not better) the next day. You can make it a day in advance, let it cool completely, and store it covered until you’re ready to serve.
6. Can I freeze Pineapple Heaven Cake?
You sure can. Let the cake cool completely, wrap tightly in plastic wrap and then foil, and freeze for up to 2 months. Thaw in the fridge overnight before serving.
7. What if the cake sticks to the pan during the flip?
If it sticks a little, don’t panic. Use a spatula to gently nudge the fruit layer back into place on the top. Greasing your pan thoroughly and letting the cake rest 10 minutes after baking will help prevent sticking in the first place.
Final Thoughts: A Little Slice of Sunshine
This Juicy Pineapple Heaven Cake is one of those desserts that brings joy with every bite. It’s bright, flavorful, and just the right balance of indulgent without being overly fussy. I love how easy it is to throw together, but it still makes a stunning presentation that’ll have people thinking you went full pastry chef.
Whether you’re serving it warm with ice cream at a summer barbecue or bringing it chilled to a holiday potluck, it’s guaranteed to be a hit. And don’t be surprised when people ask for the recipe — it happens every time.
If you try this cake, I’d love to hear how it turned out! Leave a comment, share your tips, or let me know if you added your own spin (maybe a splash of rum or a sprinkle of coconut?). Baking is all about making it yours.
Print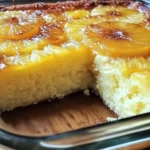
Juicy Pineapple Heaven Cake
- Author: Andrew Recipes
Description
This Juicy Pineapple Heaven Cake is a tropical twist on a classic upside-down dessert. The soft yellow cake is enriched with crushed pineapple and sour cream, creating a moist, flavorful base that complements the caramelized pineapple topping. It’s simple to make and always a crowd favorite, perfect for any occasion where you want a touch of fruity sweetness.
Ingredients
For the Cake
1 box yellow cake mix (or homemade equivalent)
1 can (20 oz) crushed pineapple, undrained
1/2 cup sour cream
1/2 cup vegetable oil
4 large eggs
1 tsp vanilla extract
For the Topping
1/2 cup unsalted butter, melted
1 cup packed brown sugar
6–8 pineapple rings (fresh or canned, drained)
Maraschino cherries (optional, for garnish)
Instructions
Step 1: Preheat the oven to 350°F (175°C). Grease a 9×13-inch baking pan or round cake pan.
Step 2: In a small bowl, mix the melted butter and brown sugar until well blended. Spread this mixture evenly across the bottom of the prepared pan. Arrange the pineapple rings on top in a decorative pattern and place a maraschino cherry in the center of each ring, if desired.
Step 3: In a large bowl, combine the cake mix, undrained crushed pineapple, sour cream, oil, eggs, and vanilla extract. Beat until the mixture is smooth and fully incorporated.
Step 4: Carefully pour the cake batter over the pineapple layer and spread evenly to cover all the fruit.
Step 5: Bake for 35–45 minutes, or until a toothpick inserted in the center comes out clean. Let the cake cool in the pan for about 10 minutes.
Step 6: Run a knife around the edges to loosen, then invert the cake onto a serving platter. The golden pineapple topping will be on top.
Step 7: Slice and serve warm or at room temperature. For extra indulgence, pair with whipped cream or a scoop of vanilla ice cream.
Notes
The crushed pineapple in the batter ensures the cake stays moist for days. If using fresh pineapple, make sure it’s thinly sliced and drained well. This cake travels well and makes a beautiful presentation when inverted and garnished.
