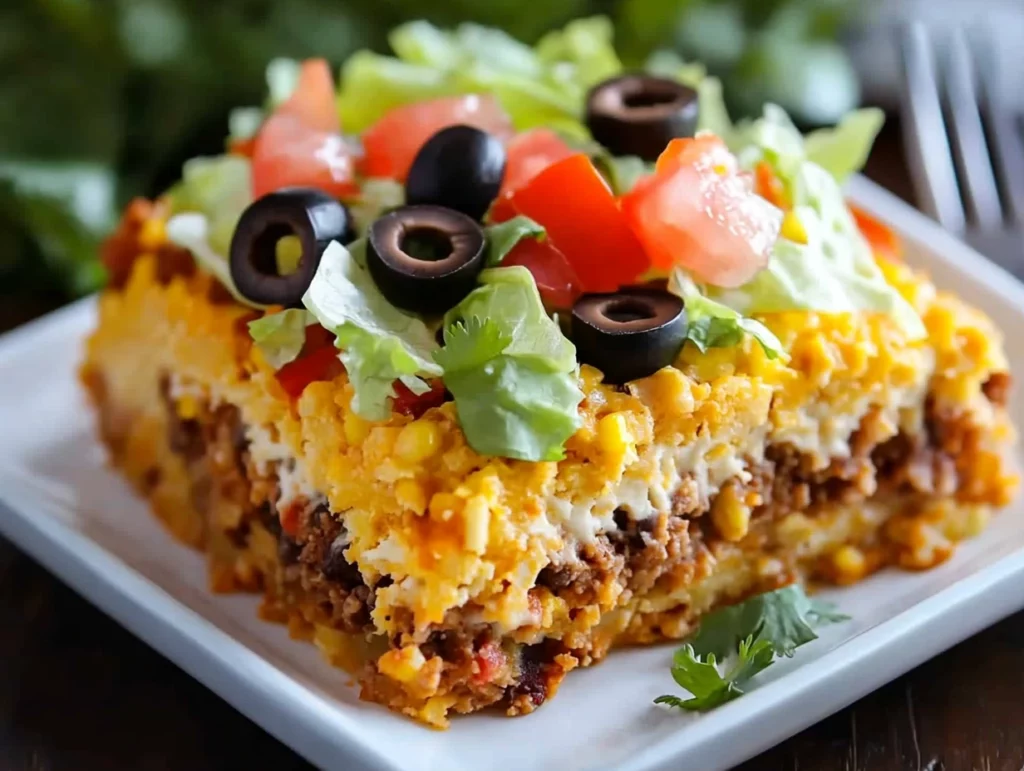
If your family is anything like mine, taco night is always a hit. But every now and then, I like to shake things up—just enough to keep dinner exciting without straying too far from what we love. That’s exactly where this Easy Layered Taco Bake comes in. It’s got all the goodness of tacos—seasoned beef, gooey cheese, soft tortillas—but in a warm, cheesy, sliceable bake that feels like a big hug on a plate.
Not only is this taco bake ridiculously easy to throw together, but it’s also perfect for feeding a crowd. You can layer it ahead of time, pop it in the fridge, and bake it when you’re ready. It’s my go-to for game nights, potlucks, or just one of those evenings where I want dinner to feel hearty without making a mess of a hundred dishes.
What I especially love about this recipe is how customizable it is. Don’t like beef? Swap in shredded chicken or even beans for a vegetarian option. Want to spice things up? Toss in some jalapeños or chipotle sauce. The base recipe is solid, but there’s plenty of room to make it your own—and that’s my favorite kind of meal.
Alright, let’s get to it!

Ingredients You’ll Need
Here’s what you’ll need to make this super simple taco bake:
1 pound ground beef
1 packet taco seasoning
Water (usually ¾ cup, or as directed on the seasoning packet)
½ cup salsa con queso
3 (8-inch) flour tortillas
2 cups shredded Mexican cheese blend (divided use)
Optional Toppings (for serving):
Lettuce, diced tomatoes, sliced olives, sour cream, hot sauce—whatever your taco-loving heart desires.
STEPS: Getting Started with the Base Layers
1. Cook the Beef
Start by heating a large skillet over medium heat. Add your ground beef and cook it until it’s fully browned, breaking it up with a spatula as it cooks. You want no pink left, and if there’s any extra grease, go ahead and drain it off carefully.
2. Season and Mix
Once your beef is cooked and drained, sprinkle in the taco seasoning and pour in the water as instructed on the back of the seasoning packet (usually around ¾ cup). Stir it all together and let it simmer until the mixture thickens up and that taco flavor really gets into the meat.
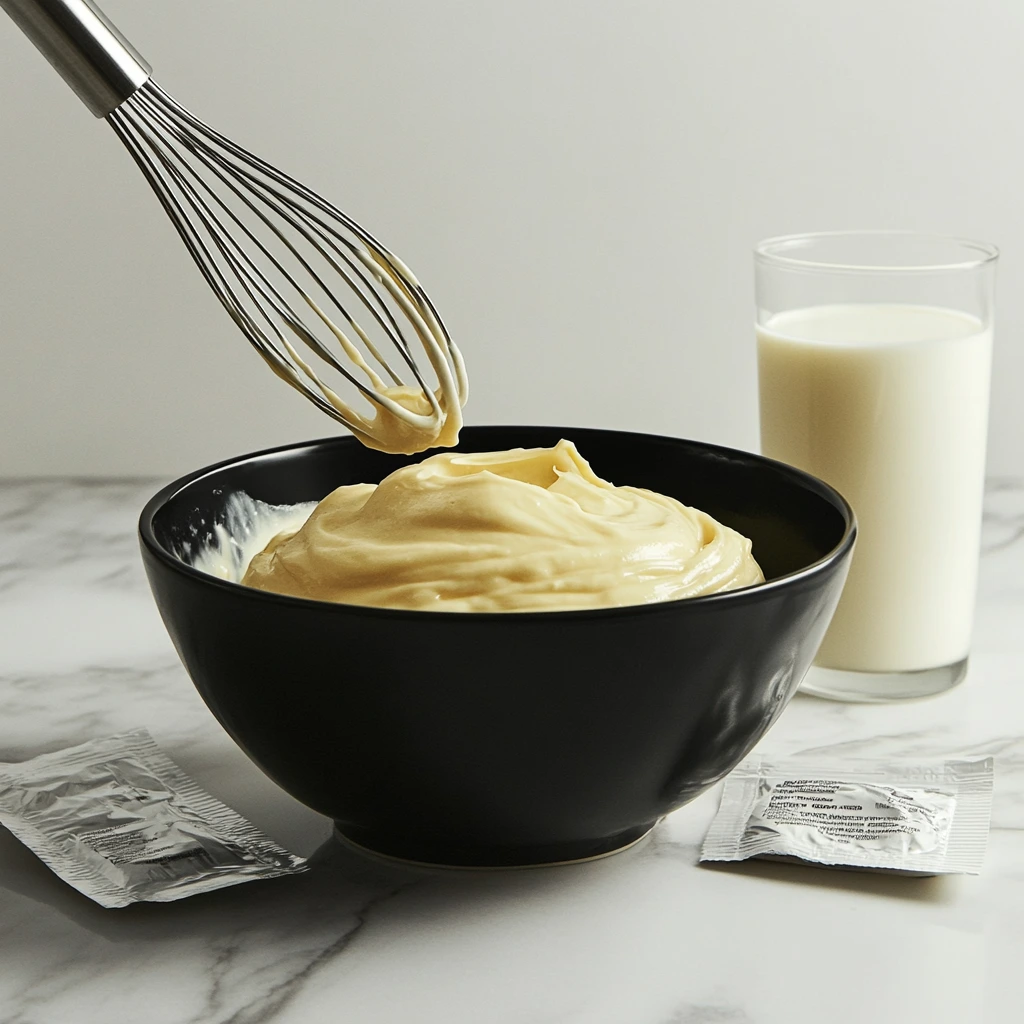
After that, turn off the heat and stir in the salsa con queso. This adds a creamy, cheesy layer of flavor that takes it from just taco meat to something way more craveable. Make sure it’s all blended together before moving on.
3. Preheat and Prep the Pan
Now it’s time to get your oven going—set it to 350°F. Lightly coat an 8-inch round baking pan with nonstick spray so nothing sticks and cleanup stays easy.
4. Layer #1
Place one tortilla flat on the bottom of your greased pan. Spoon a third of the taco meat mixture onto it, and spread it out evenly. Sprinkle a third of the shredded cheese on top. You already know where this is going, right?
5. Repeat the Layers
Add a second tortilla right on top of the first layer. Spoon another third of the taco meat mixture, spread it out, and sprinkle with more cheese. Then do it one last time with the third tortilla and the rest of the meat.
Top it all off with your final tortilla and cover that baby with the remaining cheese. This is where the magic happens in the oven!
Baking, Customizing & Serving Your Easy Layered Taco Bake
We’ve got our cheesy, beefy layers all set in the pan—now it’s time for that satisfying final step: baking. This is where everything melts together into one irresistible dish that’s perfect for slicing and serving. Whether you’re feeding a hungry family or need something simple and delicious for a potluck, this bake is going to win people over with the very first bite.
I’ve made this dish countless times now, and I’ve picked up a few little tricks along the way that really take it from good to great. Plus, I’ll walk you through some fun customization ideas that make it easy to tailor this recipe to your taste.
But first, let’s get that bake in the oven.
STEPS: Baking & Finishing Touches
6. Bake the Taco Bake
Once your oven is preheated to 350°F and your taco bake is fully assembled, pop the pan into the oven. Bake for 15 to 20 minutes, or until the cheese on top is completely melted and the edges of the tortillas are starting to turn golden brown.
Keep an eye on it during the last few minutes. Every oven runs a little differently, and that golden cheesy top is where the magic happens. You want it melty and slightly bubbly—not dry or overly browned.
7. Let It Rest
When it comes out of the oven, give it a few minutes to rest before slicing. This will help the layers settle a bit and make the slices hold together better when you serve them. Trust me, it’s worth the wait.
8. Slice & Serve
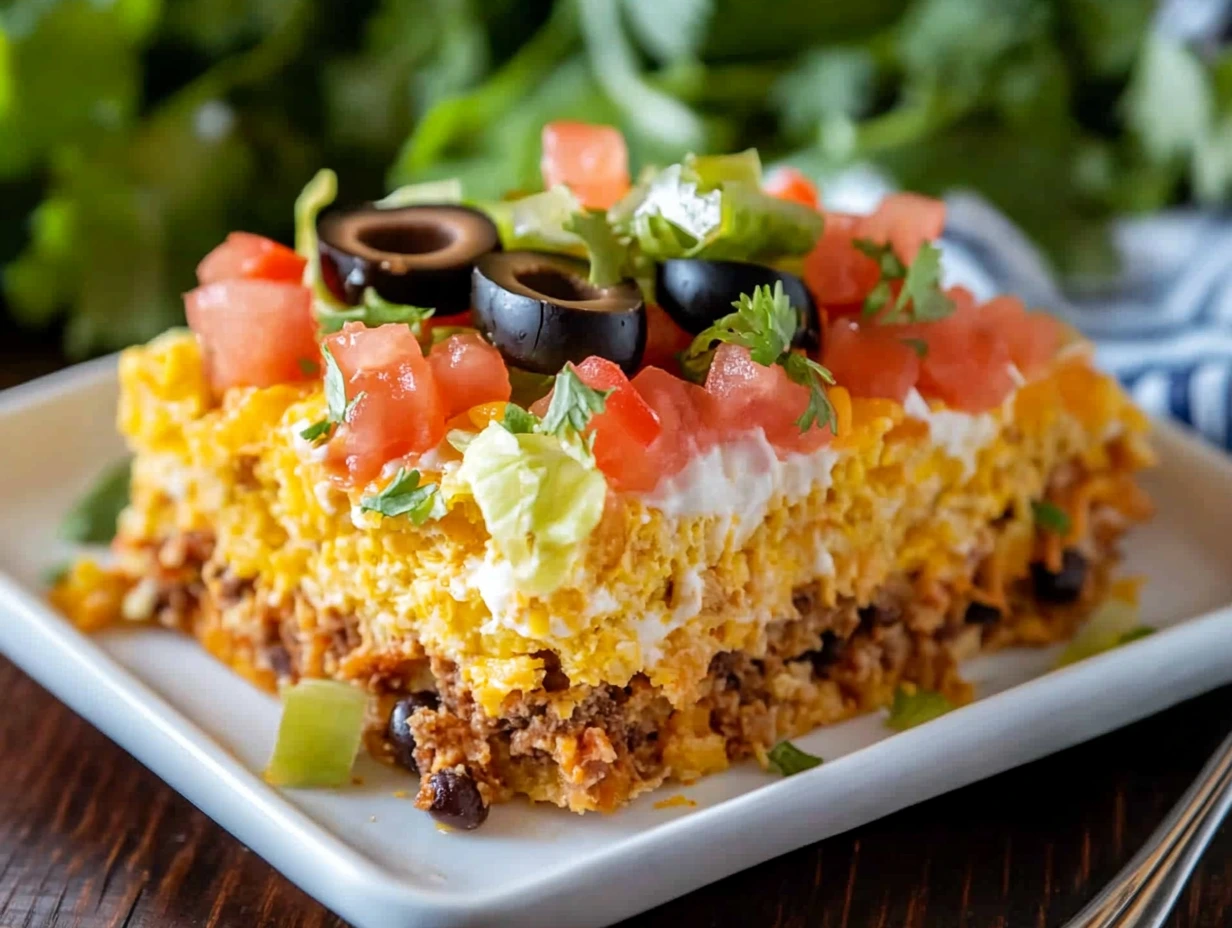
Cut your taco bake into wedges, like you would a pie. It’s hearty enough to be a main course on its own, but feel free to serve it alongside a simple salad, Spanish rice, or even tortilla chips and guacamole if you’re feeding a bigger group.
Don’t forget to set out some toppings! Everyone loves customizing their slice, and it’s a fun way to add some crunch and color to your plate. My family’s go-tos? Crisp shredded lettuce, chopped tomatoes, sliced olives, sour cream, and a drizzle of hot sauce.
Tips for Success
Now that you’ve got the basic recipe down, here are a few extra tips to make sure your taco bake turns out perfect every time:
Use salsa con queso that’s on the thicker side—it blends better with the beef and doesn’t make the bake soggy.
Shred your own cheese if possible. Pre-shredded cheese is convenient, but it often contains anti-caking agents that can affect the melt. Freshly shredded cheese melts smoother and tastes richer.
Let it rest at least 5 minutes before slicing. It helps everything set up just right.
Layer it evenly. Don’t pile the meat too high in the middle. Spreading it evenly to the edges ensures every bite is balanced and flavorful.
Make-Ahead & Storage Tips
Life gets busy, and one of the best parts of this recipe is that you can make it ahead. Here’s how:
Make-Ahead: You can fully assemble the bake (right up to the final cheese layer), then cover it tightly and refrigerate for up to 8 hours. When you’re ready to cook, just bake it straight from the fridge—add an extra 5 minutes or so to the cooking time.
Leftovers: Store leftovers in an airtight container in the fridge for up to 3 days. Reheat individual slices in the microwave or toaster oven until warm. The flavors are even better the next day, so don’t be afraid to double the recipe for easy lunches.
Freezer Option: While this dish is best fresh, you can freeze it. Just wrap it tightly in foil after assembling (before baking) and freeze for up to a month. When ready to bake, thaw overnight in the fridge, then bake as usual.
Easy Variations You’ll Want to Try
Want to mix things up? Try one of these fun twists:
Add a bean layer: Refried beans or black beans add texture and make it even more filling.
Spicy twist: Mix in chopped green chiles, jalapeños, or a spoonful of chipotle in adobo with the meat.
Veggie-packed: Sauté onions, bell peppers, or corn with the ground beef before seasoning.
Switch the meat: Try shredded rotisserie chicken or even ground turkey for a lighter take.
Crunchy top: Sprinkle a handful of crushed tortilla chips on top before baking for extra crunch.
FAQ & Final Thoughts on This Easy Layered Taco Bake
By now, you’ve got the full picture of how simple and satisfying this Easy Layered Taco Bake really is. From the flavorful beef to the melted cheese and soft tortillas stacked just right—it’s a dish that checks every box: easy, delicious, customizable, and family-approved.
Before we wrap things up, I want to answer a few of the most common questions that come up when people try this recipe. Whether you’re wondering about swaps, storing leftovers, or ways to make it fit a specific diet, this FAQ section has you covered.
Frequently Asked Questions
1. Can I use corn tortillas instead of flour tortillas?
Yes, absolutely. If you prefer corn tortillas or need a gluten-free option, go for it. Just keep in mind that corn tortillas are smaller and a bit more delicate, so you may need to slightly overlap them to cover the layers, and they’ll have a bit more texture.
2. Can I make this recipe vegetarian?
Definitely. You can skip the ground beef and use black beans, refried beans, or a meat substitute like plant-based crumbles. Add some sautéed veggies (like bell peppers or onions) for extra flavor and texture.
3. How can I make this ahead of time?
You can assemble the full bake—layer by layer—then cover it tightly and refrigerate for up to 8 hours. When you’re ready to cook, bake it straight from the fridge at 350°F and just add 5 extra minutes to the bake time.
4. Can I freeze the taco bake?
Yes. Assemble it in a freezer-safe baking dish (preferably metal or foil), wrap tightly, and freeze before baking. Thaw in the fridge overnight before baking as usual. It’s not quite as crisp as fresh, but still very tasty.
5. What’s the best way to reheat leftovers?
Reheat slices in the microwave for quick meals, or in a toaster oven at 350°F for about 10 minutes if you want to keep the edges a little crisp. It stores well for up to 3 days in the fridge.
6. Can I add more spice?
Of course! Stir in some diced jalapeños, a pinch of cayenne, or even a splash of hot sauce to the meat mixture. You can also use a spicy salsa con queso for a little extra kick.
7. What kind of cheese works best for this?
A shredded Mexican cheese blend is super convenient and flavorful, but feel free to mix in some pepper jack, cheddar, or Monterey Jack depending on what you have on hand.
Final Thoughts: A Weeknight Hero Recipe You’ll Keep Coming Back To
There’s something so comforting about recipes like this one—they’re unfussy, full of flavor, and perfect for busy nights when you need something hearty on the table fast. I love that this Easy Layered Taco Bake takes all the fun of taco night and wraps it up in a warm, cheesy slice that’s easy to serve and even easier to devour.
Plus, it’s a dish that invites creativity. You can make it spicy, make it mild, throw in beans or veggies, or keep it classic. And whether you’re feeding picky eaters, a hungry family, or a group of friends, it always hits the spot.
Print
Easy Layered Taco Bake
- Author: Andrew Recipes
Description
A simple, crowd-pleasing bake that layers seasoned ground beef, melted cheese and soft flour tortillas for a handheld twist on taco night. Quick to assemble and easy to customize with your favorite toppings.
Ingredients
1 pound ground beef
1 packet taco seasoning
Water as called for on the back of the seasoning packet (usually ¾ cup)
½ cup salsa con queso
3 (8-inch) flour tortillas
2 cups shredded Mexican cheese blend, divided use
Instructions
In a skillet over medium heat cook and crumble the ground beef until no pink remains. Drain any excess grease, then stir in the taco seasoning and water according to the packet directions. Once the mixture is thickened and seasoned through, remove from heat and stir in the salsa con queso until evenly combined.
Preheat the oven to 350°F and lightly coat an 8-inch round baking pan with nonstick spray. Lay one tortilla flat across the bottom of the pan, then spoon one third of the taco meat over it, spreading it into an even layer. Sprinkle one third of the shredded cheese on top.
Repeat the layers twice more, finishing with a final tortilla and the remaining cheese on top. Place the pan in the oven and bake until the cheese is fully melted and the edges of the tortillas begin to turn golden, about fifteen to twenty minutes.
Let the bake rest for a few minutes before slicing into wedges. Serve warm with desired toppings such as lettuce, diced tomatoes, sliced olives, sour cream or hot sauce.
Notes
For added texture, include a layer of refried beans or black beans between the meat and cheese layers.
To make ahead, assemble through the cheese step, cover tightly and refrigerate for up to eight hours. Bake directly from cold, adding a few minutes to the baking time.
Leftovers store well in an airtight container for up to three days and can be reheated in a toaster oven or microwave until warmed through.

