If you’re anything like me, when that sweet tooth hits, the last thing you want is a complicated dessert with a million steps. That’s why I’m so excited to share this Lemon Cream Cheese Dump Cake recipe—it’s everything you love about lemon cheesecake and buttery cake, all layered together in one ridiculously easy, no-fuss bake. The best part? You don’t need to be a professional baker to pull it off.
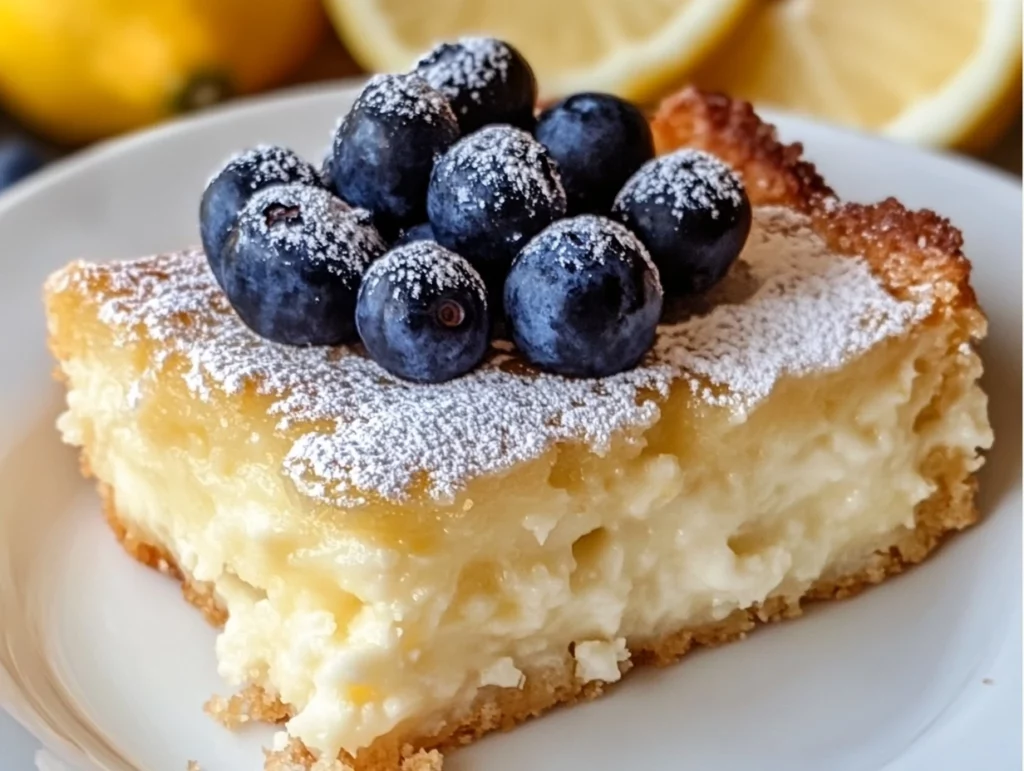
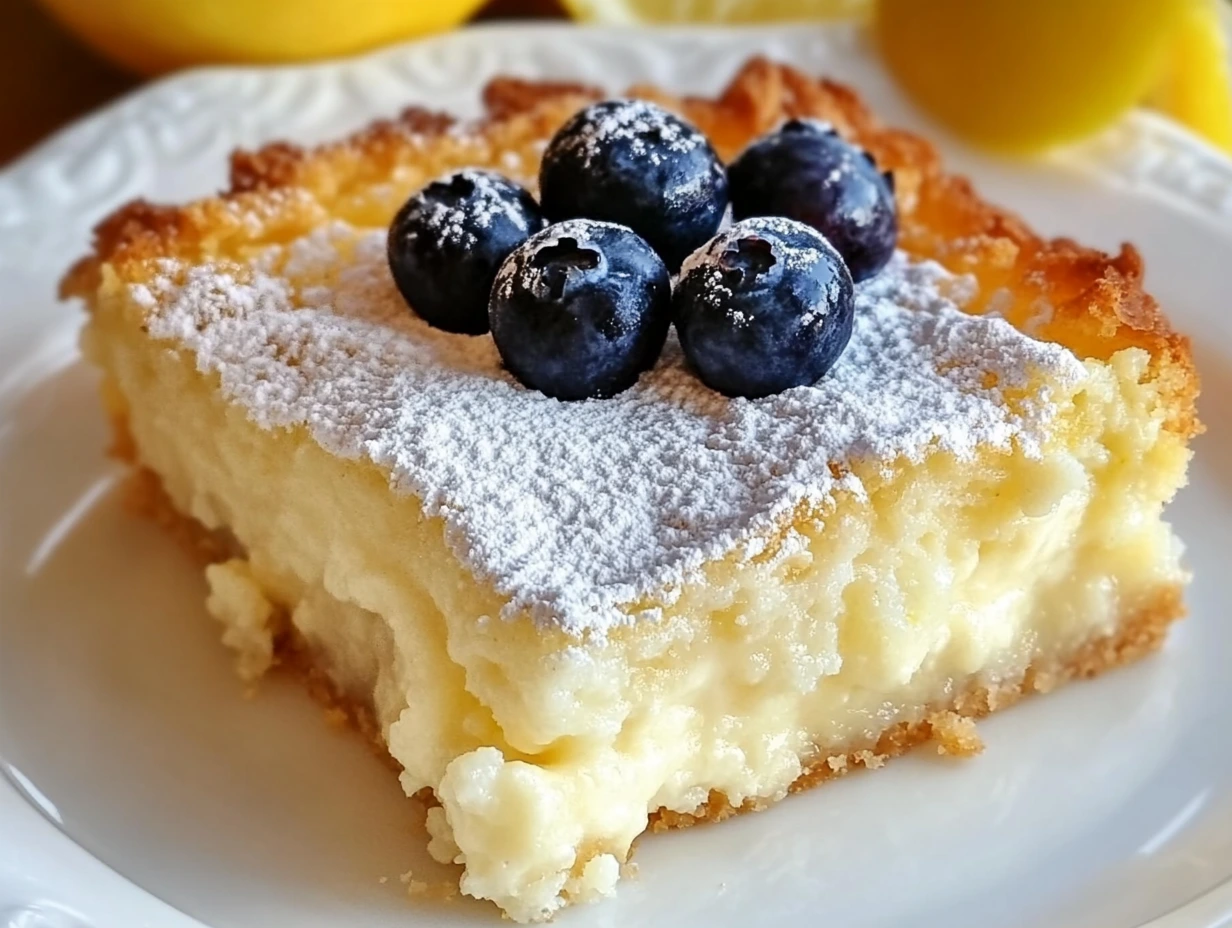
There’s something magical about lemon desserts. They manage to be rich and creamy while still feeling light and fresh. This one takes it to another level. Imagine a tangy, smooth lemon-cream cheese base topped with golden, buttery cake—slightly crisp on the edges and soft in the middle. It’s sunshine in a pan, and yes, it starts with a cake mix. No judgment here. We’re leaning all the way into easy mode.
I actually made this for a little spring get-together with some neighbors, and let me tell you—it disappeared fast. People were going back for seconds before I even finished pouring the coffee! It’s just one of those desserts that feels homemade and special without all the effort. So, whether you’re prepping for a potluck, hosting brunch, or just need something sweet to get you through the week, this dump cake has got your back.
Let’s break it down so you can see just how simple (and delicious) this recipe really is.
Ingredients You’ll Need
Serves 8–10
For the Base:
1 can (14 oz) sweetened condensed milk
1/2 cup fresh lemon juice (about 2–3 lemons)
Zest of 1 lemon
1 block (8 oz) cream cheese, softened
1 teaspoon vanilla extract
For the Topping:
1 box yellow cake mix (about 15–18 oz)
1/2 cup unsalted butter, melted
Optional: 1/2 cup chopped pecans or walnuts for a little extra crunch
STEP 1: Preheat and Prep
First things first—get your oven going. Preheat it to 350°F (175°C). You’ll also want to lightly grease a 9×13-inch baking dish. I usually just use a little spray oil, but you can butter it if you’re feeling fancy. Set that aside while you whip up the lemony base.

STEP 2: Make the Creamy Lemon Layer
Now for the heart of the dessert—that creamy, tangy lemon layer. In a medium bowl, combine your sweetened condensed milk, lemon juice, lemon zest, softened cream cheese, and vanilla extract. You can use a whisk or a hand mixer here—whatever you have handy. The goal is to mix until it’s smooth and luscious, with no lumps from the cream cheese. Once it’s all blended and velvety, pour it into your prepared baking dish and spread it out evenly.
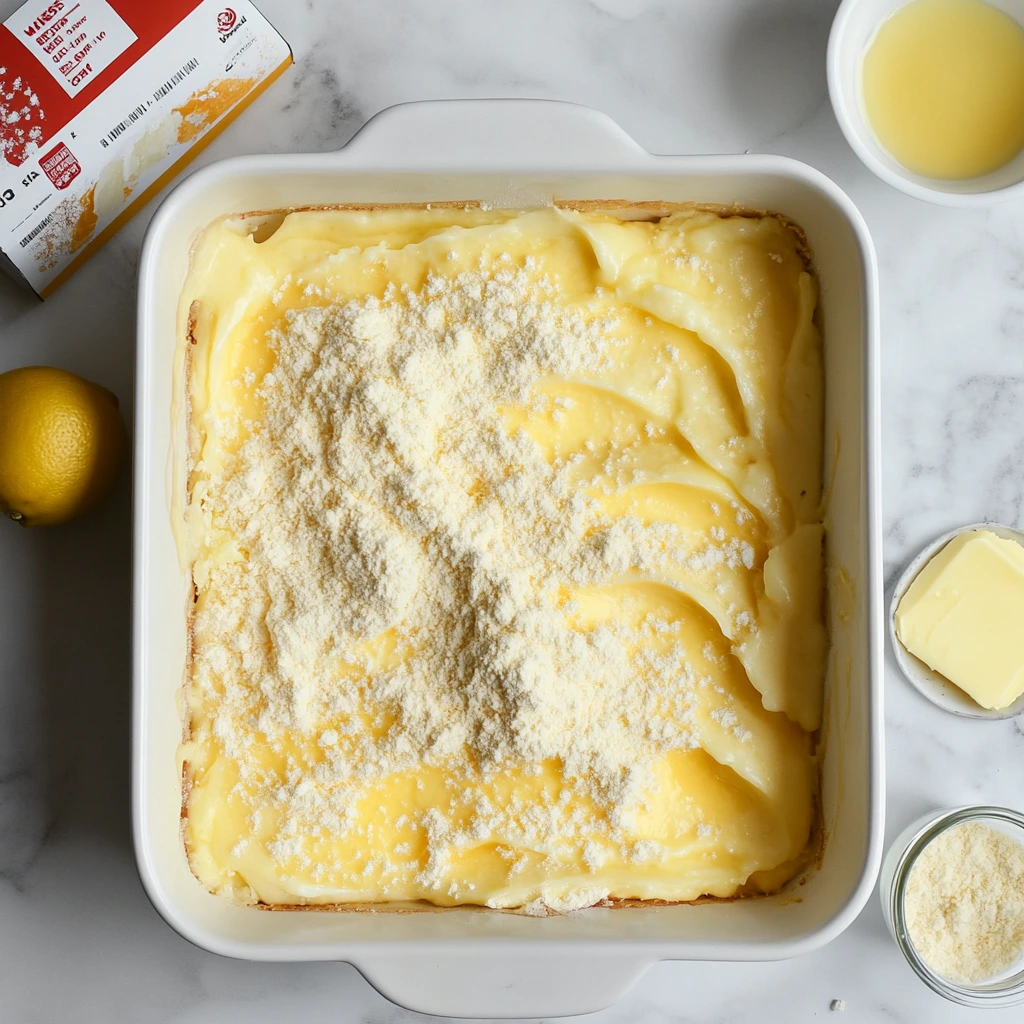
STEP 3: Add the Cake Mix Topping
Here comes the “dump” part! Evenly sprinkle your dry yellow cake mix right over the lemon filling. Don’t stir it in—just let it sit right on top. Then, drizzle the melted butter over the dry cake mix. Try to cover as much of the surface as you can. You can gently tilt the pan or use a spatula to help spread the butter if needed, but resist the urge to mix. The magic happens when it bakes into that beautiful, buttery topping.
And if you’re a texture lover like me, this is the moment to sprinkle on some chopped pecans or walnuts. Totally optional, but it adds such a nice crunch to the finished cake.

Lemon Cream Cheese Dump Cake: The Easiest Bright & Creamy Dessert You’ll Ever Make
Alright, now that we’ve got our lemony base and buttery cake topping all layered and ready to go, it’s time to pop this beauty in the oven and let the magic happen. This part of the recipe is where everything transforms—those simple ingredients come together into something rich, creamy, and golden on top with the dreamiest texture in the middle. Let’s get to it!
STEP 4: Bake Until Golden and Bubbling
Place your baking dish in the preheated 350°F (175°C) oven and bake for 45 to 50 minutes. You’ll know it’s done when the top is lightly golden brown and bubbly around the edges. The surface should look mostly set with a slight jiggle in the center—don’t worry, it’ll firm up as it cools.
A little tip here: oven times can vary, so start checking around the 45-minute mark. I like to give it a gentle shake (oven mitts on, of course!) and see if the center has that soft set without being overly runny.
STEP 5: Let It Cool Before Serving
This is the hardest part—waiting! Once your cake is out of the oven, let it cool in the pan for at least 20 to 30 minutes. This allows the filling to set up a bit more, and honestly, the flavors are even better once it’s had a moment to rest. You can serve it warm (which is ooey-gooey and delicious), at room temperature, or even chilled for a firmer, more bar-like texture.
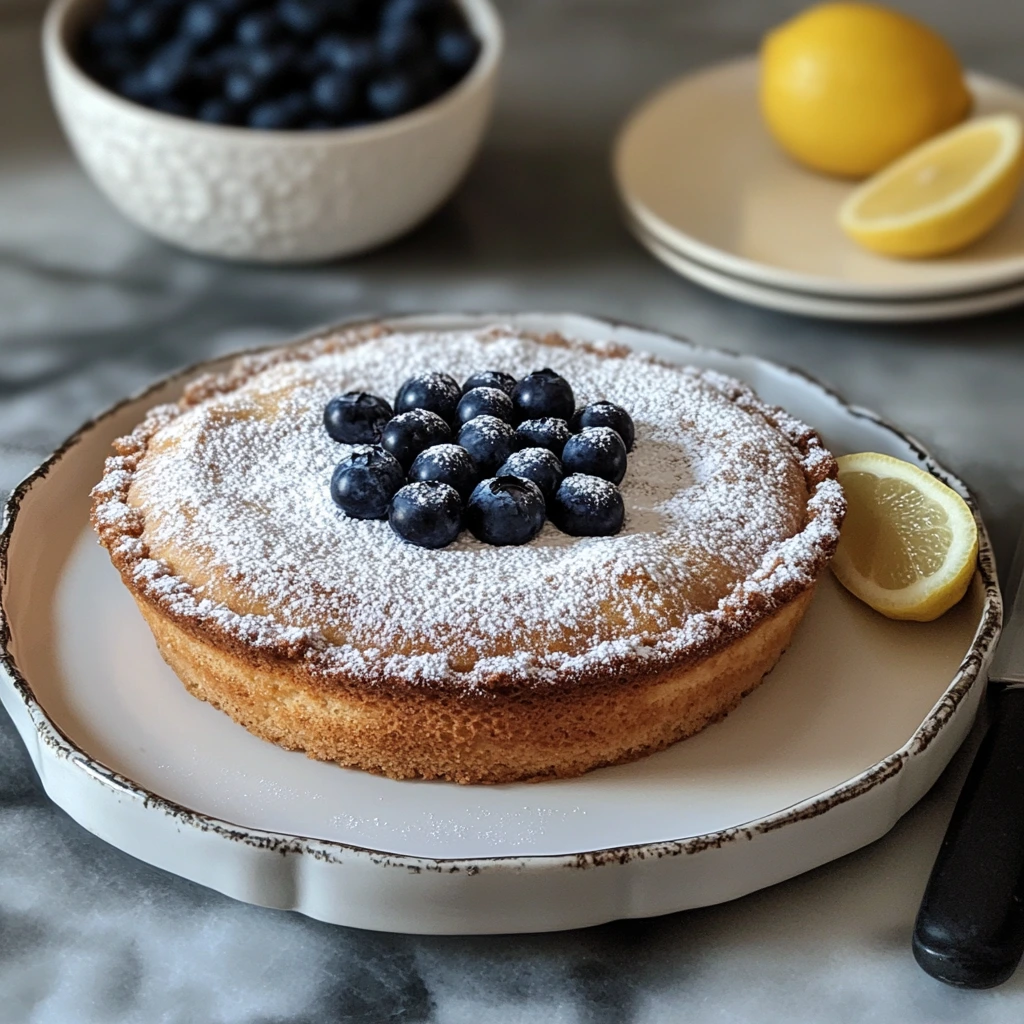
And for a little extra flair, dust the top with powdered sugar or add a few lemon slices before serving. It’s a simple touch that makes it look so pretty on the table.
TIPS & VARIATIONS
This recipe is wonderfully flexible, which makes it perfect for playing around with flavors and textures. Here are a few of my favorite ways to switch it up or make it even more special:
Add more lemon zest: If you’re like me and love that bold lemon punch, throw in another teaspoon of zest. It brightens the filling even more.
Use different cake mixes: A yellow cake mix is classic, but white cake mix works beautifully too. You can even try a lemon cake mix for extra citrus zing.
Add berries: Scatter a handful of fresh or frozen blueberries or raspberries over the lemon layer before adding the cake mix. They add a lovely pop of color and natural sweetness.
Make it nut-free: If you’re serving someone with a nut allergy, just leave out the pecans or walnuts. The topping is still deliciously crisp without them.
Serve it chilled: For a cool summer treat, refrigerate the cake after it’s cooled completely. It firms up beautifully and slices more cleanly, almost like a lemon cheesecake bar.
STORING LEFTOVERS
This dessert holds up really well in the fridge, which makes it great for make-ahead entertaining. Just cover it with plastic wrap or foil and store in the refrigerator for up to 4 days. I’ve even sneaked a slice straight from the fridge with my morning coffee—it’s that good. If you prefer it warm, a quick zap in the microwave (about 15–20 seconds) does the trick.
Lemon Cream Cheese Dump Cake: The Easiest Bright & Creamy Dessert You’ll Ever Make
We’ve layered, baked, cooled, and maybe even snuck a taste or two—but before we wrap things up, let’s dive into a few common questions that tend to pop up with this kind of dump cake. Whether you’re making it for the first time or tweaking it for different needs, this FAQ section should give you everything you need to make this dessert a foolproof hit every time.
FREQUENTLY ASKED QUESTIONS
Can I make this lemon dump cake ahead of time?
Absolutely. This cake actually gets better as it sits and sets. You can make it a day ahead and store it in the refrigerator. Just let it come to room temperature before serving, or warm individual slices in the microwave.
What’s the best way to get the cream cheese really smooth?
Make sure your cream cheese is fully softened before mixing. You can leave it out at room temperature for about 30–45 minutes or microwave it in short bursts (about 10 seconds at a time) until soft. A hand mixer also helps create a super smooth filling.
Can I use bottled lemon juice instead of fresh?
You can, but fresh lemon juice gives this dessert a noticeably brighter and fresher flavor. If bottled lemon juice is all you have, it will still work—but I definitely recommend fresh when possible.
Is this recipe gluten-free?
Not as written, since most boxed cake mixes contain wheat. But you can easily swap in a gluten-free yellow cake mix. Just be sure to check the label for cross-contamination if you’re baking for someone with celiac disease.
Can I substitute other citrus fruits?
Yes! Lime and orange both work wonderfully. Lime gives a slightly more tart, tropical flavor, and orange makes it taste a bit more like a creamsicle. You can also mix citrus—try lemon and lime zest together for a fun twist.
Do I have to use nuts on top?
Nope, the nuts are totally optional. They add a nice crunch, but if you’re nut-free or just not a fan, leave them out. The topping still bakes up buttery and crisp without them.
How should I serve this?
This cake is delicious served warm, room temp, or chilled. For a more decadent treat, try topping it with whipped cream, a scoop of vanilla ice cream, or a few fresh berries. It also holds up well enough to slice into bars for a more portable dessert option.
FINAL THOUGHTS: WHY YOU’LL LOVE THIS LEMON CREAM CHEESE DUMP CAKE
This Lemon Cream Cheese Dump Cake is one of those desserts that checks all the boxes—it’s easy, it’s fast, and it tastes like you spent hours in the kitchen. The combo of tangy lemon, creamy filling, and buttery cake is just irresistible. And the fact that it all comes together in a single baking dish with almost no cleanup? That’s the cherry on top.
Whether you’re serving it at a spring potluck, Easter brunch, or just whipping up a midweek treat, it’s guaranteed to impress without stressing you out. So go ahead—make it, share it, and don’t be surprised when people start asking for the recipe.
Print
Lemon Cream Cheese Dump Cake
- Author: Andrew Recipes
Description
This Lemon Cream Cheese Dump Cake is a bright and creamy dessert that comes together with minimal effort. A tangy lemon cheesecake-like base is topped with a buttery, golden cake crust, making every bite rich and refreshing. It’s the perfect crowd-pleaser for spring gatherings, potlucks, or when you’re craving something sweet and citrusy without the fuss.
Ingredients
For the Base
1 can (14 oz) sweetened condensed milk
1/2 cup fresh lemon juice (about 2–3 lemons)
Zest of 1 lemon
1 block (8 oz) cream cheese, softened
1 teaspoon vanilla extract
For the Topping
1 box yellow cake mix (about 15–18 oz)
1/2 cup unsalted butter, melted
Optional: 1/2 cup chopped pecans or walnuts for crunch
Instructions
1️⃣ Preheat your oven to 350°F (175°C). Lightly grease a 9×13-inch baking dish.
2️⃣ In a medium bowl, combine sweetened condensed milk, lemon juice, lemon zest, cream cheese, and vanilla extract. Whisk until smooth and creamy. Pour this mixture evenly into the prepared baking dish.
3️⃣ Evenly sprinkle the dry yellow cake mix over the lemon layer. Do not mix it in. Drizzle the melted butter over the top, covering as much of the surface as possible. Use a spatula to spread if needed, but avoid stirring. If using, sprinkle chopped nuts over the top.
4️⃣ Bake for 45 to 50 minutes, until the top is golden and bubbly. The edges should be firm and the center may have a slight jiggle.
5️⃣ Let the cake cool in the pan for at least 20 to 30 minutes before serving. For added presentation, dust with powdered sugar or garnish with lemon slices.
Notes
For a stronger lemon flavor, you can add an extra teaspoon of lemon zest to the filling. This dessert is best served slightly warm or at room temperature. It can also be chilled for a firmer texture and served like a bar. Leftovers should be stored covered in the refrigerator for up to 4 days.

