If there’s one dessert I’ll never say no to, it’s a creamy, coconut-filled pie that doesn’t even require turning on the oven. Whether you’re hosting a summer get-together, planning ahead for a holiday meal, or just craving something sweet and cool, this No Bake Coconut Cream Pie absolutely delivers. It’s rich, it’s luscious, and best of all—it’s ridiculously easy to make.
I first started making this pie on a whim one lazy weekend afternoon when the weather was just too hot for baking. I had a graham cracker crust sitting in my pantry, some pudding mix, and a tub of Cool Whip I was saving for another recipe (sorry, not sorry). One thing led to another, and suddenly, I had a creamy, dreamy coconut pie chilling in my fridge. And let me tell you—one bite was all it took to know this one’s going straight into the repeat recipe folder.
This pie checks all the boxes: it’s simple, it uses minimal ingredients, and it tastes like something you’d expect to find in a bakery window. Plus, the combination of silky filling, fluffy topping, and golden toasted coconut? Pure magic.
Let’s get into how to make it step-by-step.

Ingredients You’ll Need
2 (3.4-ounce) packages instant coconut cream pudding mix
2 cups whole milk
1 cup sweetened shredded coconut, divided
8 ounces thawed whipped topping (such as Cool Whip), divided
1 (9-inch) graham cracker crust
STEPS: Building the Perfect Coconut Cream Pie
The beauty of this recipe is how quickly it comes together, yet it tastes like you spent hours working on it.
Step 1: Make the Creamy Coconut Filling
Start by grabbing a large mixing bowl and pouring in both packages of the coconut cream pudding mix. Add the 2 cups of whole milk and whisk until everything is silky smooth. You want the mixture to be free of lumps and completely blended—this takes about 1 to 2 minutes of steady whisking.
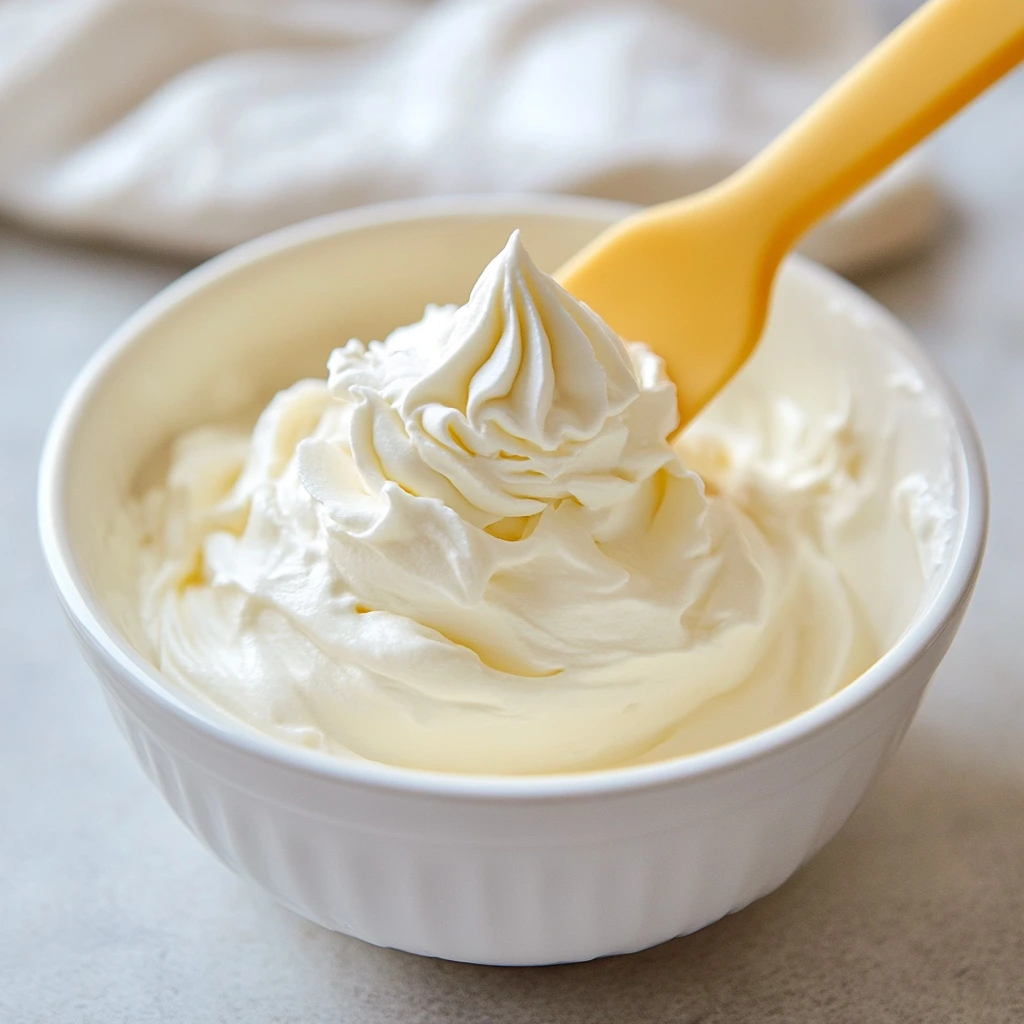
Now comes the fun part: fold in about 2 cups of the whipped topping. You don’t need to be too precise here—just eyeball half of your 8-ounce tub. Use a spatula and gently fold it in until the filling turns light, fluffy, and airy. This is what gives the pie that melt-in-your-mouth texture.
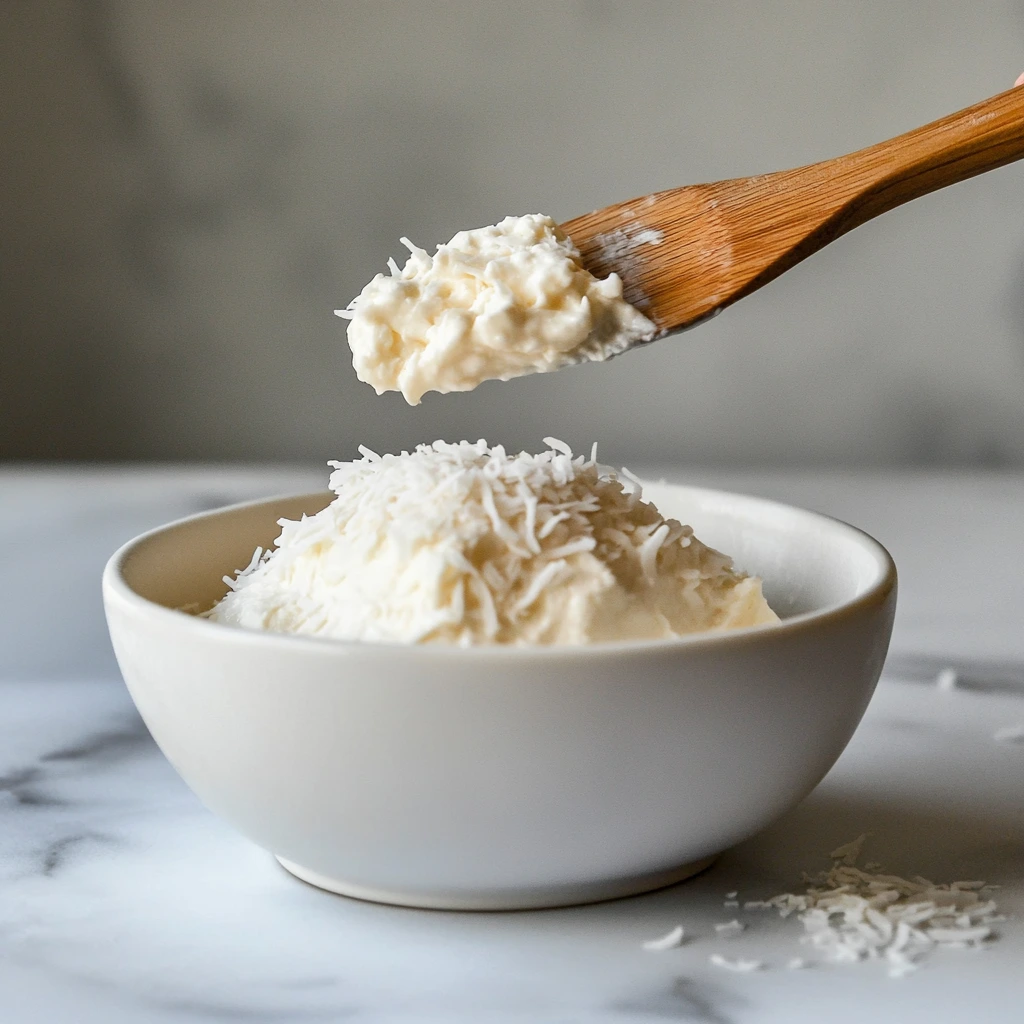
Then, stir in ¾ cup of the shredded coconut. These sweet little flakes add just the right amount of texture and coconutty goodness to each bite. Make sure they’re evenly distributed throughout the filling.
Step 2: Assemble and Chill
Spoon your beautiful coconut filling into the graham cracker crust. Use a spatula to smooth out the top and spread the filling all the way to the edges. This part is oddly satisfying—there’s something about that creamy surface getting perfectly even that makes me feel like I’ve got my life together.
Now cover the whole pie with plastic wrap and slide it into the fridge. It needs to chill for at least four hours, but overnight is even better if you have the time. This allows the pudding to firm up and the flavors to really come together.
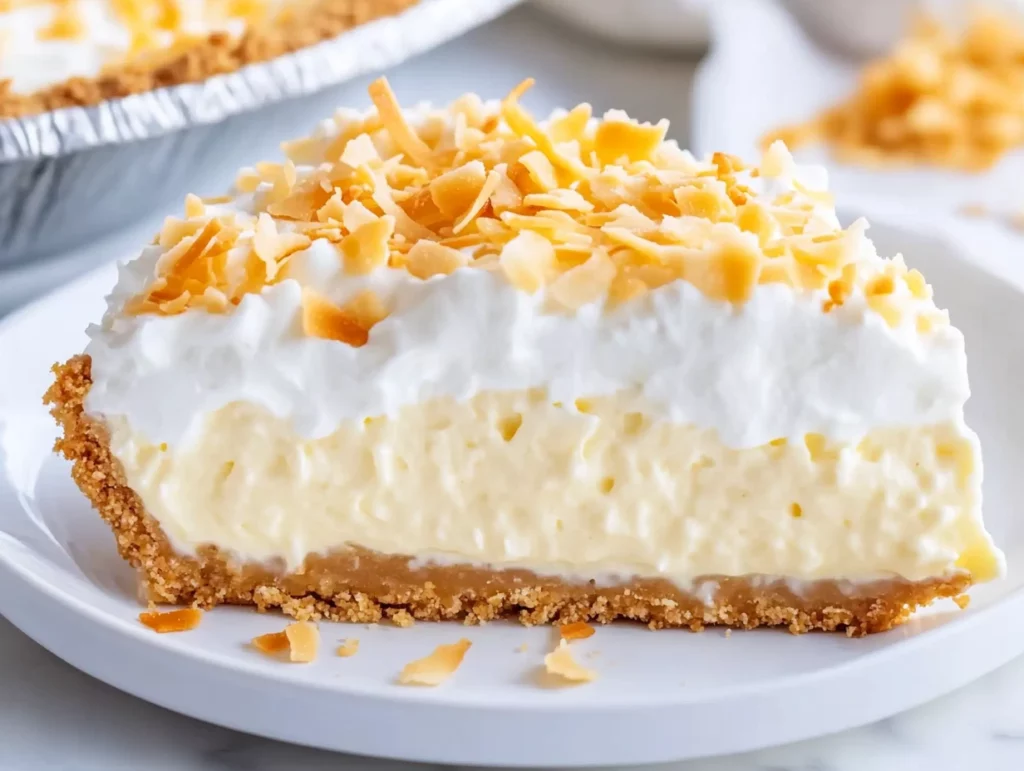
No Bake Coconut Cream Pie That Melts in Your Mouth
Welcome back! If your kitchen already smells like coconut and your pie is chilling peacefully in the fridge, then you’re well on your way to dessert heaven. Now it’s time to add the finishing touches and take your pie from good to unforgettable.
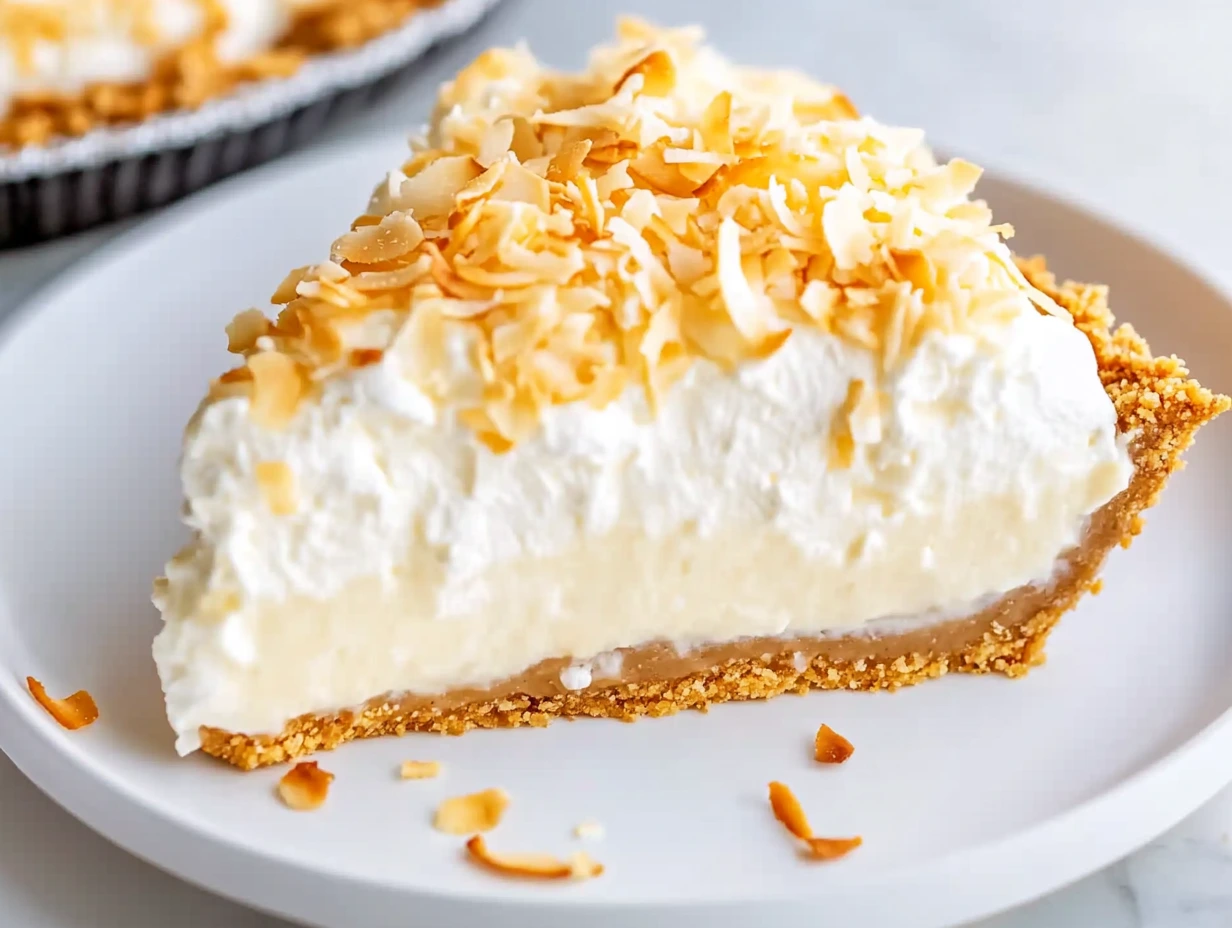
What I love most about this no bake coconut cream pie is how it plays with texture. You’ve got a buttery graham cracker crust, a soft and creamy coconut filling, and just when you think it can’t get any better—along comes a cloud of whipped topping and a sprinkle of golden, toasty coconut. It’s the kind of dessert people ask for seconds of… and then casually ask if you have the recipe.
So let’s keep going and finish this pie off the right way.
![]()
Step 3: Toast the Coconut for Topping
While your pie is setting in the fridge, go ahead and toast the remaining ¼ cup of shredded coconut. This is where things start to smell amazing.
Place a small, dry skillet over medium-low heat and pour in the coconut. Don’t walk away—this stuff goes from perfect to burnt quickly if you’re not careful. Keep stirring continuously with a spatula or wooden spoon. You’ll see the coconut start to brown and release that warm, nutty aroma. Once it’s golden and toasted, immediately transfer it to a plate to stop the cooking process.
Toasting the coconut not only adds a nice crunch to your pie but also gives it that “wow” factor when you present it.
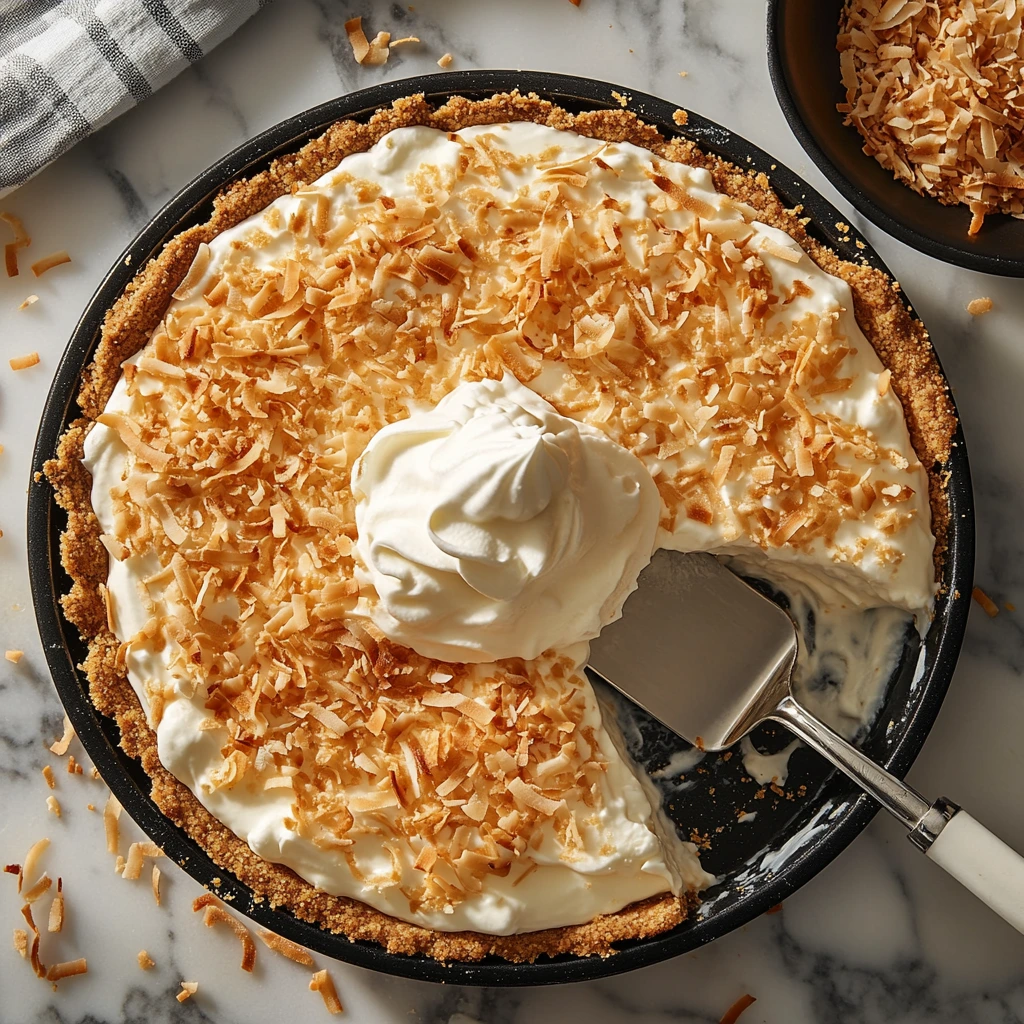
Step 4: Top and Serve
Once the pie has chilled and firmed up (at least four hours, though overnight is even better), it’s time to give it that final flourish.
Spread the remaining whipped topping evenly over the top of the pie. You can go for a smooth, classic finish or use the back of a spoon to create some fun swirls and peaks—it’s all about your style here.
Now, sprinkle the toasted coconut generously over the top. Try to get an even layer so that every slice gets a little crunch and color.
Slice, serve, and just wait for the compliments to roll in.
TIPS AND VARIATIONS
This pie is incredibly flexible, which makes it a great go-to recipe for busy weeks, potlucks, or when you’re simply craving something sweet and easy. Here are a few ways to switch things up or elevate the flavor:
Boost the Coconut Flavor: Want even more coconut? Try replacing half of the whole milk with canned coconut milk. It adds richness and a deeper coconut taste that’s just so good.
Add a Chocolate Twist: Sprinkle a handful of mini chocolate chips into the filling or drizzle chocolate syrup over the whipped topping before serving. Coconut + chocolate = match made in heaven.
Switch Up the Crust: Not a fan of graham crackers? Try an Oreo cookie crust or even a vanilla wafer crust instead. It’ll give the pie a fun new flavor profile.
Make It Ahead: This pie is a dream for make-ahead desserts. You can prepare it up to 24 hours in advance, which makes it perfect for entertaining or holidays. Just store it in the fridge covered tightly with plastic wrap.
For a Firmer Pie: If you like your pies on the firmer side (especially for slicing and serving), feel free to fold in a full 2 cups of whipped topping into the filling instead of just 1. It gives the pie more structure while still keeping it light and airy.
No Bake Coconut Cream Pie That Melts in Your Mouth
We’ve mixed, filled, chilled, and topped—and now you’ve got a no bake coconut cream pie that’s truly show-stopping. It’s light yet rich, easy yet impressive, and it comes together with barely any fuss. This is the kind of recipe I turn to again and again, especially when time is tight and I still want to make something that feels special.
Before we wrap things up, let’s cover a few frequently asked questions I often hear from readers who’ve made this pie or are planning to. Whether you’re wondering about substitutions, make-ahead tips, or storage, I’ve got you covered.
Frequently Asked Questions
1. Can I use homemade whipped cream instead of Cool Whip?
Absolutely! If you prefer a less processed option, you can whip about 1½ cups of heavy cream with a couple of tablespoons of powdered sugar until stiff peaks form. Use it in place of the store-bought whipped topping, both for folding into the filling and for topping the pie.
2. Is it possible to use a different pudding flavor?
Yes, you can! While coconut cream pudding gives this pie its signature flavor, vanilla or French vanilla pudding can work in a pinch. Add a bit of coconut extract (start with ½ teaspoon) and stir in extra shredded coconut to maintain that coconut flavor.
3. How long does this pie last in the fridge?
Stored properly, your coconut cream pie will keep well in the refrigerator for up to 3 days. Make sure it’s covered with plastic wrap or in an airtight container to prevent it from drying out or absorbing fridge odors.
4. Can I freeze this pie?
Yes, you can freeze it, but with a few caveats. The texture of instant pudding can change slightly after freezing and thawing. If you do decide to freeze it, wrap it tightly and let it thaw in the refrigerator for several hours before serving. Note: the whipped topping may lose some of its fluffiness after thawing.
5. What kind of crust works best?
The classic graham cracker crust is always a winner, but you can get creative. Oreo crust, vanilla wafer crust, or even a shortbread crust all work well with the creamy coconut filling.
6. Can I make this dairy-free?
Yes, with a few swaps. Use instant coconut pudding that’s dairy-free, substitute plant-based milk (like almond or coconut milk), and use a dairy-free whipped topping alternative. Just keep in mind that the final texture may vary slightly based on your substitutions.
7. What if my pie doesn’t set properly?
Make sure you’re using instant pudding (not cook-and-serve), and that you’re allowing enough chill time—at least 4 hours, preferably overnight. Also, be sure to use the correct amount of milk. Too much liquid can result in a runny pie.
Final Thoughts
This no bake coconut cream pie is proof that dessert doesn’t have to be complicated to be delicious. It’s rich without being heavy, sweet without being overpowering, and honestly just plain fun to make. The toasted coconut on top adds the perfect touch of texture and color, and the filling is so smooth and satisfying—it practically melts on your tongue.
Whether you’re making this for a summer BBQ, a holiday dessert table, or just a cozy night in with your family, I hope this recipe becomes one of your favorites too. Don’t be surprised if people ask you to make it again (and again).
Print
No Bake Coconut Cream Pie
- Author: Andrew Recipes
Description
A tender graham cracker shell filled with a silky coconut cream pudding, topped with billowy whipped topping and crowned with golden toasted coconut for an irresistible, fuss-free dessert.
Ingredients
2 (3.4-ounce) packages instant coconut cream pudding mix
2 cups whole milk
1 cup sweetened shredded coconut, divided use
8 ounces thawed whipped topping (such as Cool Whip), divided use
1 (9-inch) graham cracker crust
Instructions
Begin by pouring the coconut cream pudding mix into a large mixing bowl, then whisk in the milk until the mixture is completely smooth. Gently fold in about two cups of the whipped topping until the filling becomes light and airy. Stir in three-quarters of a cup of the shredded coconut so that flakes are evenly distributed throughout. Spoon the creamy filling into the graham cracker crust, smoothing the top so it reaches the edges. Cover the pie with plastic wrap and chill in the refrigerator for at least four hours or until fully set.
While the pie firms up, toast the remaining shredded coconut in a dry skillet set over medium-low heat. Stir continuously to ensure even browning and to prevent burning. As soon as the coconut develops a light golden hue and releases its nutty aroma, transfer it immediately to a plate to halt the toasting process.
When ready to serve, spread the remaining whipped topping across the chilled pie in an even layer. Sprinkle the toasted coconut on top for a delicate crunch and serve slices chilled.
Notes
For extra coconut intensity, substitute half of the whole milk with coconut milk or coconut-flavored milk in the pudding. The pie can be prepared up to one day in advance; store it covered in the refrigerator. If you prefer a firmer texture, use two cups of whipped topping instead of one, reserving the remainder for garnish. Any leftover toasted coconut keeps well in an airtight container at room temperature for up to three days.

