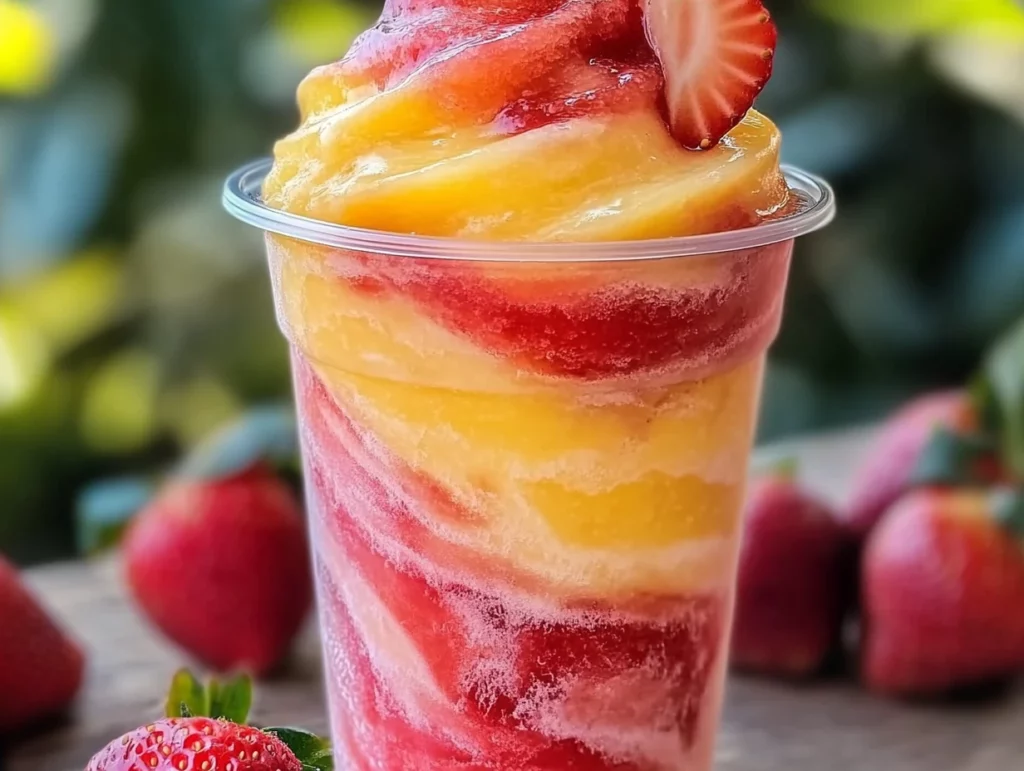
There’s something undeniably fun about sipping a swirled slushie on a hot day—it’s like summer in a glass. This Pineapple Strawberry Swirled Slushie recipe brings together two fruity favorites in the most vibrant and refreshing way. Whether you’re hosting a backyard BBQ, lounging poolside, or just craving a cold, colorful drink, this slushie checks all the boxes. Sweet, tangy, and absolutely gorgeous to look at, it’s a treat that’s as much a feast for the eyes as it is for the taste buds.
I started making this recipe a few summers ago when I was playing around with leftover frozen fruit from smoothies. I had pineapple, I had strawberries, and the heat was relentless—so I threw them into the blender, one layer at a time. The result? A two-toned, icy swirl that quickly became my go-to drink for sunny afternoons. The best part is how easy it is to customize. Want it dairy-free? Skip the coconut milk. Need it a little boozy for a weekend brunch? Just add a splash of rum or vodka. You can keep it kid-friendly or give it a grown-up twist. Either way, it’s a guaranteed crowd-pleaser.
Let’s dive right in and make this beautiful slushie come to life!
Ingredients You’ll Need
Serves 2–4
For the Pineapple Layer:
2 cups frozen pineapple chunks
1/2 cup pineapple juice (or water for a lighter option)
1 tablespoon honey or agave syrup (optional, for extra sweetness)
For the Strawberry Layer:
2 cups frozen strawberries
1/2 cup strawberry juice (or water for a lighter option)
1 tablespoon honey or agave syrup (optional, for extra sweetness)
Optional Add-Ins:
1/4 cup coconut milk (for creaminess)
1 teaspoon lime juice (for brightness)
1 to 2 tablespoons rum or vodka (for an adult version)
Step-by-Step Instructions
Step 1: Blend the Pineapple Layer
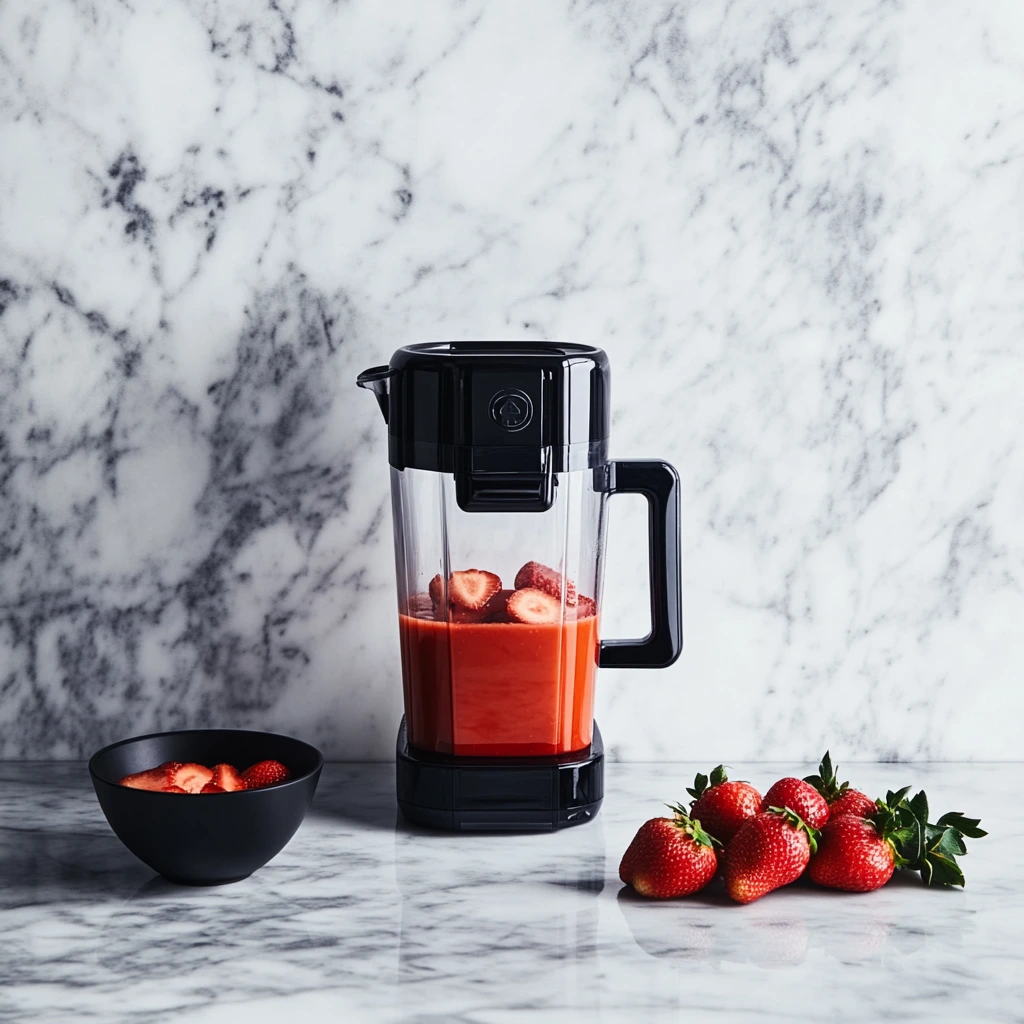
Start by grabbing your blender and tossing in 2 cups of frozen pineapple chunks. Add 1/2 cup of pineapple juice—or water if you’re keeping it light—and the tablespoon of honey or agave syrup if you like it a little sweeter. Blend everything up until the texture is thick, smooth, and slushy. It should hold its shape but still be pourable. If it’s too thick, go ahead and splash in a little more juice or water until it loosens up just right.
Once blended, pour the pineapple mixture into a separate container or measuring cup and set it aside for the layering step.

Step 2: Blend the Strawberry Layer
Rinse out your blender to keep the colors clean (unless you’re okay with a bit of mixing). Now, add the 2 cups of frozen strawberries, 1/2 cup of strawberry juice (or water), and another tablespoon of sweetener if desired. Blend until the consistency matches the pineapple layer—smooth, icy, and thick enough to create that signature swirl.
If your strawberries are super ripe, you might not need any added sweetener at all. Taste as you go and adjust to what feels right for you.
How to Swirl and Serve the Perfect Pineapple Strawberry Slushie
Now that both your pineapple and strawberry layers are prepped and ready, it’s time for the fun part—assembling your slushies! This is where that vibrant color contrast really shines. You’ll get a stunning marbled effect that not only looks impressive but also gives every sip a mix of sweet and tangy tropical flavor.
And don’t worry—no fancy bartending skills required. Just a spoon, a glass, and a few swirls will do the trick.
Let’s jump back in and finish up these gorgeous, icy treats.
Step 3: Assemble the Swirled Slushies
Grab your favorite serving glasses—clear ones work best to show off those beautiful layers. Pour the pineapple slushie mixture into each glass until they’re about halfway full. You want enough room to build the second layer without mixing them too much.
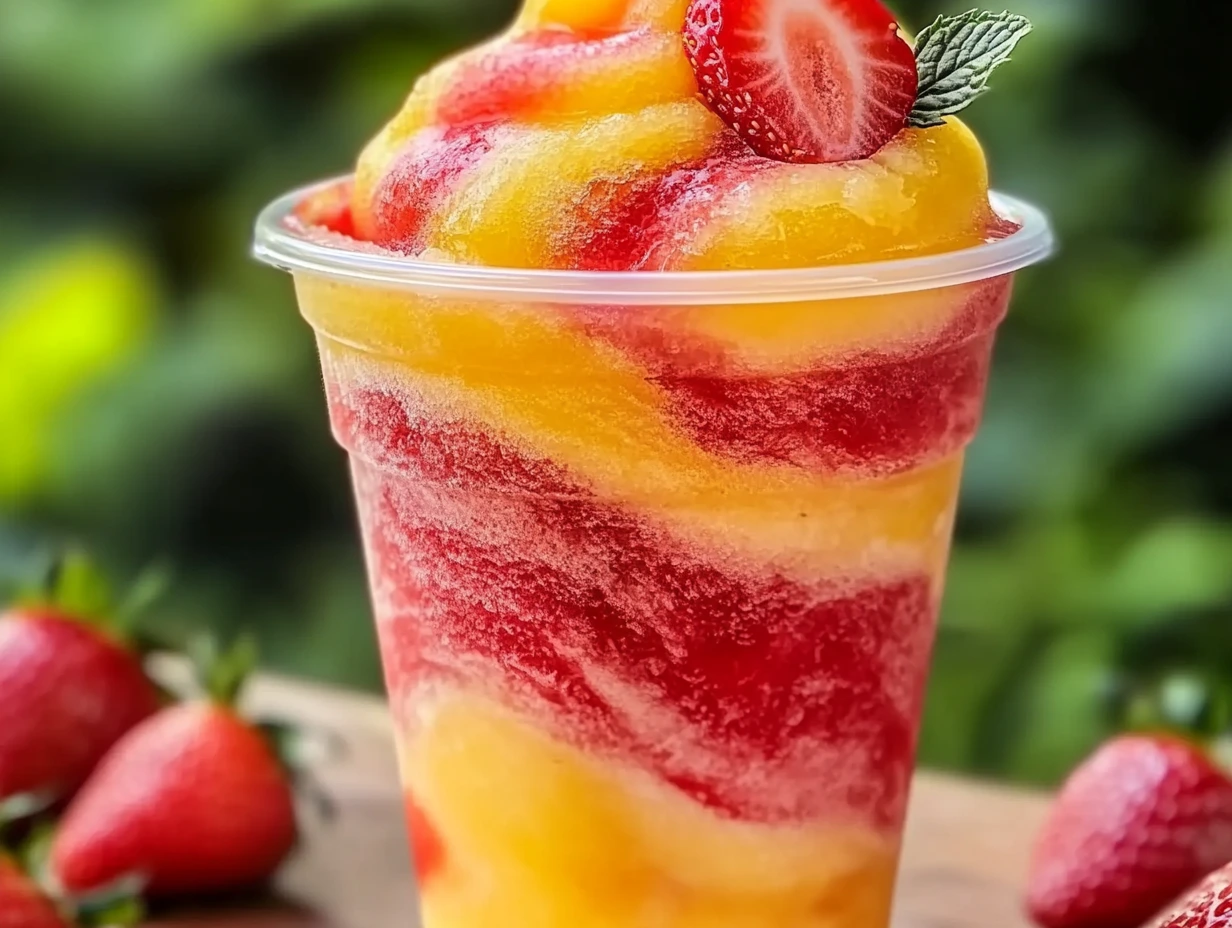
Next, carefully spoon or pour the strawberry slushie layer right over the top. Go slowly here—this helps keep the colors defined. Then take a spoon or a straw and gently swirl the two layers together. The goal is to get that pretty marbled effect without fully blending the colors. A couple of light figure-eight motions should do the trick.
Don’t worry if it’s not perfect—part of the charm is how each one looks a little different!
Step 4: Serve and Enjoy
Now comes the fun part: the finishing touches.
Top each glass with a slice of fresh pineapple, a halved strawberry, or even a sprig of mint if you have some on hand. If you’re making the adult version, this is the time to sneak in that splash of rum or vodka before swirling. Serve immediately with a straw and sip away while it’s perfectly chilled.
Tips and Variations for the Best Swirled Slushies
Here are a few extra tips I’ve picked up from making this recipe again and again:
Use frozen fruit, not ice. Ice waters down the flavor, but frozen fruit keeps it bold and naturally thick.
Fresh fruit works too—just freeze it. If you’ve got ripe pineapples or strawberries, cut them up and freeze them a few hours ahead of time. That way, you control the ripeness and the sweetness.
Add coconut milk for a creamy twist. Just a quarter cup will give it a tropical, almost smoothie-like vibe without losing that slushie texture.
Lime juice adds a bright, zesty kick. Especially nice if your fruit is on the sweeter side.
Make it a pitcher cocktail. Doubling or tripling the recipe for a crowd? Blend each layer in batches, then layer them in a large pitcher and swirl with a long spoon. Just be sure to serve right away—slushies don’t like to sit too long.
Pineapple Strawberry Swirled Slushies: FAQs and Final Thoughts
Now that you’ve got all the steps down, let’s talk about some of the most common questions I get whenever I share this recipe. Whether it’s your first time making slushies at home or you’re just curious about ways to mix things up, this section will give you the confidence to make them your own.
Frequently Asked Questions
1. Can I make these slushies ahead of time?
Not really. Slushies are best served right after blending. If you absolutely need to prep ahead, you can blend each layer and freeze them separately. Just thaw slightly and stir before assembling.
2. What can I use instead of juice?
Water works perfectly fine if you want a lighter drink. You can also use coconut water for a refreshing twist or even lemonade for a little zing.
3. Can I use fresh fruit instead of frozen?
Yes, but make sure to freeze the fruit beforehand. Fresh fruit that’s not frozen will make the mixture too runny and more like a smoothie than a slushie.
4. How do I keep the slushies from separating?
They naturally melt and separate a bit over time—that’s just part of the charm. But starting with really cold glasses can help, and serving them immediately is the best way to enjoy them before they start to melt.
5. What alcohol works best for the adult version?
Light rum or vodka are great choices. You don’t need much—just a tablespoon or two per serving does the trick without overpowering the fruit flavors.
6. Is this recipe kid-friendly?
Absolutely! Just skip the alcohol and sweeteners (if your fruit is ripe enough), and it becomes a healthy and fun treat for little ones.
7. Can I use a food processor instead of a blender?
A high-powered blender is ideal for that smooth slushy texture, but a food processor can work in a pinch. Just keep an eye on the consistency and scrape down the sides as needed.
Final Thoughts
I hope you have as much fun making these Pineapple Strawberry Swirled Slushies as I always do. They’re one of those recipes that look fancy but couldn’t be easier—and people always go back for seconds. Whether you keep it fruity and family-friendly or give it a splash of something stronger for a weekend treat, it’s a drink that makes any summer day feel just a little more special.
So go ahead and give it a try! Don’t forget to share how yours turned out in the comments—especially if you try a fun twist, like mango or watermelon layers. And if you’re serving these up at a party, tag your pics online—I’d love to see your swirly creations!
Print
Pineapple Strawberry Swirled Slushies
- Author: Andrew Recipes
Description
These vibrant slushies are a refreshing and fruity treat, perfect for hot days or as a colorful drink at summer gatherings. The sweet, tropical flavors of pineapple and strawberry come together in a beautifully swirled, icy drink that’s as eye-catching as it is delicious. You can keep it kid-friendly or add a splash of liquor for a fun adult twist.
Ingredients
For the Pineapple Layer
2 cups frozen pineapple chunks
1/2 cup pineapple juice (or water for a lighter option)
1 tablespoon honey or agave syrup (optional, for extra sweetness)
For the Strawberry Layer
2 cups frozen strawberries
1/2 cup strawberry juice (or water for a lighter option)
1 tablespoon honey or agave syrup (optional, for extra sweetness)
Optional Add-Ins
1/4 cup coconut milk (for creaminess)
1 teaspoon lime juice (for brightness)
1 to 2 tablespoons rum or vodka (for an adult version)
Instructions
Step 1: Blend the Pineapple Layer
In a blender, combine the frozen pineapple chunks, pineapple juice, and sweetener if using. Blend until the texture is smooth and slushy-like. If the consistency is too thick, add a bit more juice or water to reach the desired texture. Pour the mixture into a separate container and set aside.
Step 2: Blend the Strawberry Layer
Rinse out the blender. Add the frozen strawberries, strawberry juice, and sweetener if desired. Blend until smooth and slushy. Adjust the liquid if necessary to maintain a thick but pourable texture.
Step 3: Assemble the Swirled Slushies
Pour the pineapple slushie mixture into serving glasses until they are about halfway full. Carefully top with the strawberry slushie layer. Using a spoon or straw, gently swirl the two layers together to create a marbled effect without fully mixing the colors.
Step 4: Serve and Enjoy
Garnish each glass with a pineapple slice, a halved strawberry, or a sprig of mint. Serve immediately with a straw to enjoy this vibrant, icy drink while it’s perfectly chilled.
Notes
You can use fresh fruit if you freeze it beforehand for the best slushy consistency. Adjust sweetness to taste based on the natural ripeness of your fruit. For a creamier drink, blend in coconut milk, or add a splash of lime juice for a tangy lift. This recipe is easily doubled for larger groups and can be served in pitchers for self-service.

