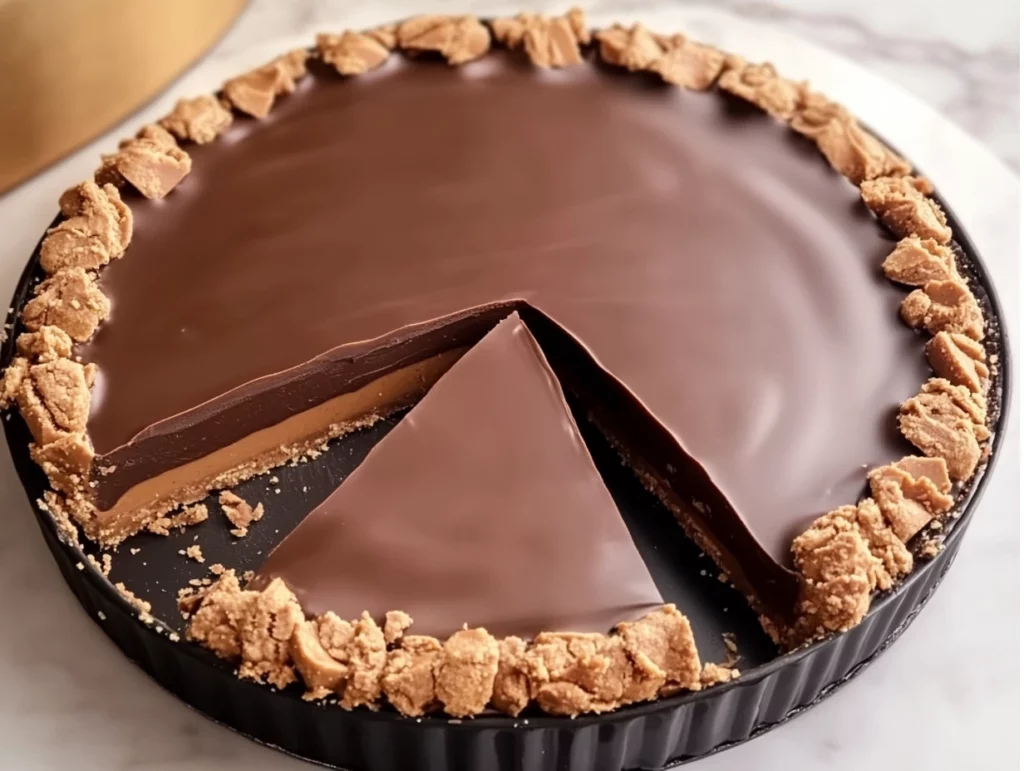
If there’s one dessert that guarantees an empty pie plate and a whole lot of compliments, it’s this Giant Reese’s Peanut Butter Cup Pie. Think of all the creamy, chocolaty, peanut-buttery goodness you love in a Reese’s cup—but in a giant, sliceable pie form that’s made to impress. Even better? There’s no oven involved. That’s right, this is a completely no-bake recipe, which means less fuss, less waiting, and more indulging.
I actually made this for a family get-together last summer, and it was the first dessert to disappear—right after someone shouted, “Is that a giant Reese’s pie?!” Let’s just say it was a hit. If you’re hosting a party, planning a birthday, or just craving something rich and chocolatey that feels like a little bit of a showstopper, this is the dessert for you.
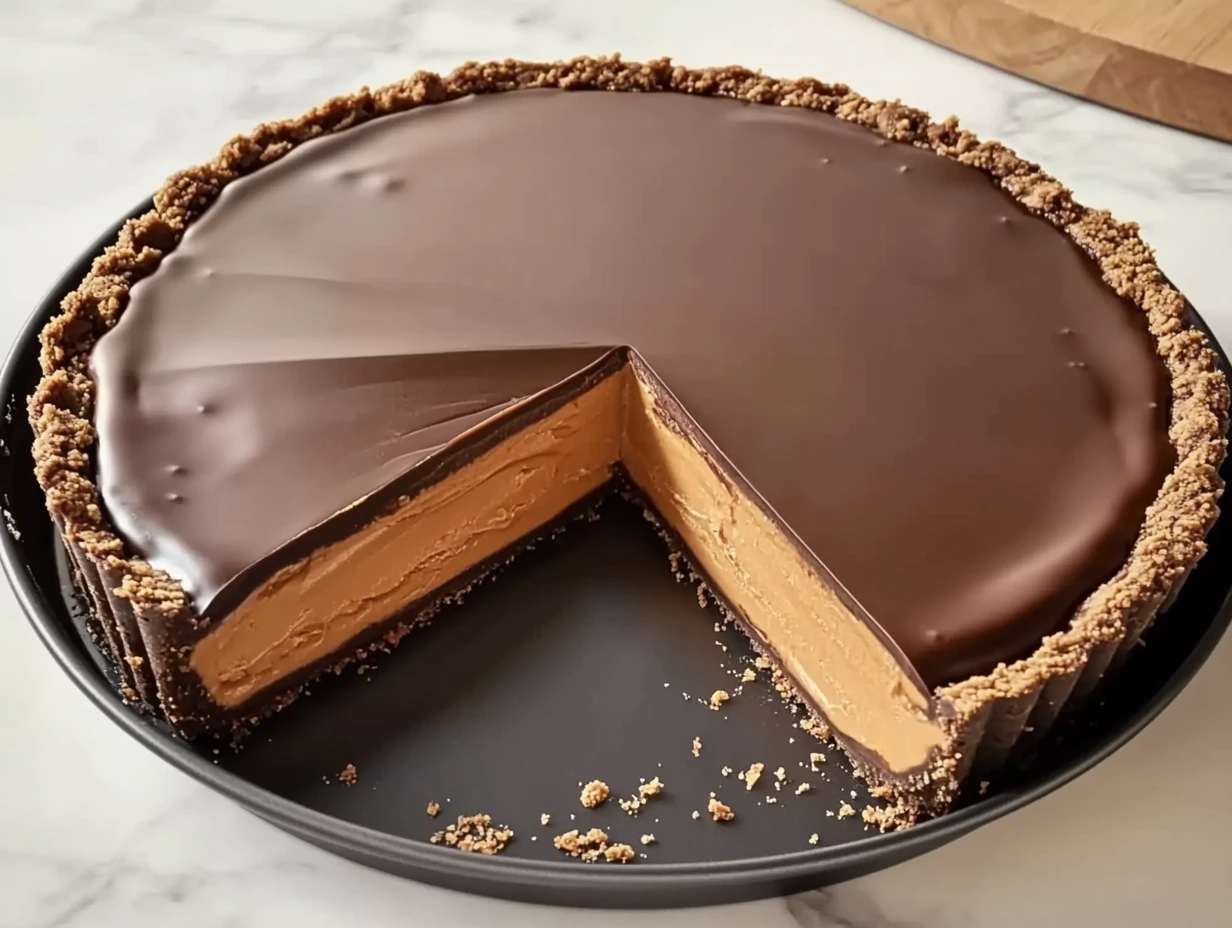
This pie starts with a crunchy chocolate cookie crust, moves into a smooth, sweet peanut butter filling, and finishes with a thick layer of silky chocolate ganache. Oh, and of course—we can’t skip the chopped mini Reese’s on top for that extra flair. Let’s get into how you make this beauty from start to finish.
Ingredients You’ll Need
Serves 8–10
For the Crust:
1 1/2 cups chocolate cookie crumbs (from about 20 Oreos or similar cookies)
6 tablespoons unsalted butter, melted
For the Peanut Butter Filling:
1 cup creamy peanut butter
1/2 cup unsalted butter, softened
1 cup powdered sugar
1 teaspoon vanilla extract
For the Chocolate Ganache Topping:
1 cup semi-sweet chocolate chips
1/2 cup heavy cream
For Garnish:
4 to 6 mini Reese’s Peanut Butter Cups, chopped
Optional: Whipped cream, chopped peanuts, or sprinkles
STEP 1: MAKE THE CHOCOLATE COOKIE CRUST
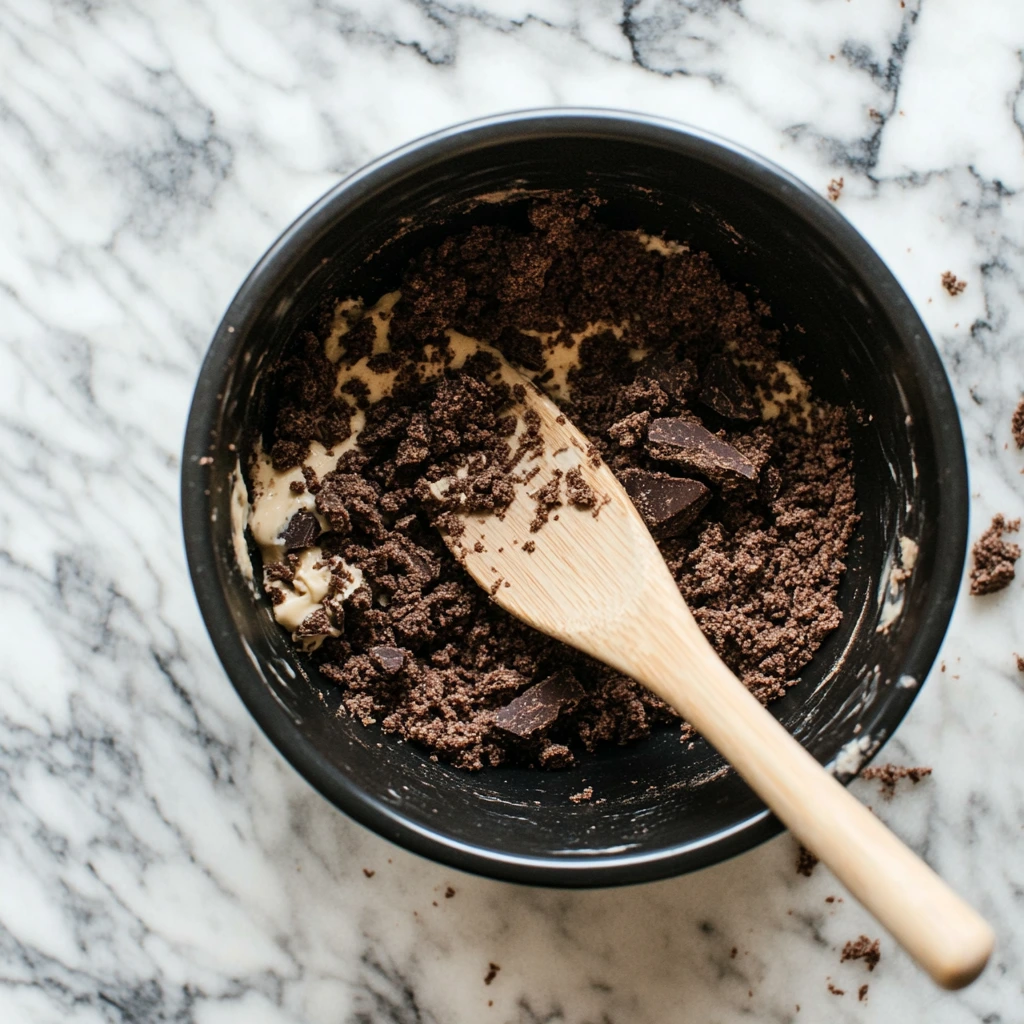
Start by grabbing a mixing bowl and combining your chocolate cookie crumbs with the melted butter. Stir it all together until the crumbs are well-coated and the mixture looks like wet sand. That texture is key—it means the crust will hold together once chilled.
Now press that mixture into a 9-inch pie dish, making sure to go up the sides and press it in firmly. I like to use the bottom of a flat glass to press it down evenly and pack it tight. Then just pop that pie crust into the fridge to chill while you move on to the next step. A cold crust will hold its shape better and make spreading the filling easier.
STEP 2: WHIP UP THE PEANUT BUTTER FILLING
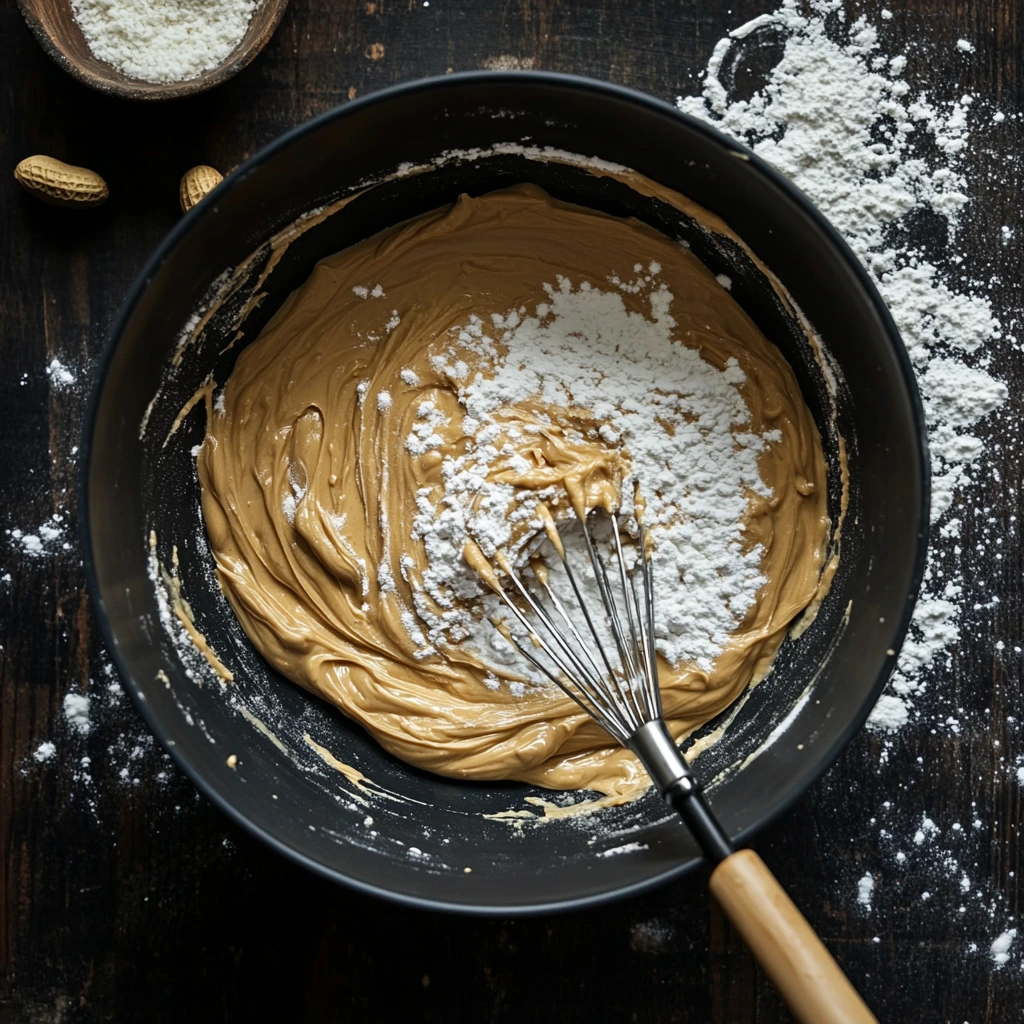
In a large bowl, beat together the peanut butter, softened butter, powdered sugar, and vanilla extract until the mixture is smooth, fluffy, and creamy. You can use a hand mixer for this step, or go old-school with a sturdy spatula and some elbow grease—either way, aim for a uniform texture with no lumps.
Once it’s creamy and dreamy, pull your crust out of the fridge and spread the peanut butter filling over it. I like to use a silicone spatula to get it into every corner and then smooth out the top. When it’s nice and even, place the pie back into the fridge and let it chill for about 30 minutes. This helps the filling set before adding the warm ganache later.
STEP 3: PREPARE THE CHOCOLATE GANACHE
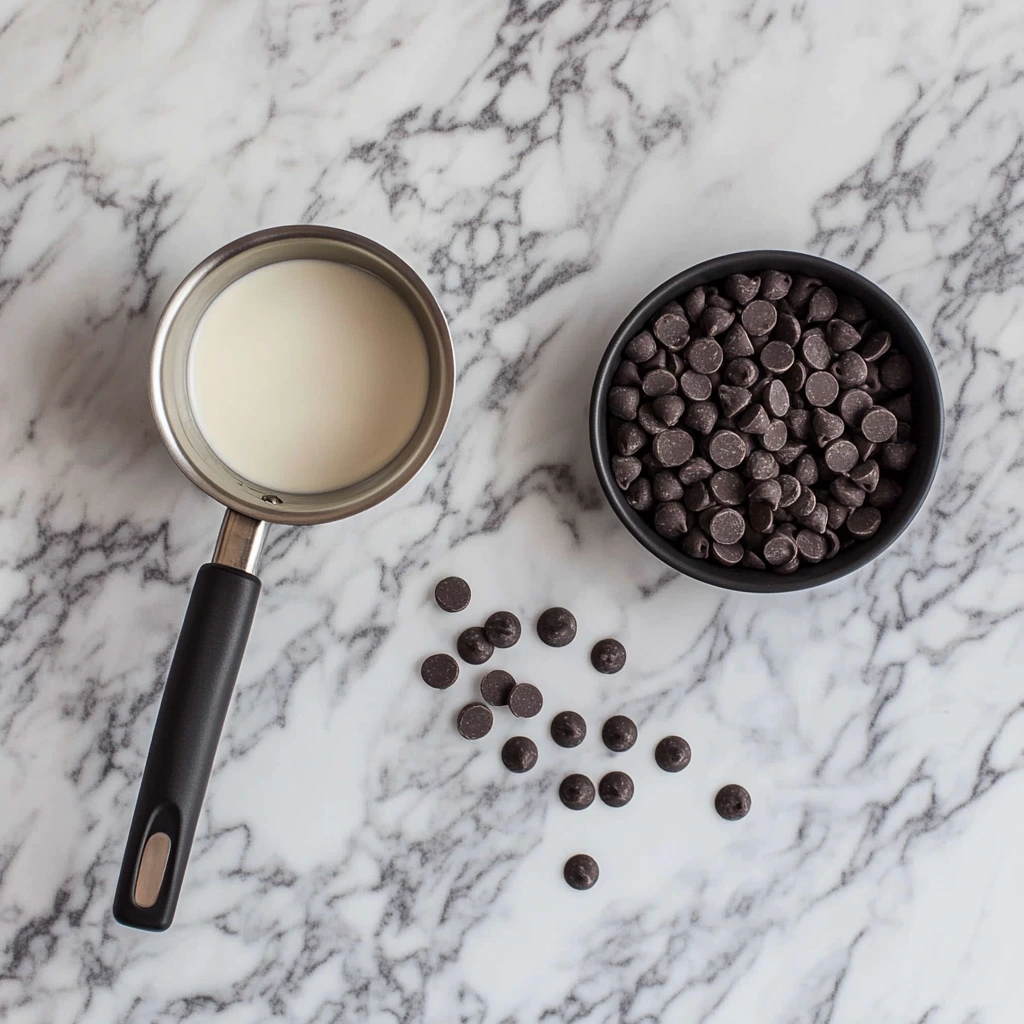
Now we’re getting to the part that gives this pie its classic Reese’s look and rich chocolatey finish. Place your chocolate chips into a heatproof bowl. Then in a small saucepan, heat the heavy cream over medium heat just until it begins to simmer—don’t let it boil.
Once it’s hot, pour the cream over the chocolate chips and let it sit for 2 to 3 minutes. This step is important; it gives the chocolate time to melt without needing direct heat. After that, stir it all together until it’s silky, smooth, and glossy. If you see any lumps, keep stirring—it’ll come together.
Let the ganache cool just a bit before adding it to the pie. It should still be pourable but not hot, so it doesn’t melt the peanut butter layer.
No-Bake Giant Reese’s Peanut Butter Cup Pie
Alright, now that we’ve got a chilled crust, a creamy peanut butter filling, and a glossy ganache ready to go, it’s time to bring this gorgeous dessert together. This is where the magic really happens. The layers come together so beautifully, and the whole pie starts to look like something you’d see in a bakery window. But don’t worry—it’s all been super simple so far, and this last stretch is just as easy.
The hardest part from here is waiting for it to chill fully before slicing into it. Trust me though, that bit of patience pays off big time. Let’s wrap this recipe up and go over a few tips to make sure your pie sets up just right and looks as good as it tastes.
STEP 4: POUR AND SPREAD THE GANACHE
Once your ganache has cooled slightly (just enough so it’s not piping hot), take the pie out of the fridge and pour the ganache gently over the peanut butter layer. Start in the center and work your way out to the edges with a spatula or the back of a spoon to help spread it evenly.
This layer doesn’t need to be super thick—just smooth and glossy with full coverage. The contrast between the rich ganache and the creamy peanut butter is what makes each bite taste like a super-sized version of the classic Reese’s cup.
Once your ganache is in place, sprinkle the chopped mini Reese’s cups over the top. You can scatter them randomly or arrange them in a pattern if you want to get fancy. Either way, they’ll add extra texture and that signature peanut butter-chocolate combo on every slice.
Now, refrigerate the whole pie for at least 2 hours, or until the ganache is set. If you’re planning ahead, it can absolutely be made the day before and chilled overnight. Just make sure it’s covered loosely so nothing in the fridge disturbs that glossy top.
STEP 5: SLICE, SERVE, AND GARNISH (OPTIONAL)
Once your pie is fully chilled and the ganache has set, it’s time to slice and serve. For the cleanest slices, use a sharp knife and run it under hot water between cuts. This helps you glide right through that thick ganache layer without cracking it.
You can serve the pie straight from the fridge for a firmer bite or let it sit at room temperature for about 15–20 minutes if you prefer a softer texture. Both ways are delicious—it really just depends on your preference.
If you’re going for a little extra flair, now’s the time to add optional garnishes like whipped cream, a sprinkle of chopped peanuts, or even some colorful sprinkles if you’re celebrating something special. I personally love a little whipped cream on the side to balance out the richness.
TIPS FOR SUCCESS
Crust Too Crumbly? If your cookie crust feels like it’s falling apart, try adding another tablespoon of melted butter to help bind it. Pressing it down really firmly is key.
Ganache Too Thin or Too Thick? If it’s too thin, let it cool a little longer before pouring. If it’s too thick to spread, microwave it in 10-second bursts until it loosens up.
Make Ahead: This pie is an excellent make-ahead dessert. You can make it up to 24 hours in advance and store it covered in the refrigerator.
Want a Twist? Swap in crunchy peanut butter for extra texture, or use white chocolate chips in the ganache for a sweeter, milder topping. You can even stir in a few crushed pretzels for a salty-sweet crunch.
Serving Crowd Tips: This pie easily serves 8–10, but you can cut thinner slices if you’re serving it alongside other desserts.
No-Bake Giant Reese’s Peanut Butter Cup Pie
So now that you’ve got your giant Reese’s Peanut Butter Cup Pie chilling in the fridge (or maybe already sliced and on plates), let’s tackle some of the most common questions that come up when making this dreamy dessert. Whether it’s your first time or your fifth, a few helpful answers can make all the difference when it comes to perfecting your pie.
FREQUENTLY ASKED QUESTIONS
1. Can I use natural peanut butter in the filling?
You can, but keep in mind that natural peanut butter tends to separate and has a runnier texture. For best results, stick with a no-stir, creamy peanut butter like Jif or Skippy to ensure the filling holds its shape.
2. What’s the best way to crush the cookies for the crust?
A food processor is the fastest and easiest way to get fine, even crumbs. If you don’t have one, place the cookies in a zip-top bag and crush them with a rolling pin. Just make sure they’re crushed finely enough to bind together well with the melted butter.
3. Can I freeze this pie?
Yes! Once the pie is fully assembled and set, you can freeze it for up to 1 month. Wrap it tightly in plastic wrap and foil. When ready to serve, thaw in the refrigerator overnight. Note that the texture of the ganache may soften slightly, but the flavor stays rich and delicious.
4. My ganache didn’t set properly—what went wrong?
This usually happens if the cream wasn’t hot enough or the ratio of chocolate to cream was off. Make sure the cream is just starting to simmer before pouring it over the chocolate chips. Stir until fully melted and smooth, and let it cool slightly before spreading over the filling.
5. Can I make this gluten-free?
Absolutely. Just swap in gluten-free chocolate sandwich cookies for the crust. Double-check that all other ingredients (like peanut butter and chocolate chips) are certified gluten-free, and you’re good to go.
6. What size pie dish should I use?
A standard 9-inch pie dish works perfectly. If you’re using a deep-dish version, your layers may end up a bit shorter, but it will still taste amazing. Avoid anything smaller, as the filling and ganache might overflow.
7. Can I substitute almond butter or another nut butter?
Yes, almond butter or cashew butter can be used in place of peanut butter, but be sure to use the thick, creamy kind for structure. Just keep in mind that it will slightly change the flavor, but it can be a fun twist if you want something a little different.
FINAL THOUGHTS: BRING ON THE CHOCOLATE-PEANUT BUTTER JOY
There’s just something about the classic combination of chocolate and peanut butter that never gets old—and this Giant Reese’s Peanut Butter Cup Pie takes it to the next level. It’s rich, creamy, crunchy, and totally indulgent. But the best part? It’s surprisingly simple to make. No oven, no fancy equipment, and no complicated steps.
Whether you’re serving this at a birthday party, taking it to a potluck, or just making it for your family’s weekend treat, it’s guaranteed to get people talking. It looks impressive, tastes incredible, and holds up beautifully in the fridge or freezer.
If you give this pie a try, I’d love to hear how it turned out for you. Did you stick to the classic recipe, or try a variation with crunchy peanut butter or white chocolate ganache? Share your experience in the comments and let others know how it went!
And don’t forget—if you’ve got chocolate and peanut butter fans in your life, this is the kind of dessert that will have them requesting it again and again.
Happy no-baking, and enjoy every rich, delicious slice!
Print
Giant Reese’s Peanut Butter Cup Pie
- Author: Andrew Recipes
Description
This indulgent, no-bake dessert brings all the flavors of a classic Reese’s peanut butter cup into a giant, shareable pie form. With a crunchy chocolate cookie crust, rich peanut butter filling, and a silky chocolate ganache topping, it’s perfect for chocolate and peanut butter lovers alike. Ideal for parties or special occasions, this pie is as impressive as it is delicious.
Ingredients
For the Crust:
1 1/2 cups chocolate cookie crumbs (from about 20 Oreos or similar cookies)
6 tablespoons unsalted butter, melted
For the Peanut Butter Filling:
1 cup creamy peanut butter
1/2 cup unsalted butter, softened
1 cup powdered sugar
1 teaspoon vanilla extract
For the Chocolate Ganache Topping:
1 cup semi-sweet chocolate chips
1/2 cup heavy cream
For Garnish:
4 to 6 mini Reese’s Peanut Butter Cups, chopped
Optional: Whipped cream, chopped peanuts, or sprinkles
Instructions
Step 1: In a mixing bowl, combine the chocolate cookie crumbs and melted butter. Stir until the mixture resembles wet sand. Press it evenly into the bottom and up the sides of a 9-inch pie dish. Use the back of a spoon or a flat-bottomed glass to compact it. Chill the crust in the refrigerator while preparing the filling.
Step 2: In a large bowl, beat together the peanut butter, softened butter, powdered sugar, and vanilla extract until smooth and creamy. Spread the mixture evenly over the chilled crust and smooth the top with a spatula. Return the pie to the fridge for 30 minutes to firm up.
Step 3: Place the chocolate chips in a heatproof bowl. In a small saucepan, heat the heavy cream over medium heat until it starts to simmer. Pour the hot cream over the chocolate chips and let sit for 2 to 3 minutes, then stir until smooth and glossy. Allow the ganache to cool slightly before using.
Step 4: Pour the ganache over the chilled peanut butter layer and spread it evenly. Sprinkle chopped Reese’s Peanut Butter Cups over the top. Refrigerate the pie for at least 2 hours or until the ganache is set.
Step 5: Slice and serve the pie chilled or let it sit at room temperature for a softer texture. Add optional garnishes like whipped cream or chopped peanuts just before serving.
Notes
Make sure the pie chills thoroughly so each layer holds its shape when sliced. For a twist, try using crunchy peanut butter in the filling, or substitute white chocolate chips for a different flavor in the ganache. This pie can be made a day ahead and stored in the fridge until ready to serve.
