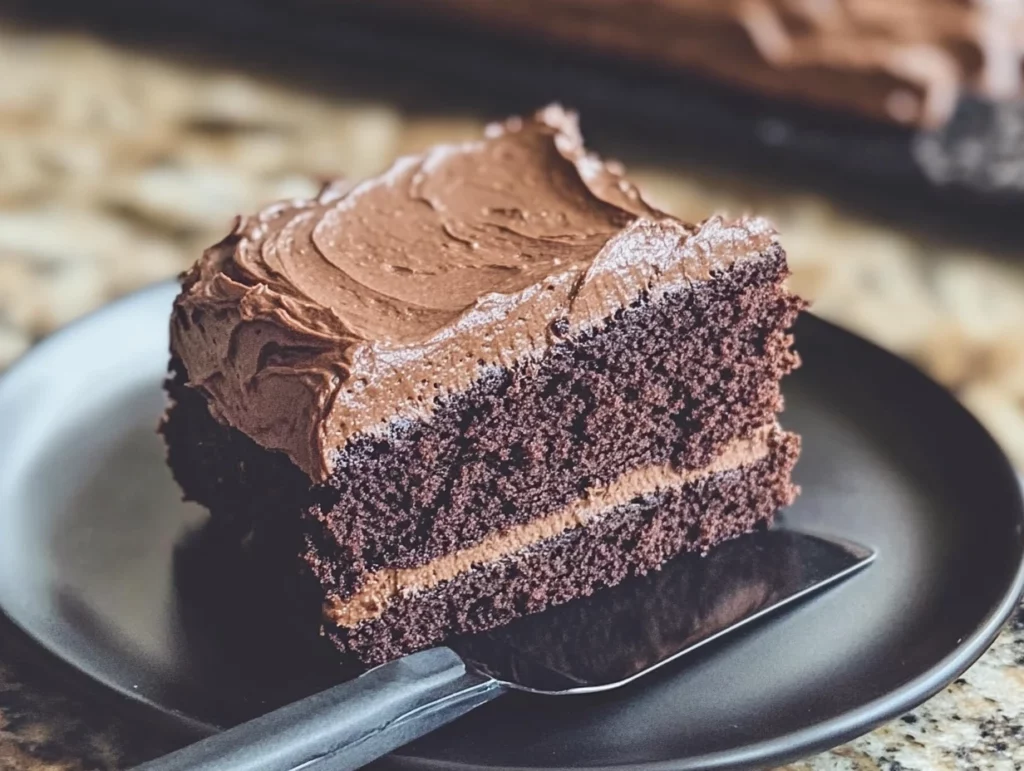
When I first discovered this Hershey’s Chocolate Cake recipe, it felt like stumbling upon a secret family heirloom—you know, the kind that instantly becomes your go-to for birthdays, potlucks, or just when the craving for a perfect slice of chocolate hits after dinner. I remember the very first time I baked it: my kitchen looked like a cocoa bomb had gone off, but that moment when I cut into the still-warm cake and saw that tender crumb? Pure magic. Today, I’m so excited to share that experience with you in a way that’s foolproof, fun, and—dare I say it—pretty hard to mess up.
This cake strikes the perfect balance: deep chocolate flavor from unsweetened Hershey’s cocoa powder, an ultra-moist crumb thanks to buttermilk, and a simple method that comes together in one bowl. Whether you’re a novice baker or you’ve been wielding spatulas since you could stand, this recipe will make you look and feel like a pro. Let’s dive into the ingredient list and get that oven preheated!
Ingredients
For the Cake
1¾ cups all-purpose flour
⅔ cup unsweetened Hershey’s cocoa powder
1½ teaspoons baking powder
1½ teaspoons baking soda
½ teaspoon salt
2 cups granulated sugar
1 cup buttermilk, room temperature
2 teaspoons pure vanilla extract
½ cup vegetable oil
2 large eggs, room temperature
1 cup boiling water
Steps
Preheat & Prep
Preheat your oven to 350°F (175°C). Meanwhile, grab a 9×13-inch baking dish and give it a good coat of nonstick baking spray. I like to line the bottom with parchment paper for an extra insurance policy against sticking—especially if I’m feeling lazy about cleanup later.Combine Dry Ingredients
In a large mixing bowl, sift together the flour, Hershey’s cocoa powder, baking powder, and baking soda. Sifting isn’t just for show—it ensures there are no lumps of cocoa or baking soda trapped in your cake, which could create bitter spots or uneven rise. Once sifted, whisk in the salt and granulated sugar until everything is evenly distributed and looks like a lovely, chocolatey powder.Add the Wet Ingredients
Pour in the buttermilk, vanilla extract, and vegetable oil. Whisk gently until the mixture turns smooth and glossy. This step is where the magic starts—watch the cocoa bloom and darken as it hydrates.Incorporate the Eggs
Crack in the eggs one at a time, whisking well after each addition. Taking it slow here creates a stable emulsion, which ultimately gives your cake structure and a tender bite. You’ll notice the batter lighten ever so slightly—that’s a good sign!Finish with Boiling Water
Carefully pour in the boiling water (or brewed coffee for an even richer flavor—more on that in the notes). Don’t worry if the batter looks thin and almost soupy; this is exactly how it should be. The hot water intensifies the chocolate flavor and helps dissolve the sugar completely, leaving you with a cake that’s moist to the core.Bake
Transfer the thin, glossy batter into your prepared pan. Place it in the center of your preheated oven and bake for 30–35 minutes. You’ll know it’s done when a toothpick inserted into the middle comes out clean—or with just a few moist crumbs attached. The edges will start to pull away from the pan slightly.Cool Before Frosting
Remove the cake from the oven and set it on a wire rack. This is a critical step: let the cake cool completely in the pan for about 30 minutes. If you rush to frost, the heat will melt your buttercream into a gloopy mess. Use this time to clean up or practice your frosting piping technique!
1 cup salted sweet cream butter, softened
⅔ cup unsweetened Hershey’s cocoa powder
3 cups powdered sugar, sifted
1 teaspoon pure vanilla extract
¼ cup whole milk, plus up to 2 tablespoons more as needed
Beat the Butter
Place the softened butter in a large mixing bowl. Using a stand mixer or handheld electric mixer on medium speed, beat the butter for about 1 minute until it looks pale and creamy. This aeration is key for a light, fluffy frosting.Add the Cocoa and Sugar
Stop the mixer and sift in the Hershey’s cocoa powder and powdered sugar. This prevents any lumps and ensures your frosting will be silky smooth. Start mixing on the lowest speed to avoid a sugar cloud, then gradually increase to medium.Incorporate Vanilla and Milk
Pour in the vanilla extract and the initial ¼ cup of milk. With the mixer on low, bring everything together until the sugar is mostly absorbed. Scrape down the sides of the bowl with a flexible spatula to ensure even consistency.Adjust Consistency
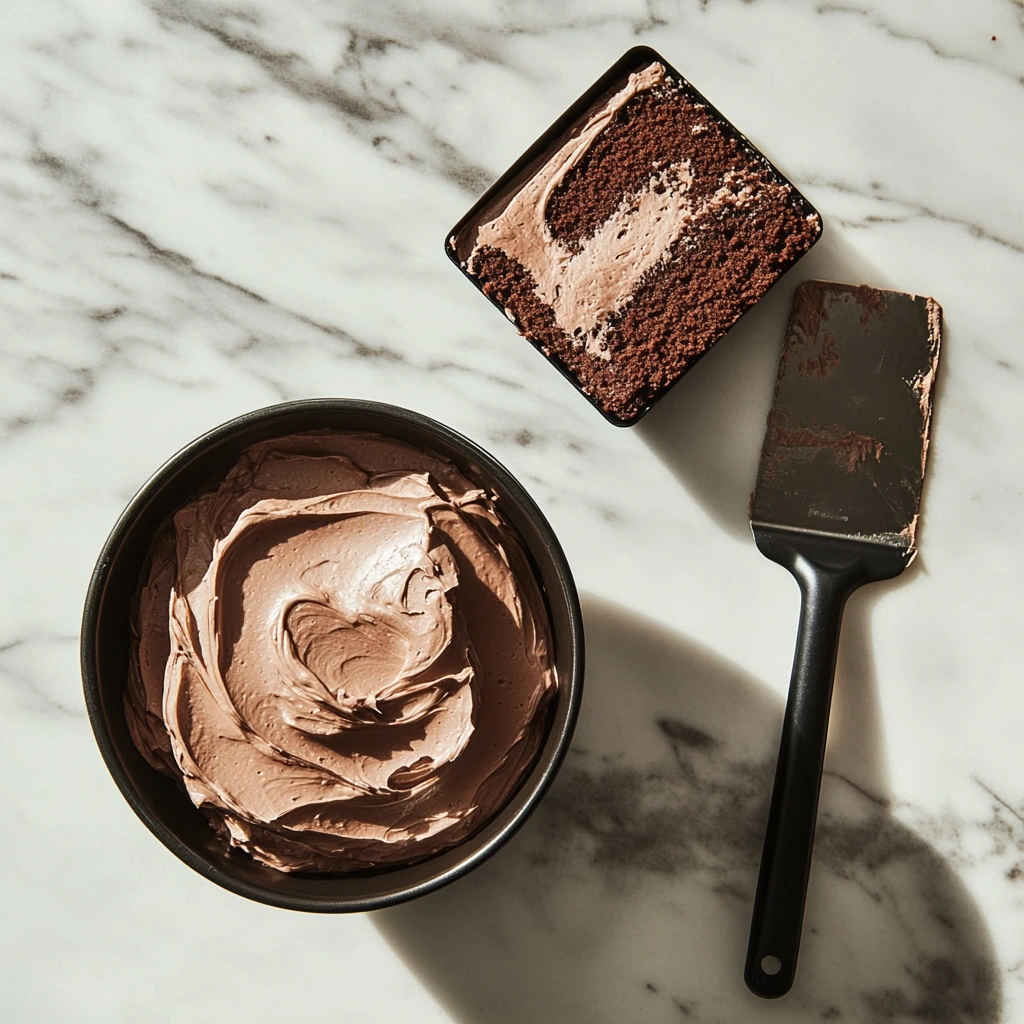
Increase the speed to medium and beat for another 1–2 minutes until the frosting is light and fluffy. If it feels too stiff to spread easily, add up to 2 more tablespoons of milk—one tablespoon at a time—until you reach your desired texture. Conversely, if it seems too loose, beat an extra minute or add a tablespoon of sifted powdered sugar.Frost the Cake
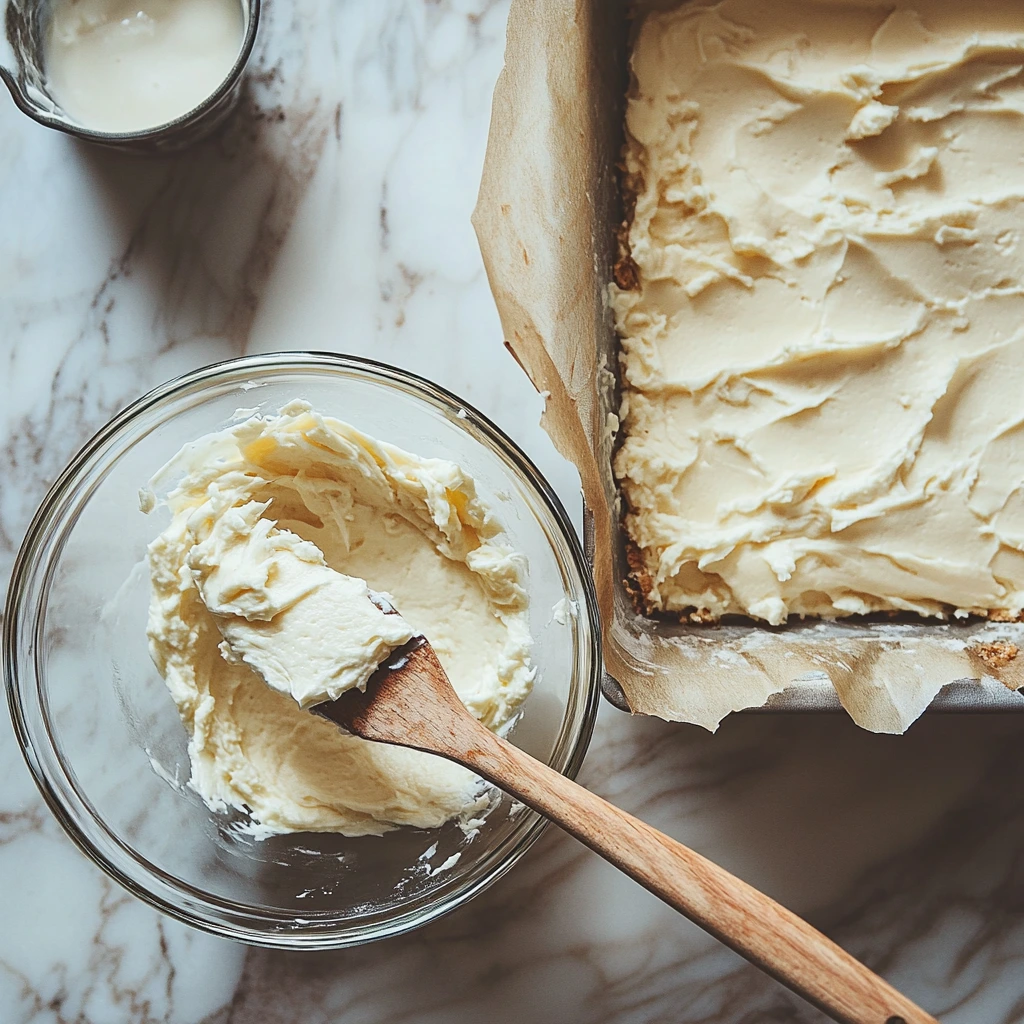
Using an offset spatula or the back of a spoon, spread the buttercream evenly over the surface of the cooled cake. If you’d like clean edges, pipe a border around the cake first; otherwise, a rustic, swirled finish is just as charming.Chill Briefly (Optional)
For a perfectly set top and easier slicing, chill the frosted cake in the refrigerator for 15–20 minutes. This helps the buttercream firm up without hardening it completely.
Expert Tips & Variations
Coffee Boost: Swap the boiling water in the cake batter for hot, strong brewed coffee. It amplifies the chocolate flavor without leaving a noticeable coffee aftertaste.
Salted Caramel Drizzle: Warm ½ cup store-bought or homemade caramel sauce and drizzle it over the frosted cake. Finish with a sprinkling of flaky sea salt for a sweet-salty contrast.
Layer Cake Upgrade: Want more drama? Slice the baked cake horizontally into two layers. Spread half the frosting between layers, then a thin crumb coat around the outside. Chill briefly, then apply a final decorative layer of buttercream.
Nutty Crunch: Fold ½ cup finely chopped toasted pecans, walnuts, or hazelnuts into the frosting right before spreading to add texture and a toasty flavor.
Cupcake Conversion: Line a 12-cup muffin tin with paper liners and fill each about two-thirds full of batter. Bake at 350°F for 18–20 minutes. Frost once completely cool—no pathos for presentation needed, just pure cupcake joy.
Storage: Leftovers keep beautifully. Store at room temperature, covered, for up to 3 days. For longer storage (up to 5 days), refrigerate in an airtight container. Bring slices back to room temperature before serving to restore that melt-in-your-mouth texture.
1. Can I substitute regular milk for buttermilk?
Yes—buttermilk’s acidity tenderizes the crumb and reacts with baking soda to give lift. To mimic it, stir 1 tablespoon of white vinegar or lemon juice into 1 cup of milk, let it sit for 5–10 minutes until slightly curdled, then use as directed.
2. Why does the recipe call for boiling water (or coffee)?
Hot liquid “blooms” the cocoa powder, intensifying the chocolate flavor and fully dissolving the sugar. Coffee works interchangeably—its bitterness complements the cocoa without tasting like coffee in the final cake.
3. How do I know when the cake is done?
Insert a toothpick into the center of the cake at 30 minutes. If it comes out with just a few moist crumbs (not wet batter), it’s ready. The edges should pull away slightly from the pan, too.
4. My frosting seems too loose—what now?
Chill it briefly in the refrigerator (5–10 minutes) and then beat again. If it’s still too soft, add 2–3 tablespoons of sifted powdered sugar, mixing until you hit the right spreadable consistency.
5. Can I make this cake ahead of time?
Absolutely! You can bake the cake, wrap it tightly in plastic wrap once cool, and freeze up to one month. Thaw at room temperature, then frost. For the frosted cake, store covered in the fridge for up to 5 days.
6. What’s the best way to slice neat pieces?
Use a long, sharp knife and wipe it clean between cuts. For extra precision, warm the blade under hot water, dry it, then slice—this helps you glide through the buttercream smoothly.
7. How can I turn this into a layer cake?
After baking and cooling, run a thin knife around the edges and invert the cake onto a cutting board. Slice horizontally with a serrated knife to create two even layers. Fill and stack with frosting, then crumb-coat and finish decorating.
Conclusion
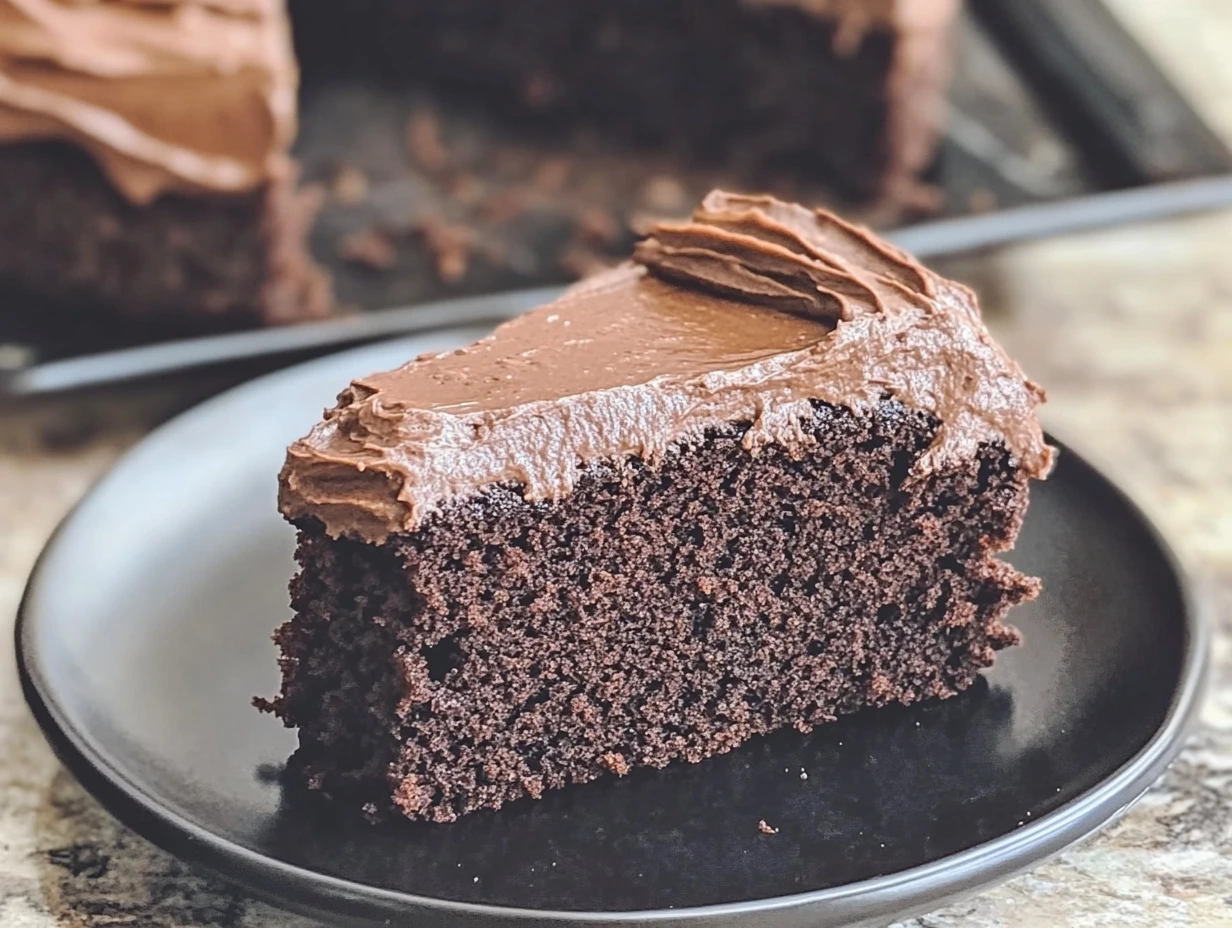
And there you have it: a foolproof Hershey’s Chocolate Cake that’s equal parts nostalgic and show-stopping. From the simple one-bowl batter to the clouds-of-cocoa buttercream, this recipe has become my secret weapon whenever I need a chocolate fix—or when friends insist I bring dessert to gatherings. I hope you give it a try, put your own spin on the variations, and take pride in serving up each tender, richly flavored slice.
Print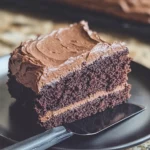
Hershey Chocolate Cake
- Author: Andrew Recipes
Description
A rich, moist chocolate cake made with unsweetened Hershey’s cocoa powder and buttermilk for tender crumb and deep chocolate flavor. Topped with a velvety cocoa buttercream, this cake is perfect for birthdays, potlucks or any time you need a classic chocolate fix.
Ingredients
For the cake
1¾ cups all-purpose flour
⅔ cup unsweetened Hershey’s cocoa powder
1½ teaspoons baking powder
1½ teaspoons baking soda
½ teaspoon salt
2 cups granulated sugar
1 cup buttermilk, room temperature
2 teaspoons pure vanilla extract
½ cup vegetable oil
2 large eggs, room temperature
1 cup boiling water
For the chocolate frosting
1 cup salted sweet cream butter, softened
⅔ cup unsweetened Hershey’s cocoa powder
3 cups powdered sugar, sifted
1 teaspoon pure vanilla extract
¼ cup whole milk, plus 2 tablespoons as needed
Instructions
Cake
Preheat the oven to 350°F. Spray a 9×13-inch baking dish with nonstick baking spray and set aside.
In a large mixing bowl sift together the flour, cocoa powder, baking powder and baking soda. Whisk in the salt and granulated sugar until evenly combined.
Add the buttermilk, vanilla extract and vegetable oil. Whisk until smooth.
Crack in the eggs one at a time, whisking well after each addition.
Carefully pour in the boiling water and whisk until the batter is fully combined, thin and glossy.
Pour the batter into the prepared pan and bake for 30 to 35 minutes, or until a toothpick inserted into the center comes out clean.
Remove from the oven and allow the cake to cool completely in the pan on a wire rack before frosting.
Frosting
In a large bowl beat the softened butter on medium speed until creamy, about 1 minute.
Sift in the cocoa powder and powdered sugar, then add the vanilla extract.
With the mixer on low, pour in the milk. Increase speed to medium and beat until smooth and fluffy, adding the extra 2 tablespoons of milk only if the frosting is too stiff to spread.
Spread the frosting evenly over the cooled cake.
Notes
For an even richer flavor, use brewed coffee in place of boiling water. The coffee enhances the chocolate without imparting a noticeable taste.
Ensure the cake is completely cool before frosting to prevent the buttercream from melting. For a firmer set, chill the frosted cake for 15–20 minutes.
Store any leftovers covered at room temperature for up to 3 days or refrigerate for up to 5 days. Bring refrigerated slices to room temperature before serving.
To turn this into cupcakes, fill 12 standard liners and bake at 350°F for 18–20 minutes. Adjust frosting amount as needed.
