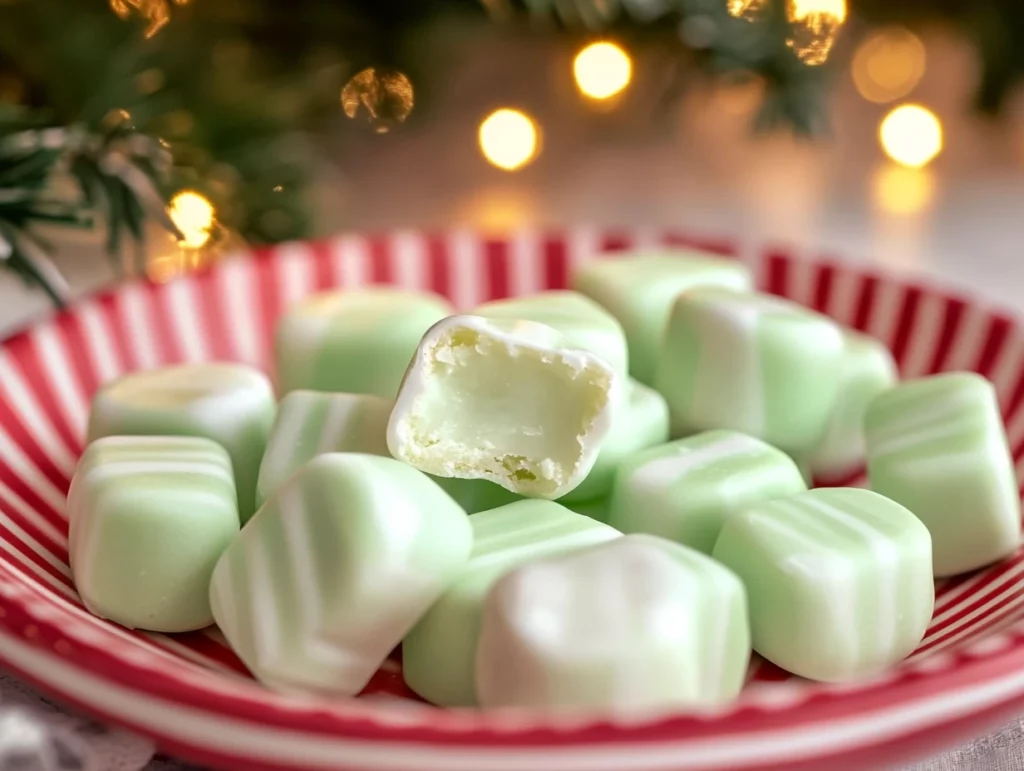
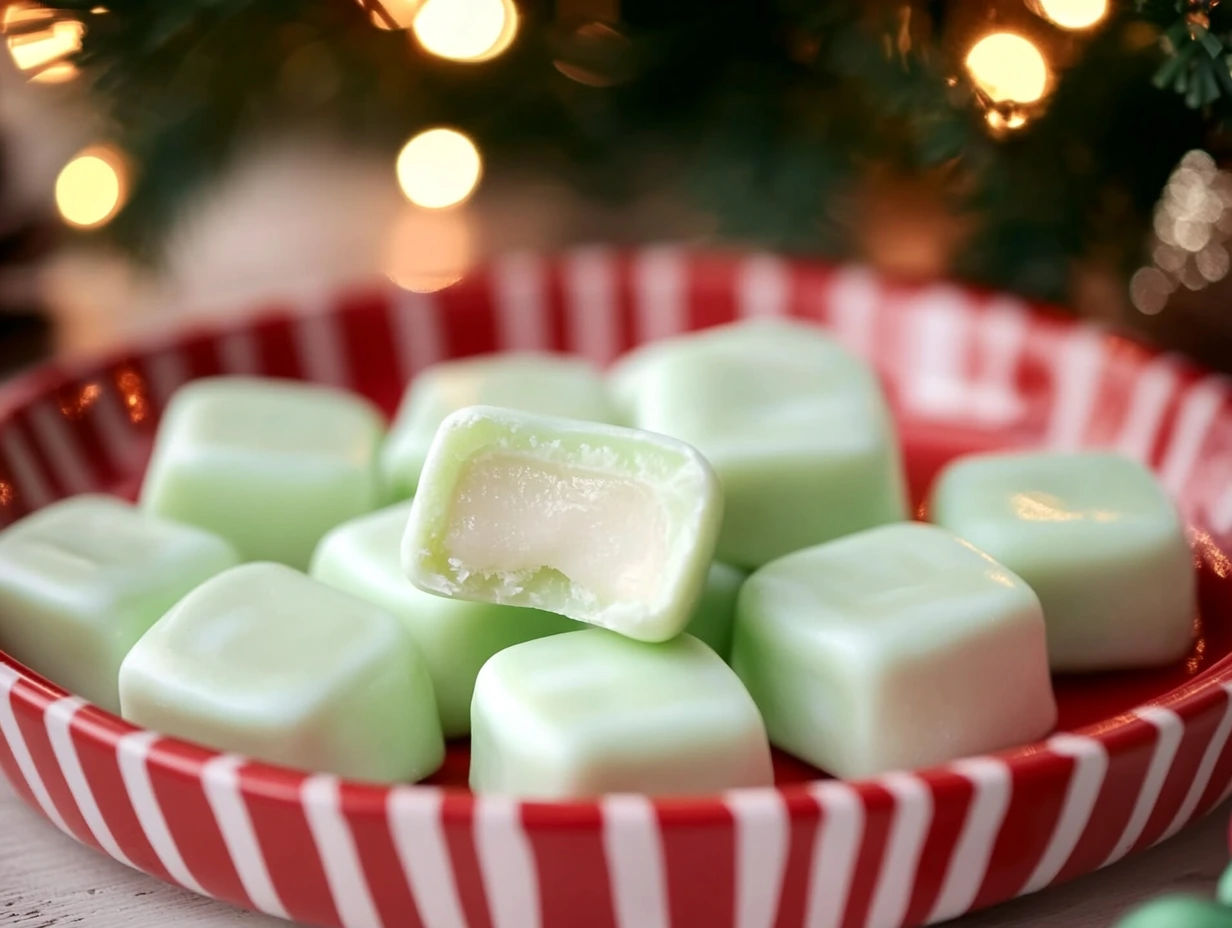
There’s just something special about butter mints, isn’t there? They’re those little pastel-colored candies that instantly transport you to a baby shower, a wedding reception, or maybe even your grandma’s candy dish. Creamy, sweet, and just the right amount of melt-in-your-mouth magic—they’re one of those old-fashioned goodies that never really go out of style. And guess what? They’re incredibly easy to make at home with just a handful of ingredients and a little bit of love.
I first made these butter mints on a whim for a bridal shower I was helping plan. I wanted something a little old-school, but still charming and pretty enough to sit alongside fancier desserts. I ended up loving the process so much that I started making them for holidays, birthday parties, and sometimes just because I wanted a little sweet something to nibble on after dinner.
What I love most about this recipe is how customizable it is. Want them soft pink with a hint of peppermint? Go for it. Lemon yellow with almond extract? Delicious. You can truly make these your own, whether you’re matching a party theme or just experimenting with flavors in the kitchen. And they’re so cute! Candy molds and tiny cookie cutters take them from simple to stunning without much extra effort.
Let’s dive in and get started on these dreamy little butter mints.
Ingredients You’ll Need
Here’s everything you need to make a basic batch of homemade butter mints:
½ cup unsalted butter, softened
4 cups powdered sugar, plus extra for dusting
2–3 tablespoons heavy cream (or milk)
1 teaspoon vanilla extract (or your choice of flavor: peppermint, almond, lemon, etc.)
Food coloring (optional, but great for customizing)
Optional Tools:
Candy molds
Parchment paper
Small cookie cutters
STEP 1: Prep Your Surface and Tools
Start by lightly dusting your work surface with powdered sugar. This helps keep the dough from sticking once it’s mixed. Lay out some parchment paper for your finished mints, and if you’re using candy molds or cookie cutters, have those ready to go too. It’s a simple step, but a little prep now makes things so much easier later on.
STEP 2: Cream the Butter and Sugar
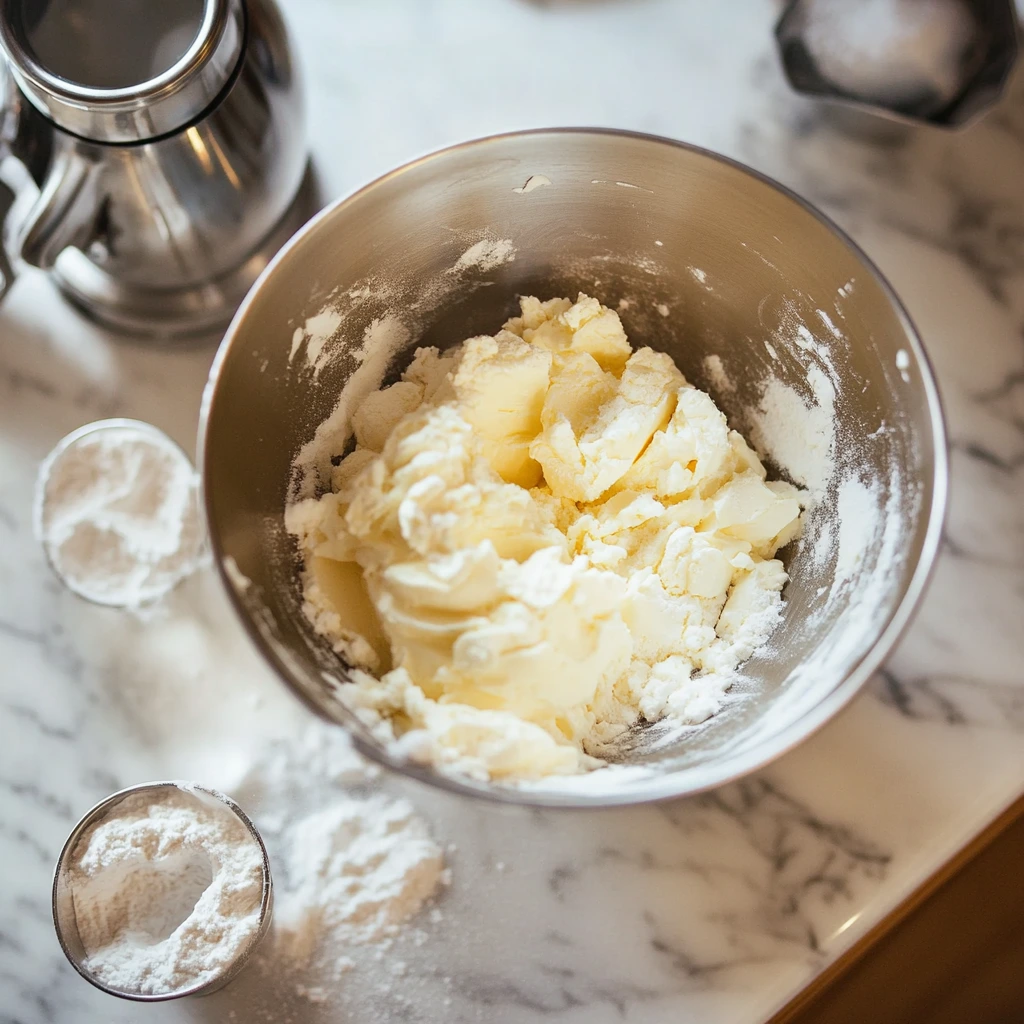
In a large mixing bowl, beat the softened butter until it’s smooth and creamy. You want that velvety texture before adding the sugar. Gradually add the powdered sugar, mixing on low speed at first so you don’t end up in a sugar cloud. Once it starts coming together, turn up the speed and beat until the mixture is light and fluffy. Don’t rush this step—creaming the butter and sugar properly is what gives your mints that signature melt-in-your-mouth texture.
STEP 3: Add Cream and Flavoring
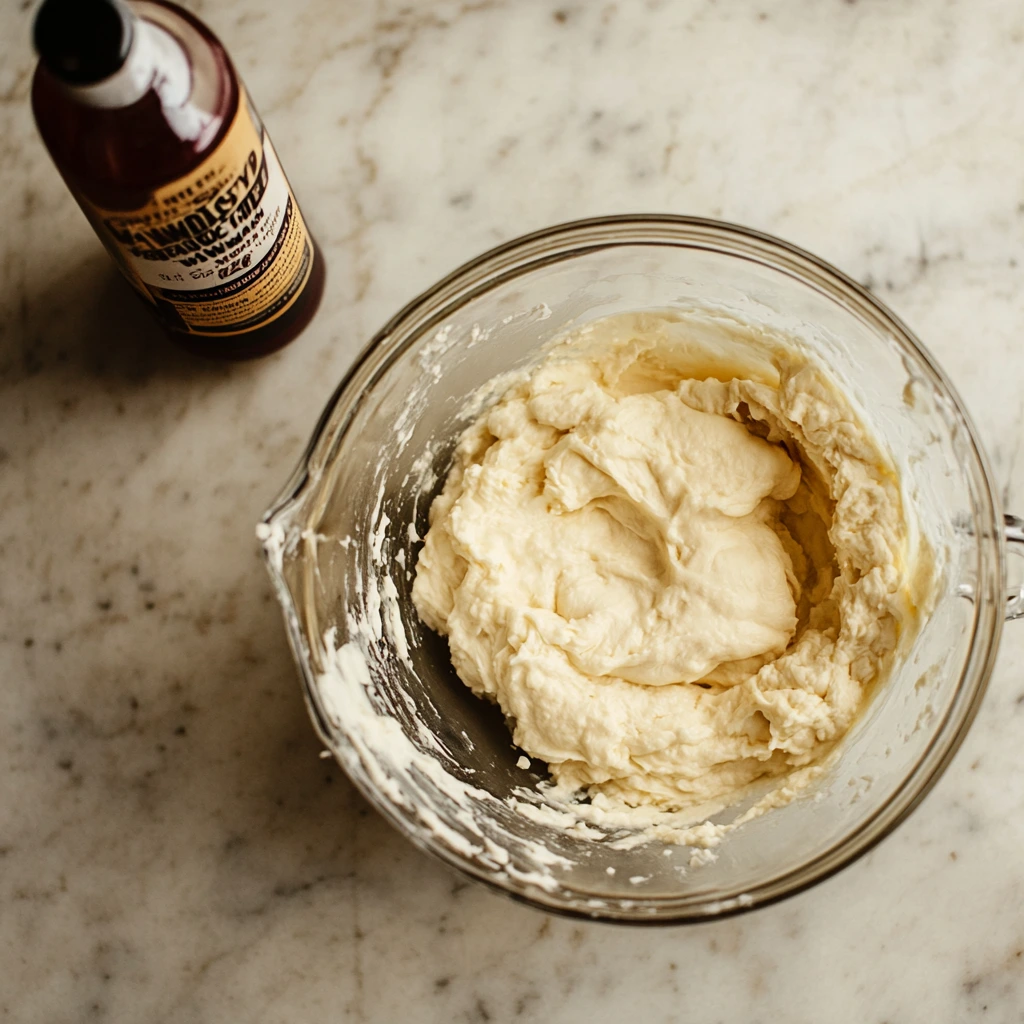
Now it’s time to add a little richness and flavor. Pour in 2 tablespoons of heavy cream and the vanilla extract (or whichever extract you’re using). Mix until everything comes together into a smooth, pliable dough. If your dough feels too dry or crumbly, just add more cream—but go slowly, adding 1 teaspoon at a time. You’re aiming for a texture that’s similar to soft playdough: easy to shape, but not sticky.
STEP 4: Add Color (Optional, But Fun!)
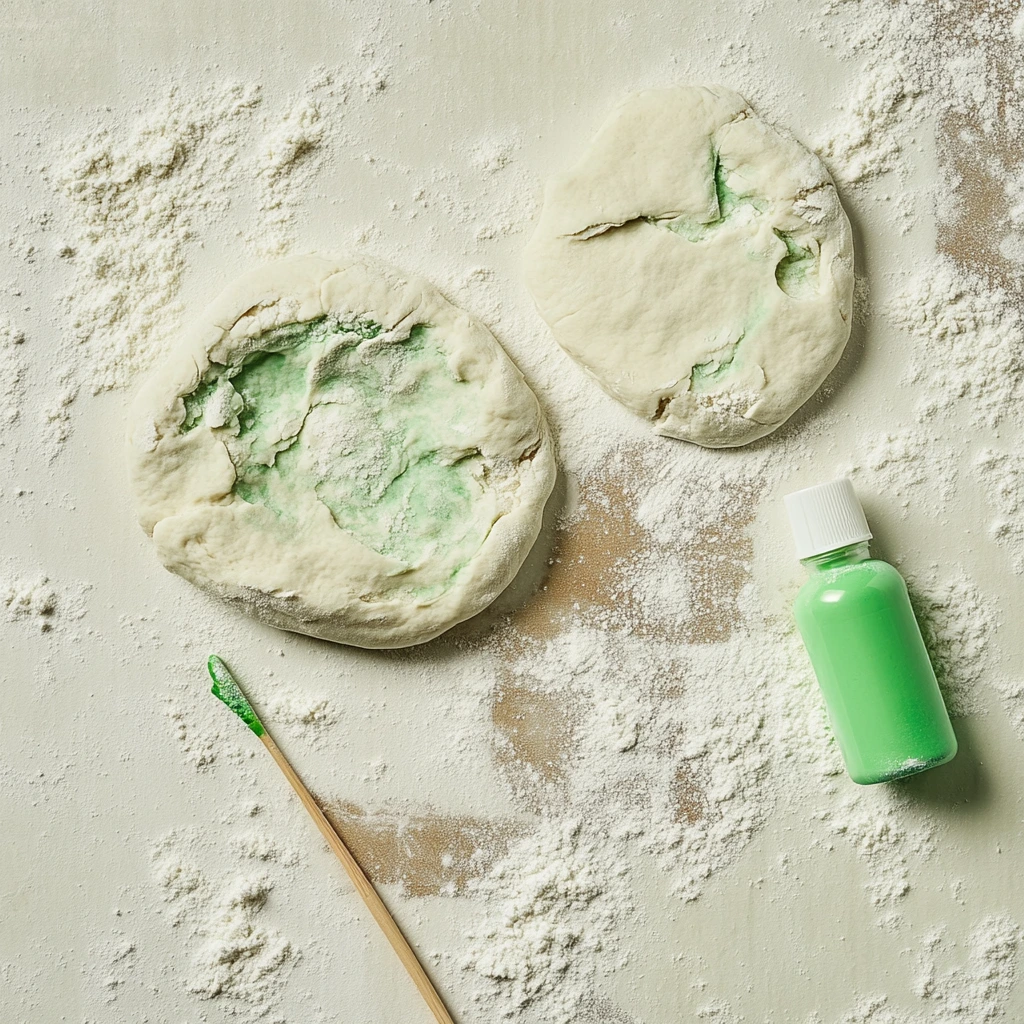
If you want to use different colors or flavors, divide your dough into separate portions. Add a few drops of food coloring to each, and knead until the color is evenly distributed. It might take a minute or two, but the dough will soften slightly as you work it, making it easier to blend in the color.
This is the fun part, especially if you’re prepping for a themed event—think pink and blue for a baby shower, red and green for the holidays, or pastel shades for Easter. Or just pick your favorite colors and go wild!
How to Shape, Set, and Store Your Homemade Butter Mints
Now that you’ve got your dough all mixed and colored, it’s time to start shaping these little mints into their final form. This part is simple, but it’s where you get to be creative and really make them your own. Whether you want perfectly uniform mints from candy molds or cute little shapes from tiny cookie cutters, the sky’s the limit!
STEP 5: Shape Your Mints
You’ve got a few options here depending on the look you’re going for.
Roll into Balls or Logs:
If you’re going for a classic look, you can simply roll the dough into small balls. For an even more refined touch, roll them into tiny logs and then flatten them slightly with your fingers. These are super simple to make and perfect if you want to just get the mints ready fast!Candy Molds for Uniform Shapes:
If you’re looking for a polished, uniform design, candy molds are your best friend. Just press the dough into the molds, making sure it’s packed in well, and then gently pop the mints out once they’re set. These molds can be found in various shapes—hearts, stars, or even custom molds for holidays and special occasions.Use Cookie Cutters for Fun Shapes:
If you want to get a little fancy, roll your dough out into a thin sheet and use small cookie cutters to create adorable shapes. Think hearts for a wedding, stars for Christmas, or even just circles for something more minimalistic. The cookie cutter method is great for anyone who loves a homemade touch that’s both cute and customizable.
STEP 6: Let the Mints Rest and Firm Up
Once you’ve shaped all your mints, it’s time to let them set. Place your mints on a parchment-lined tray, ensuring they don’t touch each other. Now, here’s the key: You want them to firm up enough to hold their shape without becoming too hard.
You’ve got two options here:
Let them rest at room temperature for 1-2 hours—this is a slower method, but it works well if you have the time to spare.
Refrigerate them for 30 minutes—this is a quicker option if you need them ready to go faster. Just be sure to give them a few minutes to come to room temperature before serving so they soften slightly.
STEP 7: Store the Butter Mints
Now that your mints are perfectly firm, it’s time to store them! The best way to keep them fresh is in an airtight container. If you need to stack them, be sure to place parchment paper between the layers so they don’t stick together. Stored this way, they’ll stay fresh for up to 2 weeks—though I doubt they’ll last that long once you start snacking on them!
One important note: Butter mints are best enjoyed slightly chilled or at room temperature. If you store them in the fridge, let them warm up just a little before serving. The soft, creamy texture really shines at room temp.
Tips for Perfect Butter Mints
Experiment with Flavors:
While vanilla is a classic, this recipe is so versatile. Try almond extract, peppermint, lemon, or even orange! You can mix and match flavors and colors to suit the occasion or your personal taste.Get Creative with Color:
Don’t be afraid to play with color. You can make your mints pastel for a soft look, or bright for a fun, festive vibe. The food coloring can also be combined in layers or marbled for a cool effect!Perfect Your Texture:
If your dough feels too sticky to work with, just add a little more powdered sugar. If it feels too dry, add just a touch more cream to get the right consistency. The dough should be smooth, pliable, and easy to shape without sticking to your hands.Make Them for Special Occasions:
These butter mints are perfect for weddings, baby showers, birthdays, or even as a sweet gift for someone special. Wrap them up in a small bag with a cute ribbon or place them in little boxes to create an extra special touch.
FAQ: All Your Butter Mint Questions Answered
Making butter mints is pretty straightforward, but I know that sometimes little things can pop up while you’re in the kitchen. Don’t worry, though—I’ve got you covered with answers to some of the most common questions about this recipe. Whether you’re wondering about texture, flavor variations, or storage, you’ll find all the info you need right here.
STEP 1: How do I know if my dough is the right consistency?
The dough for butter mints should be smooth and pliable, similar to soft playdough. If it feels sticky and clings to your hands, you may need to add a little more powdered sugar. If it’s too dry or crumbly and won’t hold its shape, add a teaspoon of heavy cream at a time until it’s more workable. The ideal texture is soft enough to shape easily but firm enough to hold its form once it’s molded or rolled.
STEP 2: Can I make these mints in advance?
Yes! In fact, these mints store really well. Once you’ve shaped them, you can either let them firm up at room temperature or speed up the process by refrigerating them for about 30 minutes. Once they’re set, store them in an airtight container for up to 2 weeks. If you’re planning for a special occasion, you can even make them a few days ahead of time and keep them in the fridge until you’re ready to serve.
STEP 3: Can I use a different kind of butter?
I highly recommend using unsalted butter for this recipe since it allows you to control the sweetness of the mints better. If you only have salted butter on hand, you can still use it, but I’d suggest cutting back on the amount of extra salt you may add to the dough, as the salted butter will already provide some of that flavor. Just keep in mind that it might change the taste slightly.
STEP 4: What if I don’t have candy molds or cookie cutters?
No candy molds or cookie cutters? No problem! You can simply roll the dough into small balls, logs, or even create a rustic look by pinching off small pieces of dough and shaping them by hand. There’s no need for anything fancy—sometimes the homemade look is the best part! If you’re looking for a more polished result, try pressing the dough into an ice cube tray to create tiny, uniform shapes.
STEP 5: Can I change the flavor of these butter mints?
Absolutely! This recipe is incredibly versatile. Instead of vanilla extract, try using other flavorings like peppermint, almond, lemon, or even orange. You can also experiment with combinations, like peppermint and chocolate or almond and cherry, to create your own signature butter mints. Just be sure to add the flavoring gradually, tasting as you go, to avoid overpowering the dough.
STEP 6: Can I make these mints dairy-free or vegan?
Yes, with a few swaps, you can make these butter mints dairy-free or vegan! To replace the butter, you can use a plant-based butter or margarine. For the cream, opt for a non-dairy version like coconut cream or almond milk. Keep in mind that the texture might be slightly different, but the mints will still turn out delicious and creamy!
STEP 7: How can I make these mints more festive for a special occasion?
Great question! There are so many fun ways to make butter mints more festive:
Color: Use food coloring to match the theme of your event. You can also create ombre effects by adding more food coloring in stages.
Shape: Use seasonal cookie cutters (think hearts for Valentine’s Day, stars for Christmas, or pumpkins for Halloween).
Flavor: Swap out the vanilla for peppermint during the holidays, or add a hint of lemon for a springtime treat.
Presentation: Package them in pretty little bags or boxes, tied with ribbon. Or use parchment paper to create a layered look if you’re storing them in a container.
Conclusion: Time to Enjoy Your Homemade Butter Mints!
I hope this guide has helped you feel confident in making your very own homemade butter mints. Whether you’re crafting them for a special event or simply indulging in a sweet homemade treat, these mints are sure to impress. Their soft, creamy texture and customizable flavors make them a perfect addition to any celebration—or even as a thoughtful homemade gift.
So, what are you waiting for? Grab your ingredients, get creative with colors and flavors, and start rolling out those delicious little mints. I’d love to hear how yours turn out, so be sure to comment below with any variations you tried or your favorite flavor combos. And remember, these mints are meant to be fun and simple, so don’t be afraid to make them your own!
Happy mint-making, and enjoy the sweet rewards!
Print
Homemade Butter Mints
- Author: Andrew Recipes
Description
Creamy, melt-in-your-mouth butter mints are a nostalgic treat that never go out of style. With just a handful of ingredients, you can whip up a batch of these sweet little bites that are perfect for weddings, holidays, parties, or just a pretty addition to your candy dish. Customize the colors and flavors to match any occasion or mood.
Ingredients
For the Mints
½ cup unsalted butter, softened
4 cups powdered sugar, plus extra for dusting
2–3 tablespoons heavy cream (or milk)
1 teaspoon vanilla extract (or peppermint, almond, lemon, etc.)
Food coloring (optional)
Optional Tools
Candy molds
Parchment paper
Small cookie cutters
Instructions
1️⃣ Lightly dust your work surface with powdered sugar to prevent sticking. Set out parchment paper, candy molds, or cutters if using.
2️⃣ In a large mixing bowl, beat the softened butter until creamy. Gradually add the powdered sugar, mixing on low speed to combine, then beating until light and fluffy.
3️⃣ Add 2 tablespoons of heavy cream and the vanilla extract. Mix until the dough is smooth and pliable. If it feels too dry or crumbly, add more cream, one teaspoon at a time.
4️⃣ Divide the dough into portions if using multiple colors or flavors. Add a few drops of food coloring and knead each portion until evenly tinted.
5️⃣ Shape the mints as desired. Roll by hand into balls or logs and flatten slightly. Use candy molds for uniform designs or roll the dough into thin sheets and cut with small cookie cutters.
6️⃣ Place the shaped mints on a parchment-lined tray. Let them rest at room temperature for 1 to 2 hours to firm up, or refrigerate for about 30 minutes for faster setting.
7️⃣ Once firm, store in an airtight container at room temperature for up to 2 weeks. Separate layers with parchment paper to prevent sticking.
Notes
Butter mints are incredibly versatile—switch up the extract flavors or mix and match colors to suit any celebration. If you’re gifting them, wrap a handful in cellophane or small boxes for a homemade touch. These are best served slightly chilled or at room temperature and are perfect for a sweet, creamy bite after a meal.
