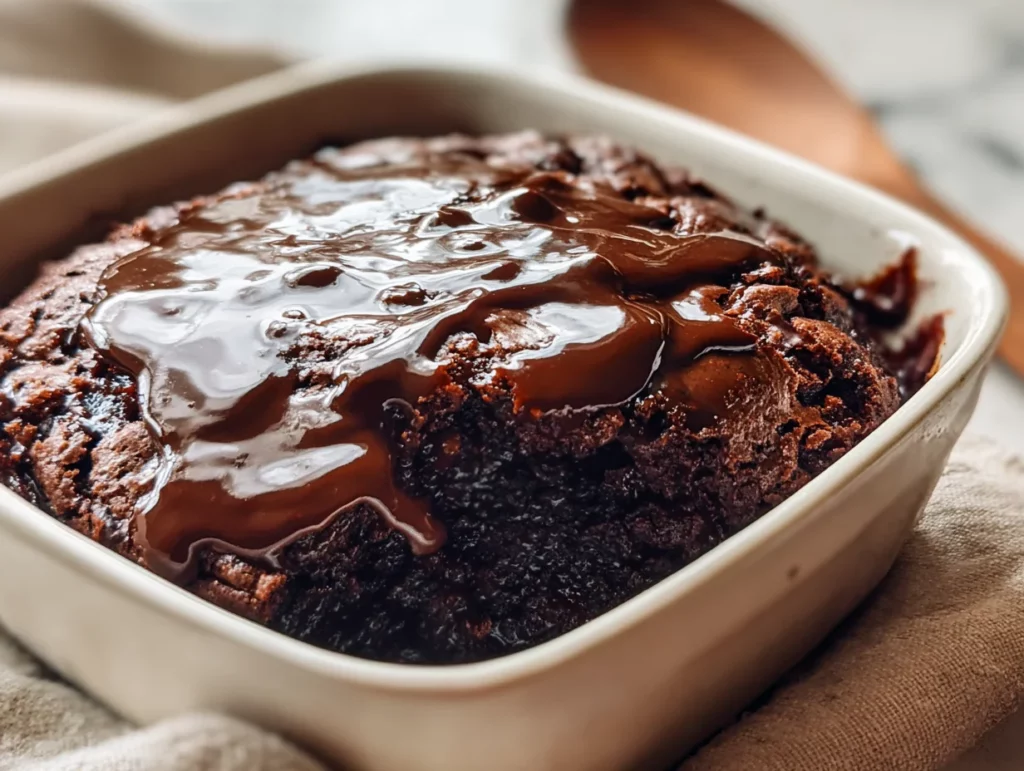
There’s just something magical about a dessert that does all the work for you in the oven—and that’s exactly what this Homemade Chocolate Cobbler does. Picture this: a soft, cake-like top with a rich, molten fudge sauce bubbling underneath. It’s old-fashioned, it’s comforting, and it’s the kind of dessert that takes you straight back to grandma’s kitchen… but with way less fuss.
I first came across this recipe in one of those handwritten cookbooks my mom kept tucked behind the flour canisters. You know the kind—splattered pages, dog-eared corners, and full of cozy nostalgia. The first time I made it, I thought, There’s no way this is going to turn out. You pour hot water over a cake batter without stirring? It felt all kinds of wrong—but trust me, it bakes up into pure chocolate heaven.
This is one of those desserts that’s perfect when you’re craving something warm and chocolatey but don’t want to spend hours in the kitchen. It comes together with pantry staples and delivers BIG chocolate flavor with very little effort. Plus, it practically begs for a scoop of vanilla ice cream on top.
Let’s get into how this dreamy dessert comes together.

Ingredients You’ll Need
For the batter:
1 cup all-purpose flour
¾ cup granulated sugar
2 tablespoons unsweetened cocoa powder
2 teaspoons baking powder
½ teaspoon salt
½ cup milk
⅓ cup melted butter
1 ½ teaspoons vanilla extract
For the topping:
½ cup granulated sugar
½ cup brown sugar
¼ cup unsweetened cocoa powder
1 ¼ cups hot water
This recipe makes the perfect amount for an 8-inch square baking dish, making it ideal for a weeknight dessert or a small gathering.
STEP 1: PREP YOUR PAN & PREHEAT
Go ahead and preheat your oven to 350°F (175°C). Lightly grease an 8-inch square baking dish—I like to use a little butter for this step because it adds a hint of richness, but nonstick spray works too. Set it aside while you make the batter.
STEP 2: MAKE THE BATTER
In a medium mixing bowl, whisk together your dry ingredients:
1 cup of all-purpose flour
¾ cup of granulated sugar
2 tablespoons of cocoa powder
2 teaspoons baking powder
½ teaspoon salt
Now, stir in your wet ingredients:
½ cup milk
⅓ cup melted butter
1 ½ teaspoons vanilla extract
Mix everything together until the batter is smooth and no dry patches remain. Don’t worry if it looks thick—it’s supposed to be! Pour the batter into your greased baking dish and smooth it out with a spatula so it’s evenly spread.
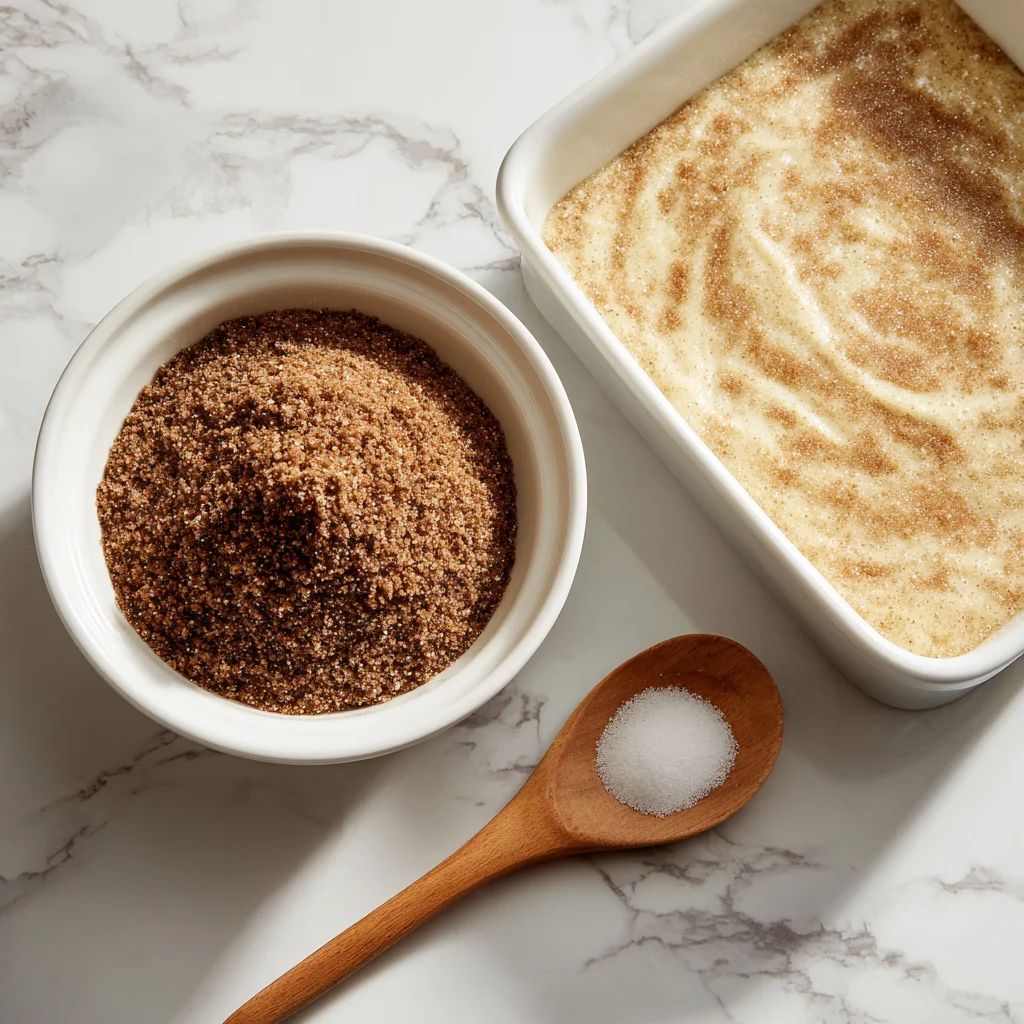
STEP 3: ADD THE SUGAR-COCOA TOPPING
In a separate small bowl, combine the ½ cup granulated sugar, ½ cup brown sugar, and ¼ cup cocoa powder. This is the magical layer that’s going to help form that decadent fudge sauce underneath the cake.
Evenly sprinkle this dry topping mixture over the batter. Try to distribute it as evenly as possible, but don’t stress too much—this dessert is very forgiving.
STEP 4: POUR ON THE HOT WATER (AND TRUST THE PROCESS!)
Here’s where things get interesting—and if it’s your first time making this, you might do a double take.
Carefully pour 1¼ cups of hot water over the entire top of the dish. DO NOT STIR. I repeat—don’t mix it in! I know it feels a little weird just letting the water sit on top, but this step is crucial. As it bakes, the water sinks and turns into that luscious, chocolate sauce we’re after.
At this point, your dish might look like a mess, but trust me—it bakes up into something amazing.
How to Bake and Serve the Perfect Homemade Chocolate Cobbler
Alright, now that your cobbler is assembled and the hot water is poured over that sugary cocoa topping (without stirring!), it’s time to bake this beauty into the ultimate cozy dessert. This part of the process is where the real magic happens. The batter rises to the top and forms a tender, cake-like layer, while the cocoa-sugar mixture and water sink down and bubble into a rich, molten chocolate sauce.
This is one of those recipes where the oven does the heavy lifting—you just have to be patient and let it do its thing. And trust me, the smell filling your kitchen while it bakes? Completely worth the wait.
STEP 5: BAKE IT TO PERFECTION
Slide your dish into the preheated 350°F (175°C) oven and bake for 35 to 40 minutes. You’ll know it’s ready when the top looks firm and cake-like, and the edges start to pull slightly away from the pan. If you gently press the top, it should spring back just a bit—kind of like a brownie.
You won’t see the gooey chocolate sauce until you scoop into it, so don’t worry if it looks like just a chocolate cake from the outside. The fudge is hiding underneath, just waiting to be discovered.
Pro Tip: If your oven tends to run hot or cold, you might want to start checking at the 33-minute mark. You want the center to be set, but still moist.
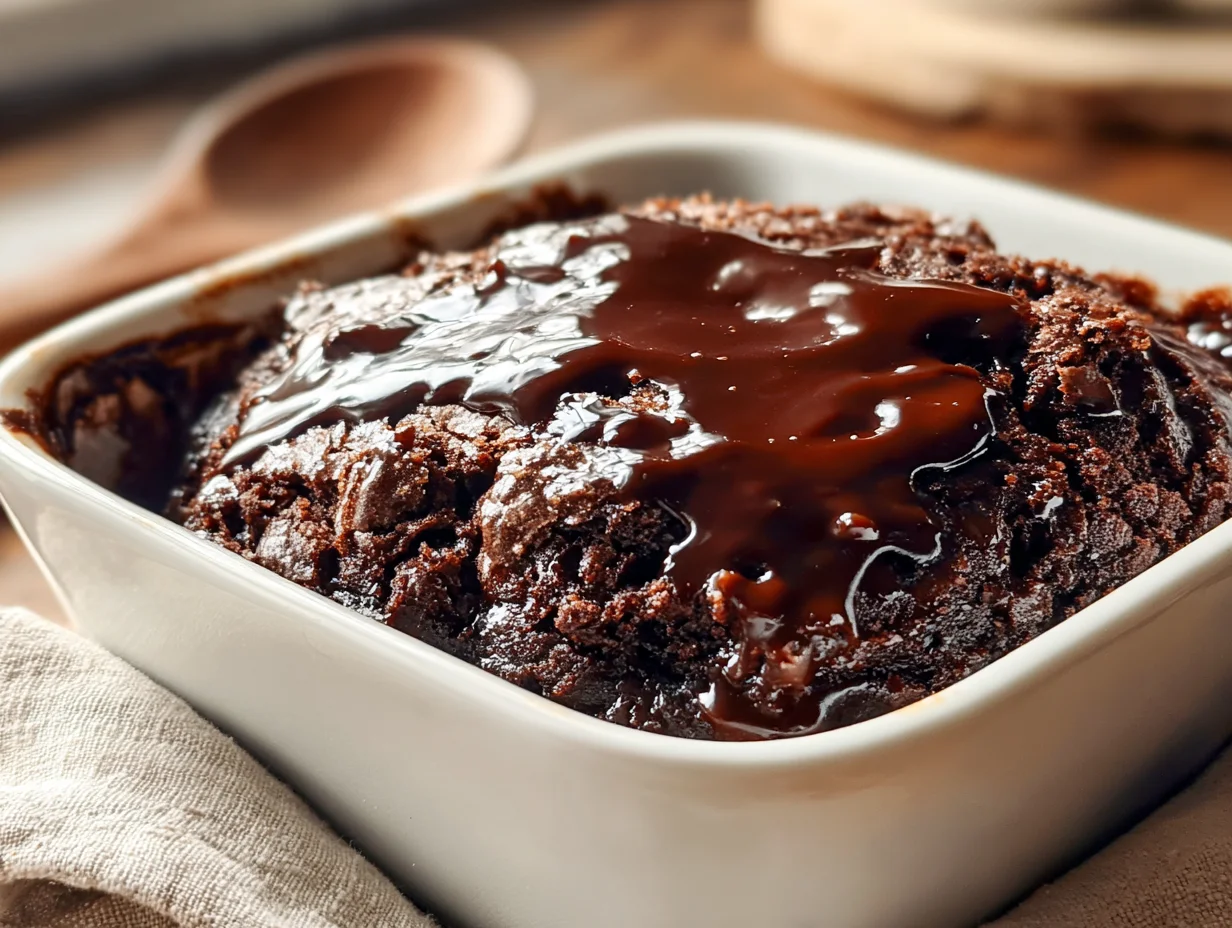
STEP 6: COOL SLIGHTLY BEFORE SERVING
This is the hardest part: once it’s out of the oven, let the cobbler sit for 10 to 15 minutes. I know—it smells incredible and you want to dive right in. But allowing it to rest gives the chocolate sauce time to thicken just a little, so it’s the perfect consistency when you serve it.
You’ll still get that gooey, molten center, but it won’t be runny or overly thin. It’s worth the wait.
SERVING SUGGESTIONS: MAKE IT UNFORGETTABLE
Once it’s cooled slightly, grab a spoon (or an ice cream scoop) and serve it up warm in bowls. Here are a few of my favorite pairings:
Vanilla ice cream: This is the classic combo for a reason. The hot cobbler melts the ice cream just enough, creating that dreamy hot-and-cold contrast.
Whipped cream: A lighter option that still adds a touch of richness.
Chopped nuts: If you want some crunch, sprinkle on toasted pecans or walnuts.
Fresh berries: Raspberries or strawberries add a pop of brightness and color.
And honestly? It’s so good you can totally eat it plain. That rich chocolate flavor speaks for itself.
TIPS & TRICKS FOR HOMEMADE CHOCOLATE COBBLER SUCCESS
Let’s go over a few quick tips to make sure your cobbler turns out perfectly every time:
Use real cocoa powder: Unsweetened, high-quality cocoa powder makes all the difference in depth of flavor. You don’t need anything fancy—just make sure it’s not Dutch-processed for this recipe.
Don’t skip the resting time: It’s tempting to dig in right away, but the sauce needs that cooling period to thicken up properly.
Stick with the layering technique: Remember, once the topping and water go on, you should not stir. This step is key to creating those signature layers of cake and sauce.
Double it for a crowd: This recipe easily doubles—just use a 9×13-inch baking dish instead of an 8×8, and adjust baking time as needed (usually closer to 45 minutes).
Want to enhance the chocolate flavor? Stir ½ teaspoon of espresso powder into the dry ingredients of the batter. It won’t taste like coffee—it just boosts the chocolate notes.
VARIATIONS TO TRY
The classic version is delicious as-is, but if you’re feeling creative, here are a few fun variations:
Add chocolate chips: Sprinkle a handful over the batter before adding the topping for extra gooey bites.
Nutella swirl: Drop a few spoonfuls of Nutella into the batter and swirl it gently before baking.
Spiced chocolate: Add a pinch of cinnamon or cayenne pepper to the dry ingredients for a Mexican hot chocolate twist.
Peanut butter version: Swirl a couple tablespoons of peanut butter into the batter before baking. It melts beautifully and adds a salty-sweet flavor.
Homemade Chocolate Cobbler: FAQs and Final Thoughts
You’ve seen how simple it is to put this dessert together, and now that you’ve got it warm and gooey on your plate (preferably with a scoop of vanilla ice cream melting into all that chocolatey goodness), let’s go over a few common questions that pop up about this recipe. Whether you’re making it for the first time or looking to tweak it for next time, these quick answers will help you get it just right.
Frequently Asked Questions
Can I make chocolate cobbler ahead of time?
Yes, you can make it ahead—but it’s truly best served warm right out of the oven. If you need to prep in advance, you can mix the batter and topping separately and store them in airtight containers. When ready to bake, assemble as directed and add the hot water just before placing it in the oven.
What if my cobbler doesn’t have enough sauce?
If your cobbler seems a little dry or short on sauce, it may have baked too long or your oven runs hot. Next time, try reducing the bake time by 5 minutes or check it sooner. You can also add an extra ¼ cup of hot water before baking for more sauce.
Can I use Dutch-processed cocoa instead of natural cocoa?
It’s best to stick with natural unsweetened cocoa powder in this recipe. Dutch-processed cocoa is less acidic and may affect how the cake rises. The flavor is also slightly different—richer, but not quite as balanced in this particular recipe.
How do I store leftovers?
Store any leftovers in the refrigerator in an airtight container for up to 3 days. When reheating, microwave in 20–30 second intervals until warm. The sauce may thicken a bit as it sits, but it’ll still be delicious.
Can I freeze chocolate cobbler?
Technically, yes—but it’s not ideal. The texture of the sauce changes when frozen and reheated, and the cake layer can become a bit soggy. If you do freeze it, let it cool completely, then wrap tightly and store for up to 1 month. Reheat in the oven or microwave.
Why do I have to pour the water on top without stirring?
This is what gives chocolate cobbler its unique texture. The hot water melts the sugar topping and creates a rich sauce that sinks to the bottom while the cake layer bakes and rises to the top. Stirring would mix everything together and prevent the signature “sauce on the bottom” effect.
Can I use non-dairy milk and vegan butter?
Yes, you can substitute non-dairy milk (like almond, oat, or soy) and plant-based butter with good results. Just make sure the butter alternative is meant for baking and has a similar fat content.
Final Thoughts: Give This Old-Fashioned Dessert a Try
There’s something so satisfying about a dessert that’s both simple and a little bit magical, and this Homemade Chocolate Cobbler is exactly that. No fancy ingredients, no complicated steps—just a handful of pantry staples and a baking dish, and you get a warm, gooey, chocolate-lovers’ dream.
If you’re new to this kind of dessert, I encourage you to try it just once. It’s a crowd-pleaser for all ages, and it’s easy to double if you’ve got company coming. I love how it feels like a cozy, nostalgic treat, but with a touch of indulgence thanks to that rich sauce.
Print
Homemade Chocolate Cobbler
- Author: Andrew Recipes
Description
Homemade Chocolate Cobbler is a warm, gooey dessert that forms its own rich chocolate sauce as it bakes. With a soft, cake-like top and a molten fudge layer underneath, this old-fashioned treat is deeply satisfying and simple to make. Best served warm with a scoop of vanilla ice cream for contrast.
Ingredients
For the batter
1 cup all-purpose flour
¾ cup granulated sugar
2 tablespoons unsweetened cocoa powder
2 teaspoons baking powder
½ teaspoon salt
½ cup milk
⅓ cup melted butter
1 ½ teaspoons vanilla extract
For the topping
½ cup granulated sugar
½ cup brown sugar
¼ cup unsweetened cocoa powder
1 ¼ cups hot water
Instructions
1 Preheat the oven to 350°F (175°C). Lightly grease an 8-inch square baking dish.
2 In a mixing bowl, whisk together the flour, granulated sugar, cocoa powder, baking powder, and salt. Stir in the milk, melted butter, and vanilla extract until a smooth batter forms. Pour the batter into the prepared baking dish and spread evenly.
3 In a separate bowl, mix the granulated sugar, brown sugar, and cocoa powder for the topping. Sprinkle this mixture evenly over the batter in the baking dish.
4 Slowly pour the hot water over the top without stirring. The water will sit on top, but it will bake into a sauce beneath the cake.
5 Bake for 35 to 40 minutes, or until the center is set and the top is firm and cake-like. The bottom will remain molten and saucy.
6 Let the cobbler cool for 10 to 15 minutes before serving to allow the sauce to thicken slightly.
Notes
This dessert is best enjoyed warm to experience the contrast between the cakey top and the fudgy bottom. Don’t stir after adding the water—this step creates the signature layered texture. Serve with whipped cream or vanilla ice cream for extra indulgence. Leftovers can be reheated in the microwave, though the sauce may thicken more over time.

