If you’re anything like me, cinnamon rolls are a non-negotiable comfort food. There’s just something magical about a tray of warm, gooey rolls straight from the oven—especially when they’re filled with something extra special. And that’s where Biscoff cookie butter comes in.
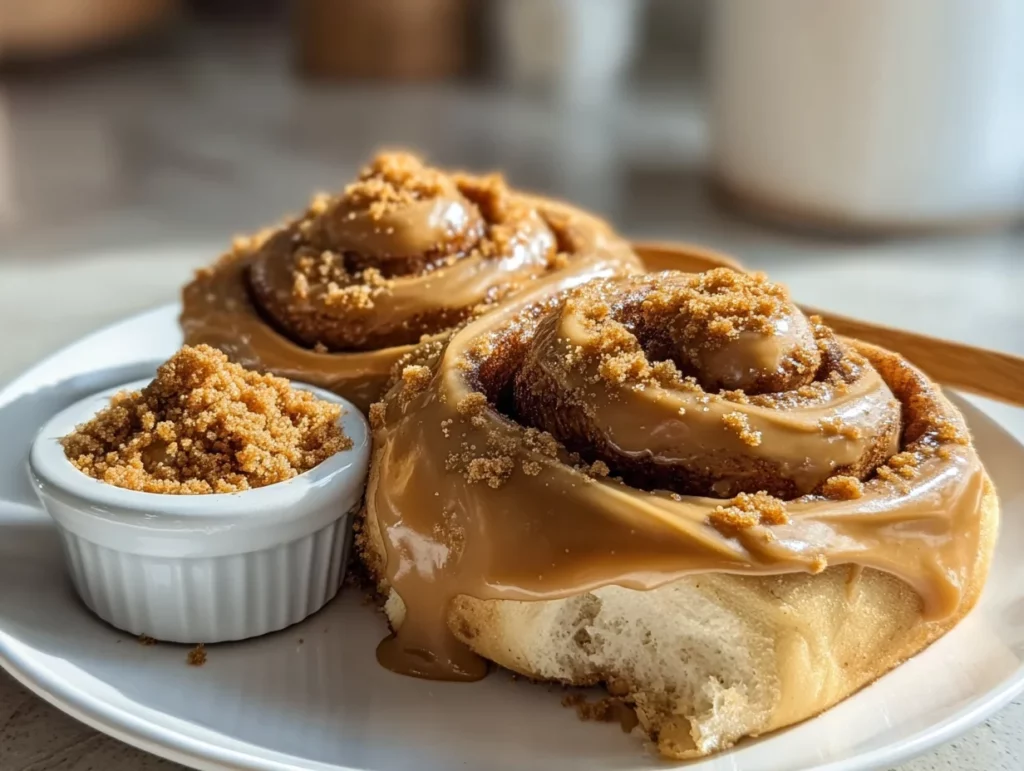
These Biscoff Cookie Butter Cinnamon Rolls are a decadent twist on the classic treat, and let me tell you—they’re next-level. Soft, fluffy dough wraps around a rich, spiced filling of cookie butter, brown sugar, and cinnamon, all topped with a creamy cookie butter glaze. The result? A warm, melt-in-your-mouth dessert (or breakfast!) that tastes like a bakery-level masterpiece but is totally doable at home.
I made these for a Saturday brunch with some friends recently, and not a single roll made it past noon. Everyone asked for the recipe, and now it’s officially on our permanent weekend rotation. Whether you’re a seasoned baker or just diving into the world of homemade dough, these rolls are easy to make and hard to mess up—with the kind of flavor that makes you want to eat more than one (or two… no judgment here).
So let’s dive into the magic of making these beauties from scratch. I promise, it’s easier than you think—and 100% worth the effort.
Ingredients You’ll Need
For the Dough
¾ cup warm milk (around 110°F)
2 ¼ tsp active dry yeast
¼ cup granulated sugar
1 egg plus 1 egg yolk
¼ cup unsalted butter, melted
3 cups all-purpose flour
½ tsp salt
For the Filling
½ cup Biscoff cookie butter
½ cup brown sugar, packed
1 tbsp ground cinnamon
2 tbsp unsalted butter, softened
For the Glaze
⅓ cup Biscoff cookie butter
2 tbsp cream cheese, softened
½ cup powdered sugar
2–3 tbsp milk (to adjust consistency)
STEP 1: Activate the Yeast
In a large mixing bowl—or the bowl of a stand mixer—combine the warm milk and active dry yeast. Let this mixture sit for 5 to 10 minutes until it becomes foamy. This is a great sign that your yeast is alive and ready to work its magic.
Once it’s foamy, add in the granulated sugar, the egg, egg yolk, and melted butter. Give it a good stir until everything is nicely combined.

STEP 2: Make the Dough
Now it’s time to bring the dough together. Add in the flour and salt, and mix until a dough forms. If you’re using a stand mixer, switch to the dough hook attachment and knead the dough for 8–10 minutes until it becomes smooth and elastic.
If the dough feels too sticky, don’t panic—just add a little more flour, one tablespoon at a time. You want the dough to be soft and slightly tacky, but not wet or too sticky to handle.
STEP 3: Let It Rise
Transfer the dough to a greased bowl, cover it with a clean towel or plastic wrap, and let it rise in a warm, draft-free spot. It should take about an hour to double in size.
Tip: If your kitchen tends to be chilly, you can place the bowl in a slightly warmed (but turned off) oven to help the dough rise faster.
STEP 4: Make the Filling
While the dough is rising, mix together the filling ingredients. In a small bowl, stir together the Biscoff cookie butter, brown sugar, cinnamon, and softened butter. You’ll end up with a sweet, spiced paste that’s super easy to spread.
This filling is what takes these cinnamon rolls to a whole new level—the cookie butter brings this buttery, caramelized flavor that pairs so well with the cinnamon. It’s rich without being too sweet, and gives every bite that extra wow factor.
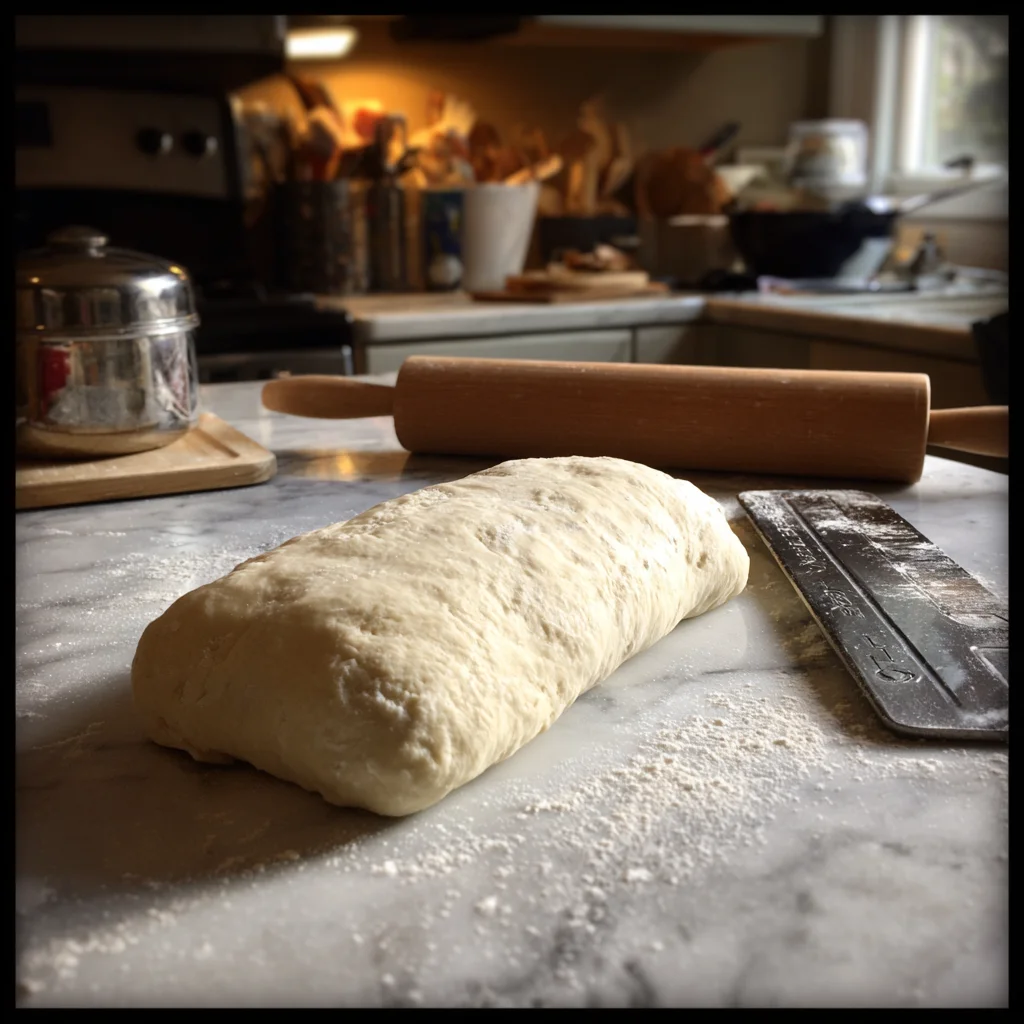
STEP 5: Roll and Fill the Dough
Once your dough has doubled in size, punch it down gently to release some of the air. Turn it out onto a floured surface and roll it into a large rectangle—about ¼ inch thick. Try to keep it as even as possible, but don’t stress about perfection.
Spread the cookie butter filling evenly over the dough, going almost all the way to the edges. The warmth from the dough helps the filling spread easily, and you’ll want to make sure every swirl is packed with that irresistible flavor.
Irresistible Biscoff Cookie Butter Cinnamon Rolls
Soft, sweet, and swirled with cookie butter magic—these rolls just keep getting better.
STEP 6: Roll It Up and Slice
Once the filling is spread evenly across your dough, it’s time to roll it up.
Starting from the long edge, roll the dough up tightly into a log. Try to keep the roll even as you go, but don’t stress too much—these rolls are very forgiving once they bake up.
Once you’ve got a tight log, use a sharp knife or unflavored dental floss (yes, really—it works wonders!) to slice the log into 9 to 12 even pieces. The number of rolls depends on how thick you like them. I usually aim for 9 slightly larger rolls because they come out tall and bakery-style, but 12 will give you a more standard size.
STEP 7: Second Rise
Arrange your rolls in a greased or parchment-lined 9×13-inch baking dish or large round pan, leaving just a little space between them so they have room to puff up.
Cover the pan loosely with plastic wrap or a clean towel, and let the rolls rise again for 30–45 minutes. They should look soft, puffy, and slightly bigger—this step is key to that light, fluffy texture.
Tip: If you’re prepping ahead, this is the point where you can refrigerate the unbaked rolls overnight. Just bring them to room temperature in the morning before baking.
STEP 8: Bake Until Golden
Preheat your oven to 350°F (175°C) while the rolls are finishing their second rise.
Once they’re ready, bake the rolls in the center of the oven for about 20 to 25 minutes, or until the tops are lightly golden and the centers are just cooked through. You don’t want to overbake them—part of their magic is that soft, gooey texture.
If you’re unsure, you can check the internal temperature with a thermometer—it should read around 190°F in the center of the rolls.
STEP 9: Make the Glaze
While the rolls are baking (and your kitchen smells absolutely amazing), it’s time to make the glaze.
In a medium bowl, whisk together:
⅓ cup Biscoff cookie butter
2 tbsp softened cream cheese
½ cup powdered sugar
2–3 tbsp milk, added gradually until the glaze is smooth and pourable
You can adjust the milk amount depending on how thick or thin you like your glaze. I prefer a drizzle that melts beautifully over the warm rolls, but if you like it thicker, just use a little less milk.
Bonus Tip: For extra indulgence, warm a little extra cookie butter and drizzle it on top of the glaze. It’s not necessary, but it is delicious.
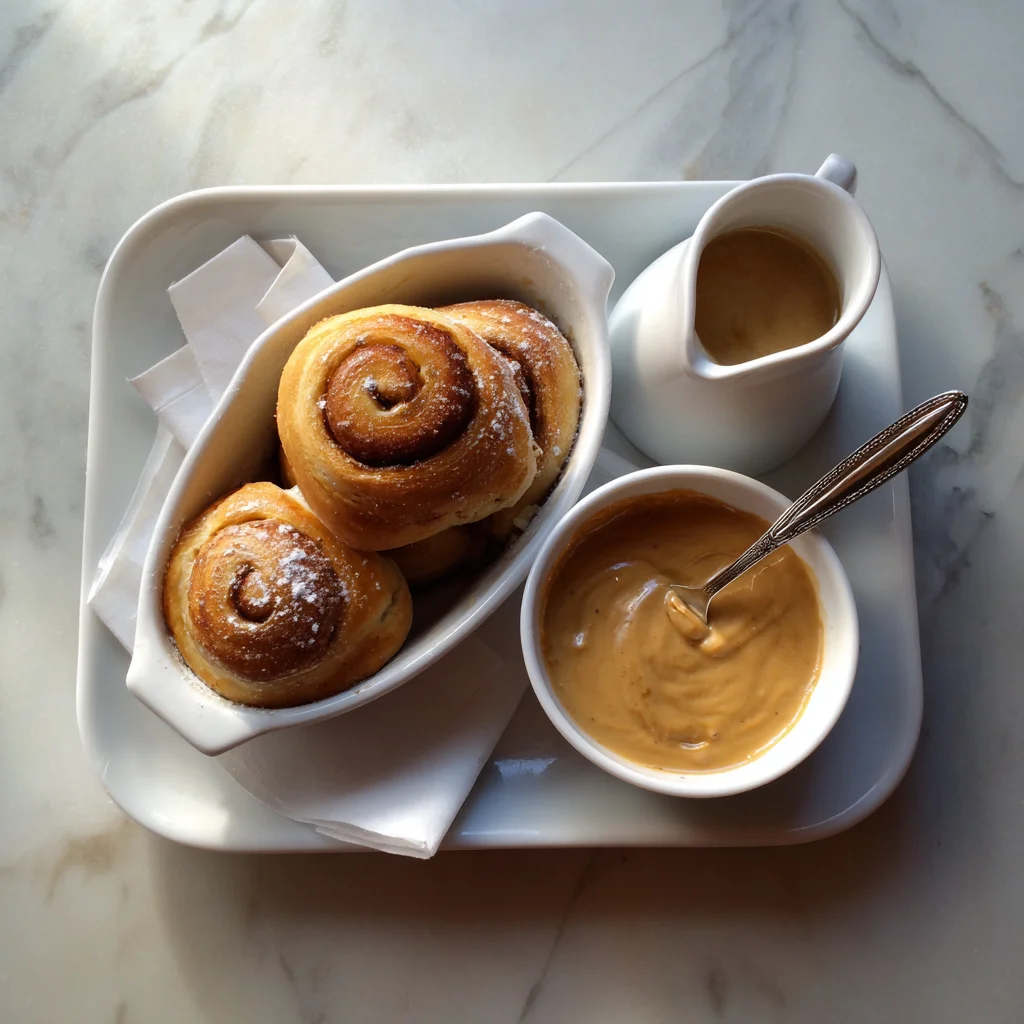
STEP 10: Glaze and Serve
As soon as the rolls are out of the oven, give them a few minutes to cool slightly—just enough that they won’t melt the glaze into a puddle.
Then, generously spoon or drizzle the glaze over the warm rolls. Let it sink into all those nooks and swirls.
Now comes the best part: serving them up while they’re still warm, soft, and dripping with glaze.
These are perfect for weekend brunch, a holiday breakfast, or even dessert. And yes, they reheat beautifully, so don’t be afraid to save a few (if you can resist eating them all at once).
Helpful Tips & Variations
Make-Ahead Option: Prepare the rolls up to the second rise, cover the pan, and refrigerate overnight. Let them come to room temp before baking the next morning.
Freezing: Baked rolls can be frozen (with or without glaze). Just wrap them tightly and freeze for up to 2 months. Reheat in the oven or microwave until soft and warm.
Add Crunch: For a little texture, sprinkle crushed Biscoff cookies over the glaze.
Dairy-Free Version: Use plant-based milk and vegan butter alternatives—the recipe holds up really well with these swaps.
Go Big: Want to impress? Bake the rolls in a round cake pan for a beautiful spiral presentation.
Irresistible Biscoff Cookie Butter Cinnamon Rolls
Let’s answer your most asked questions and wrap things up with some final thoughts.
Frequently Asked Questions
1. Can I use instant yeast instead of active dry yeast?
Yes! If you’re using instant yeast, you can skip the activation step. Just mix it directly into the dry ingredients, and then proceed as normal. The rise time may be a little quicker, so keep an eye on the dough.
2. How do I know when the dough has risen enough?
The dough should double in size during both the first and second rises. A simple test: gently press your finger into the dough—if the indentation slowly springs back, it’s ready.
3. My dough is too sticky—what should I do?
Don’t worry! Start by adding extra flour one tablespoon at a time. You want the dough to be soft and slightly tacky, but not so sticky that it clings to your hands or the bowl.
4. Can I make these cinnamon rolls ahead of time?
Absolutely. After slicing and placing the rolls in your baking dish, cover and refrigerate overnight. Let them come to room temperature for about 30–45 minutes before baking. This makes them perfect for holidays or special brunches.
5. What’s the best way to reheat leftover cinnamon rolls?
Reheat individual rolls in the microwave for about 20–30 seconds. To keep them moist, you can add a small splash of milk or water to the plate and cover the roll lightly with a damp paper towel. If reheating a whole pan, cover with foil and warm in the oven at 300°F for about 10–15 minutes.
6. Can I make this recipe dairy-free or vegan?
Yes! Use plant-based milk, vegan butter, and a dairy-free cream cheese substitute for the glaze. You’ll also need to swap the egg with a flax egg (1 tbsp ground flaxseed + 3 tbsp water). The texture might be slightly different, but still delicious.
7. Can I freeze the rolls before baking?
Yes, you can freeze them right after shaping. Place the sliced rolls in a parchment-lined dish and freeze until solid. Once frozen, transfer to a zip-top freezer bag. When ready to bake, let them thaw and rise completely before baking as directed.
Final Thoughts
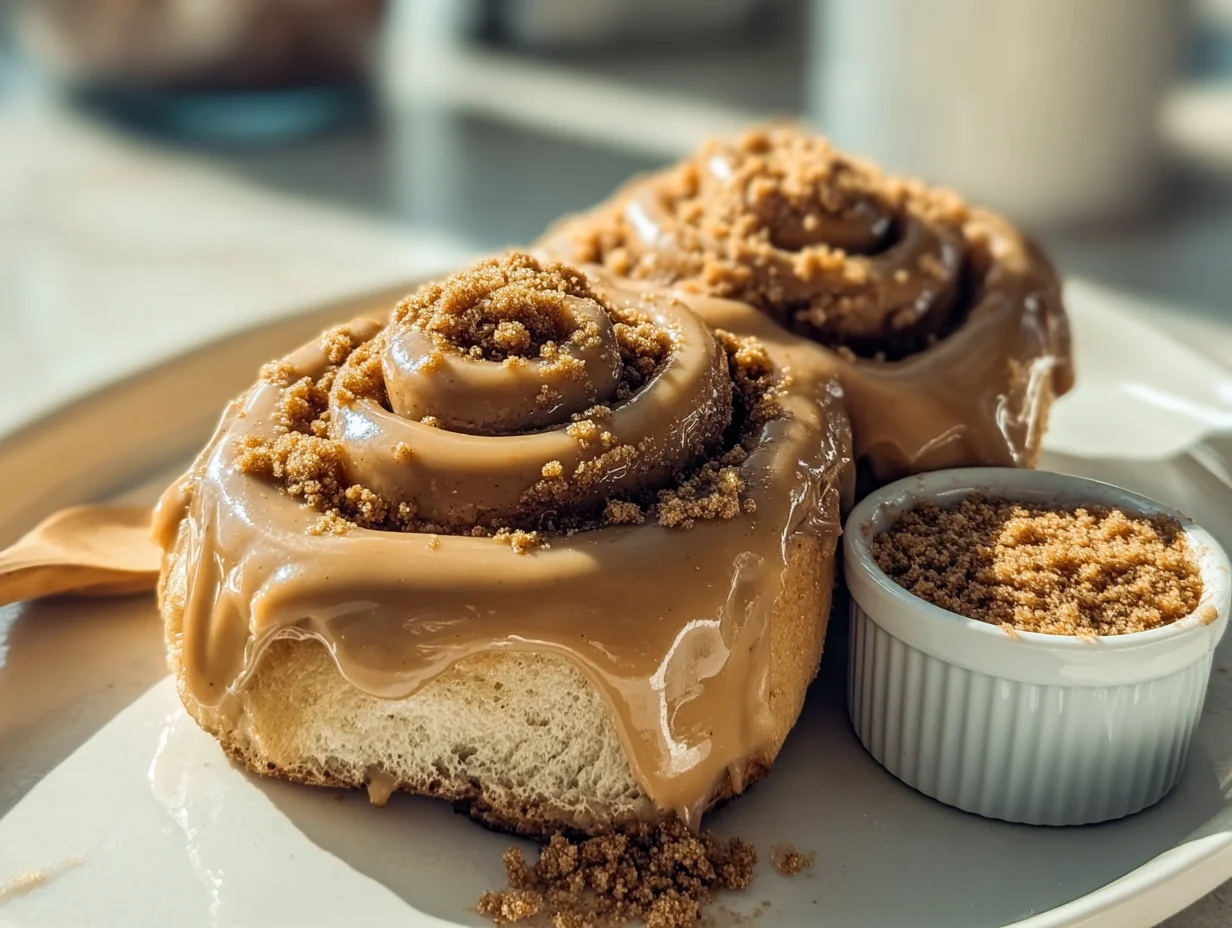
These Biscoff Cookie Butter Cinnamon Rolls are the kind of treat that feels both special and comforting—like something you’d find in a little artisan bakery, but made right in your own kitchen.
What I love most is how versatile they are. You can prep them the night before for an easy morning bake, freeze extras for future cravings, or dress them up with crushed Biscoff cookies or extra glaze for something truly decadent. They’re sweet, spiced, and full of that rich, caramelized cookie butter flavor that’s hard to resist.
Whether you’re baking for family, brunch with friends, or just a cozy weekend at home, these cinnamon rolls are always a hit. I hope you love them as much as we do!
If you give this recipe a try, I’d love to hear how it turned out for you. Leave a comment below with your favorite variation, or share a photo of your cinnamon rolls—because let’s be honest, they’re too pretty not to show off.
Print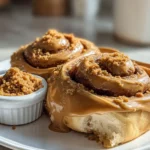
Irresistible Biscoff Cookie Butter Cinnamon Rolls
- Author: Andrew Recipes
Description
These Biscoff cookie butter cinnamon rolls are soft, fluffy, and swirled with a rich filling of cookie butter and brown sugar. Topped with a luscious cookie butter glaze, every bite melts in your mouth with warm cinnamon spice and that irresistible caramelized Biscoff flavor. Perfect for brunch, dessert, or a cozy weekend bake, they’re a unique twist on a classic favorite.
Ingredients
For the dough
¾ cup warm milk
2 ¼ tsp active dry yeast
¼ cup granulated sugar
1 egg plus 1 egg yolk
¼ cup unsalted butter, melted
3 cups all-purpose flour
½ tsp salt
For the filling
½ cup Biscoff cookie butter
½ cup brown sugar, packed
1 tbsp ground cinnamon
2 tbsp unsalted butter, softened
For the glaze
⅓ cup Biscoff cookie butter
2 tbsp cream cheese, softened
½ cup powdered sugar
2–3 tbsp milk, as needed
Instructions
In a large bowl or stand mixer, combine the warm milk and yeast. Let sit for 5-10 minutes until foamy. Add sugar, egg, egg yolk, and melted butter. Mix until combined.
Add flour and salt. Mix with a dough hook or by hand until the dough forms and becomes elastic, about 8-10 minutes. If the dough is too sticky, add a little more flour, 1 tablespoon at a time.
Place dough in a greased bowl, cover, and let rise in a warm spot for about 1 hour, or until doubled in size.
In a small bowl, mix together the cookie butter, brown sugar, cinnamon, and softened butter for the filling.
Once the dough has risen, roll it out into a large rectangle on a floured surface, about ¼ inch thick. Spread the filling evenly over the dough.
Roll the dough tightly into a log and cut into 9-12 rolls, depending on your preferred size. Place rolls in a greased or parchment-lined baking dish.
Cover and let the rolls rise for another 30-45 minutes until puffy.
Preheat the oven to 350°F and bake the rolls for 20-25 minutes, or until lightly golden on top.
While the rolls bake, make the glaze by whisking together cookie butter, cream cheese, powdered sugar, and milk until smooth and pourable.
Spread the glaze over warm rolls and serve fresh.
Notes
For extra indulgence, drizzle additional warmed cookie butter over the top before serving. These rolls can be made the night before and refrigerated after shaping—just bring them to room temperature before baking. They also freeze well and can be reheated for a soft, gooey texture every time.

