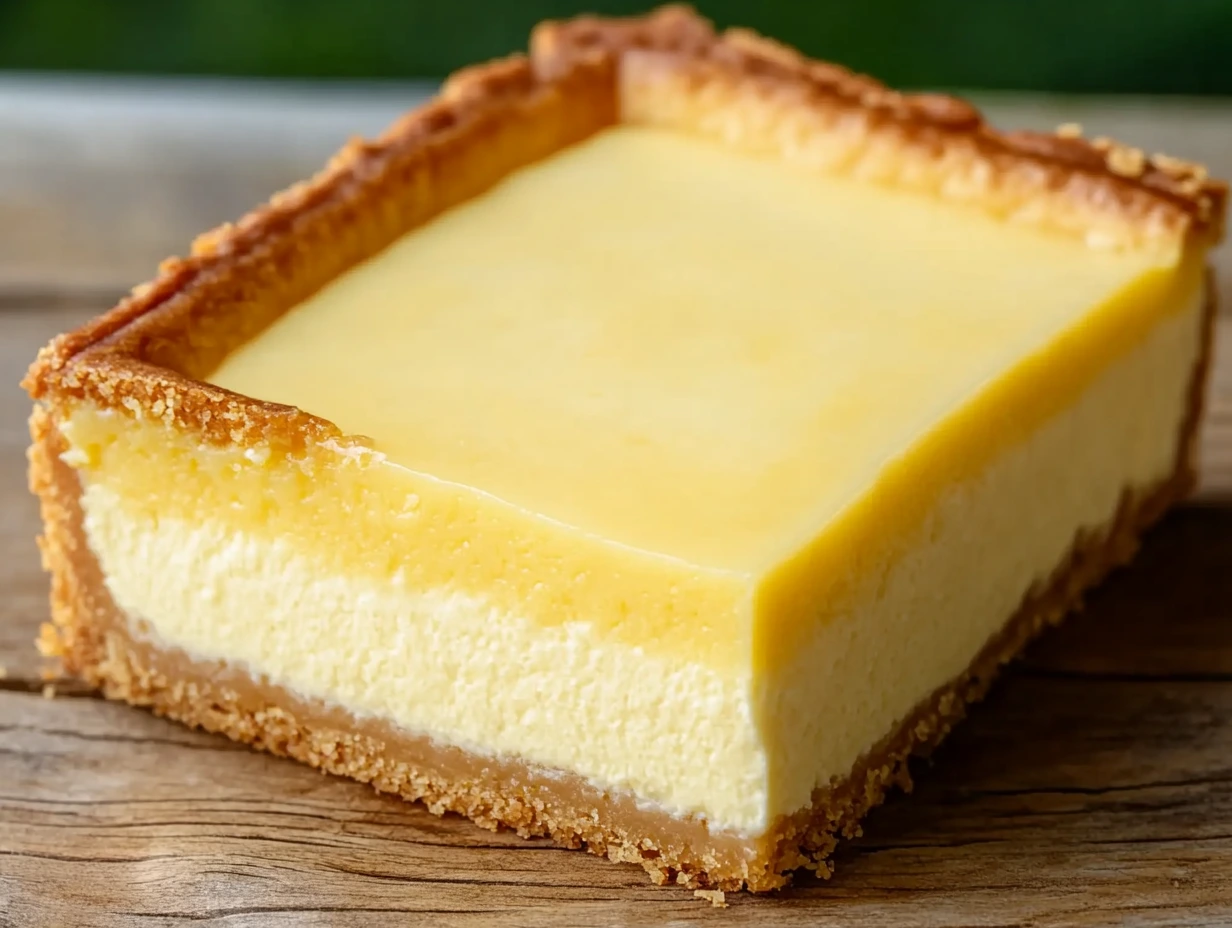
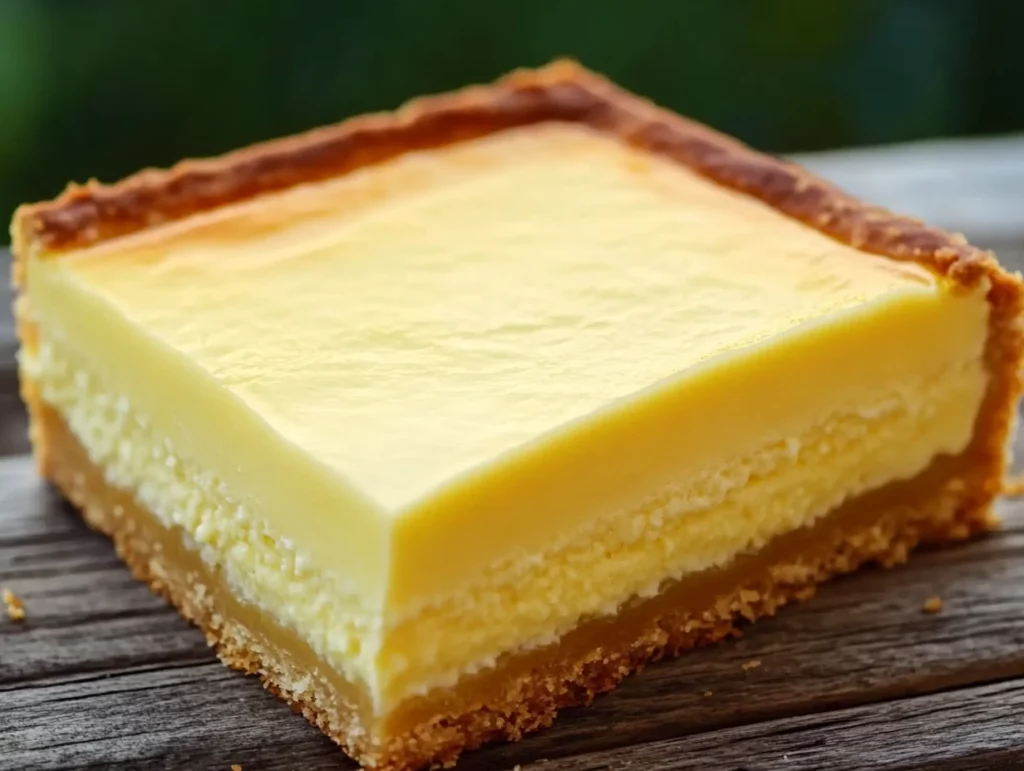
There’s something incredibly special about baking a dessert that’s steeped in tradition. Italian Grandma’s Cake—also lovingly known as Torta della Nonna—is one of those recipes that instantly transports you to a warm Italian kitchen, where the air is filled with the scent of vanilla and freshly baked pastry. This cake is all about comfort, simplicity, and those cozy family moments that you never forget.
The very first time I made this cake, I was trying to recreate something I had tasted years ago at a tiny trattoria in Florence. It was a chilly spring afternoon, and the slice of Torta della Nonna served with espresso felt like a hug from the inside out. Since then, it’s become a go-to dessert in our home, especially when I want to bring a little extra love to the table.
This cake brings together two layers of buttery pastry, a luscious vanilla-scented custard, and a topping of pine nuts and powdered sugar that adds just the right touch of texture and sweetness. Whether you’re making it for Sunday dinner or a special celebration, this one’s sure to impress—without requiring any fancy techniques.
Let’s dive into the first part of this classic Italian recipe and walk through each step so you can bring a little taste of nonna’s kitchen into your own home.
Ingredients You’ll Need
Serves 8–10
For the Pastry Dough:
2 cups all-purpose flour
1/2 cup granulated sugar
1/2 tsp salt
1/2 cup unsalted butter, cold and cubed
2 large egg yolks
1/4 cup whole milk (plus more if needed)
For the Custard Filling:
2 cups whole milk
1 vanilla bean (or 1 tsp vanilla extract)
4 large egg yolks
1/2 cup granulated sugar
3 tbsp cornstarch
2 tbsp unsalted butter
For Topping:
1/2 cup pine nuts
Powdered sugar, for dusting
Step 1: Make the Pastry Dough
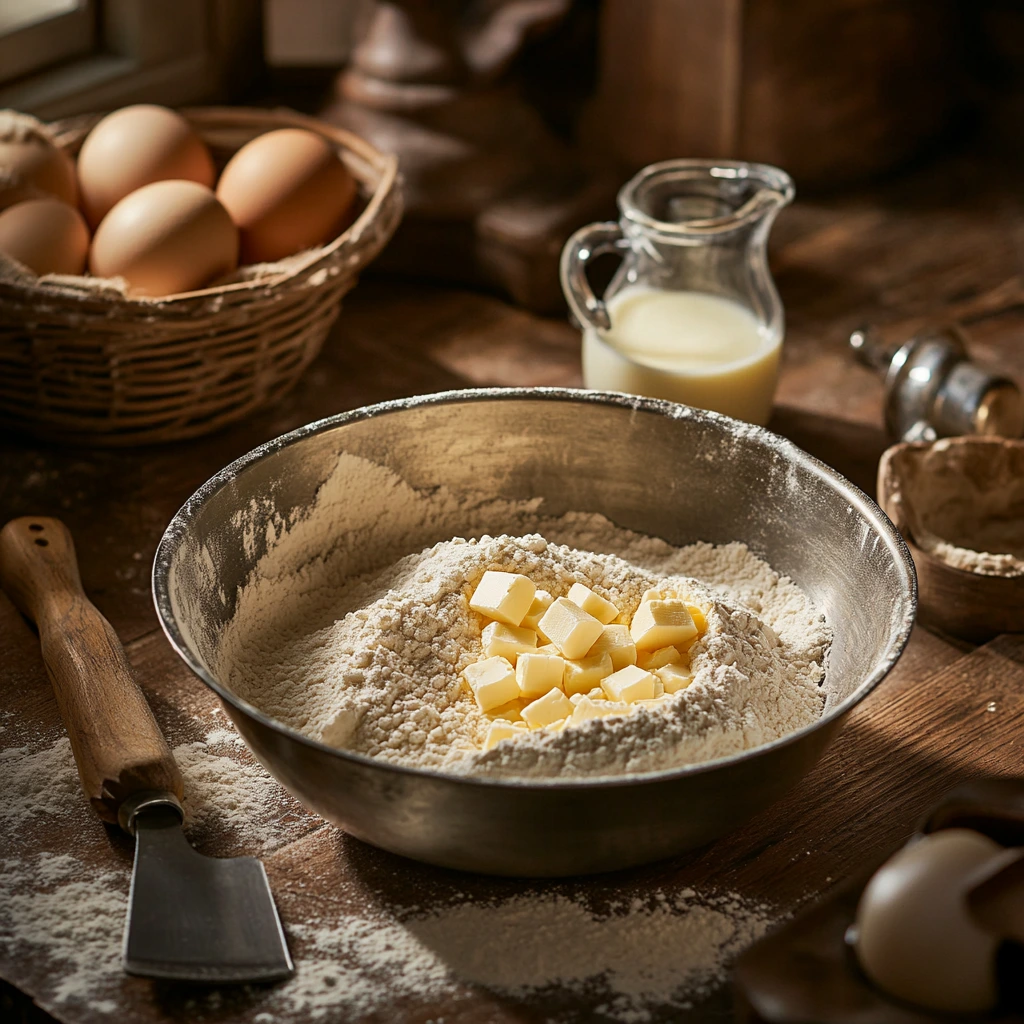
To start things off, we’re going to make a simple pastry dough that’s the perfect balance of tender and buttery. In a large mixing bowl, whisk together the flour, sugar, and salt. Then, using a pastry cutter (or your fingers if you’re old-school like me), cut in the cold, cubed butter until the mixture starts to look like coarse crumbs—think crumbly and sandy with a few pea-sized bits of butter still visible.
Now, add in the egg yolks and milk. Mix until a soft dough forms. If the mixture is a little dry, don’t worry—just add an extra teaspoon of milk at a time until it comes together. Once the dough forms, divide it into two equal portions. Flatten each into a disc, wrap them in plastic wrap, and refrigerate for about 30 minutes. This resting time helps the dough relax and makes it much easier to roll out later.
Tip: Don’t skip chilling the dough—it really makes a difference in both texture and ease of handling.
Step 2: Prepare the Custard Filling
While your dough is chilling, it’s time to move on to the star of the show: the custard. This filling is creamy, rich, and perfectly flavored with vanilla. If you’re using a vanilla bean, split it open and scrape out the seeds, then add both seeds and pod to a saucepan with the milk. Heat it gently over medium heat until it just begins to simmer—don’t let it boil. Once it’s warm and infused with that lovely vanilla flavor, remove it from the heat and let it sit for about 5–10 minutes.
In the meantime, whisk the egg yolks, sugar, and cornstarch together in a medium bowl until the mixture is smooth and pale. Now comes the tempering step: slowly pour the warm milk into the egg mixture, whisking constantly. This keeps the eggs from scrambling—nobody wants bits of cooked egg in their custard!
Once combined, pour everything back into the saucepan and cook over medium heat, stirring constantly. You’ll notice it start to thicken around the 5-minute mark. Keep going until it’s velvety and thick enough to coat the back of a spoon. Take it off the heat and stir in the butter for extra richness. Transfer the custard to a bowl, press plastic wrap directly onto the surface (to prevent a skin from forming), and let it cool completely.
This step can be made ahead of time, by the way—just store the custard in the fridge until you’re ready to assemble.
Italian Grandma’s Cake (Torta della Nonna): A Timeless Classic Baked with Love
Now that we’ve got our rich, velvety custard cooling and the pastry dough nicely chilled, we’re ready for the best part—putting everything together and watching it transform into a golden, bakery-worthy cake. Torta della Nonna is one of those desserts that looks like it took hours, but once you’ve prepped the components, the rest is smooth sailing. And let’s be honest, there’s something so satisfying about assembling a cake that’s both rustic and elegant at the same time.
In this next part, I’ll guide you through rolling out the dough, layering the custard, baking the cake to golden perfection, and finishing it off with those signature pine nuts and powdered sugar. Plus, I’ll share a few personal tips that help ensure success every single time.
Step 3: Assemble the Cake
Once your custard has cooled completely (this is important—it shouldn’t be warm or it could soften the dough), take your chilled dough discs out of the fridge. Lightly flour your surface and rolling pin, and roll out one of the discs into a circle that’s about 11 inches in diameter. You want it to be large enough to fit a 9-inch tart or springform pan, with a little overhang.
Carefully transfer the dough into your greased pan, pressing it into the bottom and up the sides. Don’t worry if it tears—just patch it up with extra dough and press gently. This cake is forgiving, and it all comes together beautifully in the oven.
Next, spoon in your custard filling and spread it evenly with a spatula. Now roll out the second disc of dough into another 9-inch round and place it over the top of the custard. Gently press the edges to seal them with the bottom crust, trimming away any excess dough. If you like, you can flute the edges or just press them flat—it’s totally up to you.
Optional Tip: For a slightly fancier look, you can reserve a small bit of dough and cut out shapes like hearts or leaves to place on top of the crust before baking.
Step 4: Bake
Preheat your oven to 350°F (175°C). If you want that beautiful golden finish, lightly beat an egg and brush it over the top of the crust. Then sprinkle your pine nuts evenly across the surface. Not only do they add a lovely nutty crunch, but they also give the cake that traditional look that makes it unmistakably Torta della Nonna.
Pop the cake into the oven and bake for 35–40 minutes, or until the crust is golden brown and firm to the touch. Keep an eye on it toward the end—if your oven runs hot, you might want to check it around the 30-minute mark.
Once it’s done, remove the cake from the oven and let it cool completely right in the pan. This part can feel like the hardest step because the kitchen will smell absolutely amazing, but trust me—cooling it fully is key to getting clean slices and that perfect custard texture.
Tip: If your pine nuts start to get too dark during baking, you can lightly cover the top with foil for the last 10 minutes.
Step 5: Dust and Serve
Now comes the finishing touch. Once your cake is completely cool, dust the top generously with powdered sugar. This isn’t just for looks—it adds a delicate sweetness that balances the buttery crust and creamy filling.
Slice and serve at room temperature to enjoy the full, comforting flavor. The custard sets up beautifully once it’s cooled, and the combination of textures—the tender crust, silky filling, and slightly crisp pine nuts—is just heavenly.

Tips and Variations
Here are a few helpful ideas to personalize your Torta della Nonna or troubleshoot if it’s your first time:
Add Lemon Zest: A touch of finely grated lemon zest in the custard brightens up the flavor and gives it a citrusy lift. It’s a traditional twist used in some Italian regions.
Try Toasted Pine Nuts: For a deeper nutty flavor, you can toast the pine nuts in a dry skillet for a few minutes before adding them to the cake. Just be sure to let them cool before placing them on the dough.
Use Almond Extract: Swapping vanilla for a tiny splash of almond extract gives the custard a whole new dimension—especially if you’re a fan of marzipan or amaretti cookies.
Make Ahead: This cake is actually better the next day. You can bake it a day in advance and store it covered in the refrigerator. Bring it to room temperature before serving.
Italian Grandma’s Cake (Torta della Nonna): A Timeless Classic Baked with Love
So by now, your Torta della Nonna is cooling on the counter, the powdered sugar has been gently dusted over the top, and your kitchen smells like a charming little corner of Tuscany. Whether you’re planning to serve it to guests or enjoy a slice with your favorite cup of coffee, this cake is the kind of recipe that earns a permanent spot in your dessert rotation.
Before we wrap things up, I wanted to answer a few common questions that tend to come up when folks make this recipe for the first time. Even though the cake itself is simple, there are definitely a few tricks and tips that can make your first try feel a little easier and more foolproof.
Frequently Asked Questions
1. Can I use store-bought pastry dough instead of making it from scratch?
Yes, you can. If you’re short on time, a good-quality store-bought shortcrust or pie dough will work. Just make sure it’s not too sweet and that you roll it out thin enough to fit into your pan.
2. Can I make this cake ahead of time?
Absolutely! In fact, it’s often better after sitting overnight. The flavors meld beautifully, and the custard has more time to set. Just store it in the refrigerator and bring it to room temperature before serving.
3. What’s the best way to store leftovers?
Keep any leftovers in an airtight container in the fridge. It should stay fresh for about 3–4 days. If you like, you can dust a fresh layer of powdered sugar on top just before serving again.
4. My custard turned lumpy—what went wrong?
This usually happens when the eggs cook too quickly during the tempering process. Make sure to whisk constantly when adding the hot milk to the egg mixture, and don’t rush the cooking step. If lumps still form, you can strain the custard through a fine-mesh sieve.
5. Can I freeze this cake?
You can, but the texture of the custard may change slightly once thawed. If you do freeze it, wrap it well in plastic wrap and then foil. Let it thaw overnight in the fridge before serving.
6. Are pine nuts necessary?
They’re traditional and add a nice crunch and flavor, but if you can’t find them or want a nut-free version, you can leave them off. Sliced almonds or even a simple sugared crust can make a nice alternative.
7. Can I use non-dairy milk in the custard?
Yes, but the results can vary. Full-fat plant-based milks like oat or almond can work, but the custard may not be quite as rich or creamy as when using whole milk.
Conclusion: A Recipe Worth Sharing
Torta della Nonna is more than just a dessert—it’s a little piece of Italian heritage you can bake right in your own kitchen. It’s comforting, elegant, and just the right amount of indulgent without being overly complicated. Whether you’re making it for a holiday, a Sunday dinner, or simply because you feel like treating yourself, this cake delivers on every level.
One of the things I love most about this recipe is how approachable it is. You don’t need fancy tools or professional baking skills to pull it off—just a little time, some good ingredients, and a bit of patience. And once you slice into it and get that creamy custard wrapped in flaky pastry with a hint of crunch from the pine nuts, you’ll understand why it’s so beloved.
If you try this recipe, I’d love to hear how it went for you. Did you add your own twist, like lemon zest or almond extract? Did it become an instant family favorite? Leave a comment and let’s keep the tradition going by sharing the love—and the cake.
Buon appetito!
Print
Italian Grandma’s Cake
- Author: Andrew Recipes
Description
A cherished classic from the heart of Italy, this cake—also known as “Torta della Nonna”—features a rich, velvety custard enclosed in delicate, buttery pastry. Topped with pine nuts and a dusting of powdered sugar, it’s a simple yet elegant dessert that speaks of family traditions and comforting homemade flavors. Perfect with coffee or as a sweet ending to any meal.
Ingredients
For the Pastry Dough:
2 cups all-purpose flour
1/2 cup granulated sugar
1/2 tsp salt
1/2 cup unsalted butter, cold and cubed
2 large egg yolks
1/4 cup whole milk (plus more if needed)
For the Custard Filling:
2 cups whole milk
1 vanilla bean (or 1 tsp vanilla extract)
4 large egg yolks
1/2 cup granulated sugar
3 tbsp cornstarch
2 tbsp unsalted butter
For Topping:
1/2 cup pine nuts
Powdered sugar, for dusting
Instructions
Step 1: Make the Pastry Dough
In a mixing bowl, whisk together the flour, sugar, and salt. Cut in the cold, cubed butter using a pastry cutter or your fingers until the mixture resembles coarse crumbs. Add the egg yolks and milk, mixing until a soft dough forms. If needed, add more milk 1 teaspoon at a time. Divide the dough into two discs, wrap them in plastic wrap, and refrigerate for 30 minutes.
Step 2: Prepare the Custard Filling
In a saucepan over medium heat, warm the milk with the vanilla bean (split and scraped) or vanilla extract. Once it begins to simmer, remove from heat and let it infuse for 5–10 minutes. In a separate bowl, whisk together the egg yolks, sugar, and cornstarch until smooth. Gradually pour in the warm milk, whisking constantly to temper the eggs. Return the mixture to the saucepan and cook over medium heat, stirring continuously, until it thickens—about 5–7 minutes. Remove from heat, stir in the butter, and mix until fully incorporated. Transfer the custard to a bowl, press plastic wrap directly onto the surface, and let it cool completely.
Step 3: Assemble the Cake
Preheat the oven to 350°F (175°C). Grease a 9-inch round tart or springform pan. Roll out one disc of dough on a floured surface and fit it into the bottom and sides of the pan. Spread the cooled custard over the crust. Roll out the second disc of dough and lay it over the custard. Press the edges to seal and trim any excess dough.
Step 4: Bake
If desired, brush the top with a beaten egg for a golden finish. Sprinkle the pine nuts evenly on top. Bake for 35–40 minutes or until the crust is golden and the filling is set. Let the cake cool completely in the pan.
Step 5: Dust and Serve
Before serving, dust the top generously with powdered sugar. Slice and serve at room temperature to enjoy the full richness of the custard and pastry.
Notes
This cake can be made a day in advance and stored in the refrigerator. For a twist, you can add a bit of lemon zest to the custard or use almond extract for a subtle variation. Pine nuts can be lightly toasted before baking for a deeper flavor.


