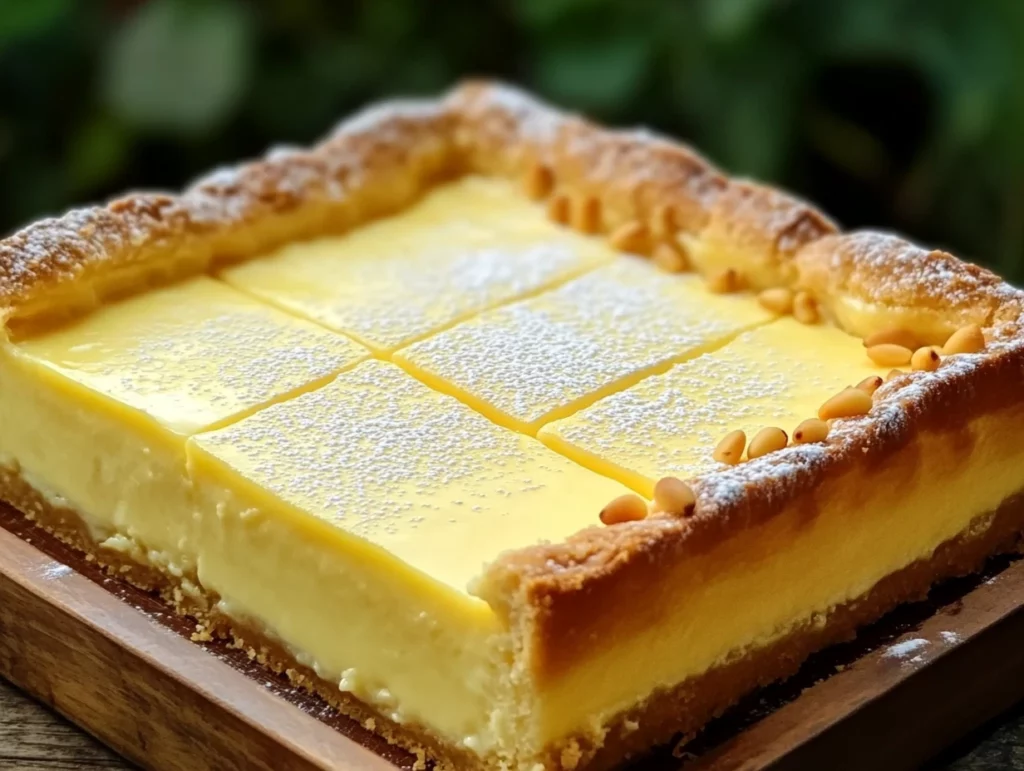
There’s something so comforting about the way certain recipes can transport you to another place — and sometimes, even another era. That’s exactly what happens every time I make Torta della Nonna, or “Italian Grandma’s Cake.” This sweet little gem of a dessert has been passed down through generations in Tuscany, and once you try it, you’ll see why it holds such a special place in so many hearts.
I first discovered this cake on a chilly Sunday afternoon while visiting a friend’s Nonna in Florence. She served it after a long lunch, and I remember how quiet the room went after that first bite. Buttery pastry, creamy vanilla custard, toasted pine nuts… it was everything you’d want in a dessert — and more. Now it’s become a staple in my kitchen too, especially for holidays and special get-togethers.
Whether you’ve tasted this cake before or you’re hearing about it for the first time, I’m excited to walk you through every step of this beloved Italian classic. It’s surprisingly simple to make and delivers big-time comfort with every forkful.
Let’s get started!
Ingredients You’ll Need
For the Pastry Dough
2 cups all-purpose flour
1/2 cup granulated sugar
1/2 tsp salt
1/2 cup unsalted butter, cold and cubed
2 large egg yolks
1/4 cup whole milk (plus more if needed)
For the Custard Filling
2 cups whole milk
1 vanilla bean (or 1 tsp vanilla extract)
4 large egg yolks
1/2 cup granulated sugar
3 tbsp cornstarch
2 tbsp unsalted butter
For the Topping
1/2 cup pine nuts
Powdered sugar, for dusting
STEP 1: Make the Pastry Dough
First things first — let’s talk pastry. This crust is buttery, just slightly sweet, and it holds together beautifully with the custard filling.
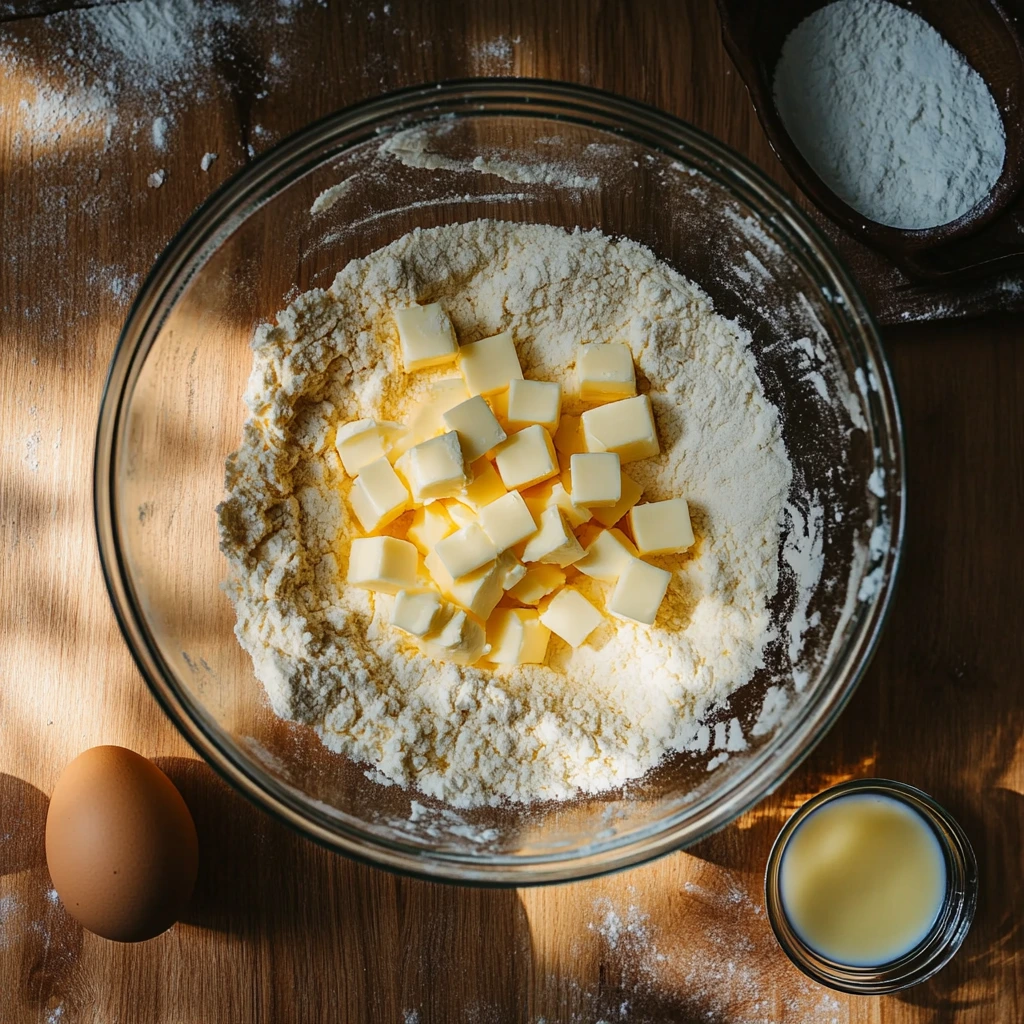
In a large mixing bowl, combine the flour, sugar, and salt. Add the cold cubed butter and use a pastry cutter or your fingertips to cut it into the flour until the mixture resembles coarse crumbs. This is the base of our crust and it’s worth taking your time here — those buttery bits will make the dough flaky and delicious.
Next, add in the egg yolks and milk. Mix until a soft dough begins to form. If it feels a bit dry, go ahead and add a splash more milk — just a teaspoon at a time until it comes together nicely.
Once the dough forms, divide it in half. Shape each half into a disc, wrap them tightly in plastic wrap, and chill in the fridge for about 30 minutes. This step helps the dough relax and makes it much easier to roll out later.
STEP 2: Make the Creamy Vanilla Custard
While the dough chills, it’s the perfect time to whip up that dreamy vanilla custard filling.
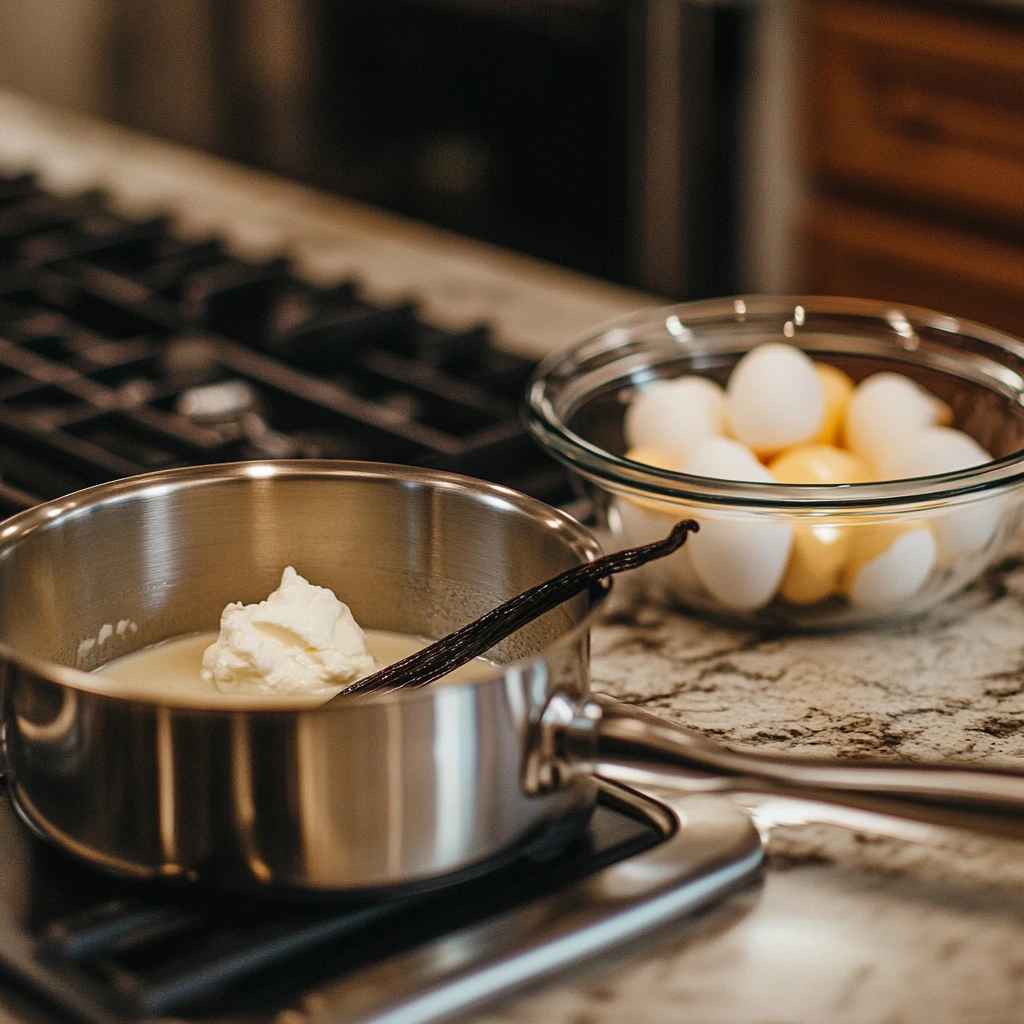
Start by gently warming the milk in a saucepan over medium heat. If you’re using a vanilla bean, split it lengthwise and scrape the seeds into the milk, tossing the pod in as well. If you’re using vanilla extract, you can stir it in after the milk is warmed. Bring it just to a simmer, then take it off the heat and let it infuse for 5–10 minutes. This gives the milk a gorgeous, subtle vanilla flavor.
In a separate bowl, whisk together the egg yolks, sugar, and cornstarch until smooth and pale. Then slowly pour in the warm milk, whisking constantly to keep the eggs from scrambling. This is the key to a silky custard.
Pour the mixture back into the saucepan and cook it over medium heat, stirring constantly with a whisk or spatula, until it thickens into a rich, pudding-like consistency. This should take about 5–7 minutes. Once thickened, remove from heat and stir in the butter until smooth.
To prevent a skin from forming, press plastic wrap directly onto the surface of the custard and let it cool completely. You can set it aside at room temperature or pop it in the fridge if you’re prepping ahead.
Bringing It All Together: Assembling and Baking Your Torta della Nonna
Now that your dough is chilled and your custard has cooled to creamy perfection, it’s time for the fun part — putting everything together and watching this beautiful Italian classic come to life.
This part is really where the house starts to smell like heaven — buttery pastry, warm vanilla, and that irresistible hint of toasted pine nuts. And the best part? You don’t need to be a pastry chef to pull it off. If you’ve gotten this far, you’re just a few simple steps away from your very own homemade Torta della Nonna.
Let’s dive back in!
STEP 3: Assemble the Cake
Preheat your oven to 350°F (175°C) and lightly grease a 9-inch tart pan or springform pan. If you’re using a springform, make sure the base is tightly secured so no custard escapes during baking.
Take one of the dough discs out of the fridge and roll it out on a lightly floured surface until it’s about 1/8-inch thick. Carefully lift it and place it into your prepared pan, gently pressing it into the corners and up the sides. If it tears a little, no worries — just patch it back together with your fingers. This dough is pretty forgiving.
Next, spoon the cooled custard into the shell and spread it out evenly. It should fill the crust about three-quarters of the way up.
Now grab the second dough disc and roll it out the same way. Gently place it over the custard to form the top crust. Use your fingers to press and seal the edges with the bottom crust, trimming away any excess dough. If you’re feeling fancy, you can crimp the edges or use any leftover dough to make a decorative border.
At this point, you can brush the top with a little beaten egg for a golden finish — totally optional, but it does give the crust a nice sheen.
Then, scatter the pine nuts evenly over the top. These will toast beautifully in the oven and give the cake its signature nutty crunch.
STEP 4: Bake to Golden Perfection
Slide the assembled cake into the oven and bake for 35 to 40 minutes. You’re looking for a golden-brown crust and a cake that feels set in the center — not jiggly, but with a little give when you gently press the top.
If your pine nuts are browning too quickly, you can loosely tent the top with foil during the last 10 minutes of baking to prevent burning. Every oven is a little different, so keep an eye on it around the 30-minute mark.
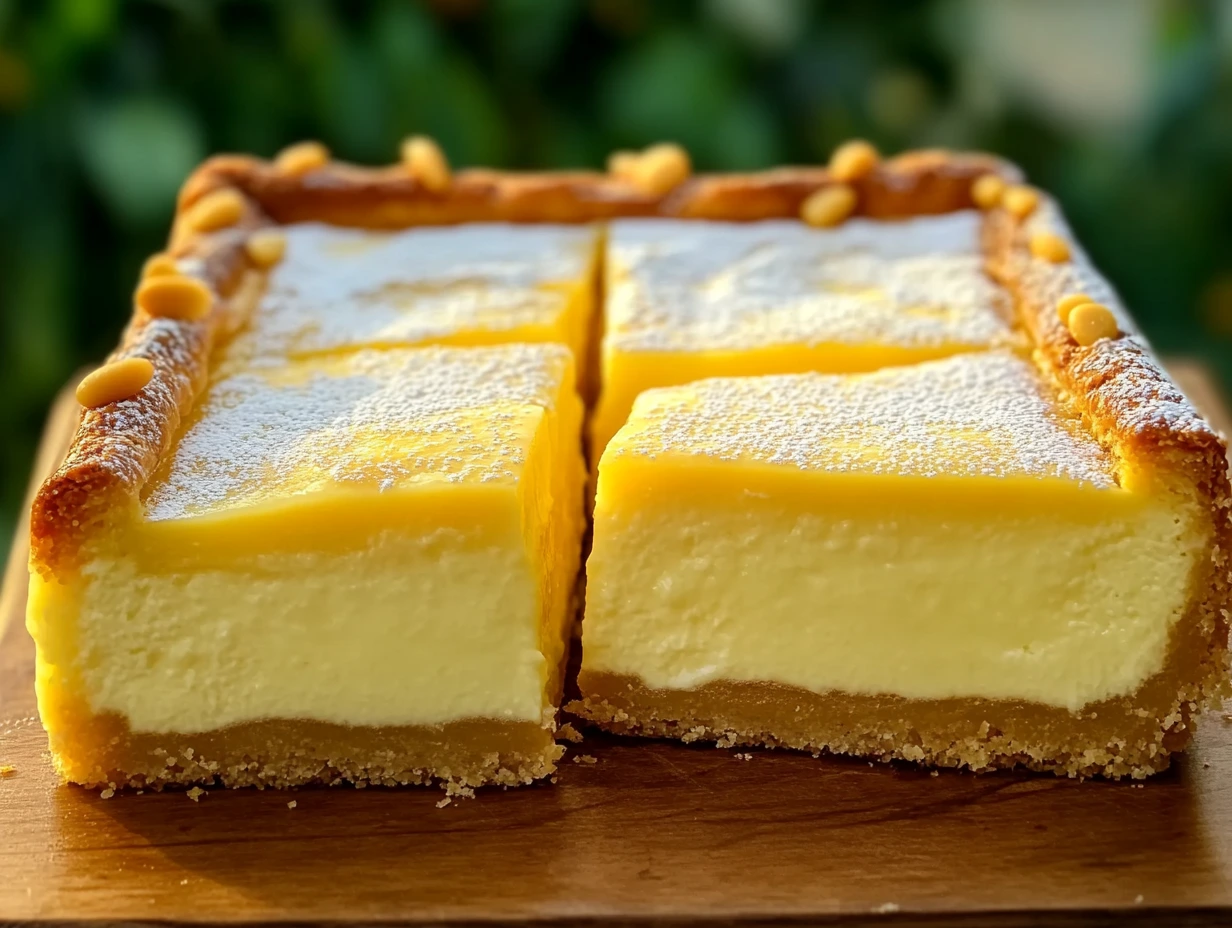
Once baked, let the cake cool completely right in the pan. This is important — the custard needs time to settle and firm up so you get clean slices when it’s time to serve.
STEP 5: The Finishing Touch
Right before serving, dust the top generously with powdered sugar. This simple step adds a lovely finish and that sweet touch Nonna would never skip.
You can serve it at room temperature or chilled, but honestly, room temp brings out the flavors best. That buttery crust, the silky vanilla custard, and the toasty pine nuts? It’s comfort and elegance all in one slice.
Extra Tips for Success
Chill Time Matters: Don’t rush the dough chilling process. It keeps the butter cold, which leads to a flakier crust.
Toasting the Pine Nuts: For extra flavor, you can lightly toast the pine nuts in a dry skillet before sprinkling them on top. Just a few minutes over medium heat does the trick — watch them closely as they can burn quickly.
Use a Tart Pan with a Removable Bottom: This makes it much easier to remove the cake once cooled, keeping that beautiful crust intact.
Make Ahead Friendly: This cake tastes even better the next day! You can make it a day in advance, cover it loosely, and leave it at room temp or refrigerate it. Just be sure to let it come to room temp before serving for the best texture and flavor.
Torta della Nonna FAQs and Final Thoughts
You’ve made it through the dough, the custard, and the bake — now all that’s left is to enjoy every rich, buttery, vanilla-filled bite of your homemade Torta della Nonna. But before we wrap up, I want to answer a few common questions that come up when making this beloved Italian dessert. Whether it’s your first time baking it or you’re looking to perfect your technique, these tips should help make the process even smoother.
Frequently Asked Questions
1. Can I make Torta della Nonna ahead of time?
Absolutely! In fact, it’s even better the next day. The flavors have time to meld, and the custard firms up perfectly for slicing. Just keep it covered and stored at room temperature for up to one day, or in the fridge for up to three days. Let it come to room temp before serving for the best texture.
2. Do I have to use a vanilla bean for the custard?
Not at all. A vanilla bean adds an extra-special touch, but you can absolutely substitute it with 1 teaspoon of high-quality vanilla extract. Stir it into the warm milk just before combining it with the egg mixture.
3. Can I use store-bought pastry dough?
If you’re short on time, you can use store-bought shortcrust or pie dough. Just keep in mind that the homemade version is softer and more tender, so the texture may differ slightly. Still delicious, just a bit different.
4. How do I keep the crust from getting soggy?
Let the custard cool completely before assembling the cake. You can also brush the inside of the bottom crust with a little beaten egg white and bake it for 5 minutes before filling — this creates a barrier and helps prevent sogginess.
5. Can I freeze Torta della Nonna?
It’s not ideal, as the custard can separate and the texture may change once thawed. If you must freeze it, wrap it tightly and freeze for up to 1 month. Thaw in the fridge overnight and bring to room temperature before serving.
6. What can I use instead of pine nuts?
If you have a nut allergy or simply don’t have pine nuts on hand, slivered almonds are a great alternative. They toast up nicely and still give you that crunch on top. You can also skip the nuts altogether and just dust with powdered sugar.
7. Why is it called “Grandma’s Cake”?
Torta della Nonna literally means “Grandmother’s Cake” in Italian. It’s a traditional dessert that’s been passed down through generations — usually made by nonnas for Sunday dinners and special occasions. It’s comforting, nostalgic, and always made with love.
Final Thoughts: A Slice of Tuscan Tradition
There’s something incredibly special about baking a recipe like this — one that’s stood the test of time and carries so much warmth and tradition with it. Torta della Nonna isn’t just a dessert, it’s a memory-maker. From the first whiff of vanilla custard on the stove to that final dusting of powdered sugar, every step feels like a little tribute to generations of grandmothers who’ve lovingly made this for their families.
If you’re serving this at a dinner party or family gathering, be prepared: it’s the kind of dessert that disappears fast and gets people asking for the recipe. And if you’re just making it on a quiet weekend for yourself or your loved ones, even better — there’s nothing quite like enjoying a slice with a cup of coffee or tea, letting the buttery crust and smooth custard do their thing.
If you try this recipe, I’d love to hear how it turns out for you. Did you make any tweaks? Add your own twist? Drop a comment and let me know — or better yet, share a photo. Torta della Nonna is all about sharing, after all.
Print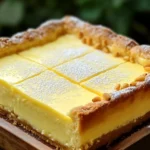
Italian Grandma’s Cake (Torta della Nonna)
- Author: Andrew Recipes
Description
A cherished Italian classic, this cake features a delicate pastry shell filled with luscious vanilla custard and topped with toasted pine nuts. Known as “Torta della Nonna,” it’s a timeless dessert from Tuscany often served during holidays and family gatherings. Its creamy filling and buttery crust make it a comforting treat with every bite.
Ingredients
For the Pastry Dough
2 cups all-purpose flour
1/2 cup granulated sugar
1/2 tsp salt
1/2 cup unsalted butter, cold and cubed
2 large egg yolks
1/4 cup whole milk (plus more if needed)
For the Custard Filling
2 cups whole milk
1 vanilla bean (or 1 tsp vanilla extract)
4 large egg yolks
1/2 cup granulated sugar
3 tbsp cornstarch
2 tbsp unsalted butter
For Topping
1/2 cup pine nuts
Powdered sugar, for dusting
Instructions
Step 1: In a bowl, mix the flour, sugar, and salt. Cut in the butter until the mixture resembles coarse crumbs. Add the egg yolks and milk, mixing until a soft dough forms. Add a little more milk if needed. Divide the dough in half, shape each into a disc, wrap in plastic, and chill for 30 minutes.
Step 2: Warm the milk with the vanilla bean (or extract) in a saucepan over medium heat until just simmering. Let it infuse off the heat for 5–10 minutes. In a separate bowl, whisk together the egg yolks, sugar, and cornstarch. Slowly pour in the warm milk, whisking to prevent curdling. Return the mixture to the saucepan and cook over medium heat, stirring constantly, until thickened. Stir in the butter and let cool with plastic wrap pressed directly on the surface.
Step 3: Preheat the oven to 350°F (175°C). Grease a 9-inch tart or springform pan. Roll out one dough disc and line the pan, pressing into the edges. Spread the custard evenly over the base. Roll out the second dough disc and cover the custard, sealing the edges well. Trim off any extra dough.
Step 4: Brush the top with beaten egg if desired and sprinkle with pine nuts. Bake for 35–40 minutes or until the crust is golden and the cake is set. Cool completely in the pan.
Step 5: Dust generously with powdered sugar before serving. Enjoy at room temperature for the best flavor.
Notes
This cake can be made a day ahead to allow the flavors to meld. Keep it covered at room temperature or refrigerated, and let it come to room temp before serving. Pine nuts can be lightly toasted before topping for added flavor.
