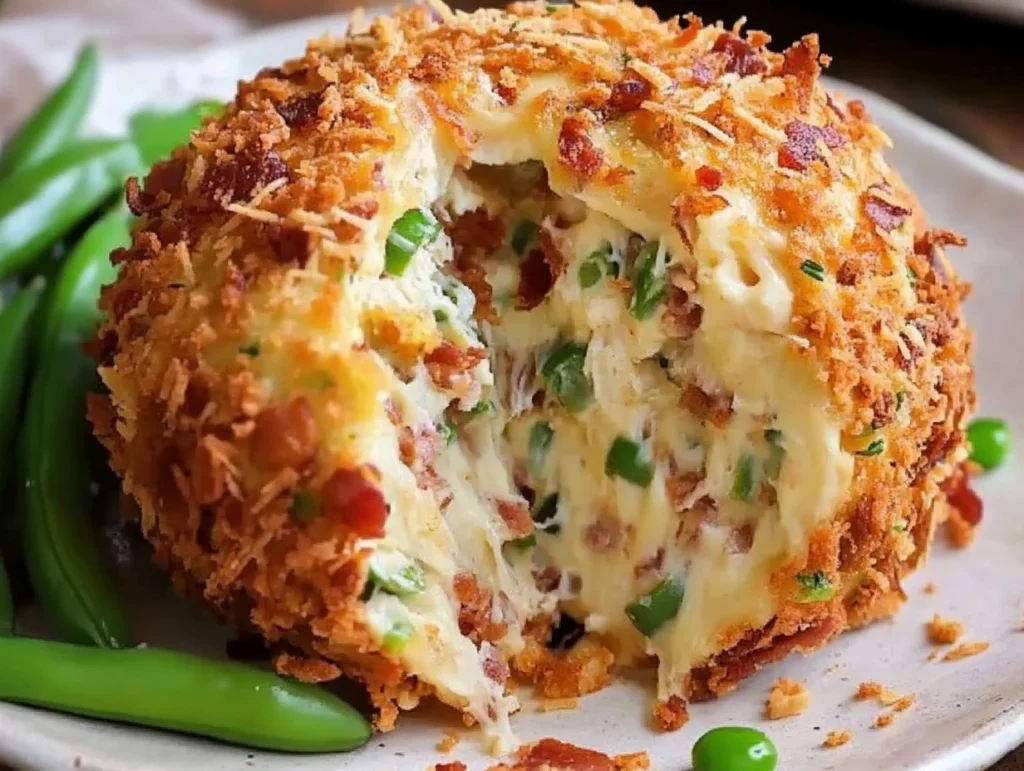
There’s something magical about a cheese ball at a gathering. It’s the ultimate party appetizer—easy to make, irresistibly creamy, and packed with flavor. But let’s take it up a notch. This Jalapeño Popper Cheese Ball is loaded with spicy jalapeños, crispy bacon, and sharp cheddar, all wrapped in a crunchy, flavorful coating. It’s got everything you love about jalapeño poppers, minus the frying hassle!
If you’re planning a party, game night, or even just want to elevate your snack game, this cheese ball is a must. Trust me, once you place it on the table with some crackers and veggies, it won’t last long!
Why You’ll Love This Jalapeño Popper Cheese Ball
- Flavor Explosion: Creamy, cheesy goodness with the perfect balance of heat and crunch.
- Super Easy to Make: Mix, chill, coat, and serve—no cooking required!
- Make-Ahead Friendly: Perfect for prepping the night before your event.
- Versatile Serving Options: Great with crackers, veggies, or even as a spread.
Now, let’s dive into the step-by-step process to create this crowd-pleasing cheese ball.
Ingredients You’ll Need
Here’s everything you need to create this epic appetizer:
For the Cheese Ball:
✔️ 16 oz cream cheese, softened
✔️ 4 Tbsp sour cream
✔️ ½ tsp garlic powder
✔️ 2 large jalapeños, seeds/stems removed, finely chopped
✔️ 1 cup shredded sharp cheddar
✔️ 3 strips cooked bacon, chopped
✔️ Salt & pepper, to taste
For the Coating:
✔️ 2 strips cooked bacon, finely chopped
✔️ 1 jalapeño, seeds/stems removed, finely chopped
✔️ ½ cup shredded cheddar cheese, chopped
✔️ 2 green onions, sliced thin
✔️ ⅓ cup pecans, finely chopped
💡 Tip: If you love extra heat, keep some of the jalapeño seeds in the mix!
Step 1: Make the Cheese Mixture
To get that creamy, dreamy texture, follow these simple steps:
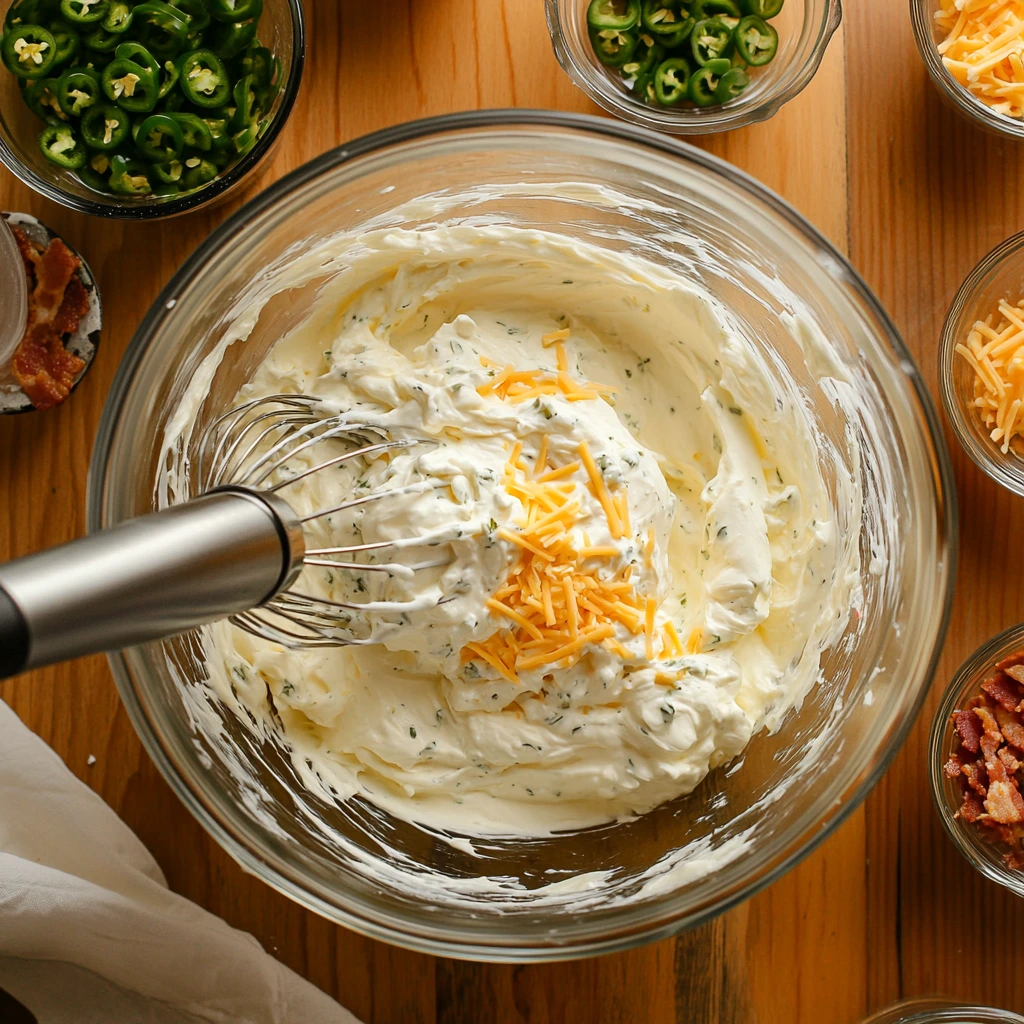
1️⃣ In a large mixing bowl, beat the cream cheese and sour cream together using a hand mixer until smooth and fluffy. This ensures a silky consistency with no lumps.
2️⃣ Add in the garlic powder, chopped jalapeños, shredded cheddar cheese, and chopped bacon. Stir well until all ingredients are evenly combined.
3️⃣ Season with salt and pepper to taste. Give it a quick taste test—if you like a bit more spice, you can always add a pinch of cayenne or a little extra jalapeño.
🔸 Pro Tip: If you’re a fan of smoky flavors, try using smoked cheddar instead of sharp cheddar. It adds a whole new depth to the flavor!
Step 2: Shape the Cheese Ball
Once your cheese mixture is well blended, it’s time to shape it into the classic cheese ball form.
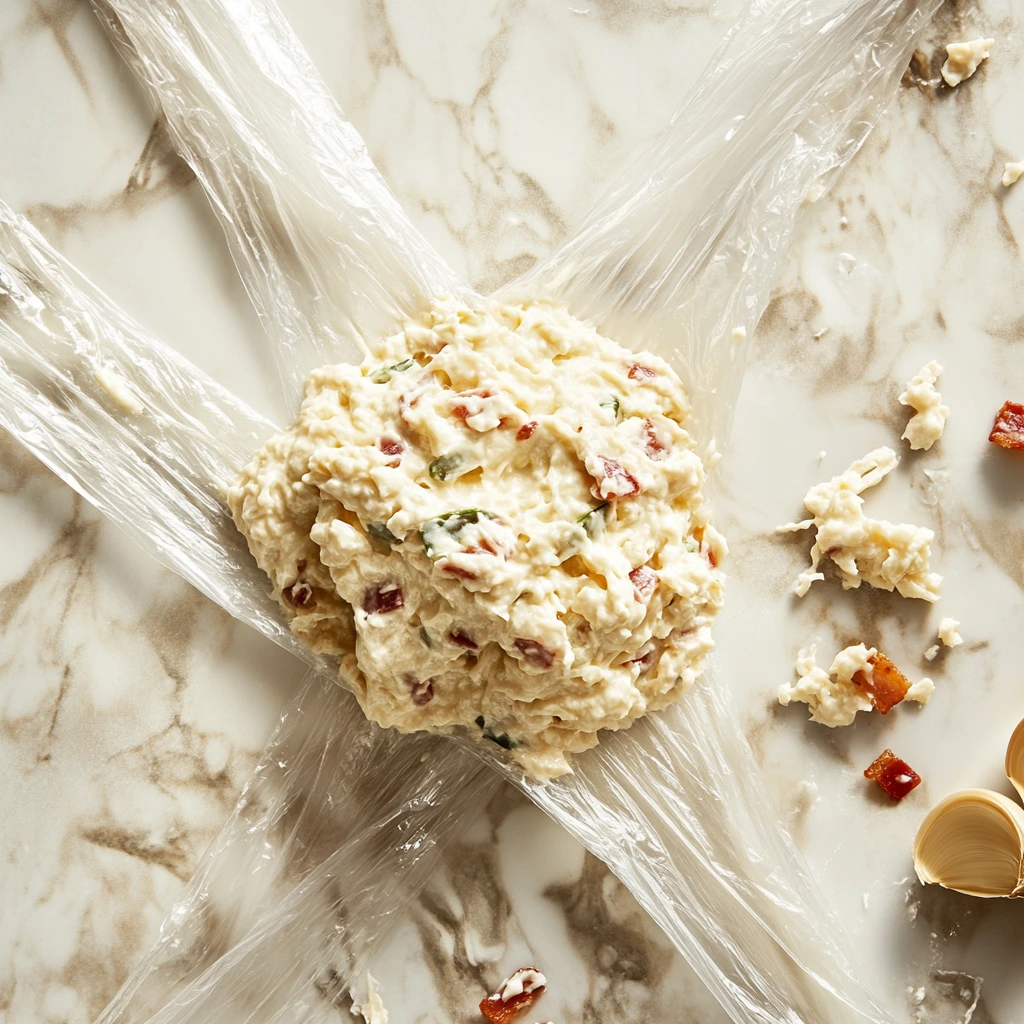
1️⃣ Lay two long strips of plastic wrap in an ‘X’ shape on a flat surface.
2️⃣ Spoon the cheese mixture into the center.
3️⃣ Bring up the edges of the plastic wrap, twisting and tightening to form a firm ball shape.
4️⃣ Refrigerate for at least 1 hour (or up to overnight) to allow the flavors to meld and the cheese ball to firm up.
⏳ Why Refrigeration is Key: Chilling the cheese ball helps it hold its shape, making it easier to coat later. It also allows the flavors to blend beautifully!
Step 3: Prepare the Flavor-Packed Coating
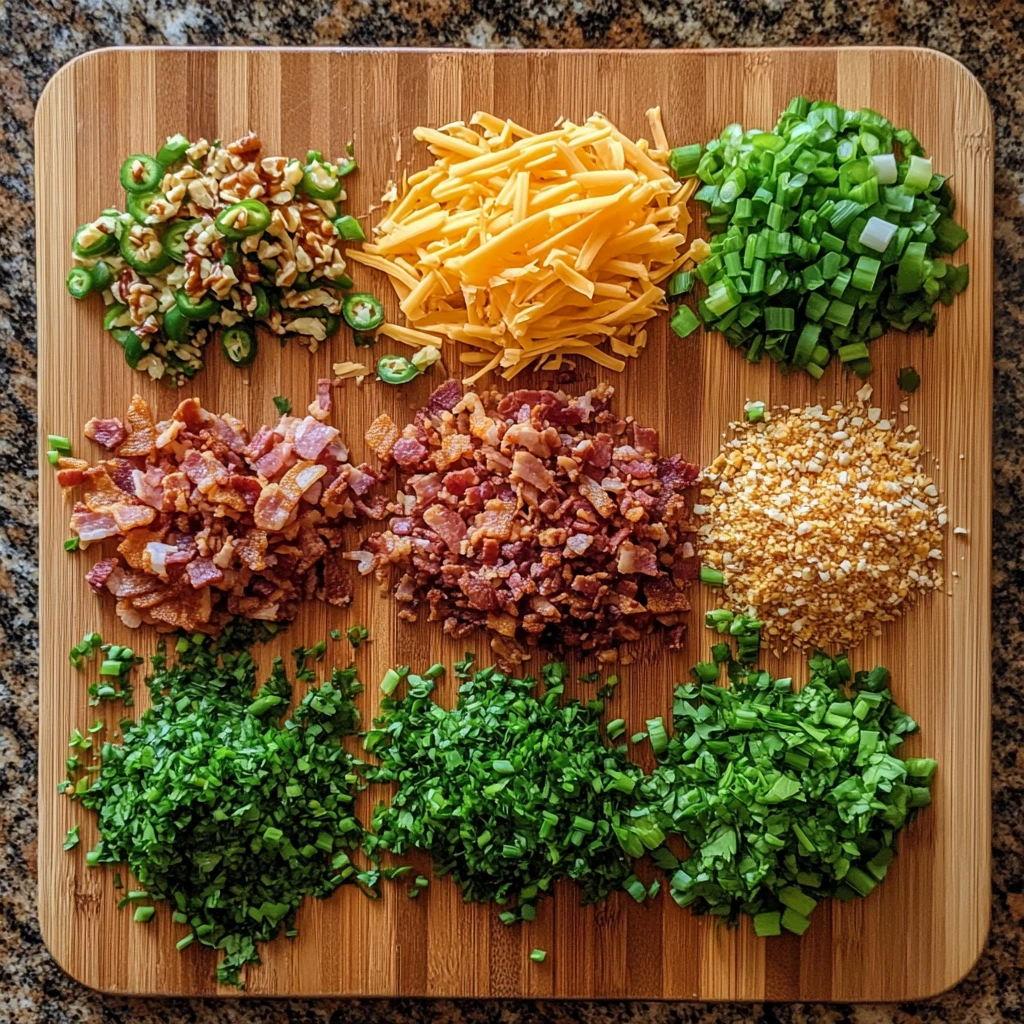
A good cheese ball is all about that final crunchy, colorful outer layer. This coating is packed with crispy bacon, spicy jalapeños, nutty pecans, and fresh green onions—all coming together for an irresistible texture and taste.
How to Make the Coating:
1️⃣ On a large flat plate or cutting board, spread out the following ingredients:
- Chopped bacon (for that smoky, crispy bite)
- Finely chopped jalapeño (adds a fresh, spicy kick)
- Shredded cheddar cheese (brings in extra cheesy goodness)
- Sliced green onions (for a mild onion flavor and pop of color)
- Chopped pecans (adds crunch and nutty depth)
🔸 Pro Tip: If you want an extra crunchy texture, lightly toast the pecans in a dry pan over medium heat for 2-3 minutes before chopping them. It enhances their nutty flavor and gives the coating an extra dimension!
Step 4: Coat the Cheese Ball Like a Pro
Now that your coating is prepped, it’s time to dress up your cheese ball for the party!
1️⃣ Unwrap the chilled cheese ball carefully. It should be firm enough to hold its shape.
2️⃣ Gently roll the cheese ball in the prepared coating mixture. Make sure to press the toppings in firmly so they stick evenly to the surface.
3️⃣ Double-check for any bald spots and press in more toppings where needed. The goal is to get full, even coverage for the best texture and appearance!
🔸 Pro Tip: If rolling is tricky, you can also press the toppings directly onto the cheese ball with your hands to ensure everything sticks nicely.
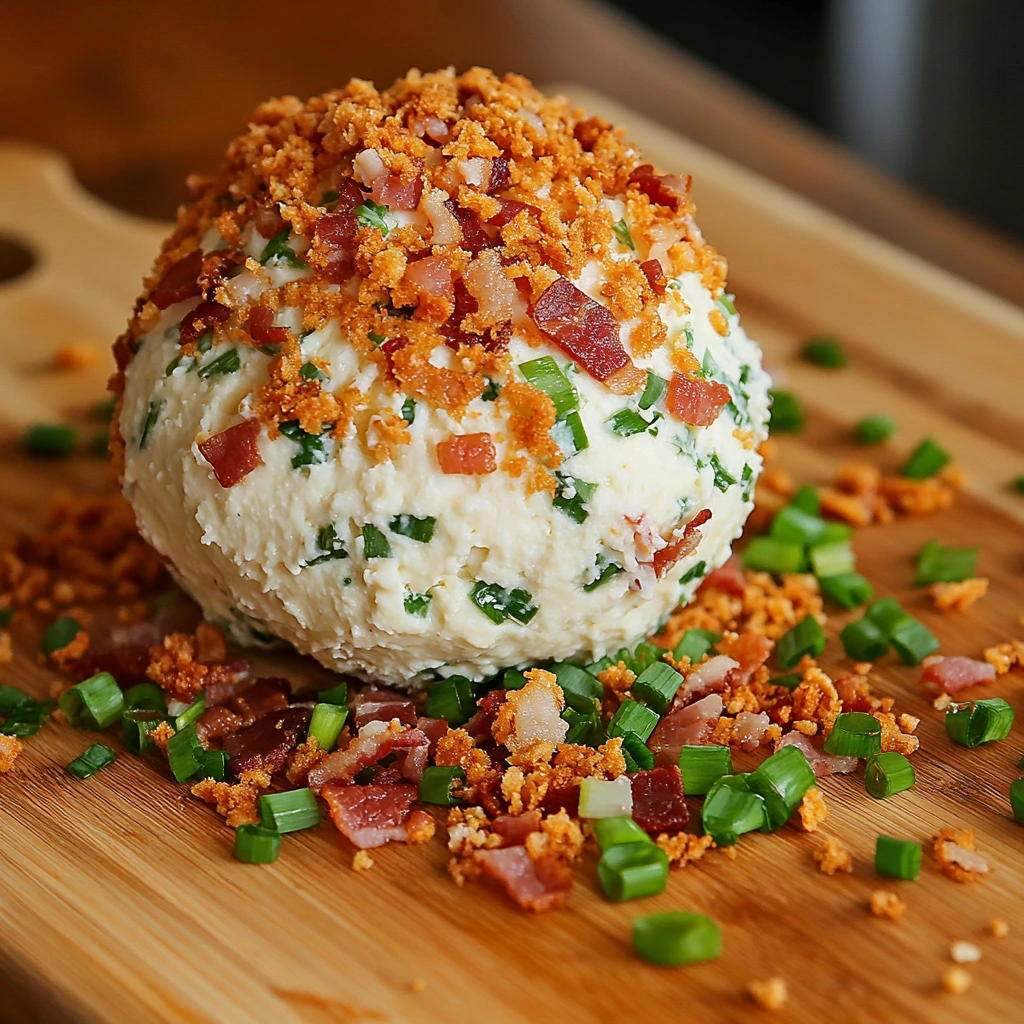
Step 5: Serve & Enjoy!
You did it! Your Jalapeño Popper Cheese Ball is ready to be devoured. Now, let’s talk about presentation and serving ideas.
How to Serve Your Cheese Ball:
✔️ On a platter: Place it in the center of a large serving plate with dippers surrounding it.
✔️ As a spread: Instead of a ball, shape it into a log and slice pieces off as needed.
✔️ Pre-portioned bites: If serving a big crowd, make mini cheese balls instead—perfect for individual servings!
Best Dippers for This Cheese Ball:
- Crunchy crackers (Ritz, Wheat Thins, or pita chips)
- Celery sticks (adds freshness)
- Bell pepper slices (for a sweet, crisp contrast)
- Pork rinds (great for a keto-friendly option)
- Pretzel sticks (for a salty, crunchy twist)
💡 Variation Idea: Try serving it alongside a spicy jalapeño jam or sweet honey drizzle for a delicious sweet-and-spicy contrast!
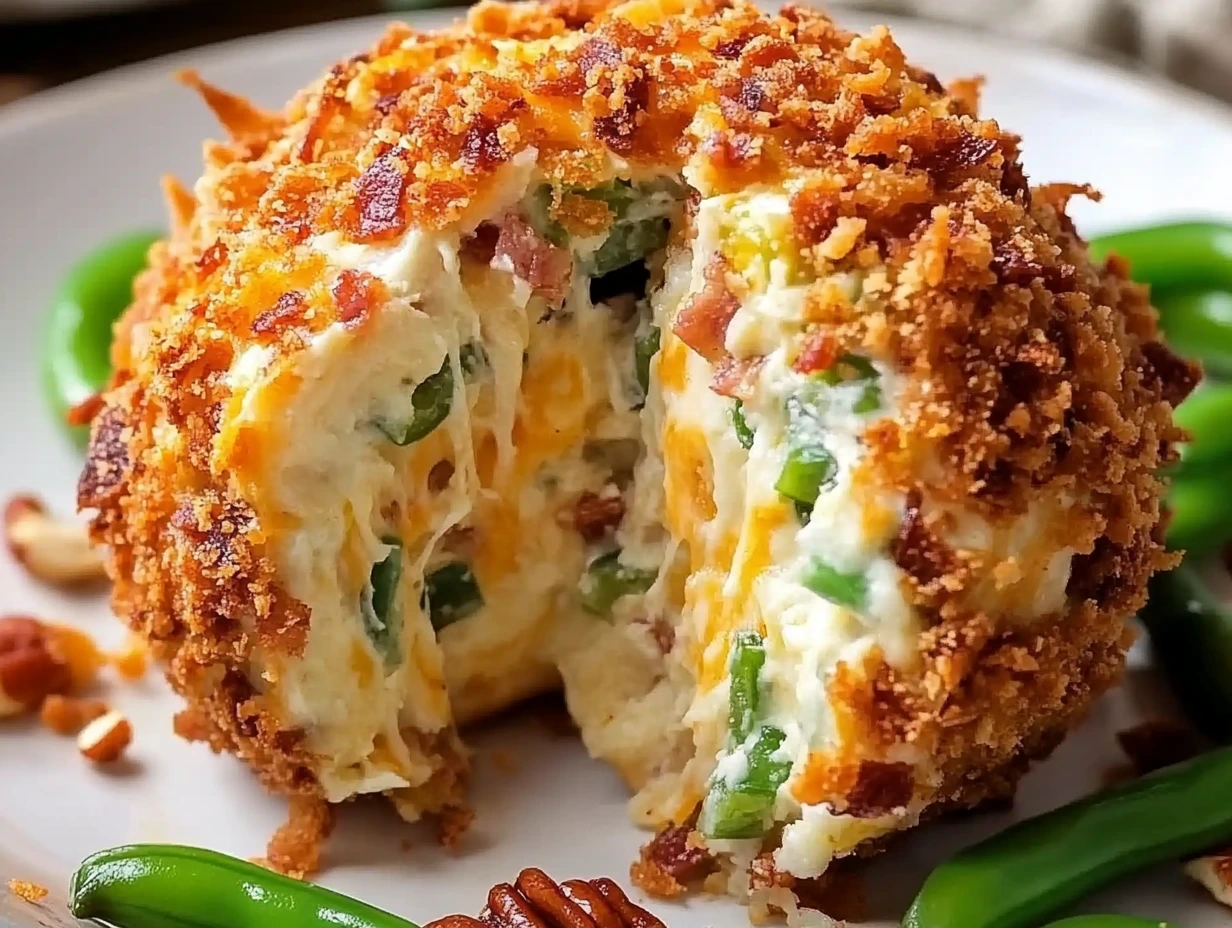
Variations & Customizations
One of the best things about this recipe is how customizable it is. Here are some fun ways to make it your own:
1️⃣ Turn Up the Heat! 🌶️
- Love extra spice? Swap in serrano peppers instead of jalapeños for an extra fiery kick.
- Add a dash of cayenne pepper or hot sauce to the cheese mixture.
2️⃣ Make It Extra Cheesy 🧀
- Try blending in different cheeses like pepper jack, smoked gouda, or Colby jack for a unique flavor twist.
3️⃣ Add a Touch of Sweetness 🍯
- For a sweet-and-savory vibe, mix in a tablespoon of honey or chopped dried cranberries into the cheese mixture.
4️⃣ Make It Keto & Low-Carb 🥓
- Skip the pecans and coat with extra bacon, cheese, and green onions instead.
5️⃣ Make It Dairy-Free 🌱
- Use dairy-free cream cheese and cheddar alternatives, and swap out sour cream for coconut yogurt.
Storage & Make-Ahead Tips
If you’re prepping this cheese ball ahead of time (which I totally recommend!), here’s how to store it properly:
✔️ Refrigeration: Store the cheese ball wrapped in plastic wrap in the fridge for up to 3 days before serving.
✔️ Freezing: You can freeze the uncoated cheese ball for up to 1 month. Just thaw it in the fridge overnight before rolling in the coating.
✔️ Leftovers: Keep any leftover cheese ball in an airtight container in the fridge. It stays fresh for about 3-4 days—if it lasts that long! 😉
The Ultimate Party Appetizer
We’ve mixed, shaped, and coated our Jalapeño Popper Cheese Ball to perfection, and now it’s time for the final touches! In Part 3, I’ll answer some frequently asked questions (FAQs) and share a few last pro tips to make sure your cheese ball turns out absolutely perfect every time. Let’s get to it! 🚀
Frequently Asked Questions (FAQ)
1️⃣ How do I keep my cheese ball from being too soft?
If your cheese ball is too soft or sticky, it likely needs more chilling time. Be sure to refrigerate for at least an hour before rolling in the coating. If you’re in a rush, you can pop it in the freezer for 20-30 minutes to firm up faster.
2️⃣ Can I make this cheese ball ahead of time?
Absolutely! In fact, it’s better if you make it ahead since the flavors get a chance to meld together. Just wrap it tightly in plastic wrap and store it in the fridge for up to 3 days before serving. Add the coating just before serving for the best texture.
3️⃣ Can I freeze my cheese ball?
Yes! If you want to prep way in advance, freeze the cheese ball without the coating. Wrap it tightly in plastic wrap and place it in an airtight container. It will last up to 1 month in the freezer. Let it thaw in the fridge overnight, then roll it in the coating before serving.
4️⃣ What if I don’t have pecans?
No problem! You can swap them out for:
- Almonds or walnuts (for a different nutty crunch)
- Crushed pretzels (for a salty twist)
- Extra bacon & cheese (for a nut-free option)
5️⃣ Is this recipe keto-friendly?
Yes! Just make sure you skip crackers and serve it with pork rinds, celery sticks, or bell pepper slices instead. If you want to lower the carbs even further, leave out the pecans and coat with more cheese, bacon, and green onions.
6️⃣ How do I make this less spicy?
If you prefer a milder cheese ball, try these swaps:
- Use only one jalapeño instead of two.
- Remove all the seeds from the jalapeños (that’s where most of the heat comes from!).
- Use mild cheddar instead of sharp cheddar for a less intense bite.
7️⃣ What are the best crackers to serve with this cheese ball?
While this cheese ball pairs well with almost anything, here are some of my favorites:
- Ritz crackers (buttery and soft)
- Wheat Thins (slightly sweet, great contrast!)
- Pita chips (sturdy for scooping)
- Club crackers (light, flaky, and buttery)
- Triscuits (adds an extra crunch)
- Low-carb/keto crackers (for a healthier option)
Final Tips for the Best Jalapeño Popper Cheese Ball
Before you run to the kitchen to whip this up, here are a few final pro tips to make sure your cheese ball is absolute perfection:
✔️ Let it chill! The longer it chills, the better the flavor and texture. Overnight is best if you have the time.
✔️ Press the coating firmly. Don’t just roll—gently press the toppings into the cheese ball to ensure they stick well.
✔️ Use room temperature cream cheese. This makes mixing way easier and ensures a smooth, creamy consistency.
✔️ Taste-test before shaping! Adjust spice, salt, or cheese amounts to your liking before chilling.
✔️ Make mini cheese balls for individual servings. Perfect for portion control and easy grab-and-go bites at parties!

Jalapeño Popper Cheese Ball
- Author: Andrew Recipes
- Total Time: 1 hour 15 minutes
Description
This spicy, creamy, and ultra-cheesy Jalapeño Popper Cheese Ball is packed with sharp cheddar, crispy bacon, and fresh jalapeños, then coated in a crunchy, flavorful mix. Perfect for parties, game nights, or holiday gatherings, serve it with crackers, veggies, or chips for the ultimate appetizer!
Ingredients
For the Cheese Ball:
- 16 oz cream cheese, softened
- 4 Tbsp sour cream
- ½ tsp garlic powder
- 2 large jalapeños, seeds/stems removed, finely chopped
- 1 cup shredded sharp cheddar
- 3 strips cooked bacon, chopped
- Salt & pepper, to taste
For the Coating:
- 2 strips cooked bacon, finely chopped
- 1 jalapeño, seeds/stems removed, finely chopped
- ½ cup shredded cheddar cheese, chopped
- 2 green onions, sliced thin
- ⅓ cup pecans, finely chopped
Instructions
1️⃣ Prepare the cheese mixture:
In a large bowl, beat cream cheese and sour cream with a hand mixer until smooth and fluffy.
Add garlic powder, jalapeños, shredded cheddar, bacon, salt, and pepper. Mix until well combined.
2️⃣ Shape the cheese ball:
Lay two long strips of plastic wrap in an ‘X’ shape on a flat surface.
Spoon the cheese mixture into the center and bring up the edges of the plastic wrap.
Twist and tighten to form a ball shape.
Refrigerate for at least 1 hour (or up to overnight) to firm up.
3️⃣ Prepare the coating:
Spread the bacon, jalapeño, cheddar, green onions, and pecans on a flat surface.
4️⃣ Coat the cheese ball:
Unwrap the chilled cheese ball and roll it in the coating ingredients, pressing gently to ensure even coverage.
5️⃣ Serve & enjoy!
Transfer the cheese ball to a serving platter.
Serve with crackers, celery sticks, bell peppers, or pork rinds.
Notes
- Make it spicier! Add a dash of cayenne or red pepper flakes for extra heat.
- Prefer it milder? Use pickled jalapeños instead of fresh ones for a tangy twist.
- No nuts? Swap pecans for crushed pretzels or crispy fried onions for a crunchy texture.
- Make ahead: This cheese ball stores well for up to 3 days in the fridge—just roll in the coating before serving!
- Prep Time: 15 minutes
- Cook Time: 1 hour
Nutrition
- Serving Size: 8-10
