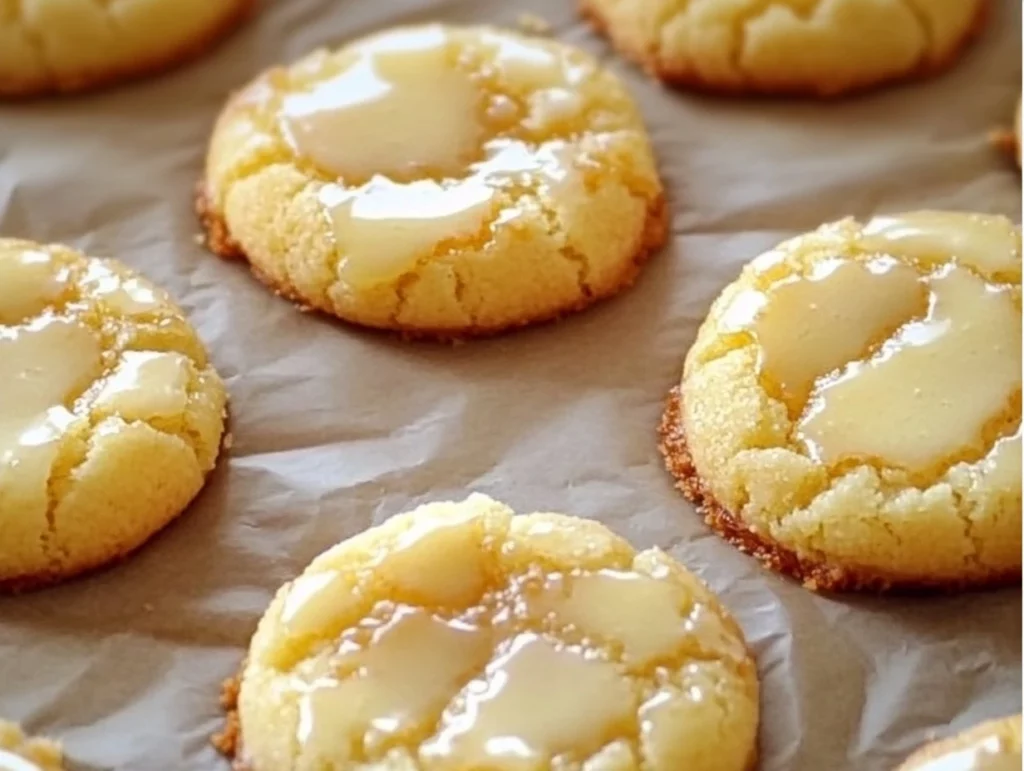
There are certain recipes that you come across that simply take you back. They have a way of reminding you of family gatherings, cozy afternoons, and the kind of comfort food that feels like a warm hug. Kentucky Butter Cake is one of those iconic desserts, and if you’ve ever had the pleasure of enjoying a slice, you know just how rich, buttery, and downright addictive it can be.
But what if I told you that you could have all those same buttery, melt-in-your-mouth flavors in a cookie form? Well, that’s exactly what these Kentucky Butter Cake Cookies deliver. Inspired by the classic Kentucky Butter Cake, these cookies are soft and tender with slightly crisp edges. But here’s where it gets even better: they’re drenched in a rich, buttery glaze that soaks right into the warm cookies, giving you that indulgent, melt-in-your-mouth experience with every bite.
Whether you’re baking for a special occasion, a casual get-together, or just because you deserve a treat, these cookies are bound to be a crowd-pleaser. The dough itself is simple to make, and with a few basic ingredients, you can whip up a batch of these cookies in no time. The real magic happens when the glaze is brushed over the cookies while they’re still warm, turning an already delicious cookie into something truly irresistible.
Let’s dive in and get started on these sweet, buttery delights!
Step 1: Preheat & Prep
Before we get into the dough-making fun, it’s time to preheat the oven and prepare your baking sheets. Set your oven to 350°F (175°C) and line your baking sheets with parchment paper or silicone baking mats. This simple step will prevent the cookies from sticking to the sheets, making cleanup easier and ensuring your cookies come out perfect every time.
Step 2: Make the Cookie Dough
The next step is to make the dough, and trust me, it’s as easy as it sounds! In a large mixing bowl, cream together the softened butter and granulated sugar until the mixture is light and fluffy. This usually takes about 2–3 minutes with a hand mixer or stand mixer, and it’s a key step in creating a soft, melt-in-your-mouth texture for the cookies.
Once your butter and sugar are nicely creamed, it’s time to add the eggs. Add them one at a time, making sure to beat well after each addition. Don’t forget to mix in the vanilla extract after the eggs—this gives the dough that warm, aromatic flavor that makes the cookies extra special.
In a separate bowl, whisk together the dry ingredients: flour, baking powder, baking soda, and salt. I always recommend whisking them together before adding them to the wet ingredients. This helps ensure everything is evenly distributed, so you won’t get any pockets of baking soda or powder in the dough. Slowly add the dry ingredients to the wet ingredients, mixing until just combined. Be careful not to overmix at this point; you want to avoid tough cookies! The dough should come together nicely and be soft and a bit sticky.
Step 3: Scoop & Bake
Now comes the fun part—scooping the dough and watching those cookies take shape! Use a medium cookie scoop or a tablespoon to drop rounded spoonfuls of dough onto your prepared baking sheets. Make sure to space them about 2 inches apart so they have room to spread as they bake.
Pop the baking sheets in the oven and bake the cookies for 8–10 minutes. You’ll know they’re done when the edges are lightly golden, and the centers are set but still soft. The cookies may appear slightly underbaked when you take them out of the oven, but don’t worry—this is totally normal! As they cool, they will firm up to the perfect texture.
While the cookies are baking, you can get started on the glaze. Trust me, this is where the magic happens. But more on that in the next section!
Kentucky Butter Cake Cookies: The Secret to the Perfect Glaze
Now that your cookies are perfectly baked and cooling on the sheet, it’s time for the finishing touch—the buttery glaze. This glaze is what takes these cookies from delicious to irresistible. It soaks right into the warm cookies, giving them that signature Kentucky Butter Cake flavor. If you’ve never made a glaze like this before, don’t worry—it’s incredibly simple and comes together in just a few minutes. Trust me, you’ll want to keep a batch of this glaze on hand for future baking projects!
In this section, we’ll go over the glaze-making process and how to finish off these cookies so they’re melt-in-your-mouth perfect.
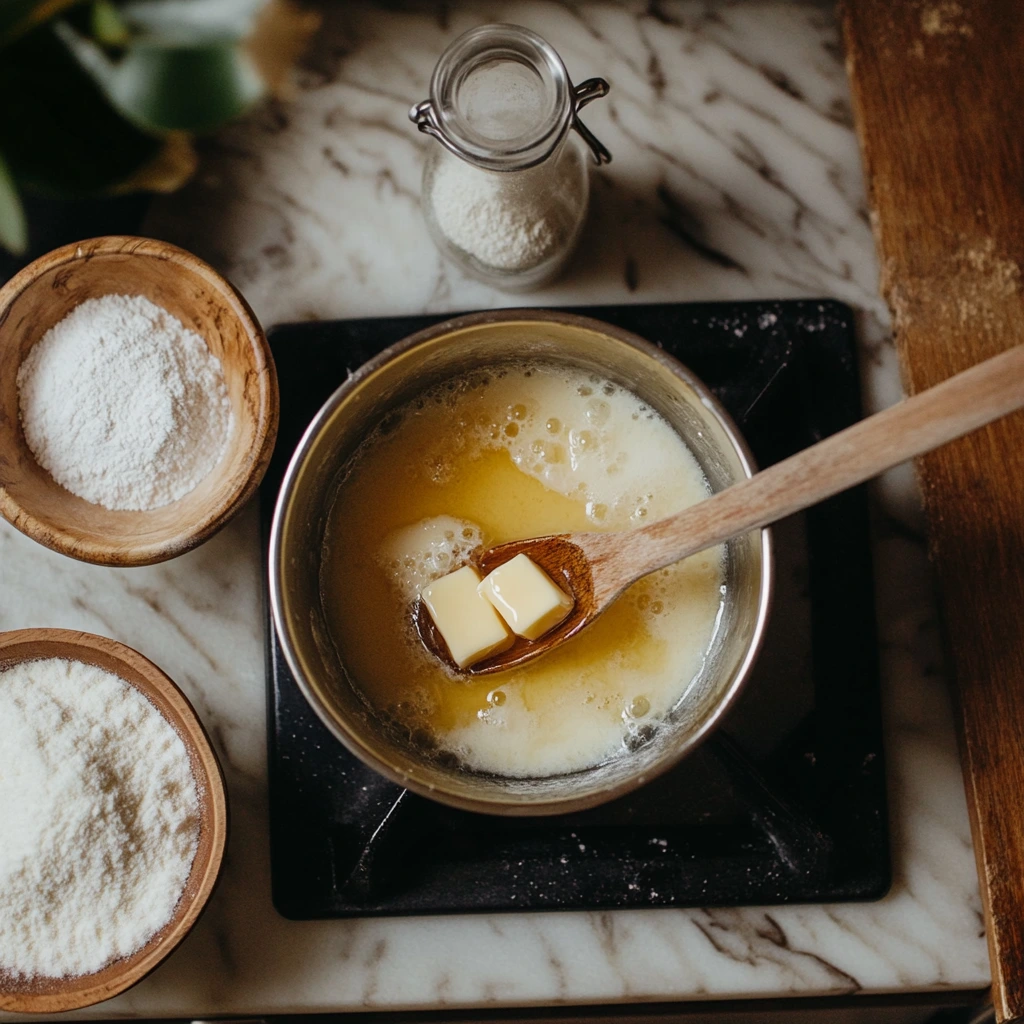
Step 4: Make the Butter Glaze
Start by preparing the glaze while your cookies are in the oven. This way, you can quickly brush it onto the cookies right after they come out, allowing the glaze to soak in while they’re still warm.
In a small saucepan, melt the unsalted butter over low heat. Once it’s fully melted, stir in the sugar, water, and vanilla extract. Keep stirring until the mixture is smooth and everything is well combined. You don’t want any sugar granules left behind, so make sure it’s fully dissolved. Remove the saucepan from the heat once everything is incorporated.
This glaze is what gives the cookies that extra level of buttery goodness. The combination of butter, sugar, and vanilla creates a glaze that’s sweet, smooth, and just the right consistency for soaking into the cookies. It’s an essential part of what makes these cookies taste so decadent!
Step 5: Glaze the Cookies
The moment you’ve been waiting for—the glazing! As soon as your cookies come out of the oven, it’s time to work some magic. Using a pastry brush or a spoon, generously brush the warm glaze over the tops of the cookies. Make sure to coat each cookie thoroughly, allowing the glaze to soak in and create a deliciously glossy finish.
Be sure to brush the glaze over the edges as well, ensuring that every bite gets a taste of that sweet, buttery syrup. You’ll see the glaze seep into the warm cookies, and this is where the real flavor comes from. The result? A soft, buttery, melt-in-your-mouth treat that’s hard to resist.
Allow the cookies to cool on the baking sheet for about 5 minutes before transferring them to a wire rack to cool completely. This short cooling time helps the glaze set slightly, making them easier to handle, but still leaving them soft and delicious.
Tips for Success
Don’t skip the glaze! The glaze is the star of this recipe, so make sure to brush it generously over the cookies. It’s what turns a simple butter cookie into something extraordinary.
Watch the baking time. Every oven is different, so keep a close eye on your cookies. They should be golden at the edges, but still soft in the center. You want that perfect balance of chewy and crisp.
Add a little extra texture. If you love a bit of crunch, feel free to add a handful of chopped nuts—pecans or walnuts would be perfect—to the cookie dough before baking. It adds a wonderful texture and flavor that pairs beautifully with the buttery glaze.
Kentucky Butter Cake Cookies: Tips, FAQs, and Final Thoughts
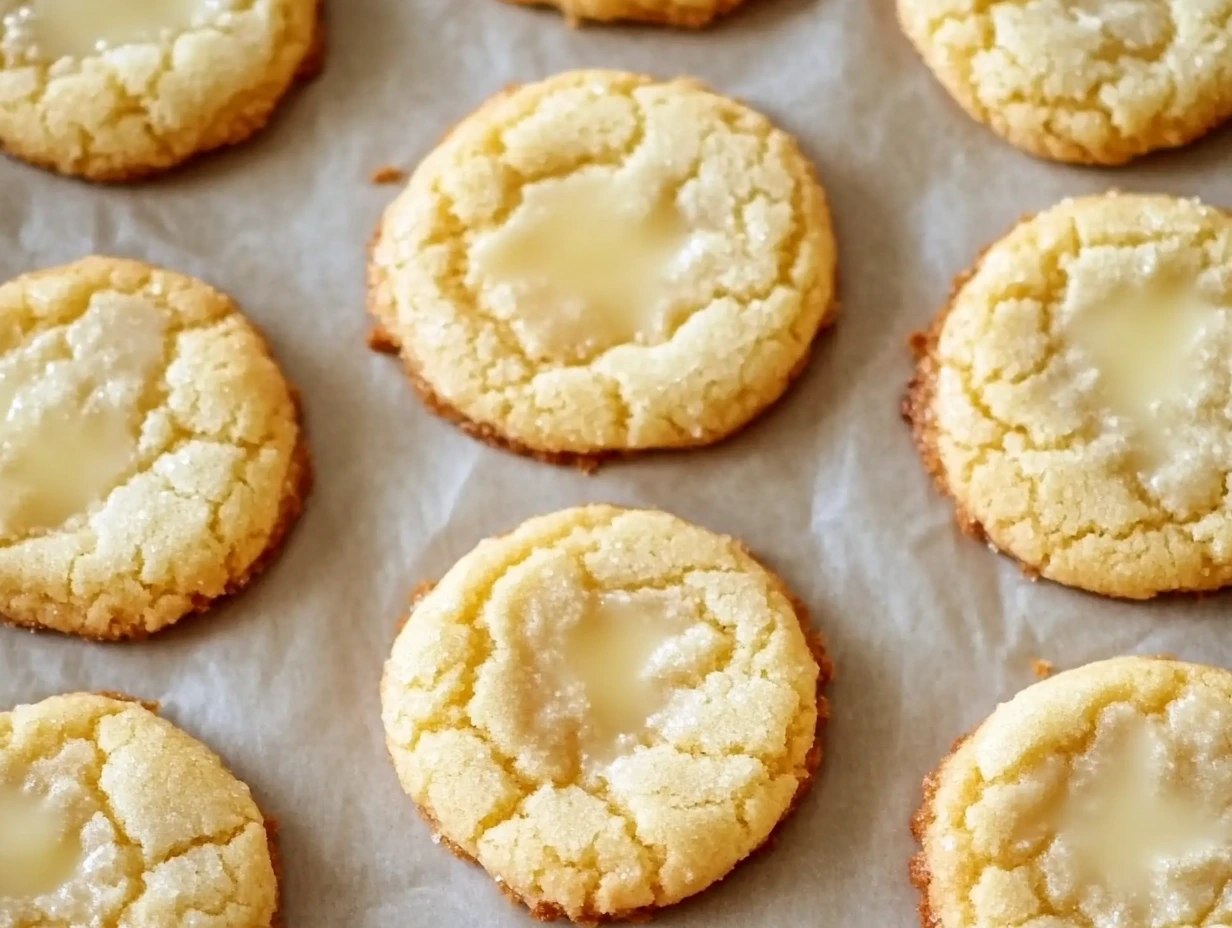
At this point, you’ve mastered the art of making Kentucky Butter Cake Cookies, and I’m sure your kitchen smells absolutely divine. The combination of buttery dough and that indulgent glaze is truly hard to beat. But, I know you might still have a few questions or maybe you’re wondering how to store these delicious cookies or even tweak the recipe a little to suit your taste.
In this section, I’ll answer some frequently asked questions, offer a few tips for making these cookies even better, and give you a little encouragement to try them out yourself. Let’s dive into it!
FAQ Section
1. Can I make Kentucky Butter Cake Cookies ahead of time?
Yes! These cookies are perfect for making ahead of time. You can store them in an airtight container at room temperature for up to 3 days. The glaze will remain soft, and the cookies will stay fresh and delicious. You can also freeze the dough before baking. Just scoop the dough into cookie portions, freeze them on a baking sheet, and then transfer the frozen dough balls into a freezer-safe bag. When you’re ready to bake, simply add a couple of extra minutes to the baking time!
2. Can I use salted butter instead of unsalted butter?
While I recommend using unsalted butter for this recipe, you can use salted butter in a pinch. If you do, just be mindful to reduce the amount of salt you add to the dough—perhaps cut it in half to balance the flavors. This will ensure the cookies aren’t too salty, especially with the added glaze.
3. Can I add mix-ins like chocolate chips or nuts?
Absolutely! If you like a little extra texture or flavor in your cookies, feel free to add chopped nuts (like pecans or walnuts) or even chocolate chips to the dough before baking. Just keep in mind that adding mix-ins may slightly change the texture of the cookies, but they’ll still be delicious. The buttery glaze will pair wonderfully with any added flavors!
4. Why are my cookies a little flat?
If your cookies turn out a little flatter than expected, there are a few things that could be at play. First, make sure your butter is properly softened and not melted. Over-softened butter can cause the cookies to spread too much during baking. Second, double-check your measurements, especially for the flour. If you accidentally use too little flour, the cookies may spread more than desired. Lastly, make sure you’re not overmixing the dough. Mixing too much can break down the structure and cause flat cookies.
5. Can I double the recipe?
Yes! This recipe doubles very easily if you’re baking for a crowd or want to have extra cookies on hand. Just make sure to use two baking sheets so the cookies have plenty of space to spread while baking. You can also freeze any extra dough for future baking adventures!
6. Can I make the glaze without butter?
While the butter gives the glaze its rich, velvety texture and flavor, you could substitute it with a different fat if you prefer. However, this will alter the taste and consistency a bit. For a more dairy-free version, you could try using coconut oil or even a dairy-free butter alternative. Keep in mind, though, the texture and flavor won’t be quite the same without the butter.
7. How can I store Kentucky Butter Cake Cookies?
To store these cookies, simply place them in an airtight container at room temperature. They’ll stay fresh for up to 3 days. If you have leftovers (which I’m sure you won’t!), you can freeze them for longer storage. Just place them in a freezer-safe container with parchment paper between layers of cookies and store them in the freezer for up to 2 months. When you’re ready to enjoy them, let them thaw at room temperature or microwave them for a few seconds for that fresh-baked taste!
Conclusion: Time to Enjoy!
There you have it! Kentucky Butter Cake Cookies are an absolute treat for anyone who loves rich, buttery desserts. The combination of soft, slightly crisp cookies drenched in a warm, sweet glaze is truly irresistible. Whether you’re making them for a special event, a casual afternoon snack, or just to indulge in something delicious, these cookies will not disappoint.
Don’t forget to experiment with mix-ins, and feel free to make this recipe your own. Add nuts, adjust the glaze, or even drizzle a little extra over the top for that perfect finishing touch. If you haven’t already, give these Kentucky Butter Cake Cookies a try—you won’t regret it!
Let me know how it goes—whether you’re making them for the first time or adding your own twist to the recipe, I’d love to hear how they turned out! Happy baking, and I hope these cookies bring a little extra sweetness into your day.
Print
Kentucky Butter Cake Cookies
- Author: Andrew Recipes
Description
These Kentucky Butter Cake Cookies are rich, buttery, and melt-in-your-mouth delicious. Inspired by the classic Kentucky Butter Cake, these cookies are soft with a slight crisp at the edges, generously glazed with a sweet and buttery syrup. With a simple dough and an irresistible glaze, they’re a perfect treat for any occasion, from casual get-togethers to special celebrations. The glaze soaks into the warm cookies, adding a deep, satisfying flavor that’s hard to resist.
Ingredients
For the Cookies:
1 cup unsalted butter, softened
1 ½ cups granulated sugar
2 large eggs
1 tsp vanilla extract
2 ¼ cups all-purpose flour
1 tsp baking powder
½ tsp baking soda
¼ tsp salt
For the Butter Glaze:
½ cup unsalted butter
½ cup granulated sugar
3 tbsp water
1 tsp vanilla extract
Instructions
Step 1: Preheat & Prep
Preheat your oven to 350°F (175°C). Line your baking sheets with parchment paper or silicone baking mats to prevent sticking.
Step 2: Make the Cookie Dough
In a large mixing bowl, cream together the softened butter and granulated sugar until light and fluffy, about 2–3 minutes.
Add the eggs one at a time, beating well after each addition, then mix in the vanilla extract.
In a separate bowl, whisk together the flour, baking powder, baking soda, and salt.
Gradually add the dry ingredients to the wet ingredients, mixing until just combined. Be careful not to overmix.
Step 3: Scoop & Bake
Use a medium cookie scoop or tablespoon to drop rounded spoonfuls of dough onto the prepared baking sheets, spacing them about 2 inches apart.
Bake for 8–10 minutes, or until the edges are lightly golden and the centers are set. The cookies will appear slightly underbaked but will firm up as they cool.
Step 4: Make the Butter Glaze
While the cookies bake, prepare the glaze. In a small saucepan over low heat, melt the butter. Stir in the sugar, water, and vanilla extract until smooth and well combined. Remove from heat.
Step 5: Glaze the Cookies
As soon as the cookies come out of the oven, use a pastry brush or spoon to generously brush the warm glaze over the tops of the cookies. Make sure to soak each cookie thoroughly—the glaze will seep into the warm cookies, creating a rich, buttery flavor.
Allow the cookies to cool on the baking sheet for about 5 minutes before transferring them to a wire rack to cool completely.
Notes
For added flavor, you can mix in a handful of chopped nuts, like pecans or walnuts, to the cookie dough before baking. These cookies are best enjoyed fresh, but they will keep for a few days in an airtight container at room temperature. The glaze adds a lovely shine and extra sweetness, so don’t skip that step!
