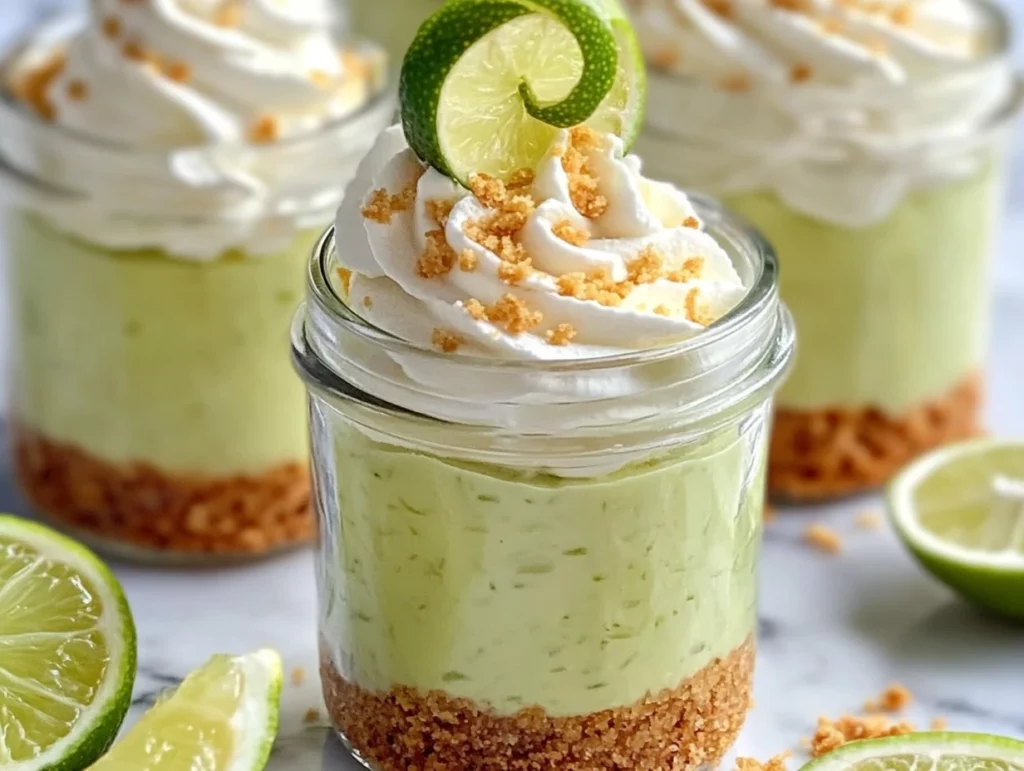
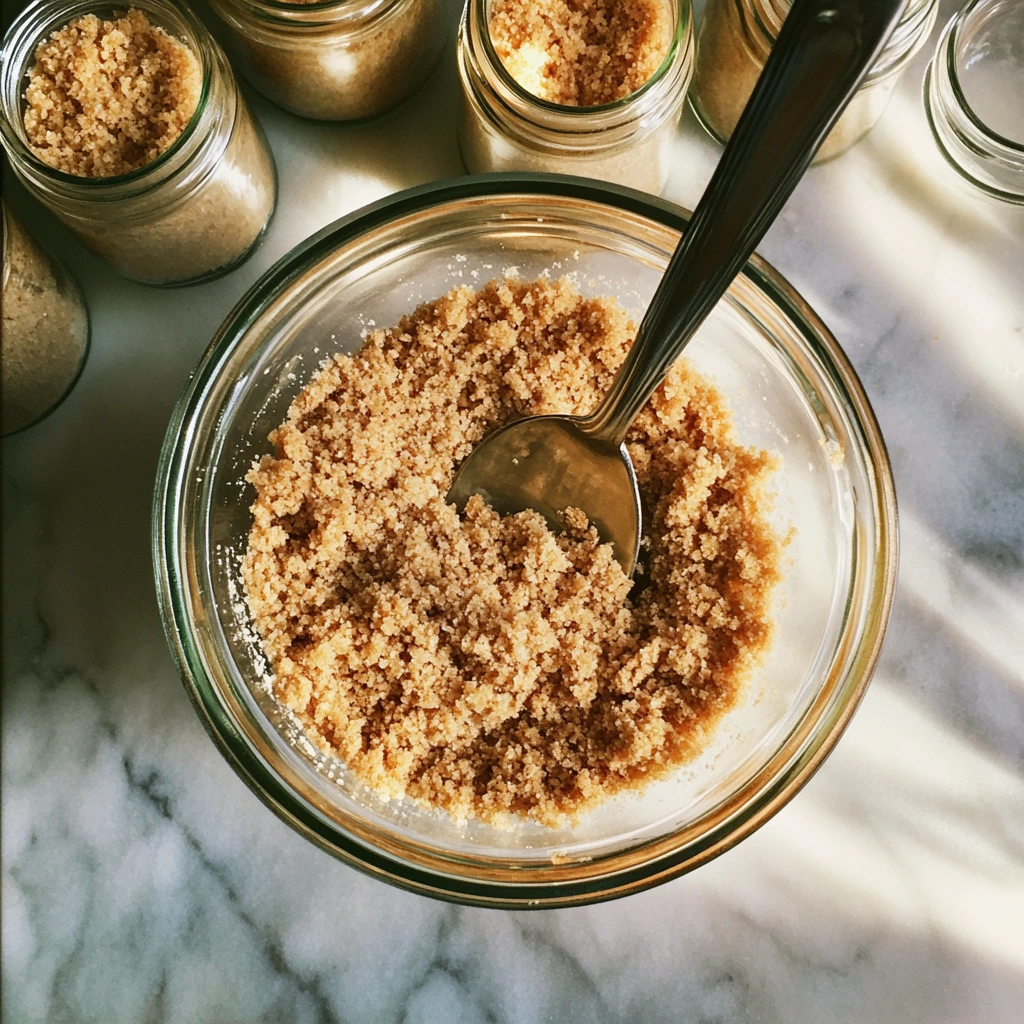
There’s just something magical about that creamy, tangy pop of citrus in a Key lime dessert. It’s like a little jar of sunshine—refreshing, zesty, and surprisingly easy to make. These Key Lime Pie Jars take everything we love about the classic pie and pack it into a cute, portable format that’s perfect for parties, BBQs, or just treating yourself after dinner on a warm evening.
I still remember the first time I brought these to a neighborhood potluck. Everyone assumed I’d been baking for hours (I hadn’t), and not a single jar made it back home. One of my neighbors even asked if I bought them from a bakery. That’s the beauty of this recipe—it looks impressive, tastes amazing, and it’s actually super simple to throw together. No oven required!
So whether you’re planning ahead for a gathering or just want to enjoy something sweet and citrusy with minimal effort, these jars are exactly what you need.
Ingredients You’ll Need
For the Graham Cracker Crust:
1½ cups graham cracker crumbs
¼ cup granulated sugar
6 tablespoons melted butter
Pinch of salt
For the Key Lime Filling:
1 (14 oz) can sweetened condensed milk
½ cup sour cream or Greek yogurt
¾ cup Key lime juice (or regular lime juice if needed)
1 tablespoon lime zest
1 teaspoon vanilla extract
Optional Toppings:
Whipped cream
Lime slices or additional lime zest
Extra graham cracker crumbs
STEP 1: MAKE THE GRAHAM CRACKER CRUST
Let’s start with the crust—it’s the buttery base that gives this dessert a little crunch and a whole lot of flavor. Combine the graham cracker crumbs, sugar, melted butter, and a pinch of salt in a bowl. Stir until the texture resembles damp sand and all the crumbs are coated.
Next, scoop about 2 to 3 tablespoons of this mixture into the bottom of each jar or cup. I like to use small 4-ounce mason jars, but any clear cup or dessert glass will work. Press the crust mixture down firmly with the back of a spoon or a small glass. This helps it stay put and gives you that satisfying contrast when you dig in with a spoon later.
Pop the jars into the fridge for 10 minutes to chill and set the crust. Don’t skip this step—it really helps keep the layers clean and stops the crust from getting soggy later.
STEP 2: MIX THE CREAMY FILLING
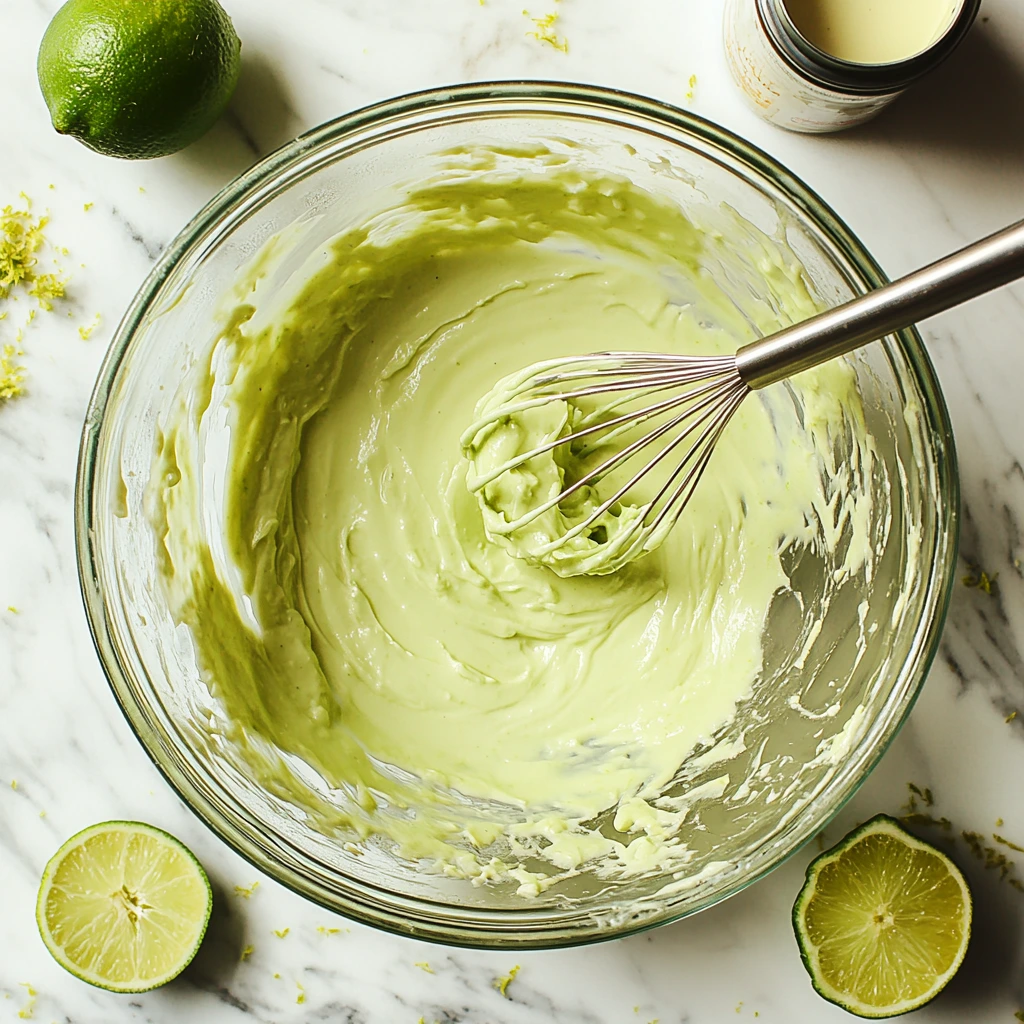
Now for the good stuff—the filling! In a large mixing bowl, whisk together the sweetened condensed milk, sour cream (or Greek yogurt), lime juice, lime zest, and vanilla extract. Whisk until the mixture is silky-smooth and slightly thickened.
This part always smells incredible. That burst of lime zest mixed with vanilla is just dreamy—and it only gets better after a few hours in the fridge. If you’re using fresh Key lime juice, you’ll notice the difference in flavor right away. But regular lime juice will still give you a delicious result.
You can taste the filling at this point and tweak it slightly. Want it a bit more tart? Add a tiny splash of extra lime juice. Prefer it sweeter? A teaspoon of honey or powdered sugar does the trick. It’s very forgiving!
STEP 3: ASSEMBLE THE JARS
Once your crusts are set, it’s time to layer on the filling. You can either spoon it in or use a piping bag (or a zip-top bag with the corner snipped off) to keep things tidy and even. Fill the jars almost to the top, leaving a little space for the toppings.
Cover the jars with lids or plastic wrap and refrigerate for at least two hours—though if you can, let them chill overnight. The filling will firm up and develop even more flavor as it sits, making each bite super smooth and rich with that bright, citrusy kick.
Toppings, Tips, and Tasty Variations
Now that your jars are chilling and the lime filling is setting up nicely, let’s take things to the next level. Because while these Key Lime Pie Jars are already pretty amazing on their own, the right toppings and a few little tweaks can elevate them into a full-blown showstopper of a dessert.
From finishing touches that impress guests to make-ahead hacks that save your sanity, this part of the recipe is where you get to have fun and make it your own.
STEP 4: ADD THE TOPPINGS
Once your jars have had time to chill—at least two hours, but overnight is ideal—it’s time to top them off. I always say the toppings are where the personality of this dessert really shines.
Here’s what I like to do:
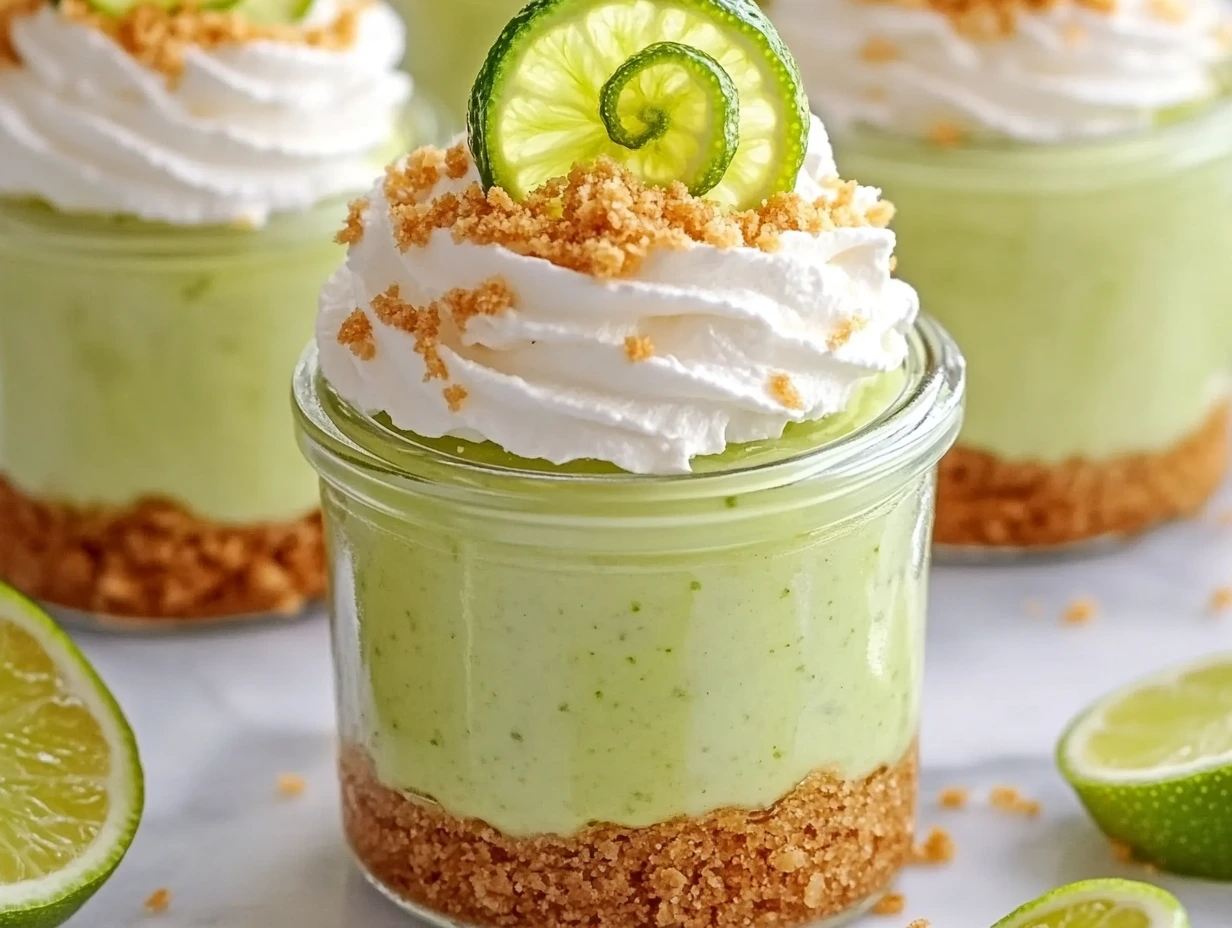
Whipped Cream: A generous dollop or piped swirl of whipped cream adds that light, fluffy contrast to the creamy lime filling. You can use homemade or store-bought, depending on your time and mood.
Graham Cracker Crumbs: A little sprinkle of extra graham crumbs on top ties everything together and adds a bit of crunch.
Lime Garnish: A sliver of lime slice or a pinch of fresh lime zest not only looks pretty, but also amps up that citrus scent.
Tip: If you’re prepping these ahead of time for a party, wait to add the whipped cream and toppings until right before serving. This keeps everything looking fresh and prevents any soggy or sunken tops.
STEP 5: SERVING AND STORING YOUR JARS
These jars are served best straight from the fridge. Cold, creamy, and citrusy—they’re the ultimate refreshing treat, especially on a hot day.
Make-ahead Friendly: You can prepare the crust and filling in jars up to 24 hours in advance. Just cover them tightly with lids or plastic wrap and store in the fridge. When you’re ready to serve, add the toppings and go!
Storage: Leftovers (if you somehow end up with any!) will keep in the fridge for up to 3 days. The crust may soften a bit, but the flavor stays spot-on.
Transport Tip: If you’re taking these to a picnic or potluck, pack the jars in a cooler and bring the toppings in a separate container. Add them right before serving for the best texture and appearance.
Fun Variations to Try
Want to put your own spin on these Key Lime Pie Jars? Here are a few creative twists that keep things exciting:
Tropical Flavor Boost: Stir in a couple tablespoons of crushed pineapple to the filling for a tropical vibe. It pairs beautifully with the lime.
Berry Layers: Add a few fresh raspberries or blueberries between the crust and filling for a fruity surprise.
Coconut Craze: Top your jars with toasted coconut flakes for a tropical crunch and a pop of texture.
Chocolate Crust: Swap the graham crackers for crushed chocolate cookies (like Oreos without the filling) for a deeper, richer base.
Mini Cheesecake Vibe: Mix in 4 oz of softened cream cheese into the lime filling to give it a thicker, cheesecake-like consistency.
Gluten-Free Option: Use gluten-free graham crackers for the crust and make sure your other ingredients are labeled gluten-free for a totally safe treat.
FAQ and Final Thoughts
You’ve made it to the final step in this no-bake dessert adventure—and if your fridge is filled with perfectly layered, tangy-sweet Key Lime Pie Jars, you’re just a spoon away from summer dessert bliss. Before we wrap it all up, let’s take a moment to go over some of the most common questions readers ask about this recipe. Whether it’s about ingredient swaps, storage tips, or serving suggestions, these quick answers should help you make the most out of every jar.
Frequently Asked Questions
1. Can I use bottled lime juice instead of fresh?
Yes, you can! While fresh Key lime juice gives the best flavor, bottled lime juice works just fine in a pinch. Just look for one that’s 100% juice without added sugar or preservatives.
2. How long do these jars keep in the fridge?
They’ll stay fresh for about 2 to 3 days if kept covered and refrigerated. For best results, add toppings like whipped cream just before serving.
3. Can I make this recipe gluten-free?
Definitely. Just use gluten-free graham crackers for the crust. Everything else in the recipe is naturally gluten-free.
4. What if I don’t have jars?
No jars? No problem. You can use small glasses, clear plastic cups, or even ramekins. Just something with a wide enough opening to dig into with a spoon.
5. Is Greek yogurt a good substitute for sour cream?
Yes! Greek yogurt works beautifully here. It adds a nice tang and slightly lighter texture. If you prefer a richer taste, stick with sour cream.
6. Why didn’t my filling set properly?
Make sure the mixture is well combined and chilled for at least two hours—preferably overnight. If your lime juice ratio is off or your fridge is too warm, the filling might not firm up as much as it should.
7. Can I freeze these jars for later?
You can, but I don’t recommend it. The texture changes once frozen and thawed, and the creamy consistency just isn’t the same. They’re best enjoyed fresh.
Final Thoughts
These Key Lime Pie Jars are the kind of dessert that hits all the right notes—creamy, tart, sweet, and just the right amount of indulgent. They’re easy enough for a weekday treat and pretty enough for any party table. And the best part? No oven required and zero stress involved.
They’ve quickly become a staple in my warm-weather dessert rotation, and I hope they’ll find a place in yours too. Whether you stick with the classic version or try a fun variation, these jars are endlessly customizable and always a hit.
Print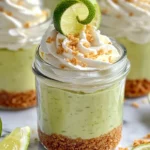
Key Lime Pie Jars
- Author: Andrew Recipes
Description
These Key Lime Pie Jars are a fun, portable twist on the classic dessert. Creamy, tangy filling sits atop a buttery graham cracker crust, all layered neatly in individual jars for easy serving. Perfect for parties, picnics, or a simple, elegant treat at home.
Ingredients
For the Graham Cracker Crust
1½ cups graham cracker crumbs
¼ cup granulated sugar
6 tbsp melted butter
pinch of salt
For the Key Lime Filling
1 (14 oz) can sweetened condensed milk
½ cup sour cream (or Greek yogurt)
¾ cup Key lime juice (or regular lime juice)
1 tbsp lime zest
1 tsp vanilla extract
For Topping (optional)
whipped cream
lime slices or additional lime zest
extra graham cracker crumbs
Instructions
In a bowl, mix graham cracker crumbs, sugar, melted butter, and salt until combined. Press 2–3 tablespoons into the bottom of each jar or small cup. Chill in the fridge for 10 minutes to set the crust.
In a large bowl, whisk together sweetened condensed milk, sour cream, lime juice, lime zest, and vanilla until smooth. Taste and adjust sweetness or tartness as needed.
Spoon or pipe the lime filling over the chilled crust in each jar, leaving a little space at the top. Cover and refrigerate for at least 2 hours, or overnight, to allow the filling to firm up.
Before serving, top each jar with whipped cream, lime zest, extra graham crumbs, or a small lime slice for garnish.
Notes
For best flavor, use freshly squeezed Key lime juice and zest, but bottled lime juice works in a pinch. Greek yogurt adds tang and lightens the texture compared to sour cream. Prevent soggy crusts by pressing firmly and chilling before adding the filling. To make in advance, assemble and refrigerate overnight, then add whipped cream just before serving to maintain freshness. For a decorative touch, lightly toast extra graham crumbs and sprinkle on top.
