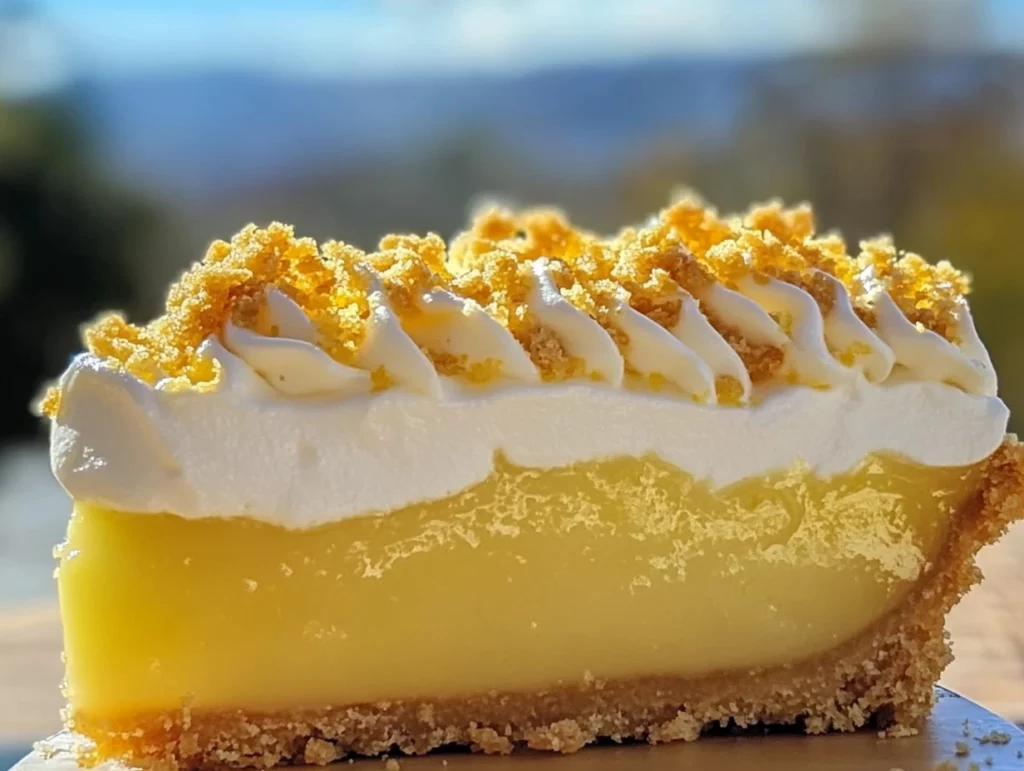
If there’s one dessert that never fails to impress while keeping things refreshingly simple, it’s this Lemon Bliss Tart. Bright, buttery, and bursting with citrus flavor, it’s the kind of treat that feels like sunshine on a plate. Whether you’re planning a springtime brunch, a Mother’s Day tea, or just want something pretty and homemade for dessert tonight, this tart is a beautiful balance of tart and sweet — and honestly, it might just be your new favorite.
I love recipes that don’t ask for a whole lot but deliver something that looks (and tastes!) like you spent hours in the kitchen. This Lemon Bliss Tart is exactly that kind of recipe. It starts with a simple shortbread-style crust and finishes with a rich, silky lemon filling that sets up beautifully in the oven. Add a light dusting of powdered sugar or a few curls of zest on top, and you’ve got a dessert that’s both elegant and totally irresistible.
Let’s get baking, shall we?
Ingredients You’ll Need
Before we dive into the steps, here’s a quick look at what you’ll need to make this luscious tart come to life.
For the Crust:
1 1/4 cups all-purpose flour
1/2 cup unsalted butter, cold and cubed
1/4 cup powdered sugar
1/4 teaspoon salt
1–2 tablespoons ice water
For the Lemon Filling:
4 large eggs
1 cup granulated sugar
2/3 cup fresh lemon juice (about 3–4 lemons)
1 tablespoon lemon zest
1/2 cup heavy cream
1/4 teaspoon salt
Optional Garnishes:
Powdered sugar
Lemon slices or zest curls
Fresh berries or mint leaves
Now that the ingredients are ready, let’s start with the crust — the buttery base that holds all that bright lemony goodness together.
STEP-BY-STEP INSTRUCTIONS
Step 1: Preheat and Mix the Crust
Start by preheating your oven to 350°F (175°C). In a mixing bowl, whisk together the flour, powdered sugar, and salt. This combination gives us that classic shortbread texture — soft, crumbly, and just sweet enough.
Next, add in the cold, cubed butter. You can use a pastry cutter if you’ve got one, but honestly, your fingers work just fine here. Rub the butter into the flour mixture until it resembles coarse crumbs. You’re looking for a sandy texture with some pea-sized bits of butter still visible.
Then, drizzle in the ice water, one tablespoon at a time. Give it a gentle mix with a fork or your hands until the dough starts to come together. You don’t want it wet — just moist enough to hold together when pressed.
Step 2: Press Into the Pan and Chill
Once the dough is ready, press it evenly into a 9-inch tart pan with a removable bottom. Be sure to work it up the sides and keep the thickness as even as possible for a more uniform bake. Don’t worry if it’s not perfect — the filling will cover any minor flaws.
Use a fork to gently prick the bottom of the crust. This helps prevent bubbling while it bakes.
Pop the crust in the fridge to chill for about 10–15 minutes. That short rest helps keep the crust from shrinking and also gives you a minute to tidy up and grab the filling ingredients.

Step 3: Bake Until Lightly Golden
Once the crust has chilled, place it on the middle rack of your preheated oven and bake for 15–18 minutes. You’re looking for a light golden color — nothing too dark, since it’ll go back into the oven once the filling is added.
When it’s done, take the crust out and let it cool slightly on a wire rack. You want it warm, not hot, when you pour in the filling.
Creating the Silky Lemon Filling and Baking to Perfection
Now that we’ve got a beautiful, golden crust ready, it’s time to focus on the filling — the star of this Lemon Bliss Tart. This filling is incredibly smooth, perfectly tangy, and just sweet enough to balance out the tartness of the lemons. You’re going to love how easy it is to make, and the best part is, it’s virtually foolproof. So let’s get started!
STEP-BY-STEP INSTRUCTIONS
Step 4: Whisk Together the Lemon Filling
In a medium-sized bowl, it’s time to bring all those zesty flavors together. Start by cracking the four eggs into the bowl and whisking them gently until the yolks and whites are fully combined. Then, add the granulated sugar, fresh lemon juice, and lemon zest. The zest is a key player here, as it adds a punch of lemony fragrance that makes the filling absolutely irresistible.
Next, pour in the heavy cream and give everything a good whisk until the mixture is smooth and well combined. The cream adds richness to the filling, making it silky and luxurious. Finally, toss in the salt — just a pinch — to balance the sweetness and enhance the lemon flavor.

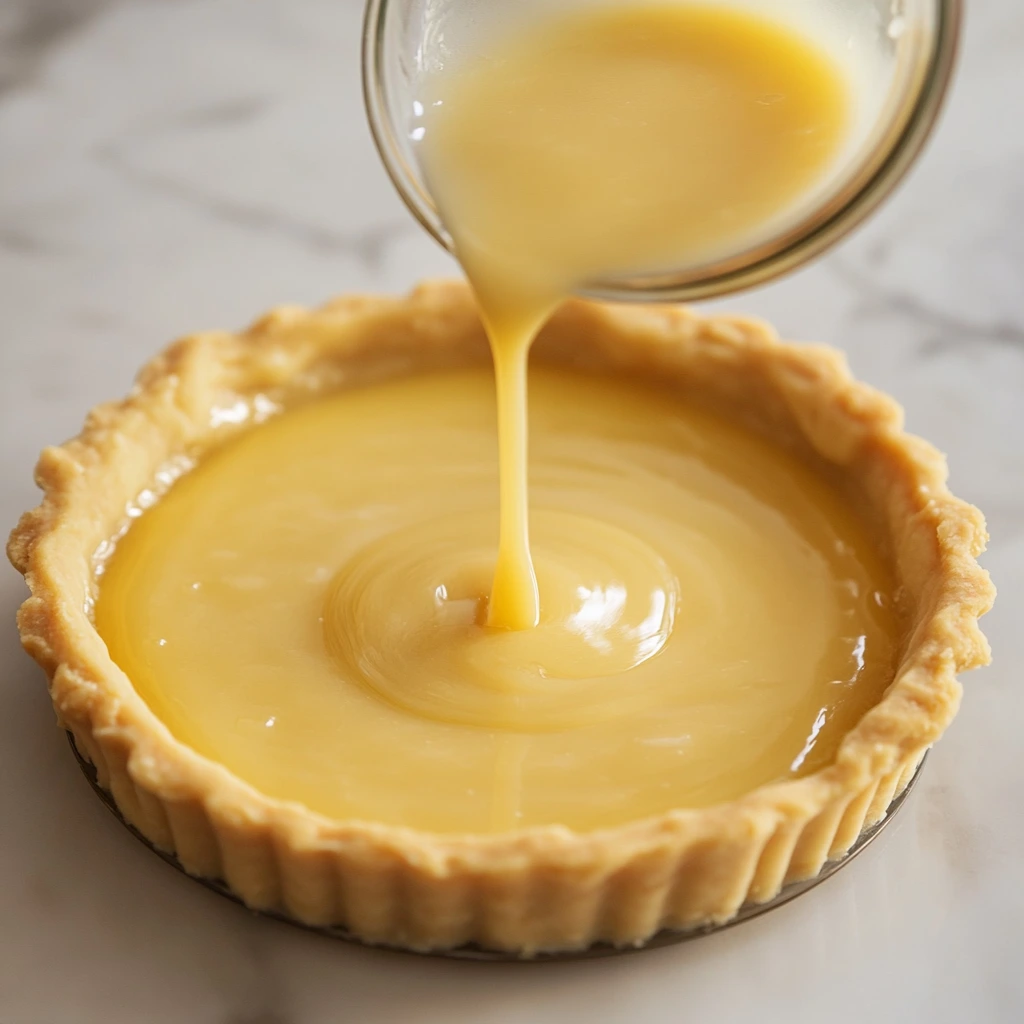
Step 5: Pour the Filling Into the Crust
Once the filling is all mixed up and looking smooth, carefully pour it into the slightly cooled crust. Be sure to pour slowly to avoid any spillage. The filling will fill up the crust nicely and create that perfect smooth surface as it bakes.
Step 6: Bake Until Just Set
Now for the most exciting part — baking the tart! Return the tart to the oven and bake it for 20–25 minutes. You’ll know it’s done when the edges are slightly set but the center still has a little jiggle. It’s important not to overbake it, or you’ll risk losing that creamy, melt-in-your-mouth texture. If you want to be sure, you can gently shake the tart; the center should wobble a bit, but the edges will stay firm.
Let it cool at room temperature for a bit — maybe about 15 minutes — and then pop it in the fridge to chill for at least one hour. The tart needs to cool completely before you slice it, which will help it set even more and give you clean, perfect slices.
Pro Tips for a Perfect Lemon Bliss Tart
As simple as this tart is, there are a few little tricks to ensure it turns out absolutely perfect:
Use fresh lemons: Fresh lemon juice makes all the difference here, so squeeze your own lemons for the best flavor. Bottled lemon juice just doesn’t compare.
Don’t skip the chilling time: Chilling the crust before baking and the tart after baking is key to achieving a crisp, well-structured dessert.
Watch the baking time closely: The tart will continue to set as it cools, so don’t worry if it’s still a little wobbly when it comes out of the oven. Just make sure not to overbake, or it could get too firm.
Garnishing ideas: While the tart is delicious all on its own, a dusting of powdered sugar or a few fresh berries can add a pop of color and an extra layer of freshness.
Finishing Touches and Ready to Serve
Once the tart has chilled and set, it’s time to garnish and serve. A light dusting of powdered sugar on top adds a touch of elegance and sweetness without overpowering the lemon flavor. If you’re feeling extra fancy, you can decorate with thin lemon slices, zest curls, or even a few fresh berries like raspberries or blueberries. Fresh mint leaves make a beautiful touch if you want to add a bit of color.
Slice it up, serve it chilled, and get ready for the compliments to roll in. Whether you’re serving it for a special occasion or as a simple afternoon treat, this Lemon Bliss Tart is bound to be a hit.
FAQs and Conclusion – Everything You Need to Know About the Lemon Bliss Tart
I’m so excited to share this Lemon Bliss Tart recipe with you — it’s simple yet impressive and guaranteed to wow anyone who tries it. But I know that sometimes you have a few questions before diving into a new recipe, so let’s go over some of the most common questions I get about this tart. Hopefully, these answers will clear up any uncertainties and give you even more confidence in the kitchen!

Frequently Asked Questions
1. Can I make this tart ahead of time?
Yes! This tart actually gets better after it’s had time to chill in the fridge. I recommend making it a day ahead, which allows the flavors to meld even more. Just keep it covered in the refrigerator until you’re ready to serve it. It can stay fresh for up to 3 days, so it’s perfect for prepping in advance if you’re planning for a party or gathering.
2. Can I substitute the heavy cream with something else?
If you’re looking to lighten up the recipe a bit, you could swap the heavy cream for a combination of half-and-half or whole milk. Keep in mind that the tart may not be as rich and silky, but it will still be delicious. For a dairy-free version, you could try coconut cream, but I’d suggest doing a test batch first to make sure the flavors mesh well.
3. How do I prevent the tart crust from shrinking?
This is a great question! To prevent shrinking, make sure to chill the dough before baking. This helps it hold its shape as it bakes. Also, pricking the crust with a fork before baking allows steam to escape, which also helps prevent puffing or shrinking. Lastly, don’t overwork the dough, as this can make it tough and lead to shrinkage when baked.
4. Can I make a mini version of this tart?
Absolutely! You can easily turn this into mini tarts by using individual tart pans or a muffin tin. Just make sure to adjust the baking times — the crust will bake faster, and the filling may need slightly less time in the oven. Keep an eye on them, and check for that slight jiggle in the center to know when they’re done.
5. What can I use for garnish besides powdered sugar and lemon slices?
If you want to get a little creative with the presentation, you can garnish with fresh berries (like raspberries, strawberries, or blueberries), fresh mint leaves, or even edible flowers. A dollop of whipped cream or a few candied lemon peel strips could also add a beautiful touch.
6. How do I store leftover tart?
Store leftover tart in an airtight container in the refrigerator. It’ll stay fresh for up to 3 days. For the best presentation, slice it just before serving, and wipe the knife clean between slices for neat, clean edges.
Conclusion: The Perfect Lemon Bliss Tart Awaits You
Now that you have all the details and tips for making this Lemon Bliss Tart, I can’t wait for you to try it! It’s truly a special dessert that brings together the tanginess of fresh lemons and the buttery richness of the crust in a way that’s absolutely irresistible. Whether you’re serving it for a holiday, a special occasion, or just a simple treat to enjoy with your family, this tart is sure to impress.
And don’t forget — this tart is incredibly versatile. Feel free to experiment with adding a little vanilla extract to the filling or swapping the lemons for limes to give it a tropical twist. There are so many ways to make this tart your own, so get creative and make it something you’ll love.
Have fun baking, and be sure to share your photos and experiences! I’d love to hear how your tart turned out and any fun variations you tried. Enjoy the tart, and happy baking!
Print
Lemon Bliss Tart
- Author: Andrew Recipes
Description
Bright, tangy, and luxuriously smooth, this Lemon Bliss Tart is the perfect balance of sweet and citrusy. With a buttery shortbread crust and a silky lemon filling that melts in your mouth, it’s a refreshing dessert that’s simple yet elegant. Whether served at a spring brunch, summer gathering, or simply as a treat with tea, this tart brings a little sunshine to every bite.
Ingredients
1 1/4 cups all-purpose flour
1/2 cup unsalted butter, cold and cubed
1/4 cup powdered sugar
1/4 teaspoon salt
1–2 tablespoons ice water
For the Lemon Filling
4 large eggs
1 cup granulated sugar
2/3 cup fresh lemon juice (from about 3–4 lemons)
1 tablespoon lemon zest
1/2 cup heavy cream
1/4 teaspoon salt
Optional for Garnish
Powdered sugar
Lemon slices or zest curls
Fresh berries or mint
Instructions
1️⃣ Preheat your oven to 350°F (175°C). In a mixing bowl, combine flour, powdered sugar, and salt. Cut in the cold butter using a pastry cutter or your fingers until the mixture resembles coarse crumbs. Add ice water one tablespoon at a time just until the dough comes together.
2️⃣ Press the dough evenly into a 9-inch tart pan with a removable bottom, pressing it up the sides. Prick the bottom with a fork and chill for 10–15 minutes.
3️⃣ Bake the crust for 15–18 minutes or until lightly golden. Remove from the oven and let it cool slightly while preparing the filling.
4️⃣ In a separate bowl, whisk together the eggs, sugar, lemon juice, lemon zest, cream, and salt until smooth. Pour the filling into the slightly cooled crust.
5️⃣ Return the tart to the oven and bake for 20–25 minutes, or until the filling is just set and no longer jiggles in the center. Allow to cool at room temperature, then chill in the refrigerator for at least 1 hour before serving.
6️⃣ Dust with powdered sugar and garnish with lemon slices, berries, or mint if desired. Slice and serve chilled for a burst of citrusy bliss.
Notes
For extra flavor, try adding a touch of vanilla extract to the filling or swap in lime juice for a tropical twist. This tart is best served cold, and it keeps well in the fridge for up to 3 days. Use a sharp knife wiped clean between slices for the neatest presentation.

