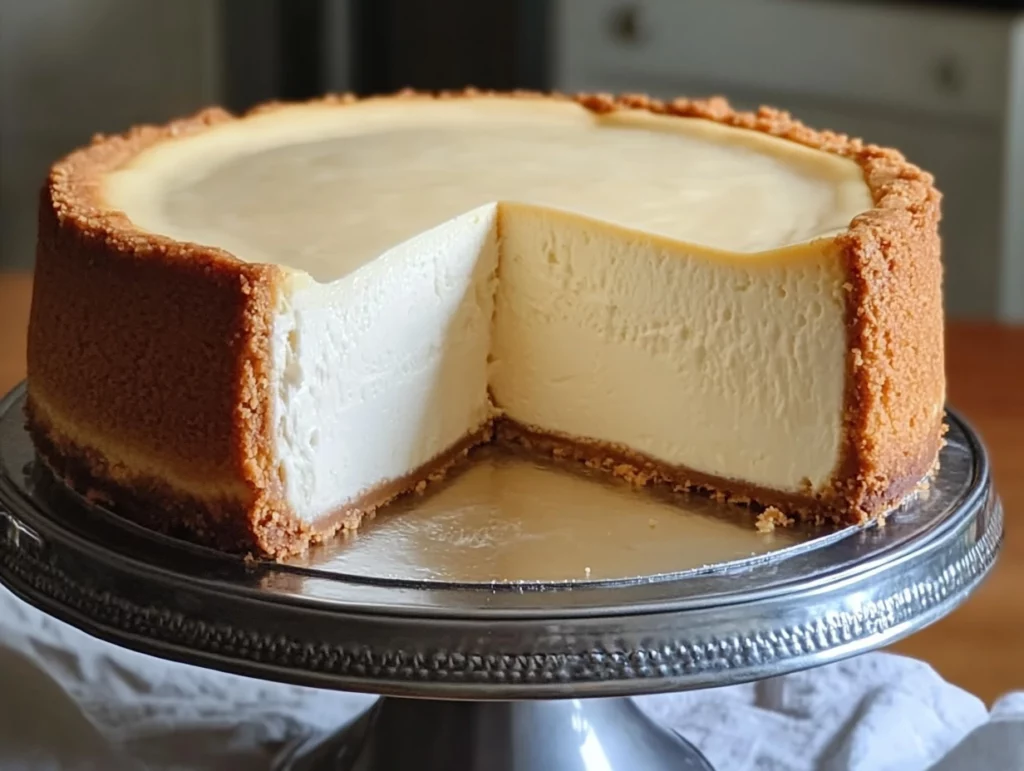
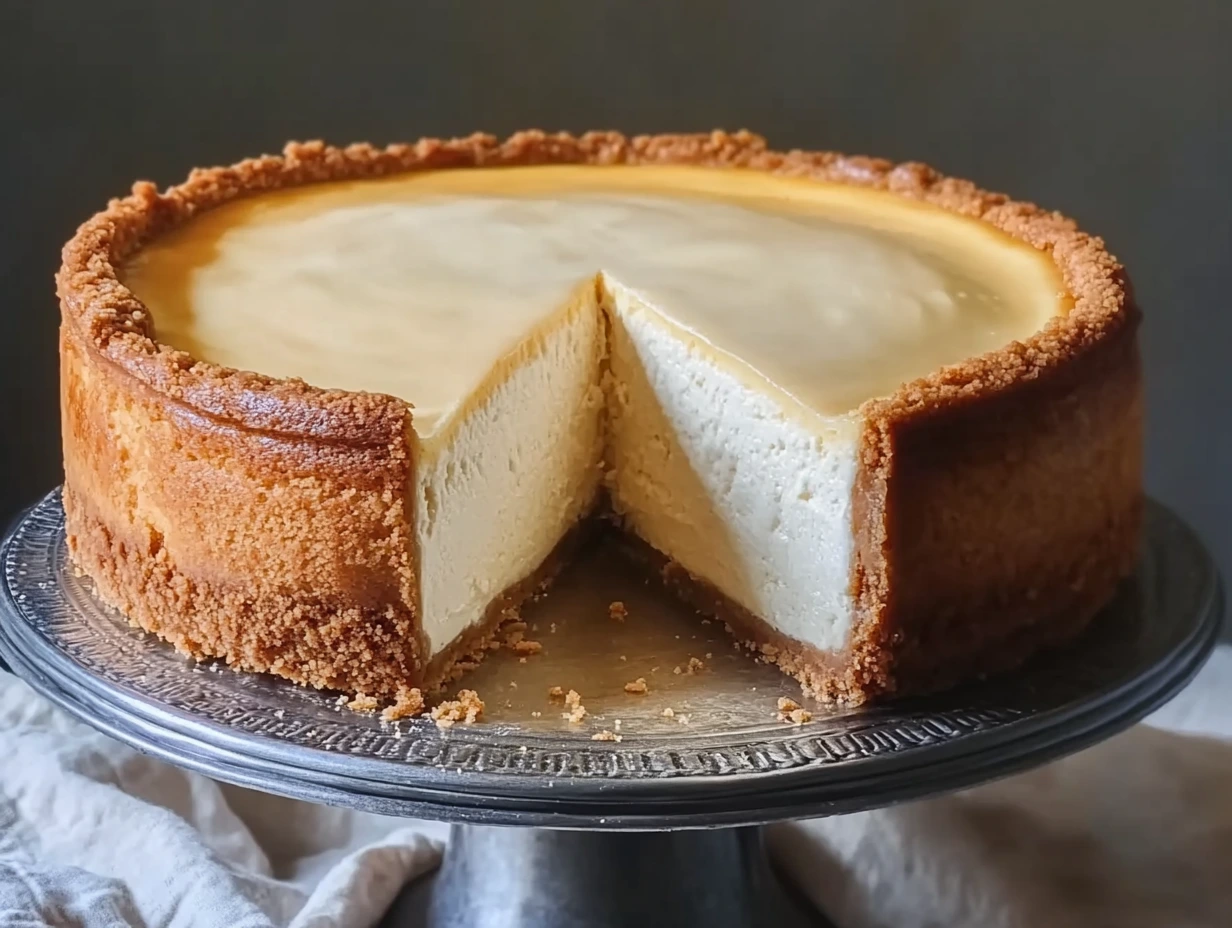
If I had to pick just one dessert to call my all-time favorite, it would hands down be a New York Cheesecake. There’s something magical about that first forkful – the way the rich, creamy filling melts on your tongue, balanced perfectly with the buttery crunch of the graham cracker crust. It’s pure bliss. And the best part? You don’t have to be a professional baker to make one at home that tastes just like it came from a fancy bakery.
Today, I’m sharing my go-to New York Cheesecake recipe — a true classic that’s been perfected over time. It’s smooth, it’s luscious, and it always impresses. Plus, I’ll be walking you through each step, sharing a few little tricks I’ve learned along the way (and a few mistakes I made early on, so you can skip those!). Trust me, you’ve got this.
Let’s dive right in!
Ingredients You’ll Need
Here’s everything you’ll want to have ready before we get started:
For the Crust:
1 1/2 cups graham cracker crumbs (about 10–12 graham crackers, crushed)
1/4 cup granulated sugar
6 tablespoons unsalted butter, melted
For the Filling:
4 (8-ounce) packages cream cheese, softened
1 1/4 cups granulated sugar
1 cup sour cream, room temperature
1 teaspoon vanilla extract
3 large eggs, room temperature
Pro Tip: Make sure your cream cheese, sour cream, and eggs are all at room temperature before you start. It makes a huge difference in how smooth your cheesecake turns out. No lumps, no bumps — just dreamy cheesecake goodness.
Step-by-Step Instructions
Step 1: Preheat and Prep
First things first — preheat your oven to 325°F (165°C).
You’ll want to lightly grease a 9-inch springform pan. Then, for an extra insurance policy against leaks (trust me, you’ll thank yourself later), wrap the bottom and sides of the pan tightly with aluminum foil. We’ll be using a water bath during baking, and this step helps keep everything nice and dry.

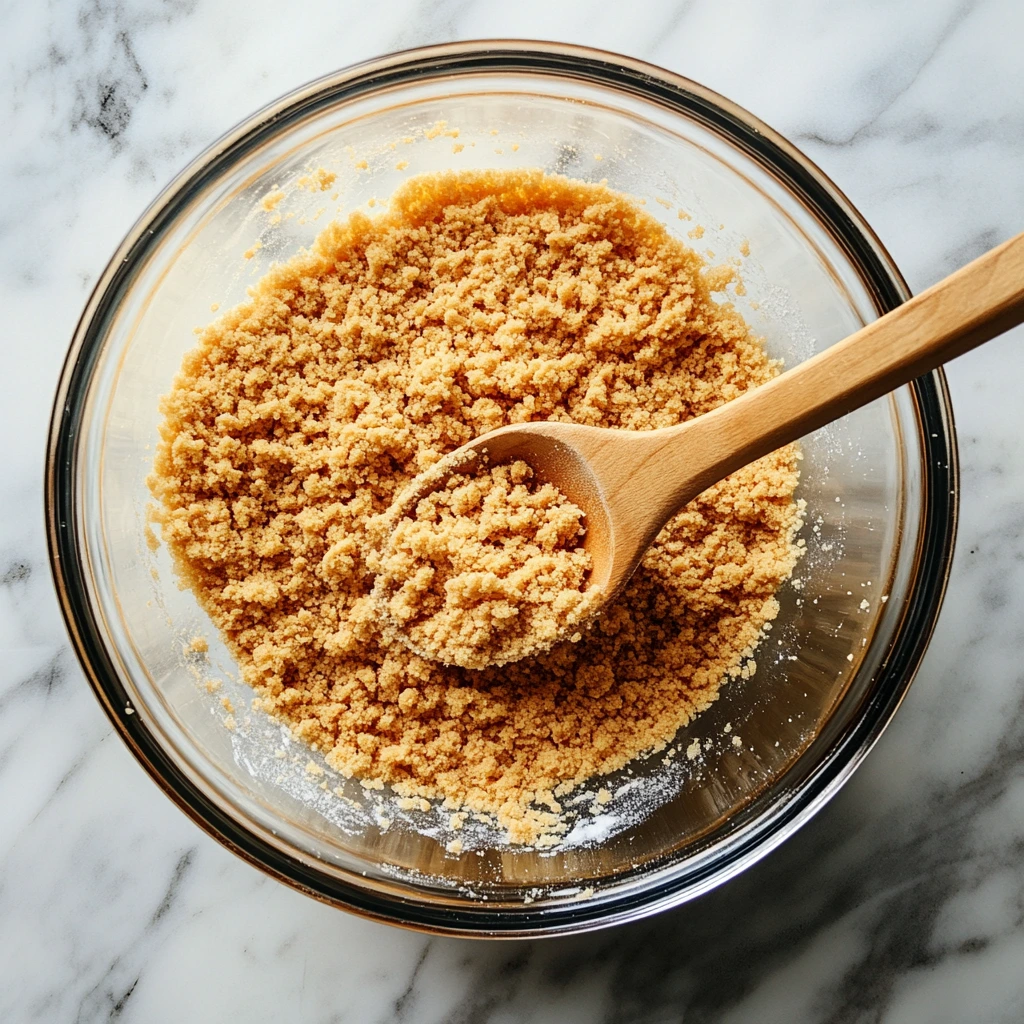
Step 2: Make the Crust
In a medium-sized bowl, combine your graham cracker crumbs, sugar, and melted butter. Stir everything together until it looks like wet sand.
Next, pour the crumb mixture into your prepared springform pan. Use the back of a spoon or the bottom of a glass to firmly press it down into an even layer across the bottom.
Slide the crust into the oven and bake for 8 to 10 minutes, just until it’s lightly golden and smells absolutely amazing.
Once it’s done, set it aside to cool while you whip up that luscious filling.
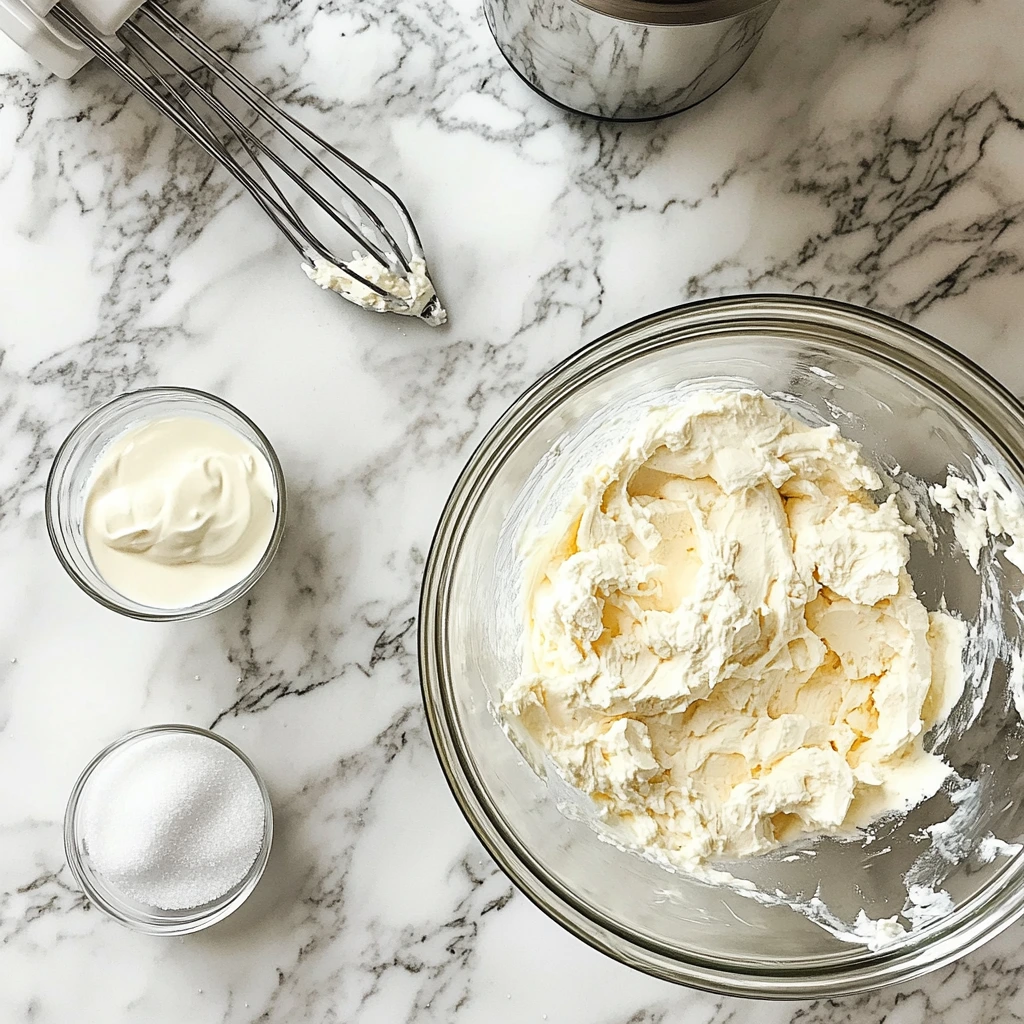
Step 3: Make the Filling
Now for the best part — the creamy center!
In a large mixing bowl, beat the softened cream cheese using a hand mixer or stand mixer on medium speed. You’re aiming for smooth and creamy here, which usually takes about 2–3 minutes.
Add in the granulated sugar and keep mixing until it’s fully blended. Don’t forget to scrape down the sides of the bowl so everything gets evenly combined.
Next, beat in the sour cream and vanilla extract until the mixture looks silky and luxurious.
Then, reduce your mixer speed to low and add the eggs one at a time. Mix each egg just until it’s incorporated before adding the next.
Important Tip: Don’t overmix at this stage. It’s tempting, but overbeating the batter can introduce too much air, leading to cracks during baking. A few minutes of gentle mixing is all you need.
Perfecting Your New York Cheesecake: Baking, Cooling, and Tips
Alright, now that you’ve got your buttery crust and creamy filling ready to go, it’s time for the part that really makes or breaks a cheesecake — the baking and cooling process. I’ll walk you through it step-by-step, along with a few simple tips to make sure your cheesecake comes out flawless. Trust me, you’re going to be so proud when you pull that beauty out of the fridge the next day!
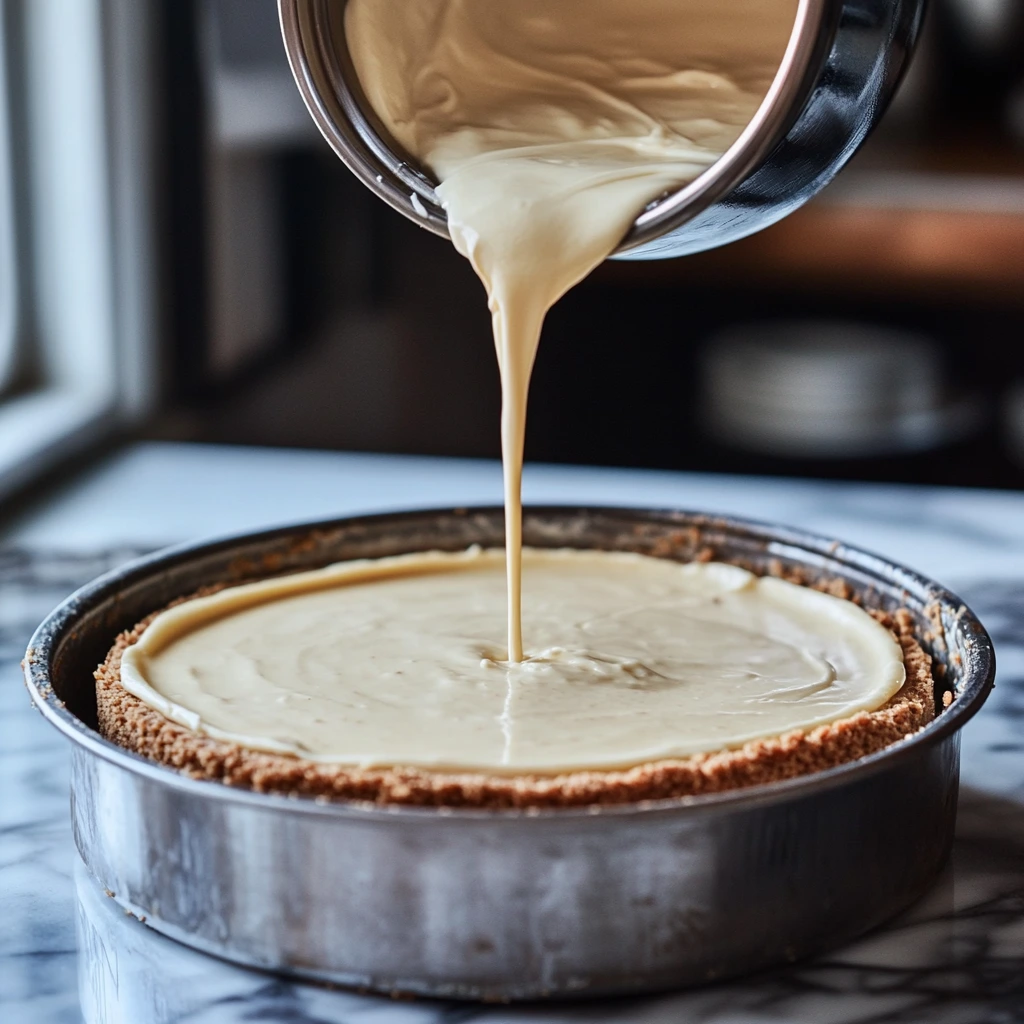
Step 4: Assemble and Bake
Pour your smooth cheesecake batter over the cooled crust. Use a spatula to gently spread it out into an even layer. Don’t worry if it doesn’t look perfectly smooth — it will settle beautifully during baking.
Now here’s the slightly fussy but totally worth-it part: the water bath.
Place your foil-wrapped springform pan inside a large roasting pan. Carefully pour hot water into the roasting pan until it comes about halfway up the sides of your springform pan. This steamy environment helps the cheesecake bake gently and evenly, and it’s the secret to avoiding those pesky surface cracks.
Slide everything into your preheated 325°F oven and bake for 55 to 70 minutes.
You’ll know it’s done when the edges look set but the center still has a slight jiggle when you nudge the pan. If you’re unsure, give the pan a gentle tap — you want a little movement in the center, like Jell-O, but not a soupy wobble.
Baking Tip: Avoid opening the oven door during baking! I know it’s tempting to peek, but sudden temperature changes can cause cracks to form.
Step 5: Cool and Chill
Once the baking time is up, turn off the oven but leave the cheesecake inside with the door cracked open for about 1 hour. This slow cooling process helps prevent the top from cracking and sinking.
After that hour, take the cheesecake out of the oven and let it cool completely at room temperature. Then, transfer it to the fridge and chill for at least 4–6 hours, or preferably overnight.
I know the waiting is the hardest part, but trust me — the texture improves dramatically after a long chill.
When you’re finally ready to serve, run a thin knife around the edge of the cheesecake before removing the springform ring. This little trick keeps the sides looking clean and professional.
Helpful Tips for the Perfect Cheesecake
Room Temperature Ingredients are Key: Cold ingredients don’t blend well and can cause lumps in the batter. Give your cream cheese, sour cream, and eggs plenty of time to warm up.
Gentle Mixing is Your Friend: Overmixing introduces air into the batter, which can cause the cheesecake to puff up and then collapse — not what we want! Mix just until each ingredient is incorporated.
Don’t Skip the Water Bath: Yes, it’s an extra step. But it creates that beautifully creamy, dense texture that defines a true New York cheesecake.
Use a Sharp, Hot Knife for Slicing: Dip your knife in hot water and wipe it clean between cuts for the neatest slices.
Customize Your Toppings: This cheesecake is perfect on its own, but it’s also a great base for toppings. Try fresh berries, a glossy fruit compote, caramel drizzle, or even a chocolate ganache if you’re feeling extra indulgent.
Frequently Asked Questions About New York Cheesecake
Making New York Cheesecake might seem a bit intimidating at first, but once you know the ins and outs, it’s actually a breeze. I’ve gathered some of the most common questions I get about this recipe, so you can feel confident every step of the way. Let’s go through them!
1. Can I use a different type of crust for this cheesecake?
Yes, absolutely! While the graham cracker crust is a classic, you can swap it out for other crusts like crushed Oreos, Biscoff cookies, or even a crushed shortbread cookie base. Just be sure to adjust the proportions to match the texture — you want that buttery crunch to hold up well under the filling!
2. What if my cheesecake cracks during baking?
Cracking can happen, but it doesn’t mean your cheesecake is ruined! First, make sure you’re not overmixing the batter, as this can introduce too much air and cause cracks. Also, the water bath is key to preventing cracks, as it helps maintain even moisture in the oven. If cracks do appear, don’t panic — you can always cover them up with fresh fruit or a layer of sour cream topping!
3. How do I prevent the cheesecake from sticking to the pan?
The aluminum foil wrap around the pan is an important step to help prevent leaks, but to keep your cheesecake from sticking to the sides, you can also line the sides of the pan with parchment paper. After it’s fully cooled, gently run a knife around the edges before removing the springform ring.
4. Can I make this cheesecake ahead of time?
Yes! In fact, cheesecake is one of those desserts that gets better after it’s had time to chill and set. You can make it a day or two ahead of your event, and it will hold up perfectly. Just be sure to store it in the fridge, and keep it tightly wrapped to preserve its freshness.
5. Can I freeze New York Cheesecake?
Yes, you can freeze New York Cheesecake if you need to make it well in advance. After the cheesecake has chilled in the fridge, wrap it tightly in plastic wrap and then aluminum foil. It can stay in the freezer for up to 1-2 months. To thaw, let it sit in the fridge for several hours or overnight before serving.
6. Can I add a swirl or flavor to the cheesecake filling?
Definitely! You can swirl in a fruit puree (like strawberry or raspberry), or even melt some chocolate and swirl that into the batter for a delicious twist. Just be careful not to overmix after adding any extras so you can keep the cheesecake’s signature creamy texture. Experiment with flavors that suit your taste — the possibilities are endless!
7. What’s the best way to serve New York Cheesecake?
New York Cheesecake is fantastic on its own, but it’s also an amazing canvas for toppings! Fresh berries, a drizzle of caramel sauce, or even a spoonful of homemade whipped cream can elevate it even further. If you’re serving a crowd, slice it into small pieces — the richness of this cheesecake means a little goes a long way.
Conclusion: Your New York Cheesecake Awaits!
There you have it — a foolproof guide to making the creamiest, most decadent New York Cheesecake. Whether you’re making it for a special occasion or just craving that perfect, rich slice, this recipe is a guaranteed winner. Don’t be afraid to make it your own with different crusts, toppings, or flavors. The beauty of New York Cheesecake is that it’s both a classic and a canvas for your creativity.
I’m confident that once you try this recipe, it will become a staple in your dessert repertoire. So, give it a go, take your time, and enjoy the process (and the delicious results). Don’t forget to share your thoughts and any fun variations you try — I’d love to hear how it turns out for you!
Happy baking, and here’s to many more cheesecakes to come!
Print
New York Cheesecake
- Author: Andrew Recipes
Description
Rich, dense, and irresistibly creamy, New York Cheesecake is a true classic that’s perfect for any special occasion or indulgent dessert craving. With its buttery graham cracker crust and luscious filling, this cheesecake delivers a timeless flavor and a luxurious texture that melts in every bite.
Ingredients
For the Crust
1 1/2 cups graham cracker crumbs (about 10–12 graham crackers, crushed)
1/4 cup granulated sugar
6 tbsp unsalted butter, melted
For the Filling
4 (8 oz) packages cream cheese, softened
1 1/4 cups granulated sugar
1 cup sour cream, room temperature
1 tsp vanilla extract
3 large eggs, room temperature
Instructions
Step 1: Preheat and Prep
Preheat your oven to 325°F (165°C). Lightly grease a 9-inch springform pan and wrap the bottom and sides with aluminum foil to prevent leaks during the water bath.
Step 2: Make the Crust
In a medium bowl, mix the graham cracker crumbs, sugar, and melted butter until the mixture resembles wet sand. Press the mixture firmly into the bottom of the springform pan to form an even layer. Use the back of a spoon or the bottom of a glass to press it down tightly. Bake the crust for 8–10 minutes, then remove it from the oven and let it cool while you prepare the filling.
Step 3: Make the Filling
In a large mixing bowl, beat the softened cream cheese with a hand mixer or stand mixer on medium speed until smooth and creamy (about 2–3 minutes). Add the sugar and mix until fully incorporated. Scrape down the sides of the bowl as needed. Beat in the sour cream and vanilla extract until smooth. Add the eggs one at a time, mixing on low speed after each addition. Be careful not to overmix, as this can cause cracks in the cheesecake.
Step 4: Assemble and Bake
Pour the filling over the cooled crust and smooth the top with a spatula. Place the springform pan inside a larger roasting pan. Fill the roasting pan with hot water until it reaches halfway up the sides of the springform pan. Bake for 55–70 minutes, or until the edges are set but the center is still slightly jiggly.
Step 5: Cool and Chill
Turn off the oven and leave the cheesecake inside with the door slightly ajar for 1 hour to cool gradually. Remove the cheesecake from the oven and let it cool completely at room temperature. Refrigerate for at least 4–6 hours, or overnight, before slicing.
Notes
Make sure all your ingredients are at room temperature before starting to ensure a smooth batter. Avoid opening the oven door while baking to prevent sudden temperature changes that can cause cracks. For the cleanest slices, dip your knife in hot water and wipe it clean between cuts. This cheesecake is delicious as-is, but you can top it with fresh berries, a drizzle of chocolate, or a fruit compote for a special touch.

