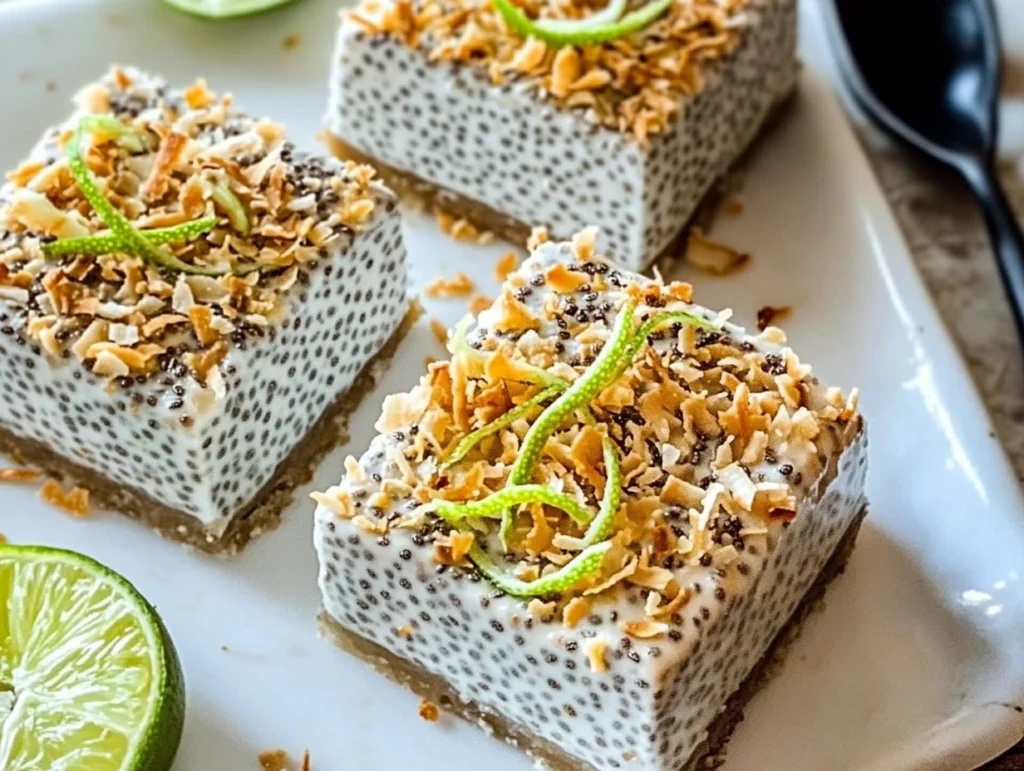
I still remember the first time I experimented with chia pudding bars. It was a scorching July afternoon, and I wanted something that felt like dessert but was sneaky healthy enough to double as breakfast. I dug into my pantry, found a lonely can of coconut milk, and a bag of chia seeds that I’d bought on sale months ago—completely on impulse. A few squeezes of lime, a drizzle of maple syrup, and voilà: the most refreshing, creamy coconut-lime bars I’ve ever tasted. Ever since, they’ve become my go-to make-ahead snack, perfect for busy mornings or an afternoon pick-me-up.
These bars are surprisingly simple to pull together—no oven required—and you can easily customize them with chocolate chips, nuts, or even fresh berries. Best of all, they’re gluten-free and vegan (if you use maple syrup), so they please practically everyone. In this Part 1, I’ll walk you through why I adore this recipe, share a quick backstory, and guide you through the first steps to get your chia pudding base ready for its overnight chill.
Why You’ll Love These Chia Bars
Effortless Prep: Just whisk, chill, and slice—no pans heating up the kitchen.
Make-Ahead Magic: Prep one evening, and you’ve got grab-and-go bars all week.
Customizable Flavors: From shredded coconut to dark chocolate chips, you’re in charge of the mix-ins.
Nutrient Boost: Chia seeds pack omega-3s, fiber, and protein into every bite, while coconut milk lends a silky richness.
Bright and Cheery: The lime zest and juice give a lively citrus kick that feels like summer in your mouth.
Whether you’re meal-prepping for the week, hosting a backyard brunch, or simply craving a healthier sweet fix, these bars fit the bill. Now, let’s dive into the crucial first steps.
STEPS
Gather and Measure Your Ingredients
1 cup full-fat coconut milk (or your preferred plant-based milk)
¼ cup maple syrup (or honey, if you’re not keeping it vegan)
¼ cup chia seeds
Zest and juice of 1 lime (about 2 tablespoons juice)
1 teaspoon vanilla extract
Pinch of salt
I like to line everything up on my counter first—measure all the wet ingredients in one bowl, and the dry in another. It saves time and keeps you from making a sticky, chia-clumpy mess when you’re juggling too many bowls at once.
Whisk Together the Coconut Milk, Sweetener, and Flavorings
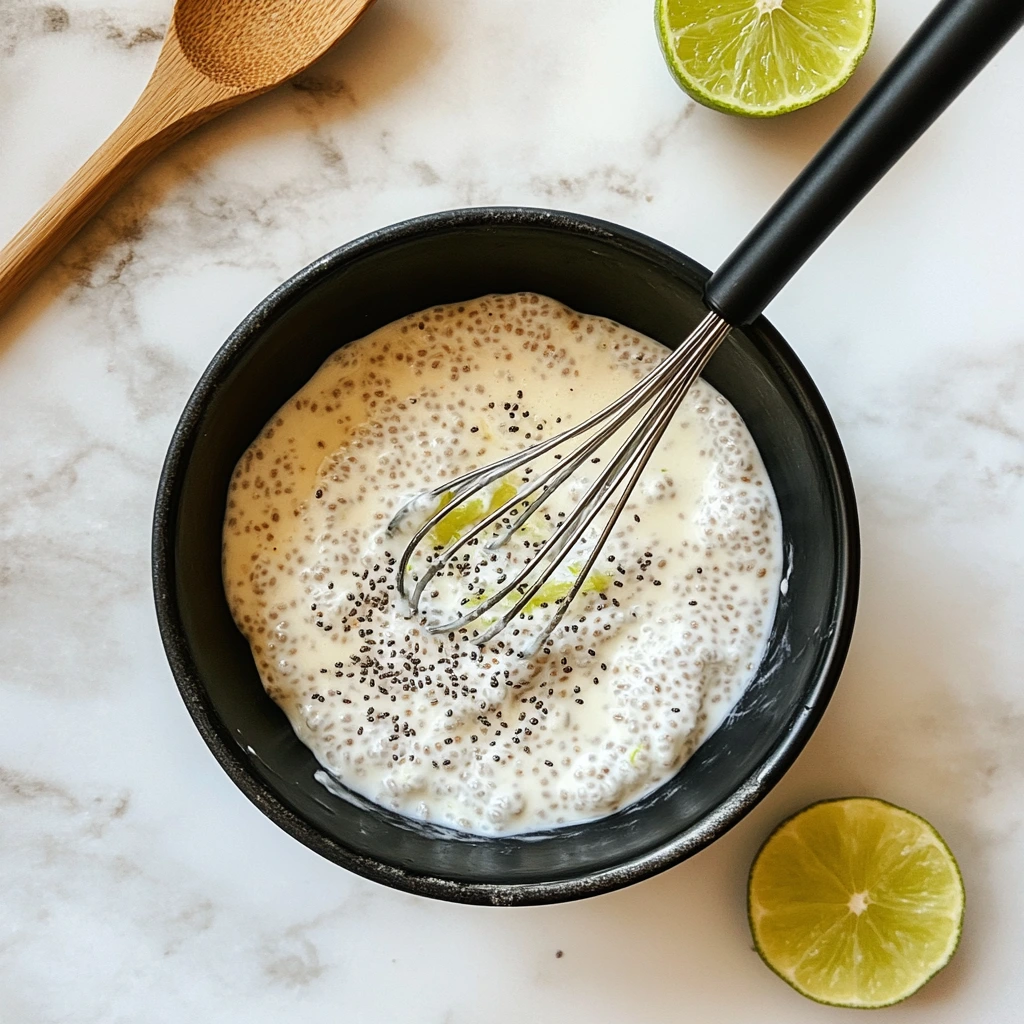
Pour your coconut milk into a medium mixing bowl, then add the maple syrup, lime juice, lime zest, vanilla extract, and a pinch of salt. Whisk briskly until the syrup is fully incorporated and the citrus zest is evenly distributed. You’re aiming for a smooth, homogenous mixture so every bite has that perfect balance of creamy, sweet, and tangy.Incorporate the Chia Seeds
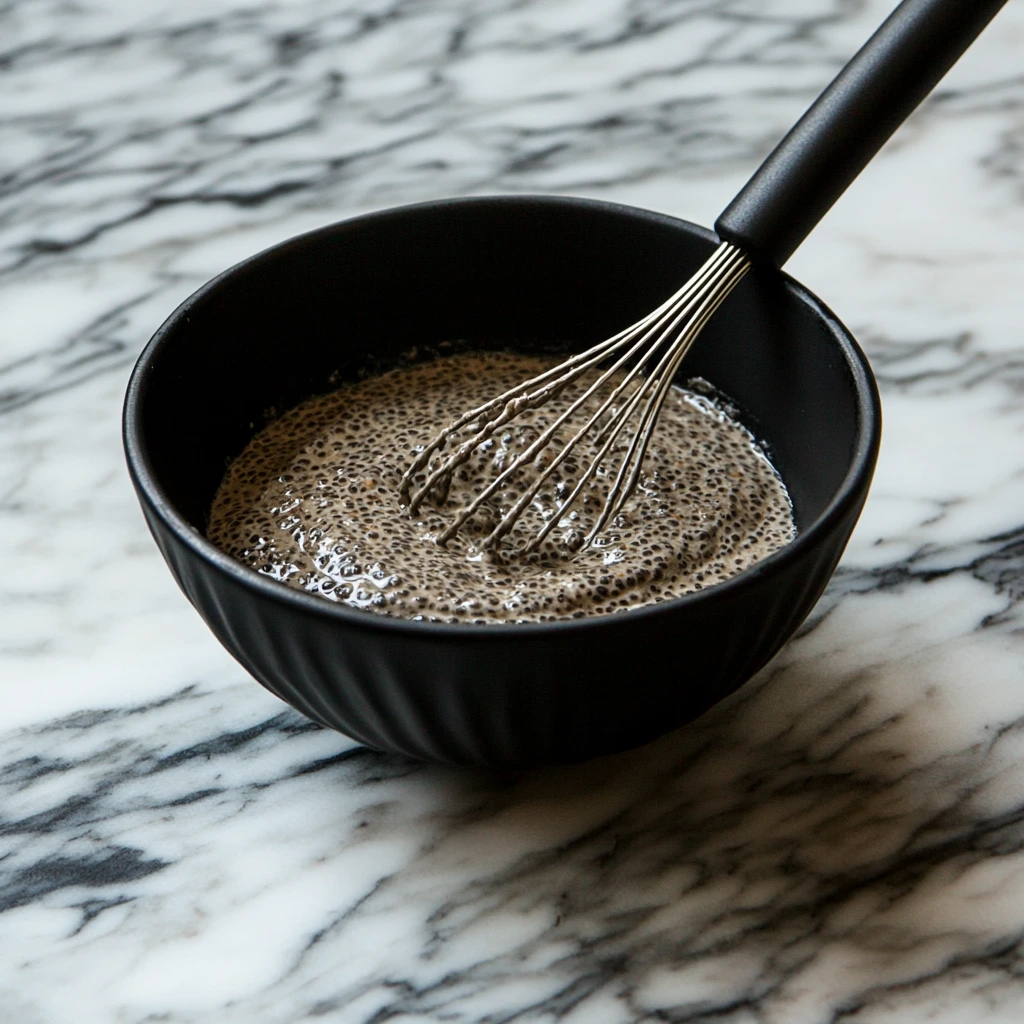
Sprinkle in the chia seeds and whisk again, making sure to break up any clumps. If you’ve ever had chia pudding with those gelatinous lumps, you know why this step matters! After the initial whisk, let the mixture rest for about 5 minutes—this gives the chia seeds a little time to absorb moisture and swell. Then, whisk once more to ensure an even, lump-free texture.Prepare Your Pan
Line an 8×8-inch baking pan with parchment paper, leaving an overhang on two sides to create a “sling” for easy removal later. Pour the chia pudding mixture into the pan, using a spatula to smooth out the top. This is where you can already imagine the creamy bars taking shape—go ahead and give it that final pat-down to create an even surface.
At this point, your chia pudding base is officially ready for its chill time. Cover the pan loosely with plastic wrap or a lid, then transfer it to the refrigerator. You’ll want to let it set for at least 4 hours, though I prefer overnight—this gives it plenty of time to firm up into sliceable bars.
Finishing Your No-Bake Chia Pudding Bars + Tips
Welcome back! By now, your chia pudding base has had plenty of time to firm up in the fridge, and if you peek under that plastic wrap, you’ll see a satisfyingly solid—but still creamy—slab just waiting for its final flourishes. In this section, we’ll unwrap the pan, add your favorite toppings and mix-ins, slice everything into perfect bars, and I’ll share some of my tried-and-true tips for flavor variations and troubleshooting common hiccups. Ready? Let’s dive right in.
STEPS
Unmold and Prepare for Toppings
Remove the pan from the fridge and gently pull up on the parchment “sling” to lift the set pudding slab out.
Transfer it to a cutting board while keeping the parchment underneath—this makes cleanup a cinch.
Add Your Toppings and Mix-Ins
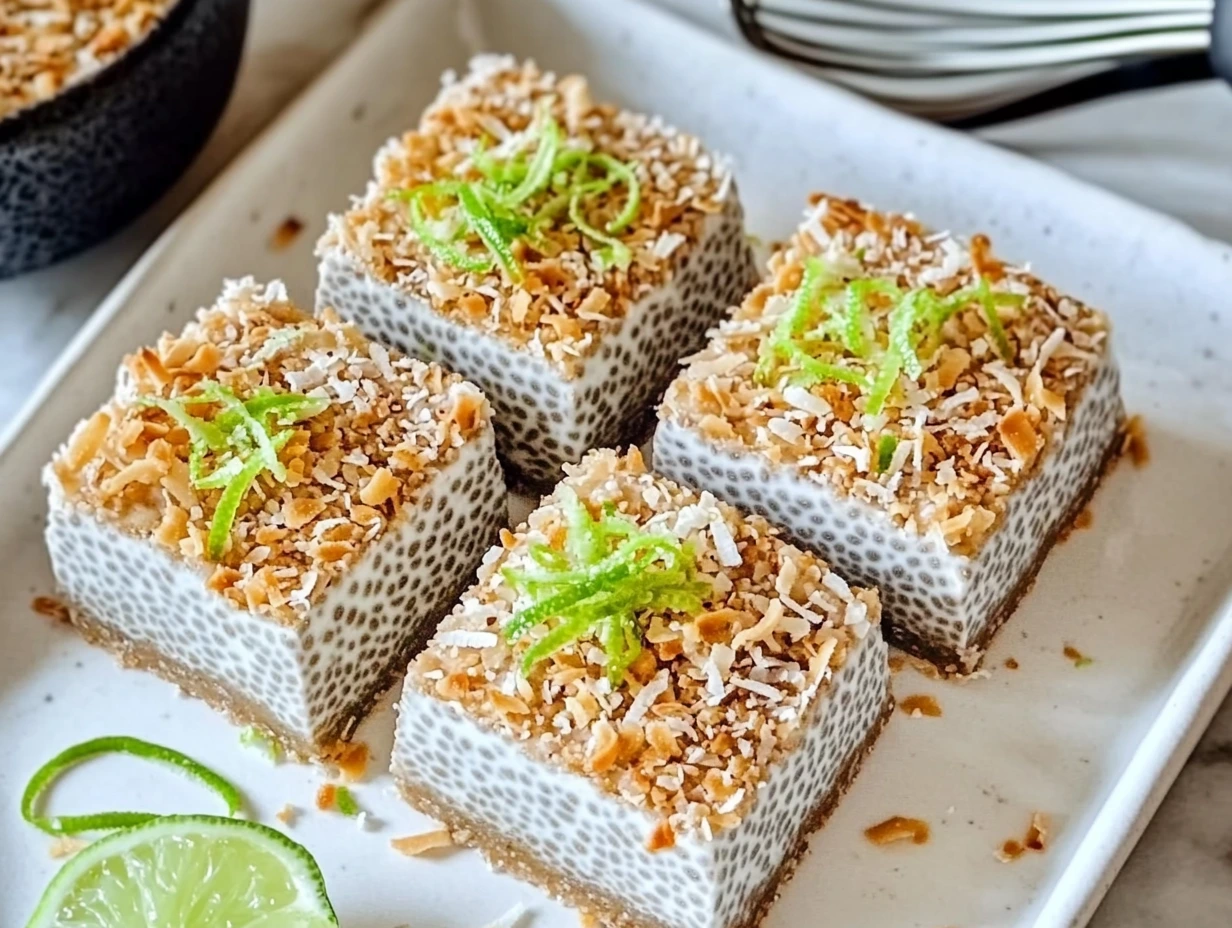
Toasted Coconut: Evenly sprinkle ¼ cup of unsweetened shredded coconut over the top for a subtle crunch and tropical flair.
Extra Lime Zest: Grate 1–2 tablespoons of fresh lime zest over the surface to amplify that bright citrus note.
Optional Mix-Ins: Now is the time to press in any extras—dark chocolate chips, chopped nuts (almonds or pistachios work beautifully), or small pieces of dried fruit. Press gently so they adhere to the pudding without sinking all the way through.
Slice into Bars
Using a sharp chef’s knife, cut the slab into 8–10 evenly sized bars. For clean edges, wipe the blade with a damp towel between cuts.
Arrange the bars on a platter or store them directly in an airtight container, layering with parchment paper if needed to prevent sticking.
Serve or Store
Serve Chilled: These bars are best enjoyed straight from the fridge when they retain their firm-but-creamy texture.
Make-Ahead Friendly: Store in an airtight container for up to 5 days—perfect for breakfasts on busy mornings or an afternoon pick-me-up.
TIPS & VARIATIONS
Perfect Firmness: If your bars feel too soft after 4 hours, give them an extra 2–4 hours in the fridge. Full overnight chilling always yields the best, firmest texture.
Milk Swaps: Coconut milk brings richness, but feel free to substitute almond, oat, or even cow’s milk—just taste the mixture before chilling and adjust the maple syrup if it needs a little extra sweetness.
Nutty Crunch: For a built-in texture boost, fold 2 tablespoons of finely chopped nuts or 1 tablespoon of mini chocolate chips into the pudding mixture just before the first chill.
Tropical Twist: Stir 2 tablespoons of finely shredded freeze-dried mango or pineapple into the top before serving for an island-inspired bite.
Sweetness Level: If you prefer a sweeter bar, increase the maple syrup by up to 2 tablespoons. Conversely, reduce it slightly if you like the tartness of lime to dominate.
TROUBLESHOOTING COMMON ISSUES
Clumpy Pudding: Always whisk again after the 5-minute rest to break up any chia clumps. If you still spot lumps, transfer the mixture to a blender for a quick 5-second pulse before chilling.
Soggy Texture: Make sure you’re using full-fat coconut milk or a creamy alternative; thinner milks can yield a looser set. If you only have light milk on hand, increase chia seeds to ⅓ cup.
Sticking Bars: The parchment paper sling is your best friend here—don’t skip it! If bars still stick, run your knife under hot water and dry it off before slicing.
FAQ
Q1: How long can I store these chia pudding bars, and what’s the best way to keep them fresh?
You can store the bars in an airtight container in the refrigerator for up to 5 days. Layer them with parchment paper to prevent sticking, and keep the container sealed tightly—this preserves their creamy texture and prevents fridge odors from seeping in. If you notice any moisture collecting on the lid, simply wipe it clean before serving.
Q2: Can I make these bars completely nut-free and still get some crunch?
Absolutely! Simply skip the chopped nuts mix-in, and rely on toasted coconut for texture. You can also stir in 1–2 tablespoons of roasted sunflower or pumpkin seeds before chilling. If you’d like an extra boost, a tablespoon of crushed freeze-dried berries adds a satisfying crunch and a pop of color.
Q3: I only have light coconut milk—will that work?
Light coconut milk tends to be thinner, which can yield a softer set. If that’s all you have, increase the chia seeds to ⅓ cup (instead of ¼) to help thicken the mixture. You may also want to chill it overnight rather than just four hours to ensure a firmer bar.
Q4: How can I make these bars sweeter or more tart?
Sweeter: Add up to 2 extra tablespoons of maple syrup (or honey) in the initial mix. Taste as you go so it doesn’t become cloying.
More Tart: Increase the fresh lime juice by 1–2 teaspoons or add a splash of lemon juice. You can also fold in a tablespoon of finely zest-packed additional citrus for an extra zing.
Q5: Is it possible to prepare these bars on the go or for individual servings?
Yes! Instead of pouring into a slab, divide the chia mixture among 6–8 small jars or ramekins. They’ll set into individual puddings that you can grab and go. Garnish each jar with your toppings, screw on the lids, and pop them in the fridge—perfect for lunches or snacks.
Q6: My mixture was clumpy—how can I avoid that in the future?
Clumps happen when chia seeds don’t get evenly dispersed. To prevent this:
Whisk vigorously until the seeds are fully suspended.
Rest for 5 minutes, then whisk again to break up any early gel clusters.
If you still see lumps, give the whole mixture a very quick pulse in a blender before transferring to the pan.
Q7: Can I freeze these bars for longer storage?
You can freeze them for up to 2 months. Wrap individual bars in plastic wrap and place them in a freezer-safe bag. Thaw in the refrigerator overnight before serving. The texture will be slightly softer than fresh, but still delicious.
Conclusion
There you have it—your comprehensive guide to no-bake chia pudding bars, complete with flavor-boosting tips, troubleshooting tricks, and answers to your most pressing questions. These bars strike the perfect balance between creamy coconut richness and bright, tangy lime, all while packing a nutritional punch from omega-3–rich chia seeds.
Whether you slice them into bars for breakfast on-the-go, spoon them into jars for a lunchbox treat, or share them at your next brunch gathering, they’re guaranteed to be a crowd-pleaser. Don’t hesitate to experiment with your favorite mix-ins—dark chocolate, nuts, or even a swirl of berry compote all work beautifully here.
I’d love to hear how you customize these bars! Drop a comment below with any creative twists you’ve tried or your go-to topping combination. Happy chilling—and here’s to many more make-ahead mornings fueled by these simple, zesty chia pudding bars!
Print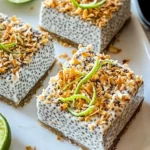
No-Bake Chia Pudding Bars
- Author: Andrew Recipes
Description
A creamy, refreshing snack or breakfast bar made by setting chia seeds in coconut milk with bright lime and sweet maple—no baking required. Chill overnight for an easy make-ahead treat that’s gluten-free, vegan (if using maple syrup) and endlessly customizable.
Ingredients
– 1 cup full-fat coconut milk (or any plant-based milk)
– ¼ cup maple syrup (or honey for non-vegan)
– ¼ cup chia seeds
– Zest and juice of 1 lime (about 2 tablespoons juice)
– 1 teaspoon vanilla extract
– Pinch of salt
For the topping
– ¼ cup unsweetened shredded coconut, toasted (optional)
– 1–2 tablespoons extra lime zest, for garnish
– Optional mix-ins: dark chocolate chips, chopped nuts or dried fruit
Instructions
In a medium bowl whisk together the coconut milk, maple syrup, chia seeds, lime zest, lime juice, vanilla extract and salt until everything is evenly combined.
Let the mixture rest for 5 minutes, then whisk again to break up any chia clumps.
Line an 8×8-inch pan with parchment paper and pour in the chia mixture, smoothing the top with a spatula.
Cover the pan and refrigerate at least 4 hours or overnight, until the pudding is fully set and firm to the touch.
Once set, sprinkle on the toasted coconut and extra lime zest, and any other desired mix-ins.
Use the parchment sling to lift the slab from the pan, place on a cutting board and slice into 8–10 bars. Serve chilled.
Notes
– Store bars in an airtight container in the refrigerator for up to 5 days.
– Swap coconut milk for almond, oat or cow’s milk, adjusting sweetness to taste.
– For extra texture fold 2 tablespoons chopped nuts or chocolate chips into the pudding before chilling.
– If you prefer a sweeter bar, increase maple syrup by up to 2 tablespoons.
– To make on the go, scoop chilled pudding into jars instead of slicing.
