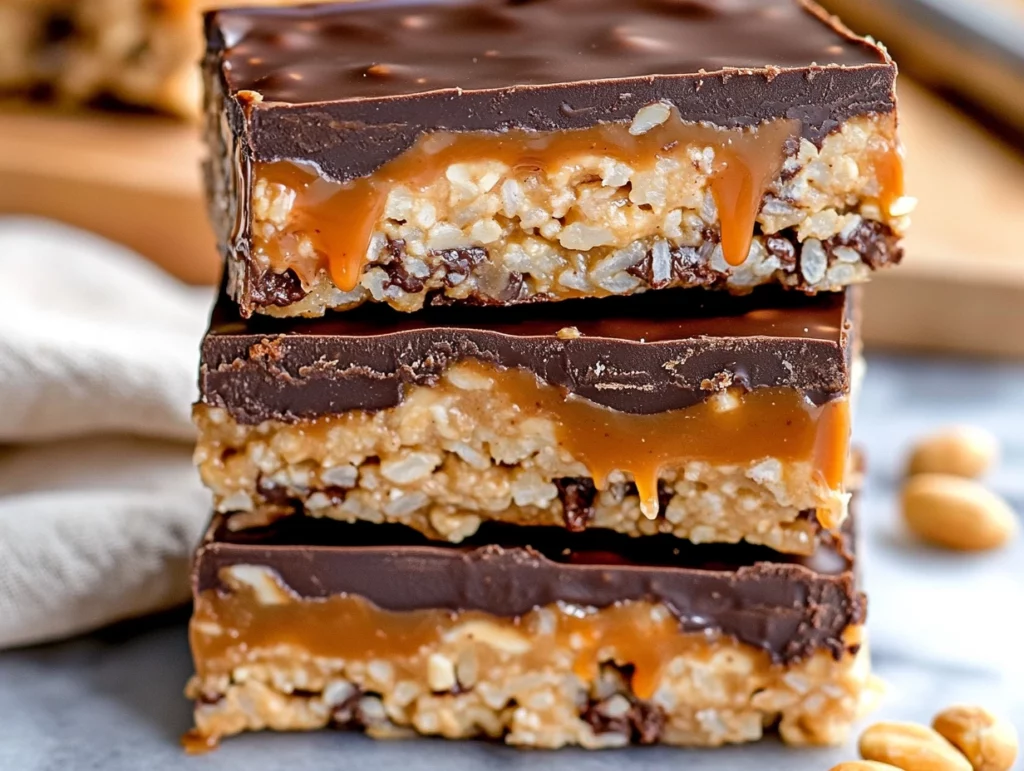
Is there anything better than recreating a favorite candy bar at home—with no oven required? These No-Bake Crispy Snickers Bars are my go-to dessert when I need something quick, nostalgic, and crowd-pleasing. They’ve got all the best parts of a classic Snickers—creamy peanut butter, sweet caramel, crunchy peanuts, and of course, that smooth layer of chocolate on top. But here’s the twist: we add crispy rice cereal to the base, giving these bars a perfectly chewy-crunchy texture that honestly makes them even better than the original.
I first whipped up these bars on a hot summer afternoon when turning on the oven wasn’t an option. My kids were begging for a treat, and I remembered I had a half-full jar of peanut butter and some leftover caramel sauce from a sundae night. A little experimenting later, and these bars were born. Now they’re a regular in our dessert rotation, especially for potlucks, parties, or just because it’s Tuesday.
So if you’re craving something rich, layered, and totally irresistible—but don’t want to fire up the oven—this is the recipe you’ve been waiting for.
Let’s jump right into the first steps!

Ingredients You’ll Need
1 ½ cups crispy rice cereal
1 cup smooth peanut butter
½ cup unsalted butter
1 cup powdered sugar
1 cup mini chocolate chips
1 cup salted roasted peanuts, chopped
1 cup caramel sauce
1 ½ cups semisweet chocolate chips
1 tablespoon coconut oil
These ingredients come together to make something truly special. You probably already have most of them in your pantry—and if not, everything is easy to find at the grocery store. And yes, you can absolutely use store-bought caramel sauce if you’re short on time.
STEP 1: Make the Peanut Butter Base
Start by grabbing a medium saucepan. Add your unsalted butter and smooth peanut butter to the pan and melt them together over low heat. Stir frequently to make sure nothing sticks or scorches—low and slow is the key here. Once the mixture is completely smooth and combined, remove it from the heat.
Now it’s time to stir in the powdered sugar. This will thicken things up and help the base hold together when chilled. Whisk the sugar in slowly until the mixture is thick but still spreadable.
Next, add in your crispy rice cereal. Make sure every piece gets coated by that luscious peanut butter mixture. It’s going to look and smell amazing already!
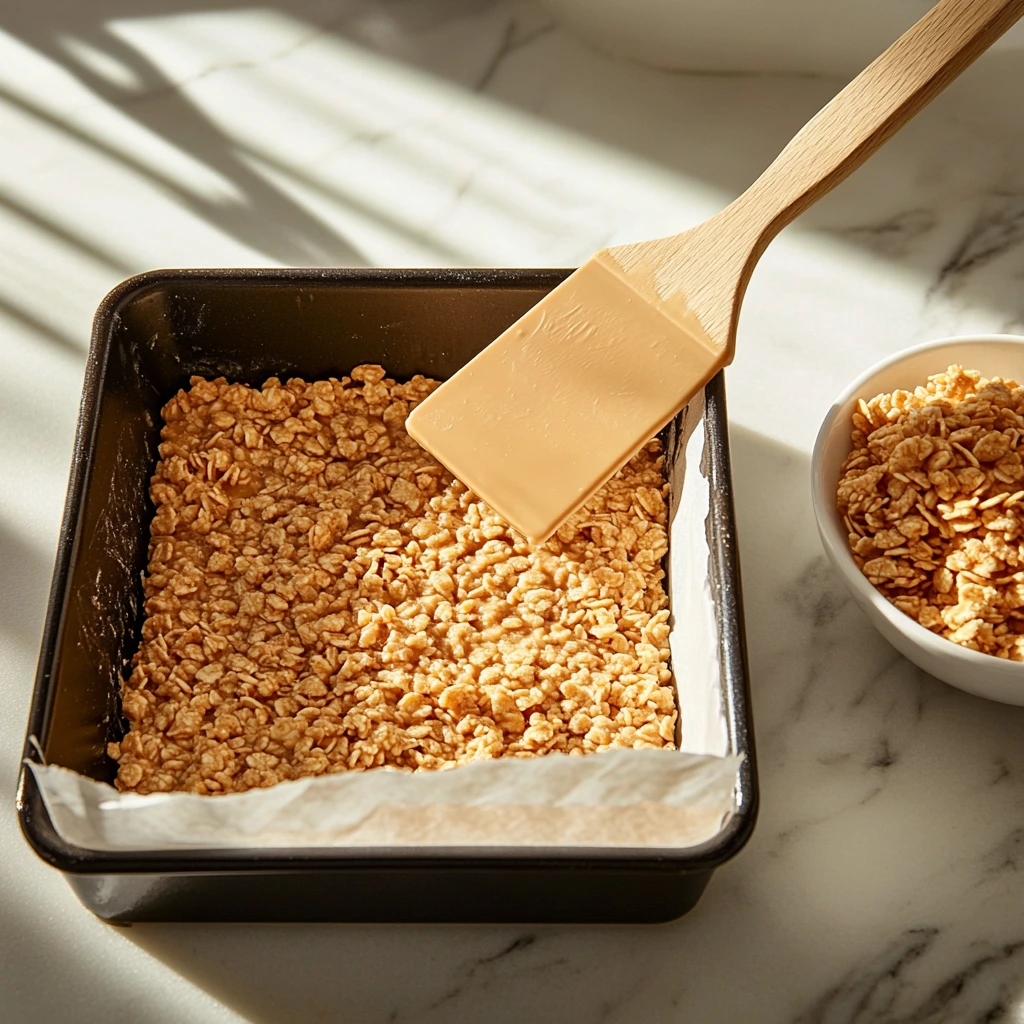
STEP 2: Press and Layer
Line an 8×8-inch baking pan with parchment paper—this is going to make your life a whole lot easier when it comes time to slice the bars.
Now, press the peanut butter–cereal mixture into the bottom of the pan. Don’t just dump it in—take a few moments to press it down firmly and evenly. You want a solid, compact base that will hold up once the bars are chilled and cut.
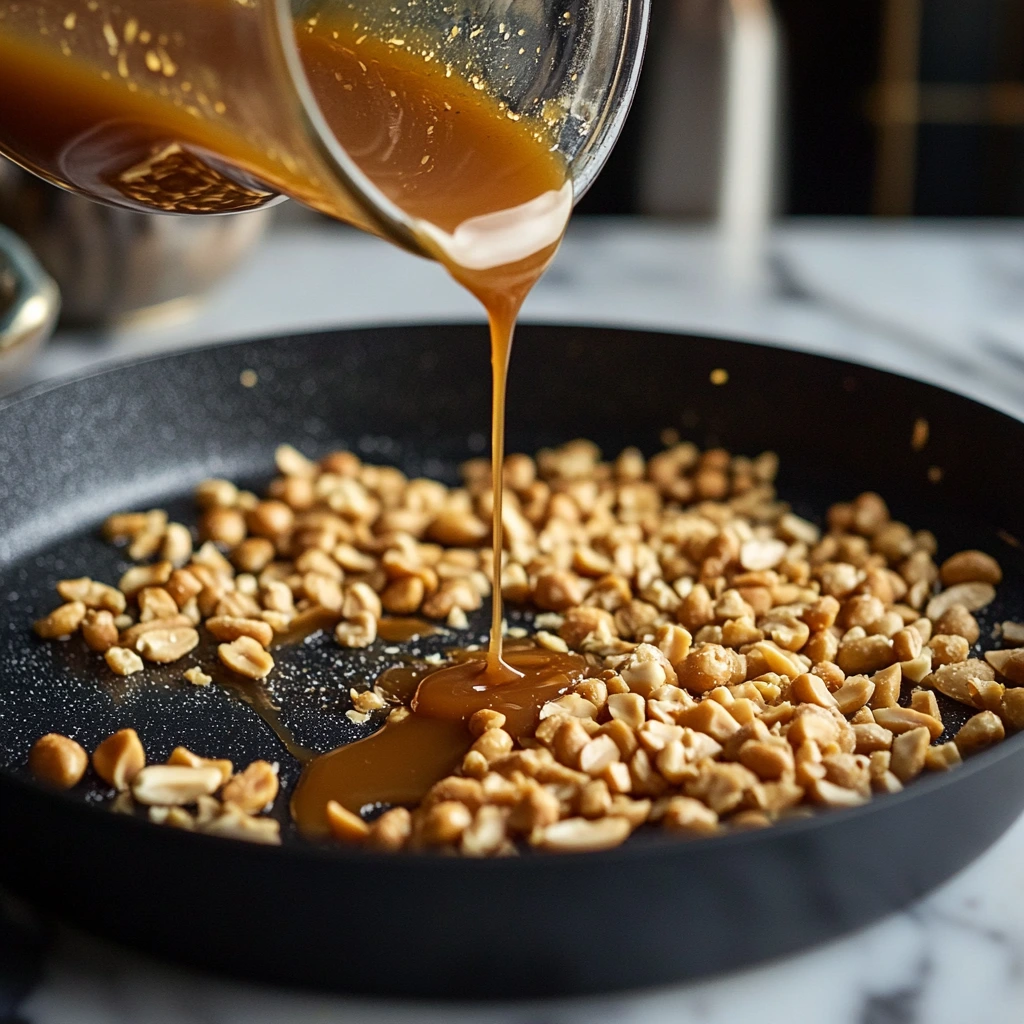
Once the base is nice and firm, sprinkle your chopped salted peanuts over the top. This adds that signature crunch you expect from a Snickers bar and balances the sweetness with a little salty pop.
Then, pour the caramel sauce over the peanuts. Use the back of a spoon or an offset spatula to gently spread it out to the edges. If your caramel is on the runny side, let it cool just a little before pouring so it doesn’t melt the base layer.
No-Bake Crispy Snickers Bars: A Homemade Treat Everyone Will Love
We left off with our delicious peanut butter and caramel layers nestled perfectly in the pan. Now comes the final—and arguably best—step: that rich chocolate topping. It’s the crowning glory of these bars and takes them from “really good” to “where have these been all my life?”
Whether you’re making these for a party tray, a weekend treat, or just to satisfy a sweet tooth, the last steps come together in minutes. Let’s get to it!
STEP 3: Make the Chocolate Topping
In a microwave-safe bowl, combine your semisweet chocolate chips and coconut oil. The coconut oil is key here—it helps the chocolate melt more smoothly and gives it that glossy finish once set.
Microwave the mixture in 30-second intervals, stirring after each one. It usually takes about 1 to 1 ½ minutes total. Be sure not to overheat the chocolate—you want it just melted and pourable, not scorched.
Once smooth, pour the chocolate right over the caramel layer. Use an offset spatula or the back of a spoon to spread the chocolate all the way to the edges, making sure it covers the caramel completely. Don’t worry if it doesn’t look perfect—once chilled and sliced, every bar looks like a little masterpiece.
![]()
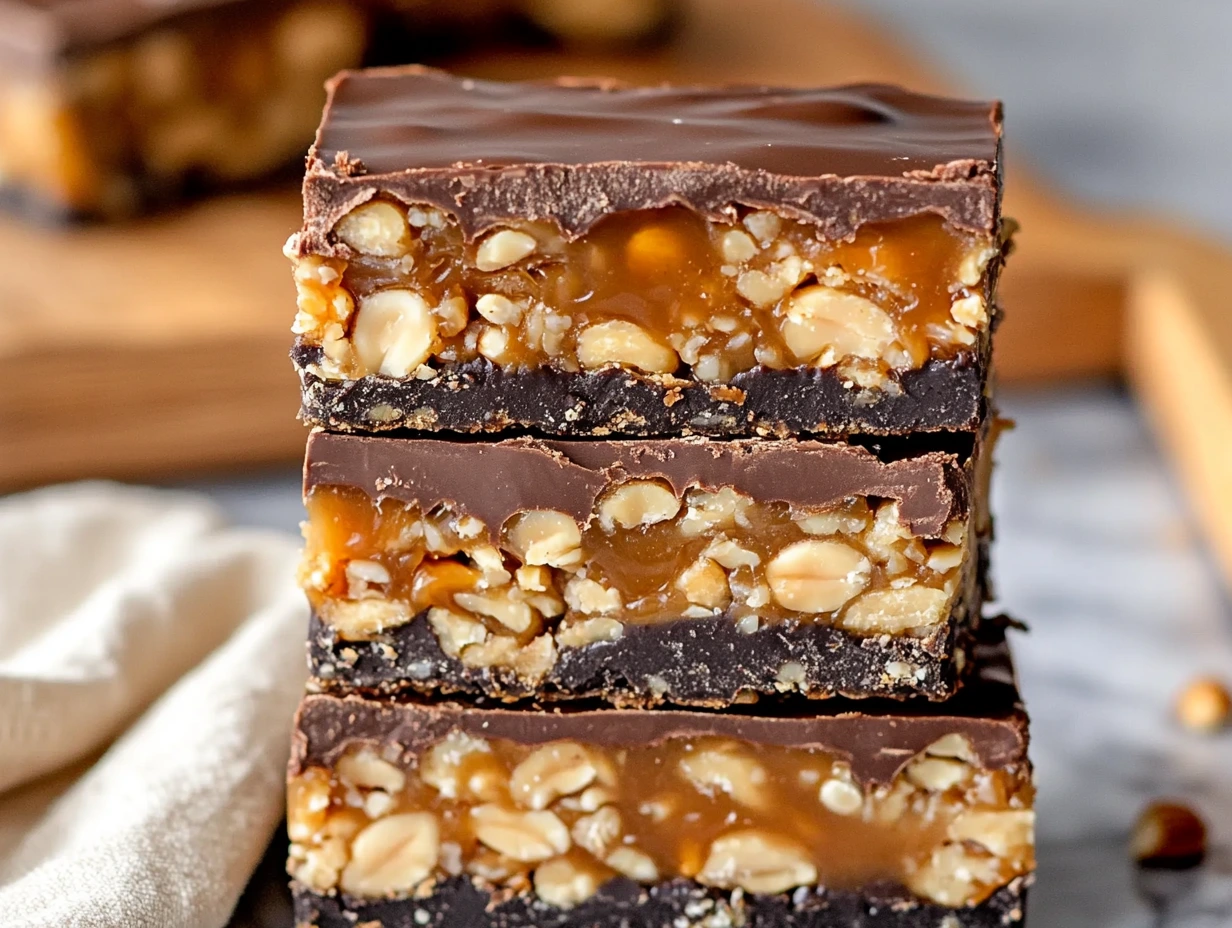
STEP 4: Chill and Slice
Now comes the hard part: waiting. You’ll need to refrigerate the pan for at least two hours, or until everything is set and firm to the touch. If you’re in a rush (been there!), you can pop it into the freezer for about 30 minutes. Just make sure it’s completely solid before slicing.
Once chilled, use the parchment paper to lift the whole slab out of the pan and onto a cutting board. From there, grab a sharp knife and cut into bars of your desired size. I like to do a 4×4 grid for 16 square pieces, but you can go smaller for bite-sized treats or larger for a more indulgent snack.

Tips for Perfect Snickers Bars Every Time
Use Natural Peanut Butter Carefully: If you’re using a natural variety (the kind you have to stir), make sure it’s well mixed and not too oily. It’ll give a richer peanut flavor, but too much oil can make the base greasy or cause it to separate when chilled.
Control the Sweetness: These bars are definitely a treat, but if you like things a bit less sweet, consider using dark chocolate chips in place of semisweet. The slight bitterness balances out the caramel beautifully.
Caramel Choices Matter: Store-bought caramel sauce works just fine, but make sure it’s the kind meant for drizzling and not too thick. If you’re going the homemade route, allow it to cool slightly before adding so it doesn’t melt into the layers below.
Add Texture with Mini Chocolate Chips: Before pouring the chocolate topping, you can sprinkle some mini chocolate chips between the caramel and chocolate layers for a bit of surprise texture and flavor. This step is optional but fun!
Cut with a Warm Knife: For super clean cuts, dip your knife in hot water and dry it before slicing each row. This makes it easier to glide through the firm chocolate layer without cracking it.
No-Bake Crispy Snickers Bars: A Homemade Treat Everyone Will Love
By now, you’ve got a pan full of rich, layered bars just waiting to be devoured. These No-Bake Crispy Snickers Bars are the kind of dessert that disappears fast—so don’t be surprised if you’re already thinking about making another batch. Whether you’re a seasoned baker or new to no-bake recipes, this one is pretty much foolproof.
Before we wrap things up, let’s dive into some of the most common questions people ask about this recipe. Whether you’re wondering about ingredient swaps or storage tips, I’ve got you covered!
Frequently Asked Questions
1. Can I use crunchy peanut butter instead of smooth?
Absolutely! Crunchy peanut butter will add even more texture to the base layer. Just know that it may make the mixture a bit harder to press evenly, so take your time smoothing it out.
2. What if I don’t have coconut oil for the chocolate topping?
No problem. You can use butter or even a neutral oil like vegetable or canola. The goal is to help the chocolate melt more smoothly and set with a nice sheen.
3. Can I make these bars ahead of time?
Yes! These bars actually get better after a day in the fridge. Just be sure to store them in an airtight container to keep them from drying out. They’ll last up to a week in the fridge.
4. Are these freezer-friendly?
Definitely. Freeze individual bars on a baking sheet, then transfer them to a zip-top bag or airtight container. They’ll keep well for up to 2 months. Just let them sit at room temperature for 10–15 minutes before eating.
5. What’s the best way to cut clean slices?
Use a sharp knife dipped in hot water and wiped dry. Repeat this between slices to keep the cuts clean and prevent the chocolate from cracking.
6. Can I use homemade caramel instead of store-bought?
Of course. Homemade caramel can make these bars even more decadent. Just make sure it has cooled slightly before layering, so it doesn’t melt through the base.
7. Can I double the recipe?
Yes, just use a 9×13-inch pan instead of an 8×8. The layers may be slightly thinner or thicker depending on how you spread them, but they’ll still taste amazing.
Final Thoughts
These No-Bake Crispy Snickers Bars are everything I love in a dessert: rich, sweet, a little salty, and loaded with texture. They come together in under 30 minutes (plus chill time), require zero oven time, and deliver that nostalgic candy bar flavor with a homemade twist.
What I really love is how flexible the recipe is. Want to swap in dark chocolate? Go for it. Prefer almonds or cashews to peanuts? You can totally make it your own. These are the kind of bars that invite creativity—and get better every time you make them.
If you give this recipe a try, I’d love to hear how it turns out. Leave a comment below with your favorite variations or any tips of your own. And if you’re sharing on social media, tag your pics so we can all drool over your delicious results!
Print
No Bake Crispy Snickers Bars
- Author: Andrew Recipes
Description
These bars capture all the flavors and textures of a classic Snickers candy bar—crunchy rice cereal, creamy peanut butter, sweet caramel and chopped peanuts—all coated in rich chocolate. No oven needed: just a few minutes of prep, then chill until firm. Perfect for when you want a homemade candy bar without any baking.
Ingredients
1 ½ cups crispy rice cereal
1 cup smooth peanut butter
½ cup unsalted butter
1 cup powdered sugar
1 cup mini chocolate chips
1 cup salted roasted peanuts, chopped
1 cup caramel sauce
1 ½ cups semisweet chocolate chips
1 tablespoon coconut oil
Instructions
Melt butter and peanut butter together in a medium saucepan over low heat, stirring until fully combined and smooth. Remove from heat and whisk in powdered sugar until the mixture is thick but still spreadable. Stir in the crispy rice cereal until every piece is coated.
Press the peanut butter–cereal mixture firmly into the bottom of an 8×8-inch pan lined with parchment paper, creating an even layer. Sprinkle chopped peanuts over the top, then pour caramel sauce in an even layer, spreading gently to the edges.
In a microwave-safe bowl, melt the semisweet chocolate chips with coconut oil in 30-second intervals, stirring after each interval until the chocolate is smooth and pourable. Immediately pour over the caramel layer and use an offset spatula to smooth.
Refrigerate the pan for at least two hours or until fully set. Lift the slab from the pan using the parchment paper and cut into bars of your desired size.
Notes
For firmer bars, freeze for 30 minutes before cutting.
Use natural peanut butter for a more pronounced nutty flavor, but reduce any added salt if the butter is salted.
Caramel sauce can be home-made or store-bought; if using homemade, allow it to cool slightly before pouring to prevent it from melting the chocolate topping.
Store bars in an airtight container in the refrigerator for up to one week or freeze individual bars for longer storage.

