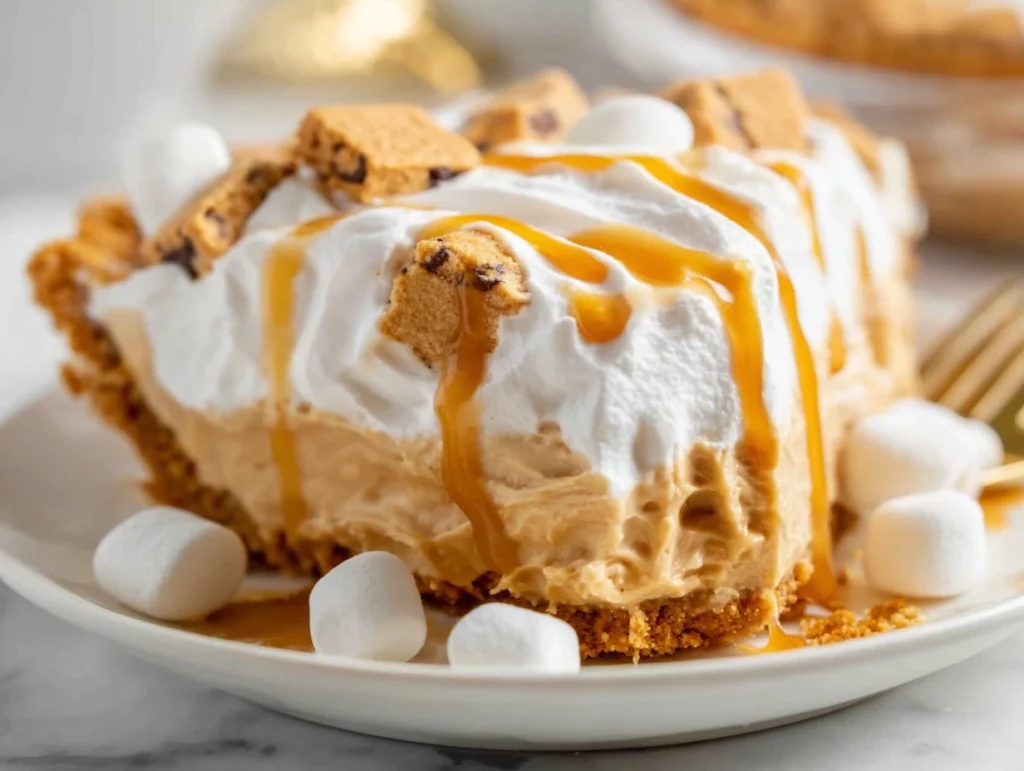
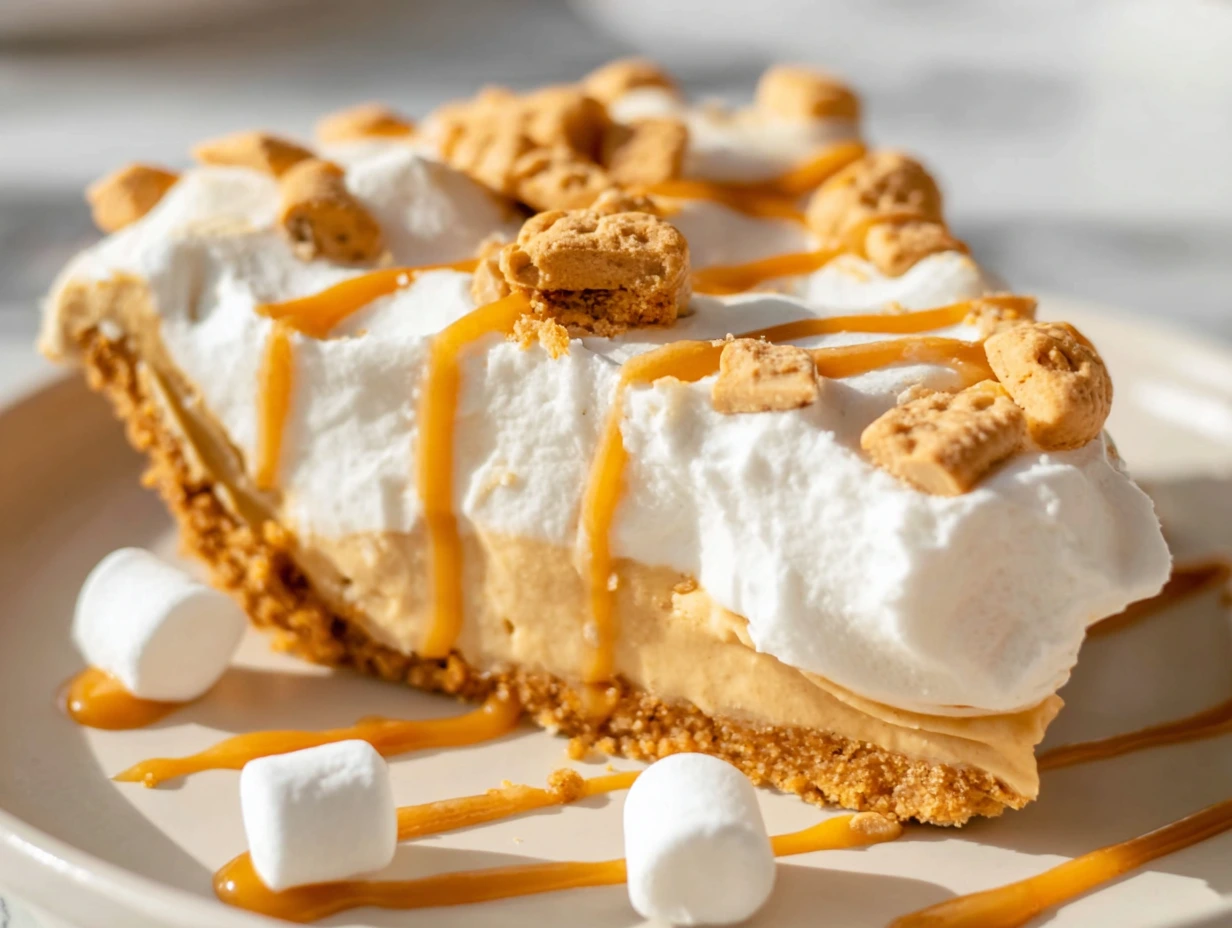
If you’re anything like me, then there’s a special place in your heart for peanut butter and marshmallow together. That sweet-salty combo brings back all kinds of childhood memories—especially those classic fluffernutter sandwiches. So, what happens when you take those nostalgic flavors and turn them into a pie? You get this insanely delicious No Bake Fluffernutter Pie—and trust me, it’s a dessert that delivers.
This pie is one of those magical recipes that feels indulgent and impressive but requires barely any effort. The whole thing comes together in just 15 minutes (plus chill time), and it sets up beautifully in the fridge. No oven, no fuss, just pure peanut buttery-marshmallowy goodness layered into a buttery graham cracker crust.
I actually first made this pie for a family barbecue when I was short on time and needed a dessert that could chill while I handled everything else. It was a hit—every last slice disappeared in minutes! Now, it’s one of my go-to make-ahead desserts for potlucks, parties, and when I just need something sweet that doesn’t take over my whole kitchen.
Let’s get into the details so you can whip up your own no-bake masterpiece.
Why You’ll Love This No Bake Fluffernutter Pie
There are so many reasons to love this pie, but here are a few highlights:
No oven required – perfect for summer days or when you just don’t feel like baking.
Quick prep – just 15 minutes of mixing and assembling.
Make-ahead friendly – chill it in the fridge and forget about it until dessert time.
Creamy, rich filling – packed with the perfect balance of peanut butter and marshmallow.
Customizable – top it with whipped cream, peanuts, mini marshmallows, or even a drizzle of chocolate.
Now that your mouth is watering, let’s jump into the recipe.
Ingredients You’ll Need
To make this dreamy fluffernutter pie, you’ll need:
1 pre-made graham cracker pie crust
1 cup creamy peanut butter
1 cup marshmallow fluff
8 oz cream cheese, softened
1 cup powdered sugar
1 tsp vanilla extract
1½ cups whipped topping (like Cool Whip), plus more for topping
Chopped peanuts or mini marshmallows for garnish (optional)
Pro tip: If you want to switch things up, try using a chocolate cookie crust for a different flavor profile. It pairs beautifully with the peanut butter and gives the pie a slightly more decadent vibe.
STEP 1: Make the Filling
Start by grabbing a large mixing bowl and your electric mixer (a hand mixer works perfectly here). Beat the softened cream cheese until it’s nice and smooth—this step helps avoid any lumps in the filling.
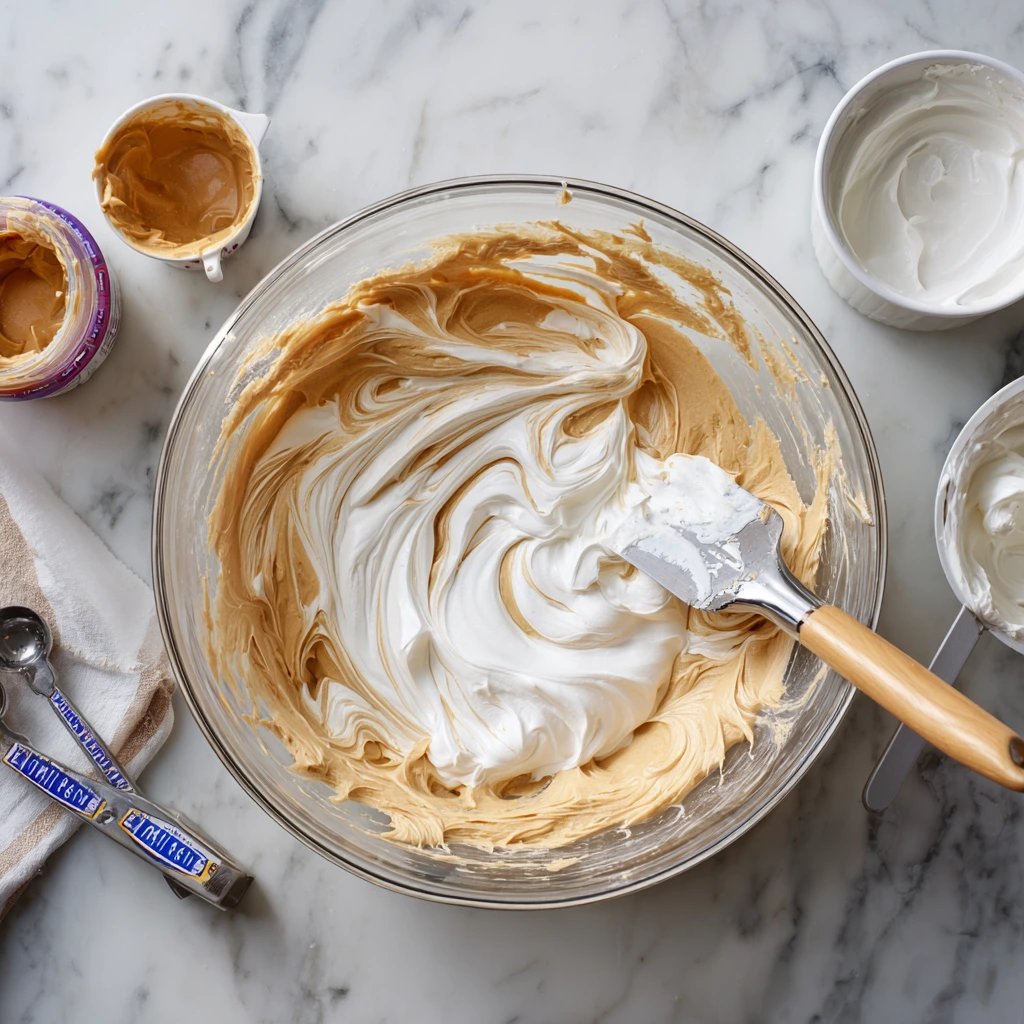
Next, add in the peanut butter, marshmallow fluff, powdered sugar, and vanilla extract. Mix everything together until fully combined and the filling is thick, creamy, and smooth. This is where all those comforting, nostalgic flavors come together in one glorious bowl.
STEP 2: Fold in the Whipped Topping
Once the base mixture is ready, it’s time to lighten it up. Use a spatula to gently fold in 1½ cups of whipped topping. You want to do this slowly and carefully to keep that airy, fluffy texture.
The final filling should be light, creamy, and slightly billowy—like a sweet peanut butter cloud. Resist the urge to taste-test too much of it straight from the bowl (I’m speaking from experience here).
STEP 3: Assemble the Pie
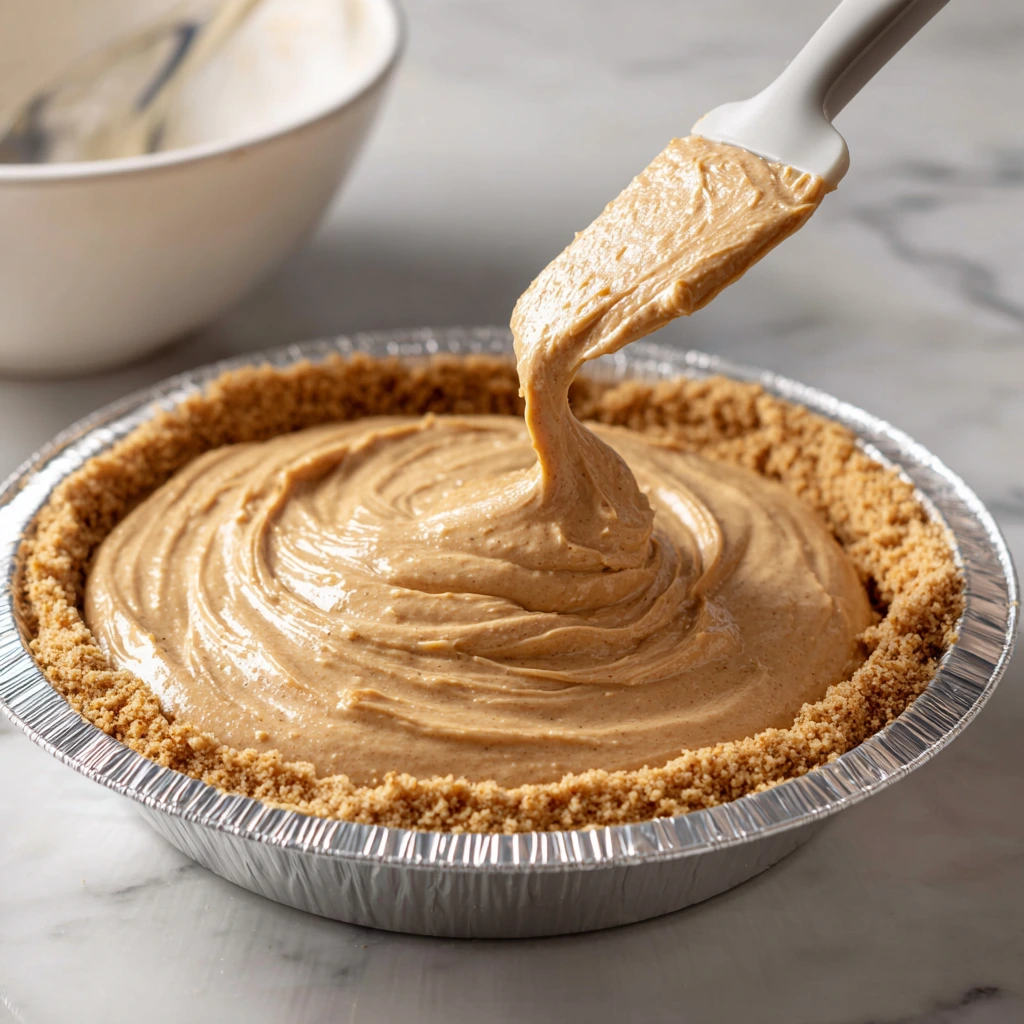
Now, grab your pre-made graham cracker crust and spoon in the filling. Smooth it out evenly using a spatula or the back of a spoon. It should fill the crust all the way to the edges and look silky and luscious.
At this point, it already looks like something out of a bakery case, but don’t dig in just yet! The magic happens while it chills.
No Bake Fluffernutter Pie: Creamy, Cool, and Crowd-Pleasing
Now that your pie is filled to the brim with that dreamy peanut butter-marshmallow mixture, it’s time for the final (and maybe hardest) step: waiting. While it’s tempting to sneak a spoonful, trust me—the chill time is worth it. This part of the process helps the pie firm up into the perfect sliceable texture. In this section, we’ll finish the recipe, go over some easy topping ideas, and I’ll share a few tips to make sure your pie turns out flawless every single time.
STEP 4: Chill the Pie
Once your pie is assembled, gently cover it with plastic wrap or foil. Be careful not to press it down onto the filling—just a loose cover will do the trick. Then pop it in the fridge for at least 4 hours, though overnight is even better if you have the time.
Letting it chill gives all the ingredients a chance to set, creating a firm yet creamy texture that slices beautifully. The cream cheese and whipped topping work together to stabilize the filling without needing any gelatin or extra thickeners. That means less work for you, and more time to enjoy the rest of your day.
STEP 5: Garnish and Serve
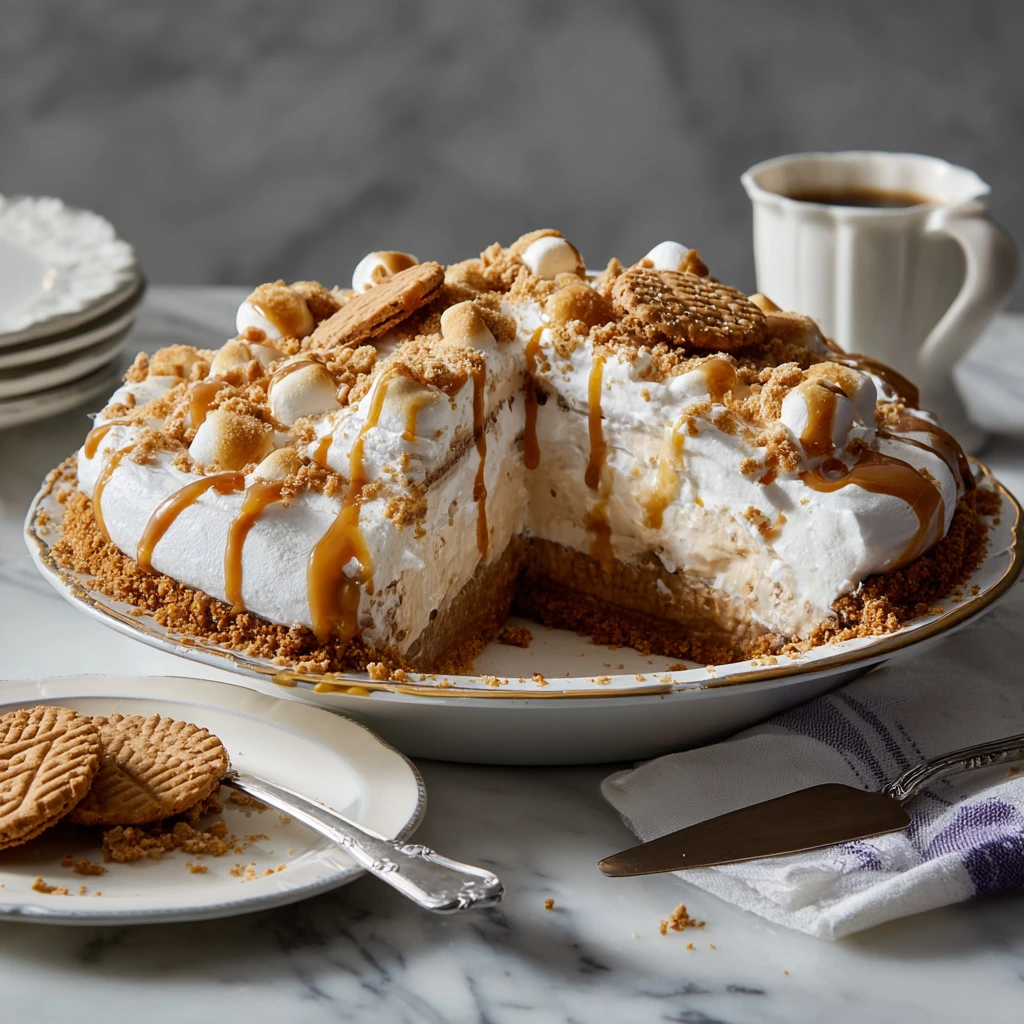
Once your pie is chilled and set, it’s time to make it extra special with toppings. Here’s where you can have a little fun and get creative, or keep it simple depending on your vibe.
Some of my favorite garnish options:
A swirl of whipped topping piped or spooned on top
Chopped salted peanuts for crunch and contrast
Mini marshmallows scattered across the top
A drizzle of melted chocolate or warm peanut butter for extra indulgence
No matter how you top it, slice the pie using a sharp knife that’s been run under hot water (and wiped dry) for the cleanest cuts. Serve it cold straight from the fridge for the best texture and flavor.
Helpful Tips for the Perfect No Bake Fluffernutter Pie
If this is your first time making a no-bake pie like this, here are a few tips to make sure it turns out absolutely perfect:
Use full-fat cream cheese: It gives the filling a richer, smoother texture and helps it firm up better than reduced-fat versions.
Soften the cream cheese fully: Let it sit at room temperature for about 30 minutes so it blends smoothly with the other ingredients.
Don’t overmix the whipped topping: Fold it in gently to keep the filling light and airy.
Chill for at least 4 hours: The longer it chills, the cleaner the slices.
Use a pre-made crust for convenience: But if you’re feeling ambitious, a homemade graham cracker or chocolate cookie crust works beautifully too.
Fun Variations to Try
While the classic fluffernutter combo is hard to beat, here are a few twists if you’re looking to mix things up:
Chocolate Cookie Crust: Swap the graham cracker crust for a chocolate one to make it taste a bit like a peanut butter cup.
Crunchy Peanut Butter: For added texture, use crunchy instead of creamy peanut butter.
Banana Slices: Add a layer of fresh banana slices before spooning in the filling—like a fluffernutter pie meets banana cream.
Peanut Butter Cups or Chocolate Chips: Fold in some chopped peanut butter cups or mini chocolate chips to take it over the top.
One of the best things about this pie is that it’s super versatile. You can keep it classic or make it your own depending on what you’ve got in your pantry. Either way, the end result is a chilled, creamy, rich dessert that’s hard to resist
No Bake Fluffernutter Pie: Everything You Need to Know
Alright, we’ve mixed, folded, chilled, and garnished—now it’s time to wrap things up with some helpful FAQs and final thoughts. Whether this is your first time making a no bake pie or you’re a seasoned dessert lover looking to try something new, these quick tips will help you feel confident from start to finish.
Frequently Asked Questions
1. Can I make this pie ahead of time?
Yes! This pie is a fantastic make-ahead dessert. You can prepare it up to two days in advance and store it covered in the fridge. In fact, the longer it chills (within reason), the better it sets.
2. How should I store leftovers?
Leftovers should be stored in the refrigerator, tightly covered or in an airtight container. It will stay fresh for up to 4 days, though the texture is best within the first two.
3. Can I freeze this pie?
You can! Wrap the pie tightly with plastic wrap and foil, then freeze for up to 1 month. When you’re ready to serve, let it thaw in the refrigerator overnight. Keep in mind that freezing may slightly change the texture of the whipped topping, but it’s still totally delicious.
4. Is there a substitute for marshmallow fluff?
Marshmallow fluff is key for getting that signature fluffernutter taste and texture, but in a pinch, you can try using melted mini marshmallows (about 1¼ cups) with a bit of corn syrup to mimic the consistency.
5. What type of peanut butter works best?
Creamy peanut butter gives the smoothest texture, but you can absolutely use natural peanut butter—just make sure it’s well-stirred and not too runny. Avoid using unsweetened or very oily peanut butter unless you adjust the sugar or chill time.
6. Can I use homemade whipped cream instead of whipped topping?
Yes, you can substitute homemade whipped cream (whipped to stiff peaks) for the whipped topping, but keep in mind that it may not hold its shape quite as well over time. For best results, use stabilized whipped cream if you’re going the homemade route.
7. What if I don’t have a pre-made crust?
No problem! You can make your own by mixing 1½ cups of crushed graham crackers with 6 tablespoons of melted butter and pressing it into a pie dish. Chill for at least 30 minutes before adding the filling.
Final Thoughts: A Pie That’s Always a Hit
There’s just something magical about this No Bake Fluffernutter Pie. It brings together rich peanut butter, fluffy marshmallow, tangy cream cheese, and sweet whipped topping—all layered into a crunchy graham cracker crust. The best part? It requires no oven, no complicated steps, and practically guarantees rave reviews every time.
Whether you’re prepping dessert for a summer BBQ, a casual weeknight treat, or just need something sweet to stash in the fridge, this pie fits the bill. It’s simple enough for beginners but satisfying enough for even the most seasoned dessert fans.
Print
No Bake Fluffernutter Pie
- Author: Andrew Recipes
Description
This No Bake Fluffernutter Pie is a dreamy dessert that combines the nostalgic flavors of peanut butter and marshmallow in a creamy, luscious filling. Set inside a graham cracker crust, it’s a perfect make-ahead treat for potlucks, family gatherings, or anytime you crave a rich, no-fuss dessert.
Ingredients
1 pre-made graham cracker pie crust
1 cup creamy peanut butter
1 cup marshmallow fluff
8 oz cream cheese, softened
1 cup powdered sugar
1 tsp vanilla extract
1 ½ cups whipped topping (like Cool Whip), plus more for topping
Chopped peanuts or mini marshmallows for garnish (optional)
Instructions
1 Make the filling: In a large bowl, beat the cream cheese until smooth. Add the peanut butter, marshmallow fluff, powdered sugar, and vanilla extract. Mix until fully combined and creamy.
2 Fold in the whipped topping: Gently fold in the whipped topping using a spatula until the mixture is light and fluffy.
3 Assemble the pie: Spoon the fluffernutter filling into the graham cracker crust, spreading it evenly.
4 Chill the pie: Cover and refrigerate the pie for at least 4 hours, or overnight, until set and firm.
5 Garnish and serve: Top with additional whipped topping and garnish with chopped peanuts or mini marshmallows if desired. Slice and serve cold.
Notes
This pie can be made up to two days in advance and stored covered in the refrigerator. For a richer flavor, use natural peanut butter, but make sure it’s well-stirred. You can also use a chocolate cookie crust for a twist.
