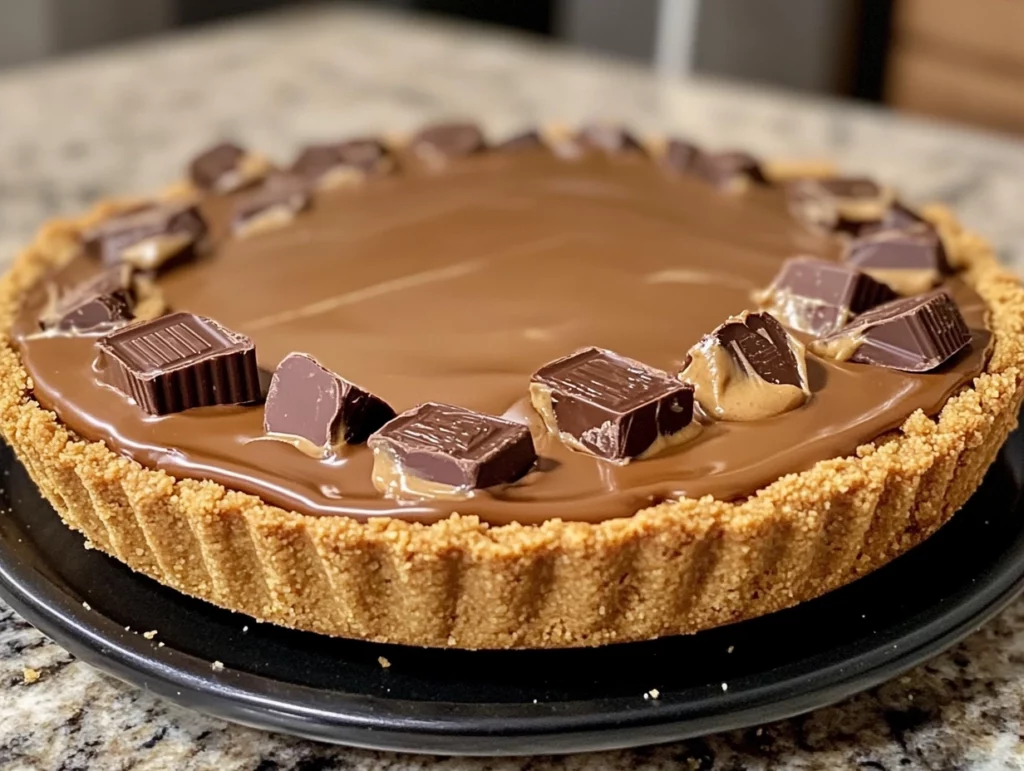
Peanut butter lovers, this one’s for you! If you’re anything like me, you’ve probably stood in the candy aisle, staring longingly at those giant Reese’s Peanut Butter Cups and thinking, “I wish I could make one of these at home.” Well, today’s your lucky day because I’ve got the perfect recipe that turns that dream into a reality — and the best part? No baking required!
This No-Bake Giant Reese’s Peanut Butter Cup Pie is the ultimate dessert for anyone who loves the classic combination of peanut butter and chocolate. With its buttery graham cracker crust, creamy peanut butter filling, and rich layers of silky milk chocolate ganache, every bite tastes like you’re indulging in a super-sized version of your favorite candy.
I first whipped up this pie for a family gathering, and let me tell you — it was an instant hit. My kids couldn’t stop raving about how much it tasted like the real thing, and my husband may have sneaked a second (okay, maybe a third) slice when no one was looking. It’s now a staple in our dessert rotation, especially when I want something impressive that doesn’t require turning on the oven.
Why You’ll Love This No-Bake Giant Reese’s Peanut Butter Cup Pie
No-bake perfection: Perfect for those warm days when you want a delicious dessert without heating up the kitchen.
Simple ingredients: Everything you need is easy to find at your local grocery store.
Rich, indulgent flavor: Layers of peanut butter and chocolate create a dessert that’s decadent without being overly complicated.
Make ahead friendly: This pie is actually better after chilling overnight, making it ideal for parties and get-togethers.
Now, let’s dive right into the recipe so you can experience this sweet slice of heaven for yourself!
Ingredients You’ll Need
For the crust:
1½ cups graham cracker crumbs
6 tablespoons unsalted melted butter
¼ cup granulated sugar
For the peanut butter filling:
1 cup creamy peanut butter
1 cup powdered sugar
1 teaspoon vanilla extract
Pinch of salt
For the chocolate ganache:
2½ cups milk chocolate chips
2 tablespoons vegetable oil or shortening
Optional toppings:
Chopped Reese’s Peanut Butter Cups
Extra drizzle of melted peanut butter
STEP 1: MAKE THE GRAHAM CRACKER CRUST
Start by prepping your crust, which forms the perfect buttery base for this indulgent pie.
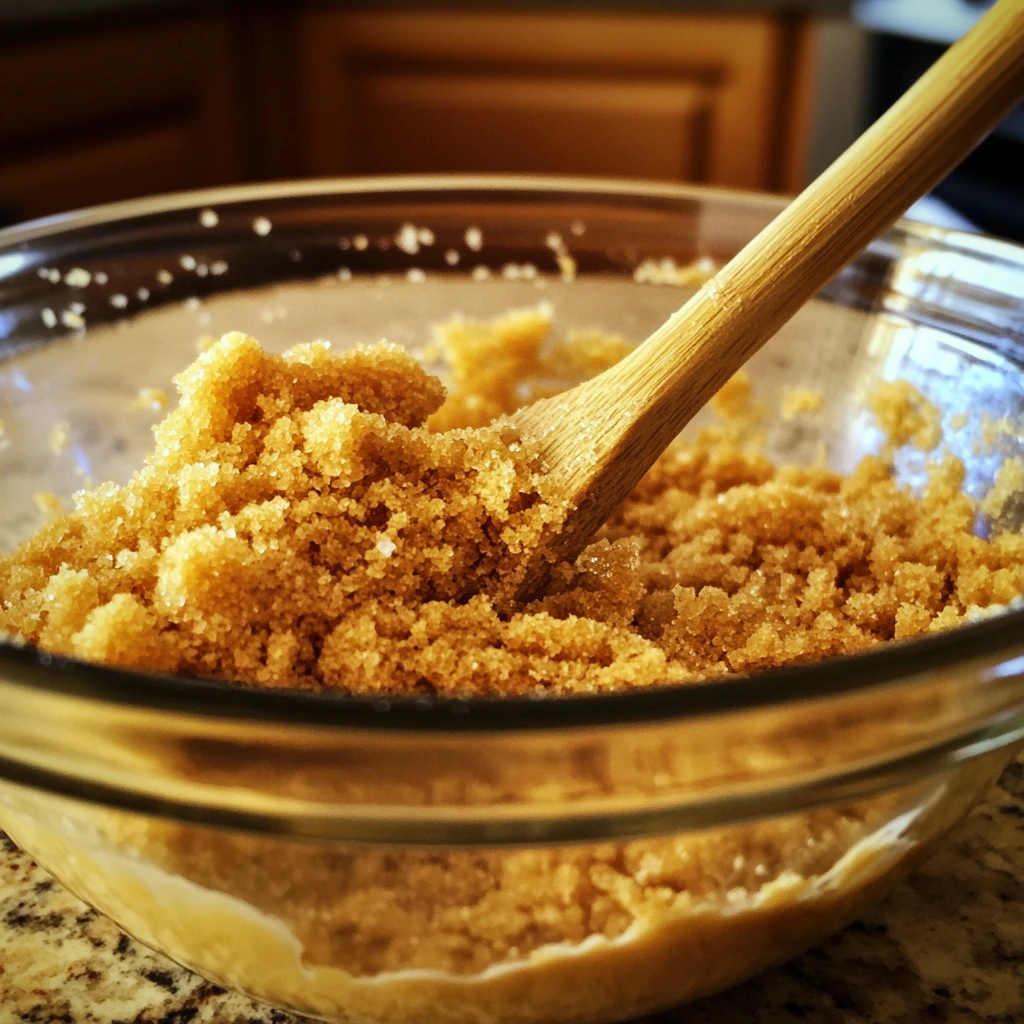
In a medium-sized bowl, combine 1½ cups of graham cracker crumbs, 6 tablespoons of melted butter, and ¼ cup of granulated sugar. Stir everything together until the mixture resembles wet sand. This step is important because you want the butter to fully coat the crumbs, helping everything stick together nicely once pressed into the pan.
Next, grab a 9-inch tart pan or pie dish. I prefer using a tart pan with a removable bottom because it makes slicing and serving so much easier, but a regular pie dish works perfectly too. Press the graham cracker mixture firmly into the bottom and up the sides of your pan. I like to use the bottom of a measuring cup to really pack it down and create an even layer.
Once your crust is nice and compact, pop it into the refrigerator while you move on to preparing the first layer of ganache. Chilling the crust helps it firm up and keeps it from crumbling when you add the filling.
STEP 2: PREPARE THE FIRST CHOCOLATE GANACHE LAYER
Now comes one of my favorite parts — the silky chocolate ganache.
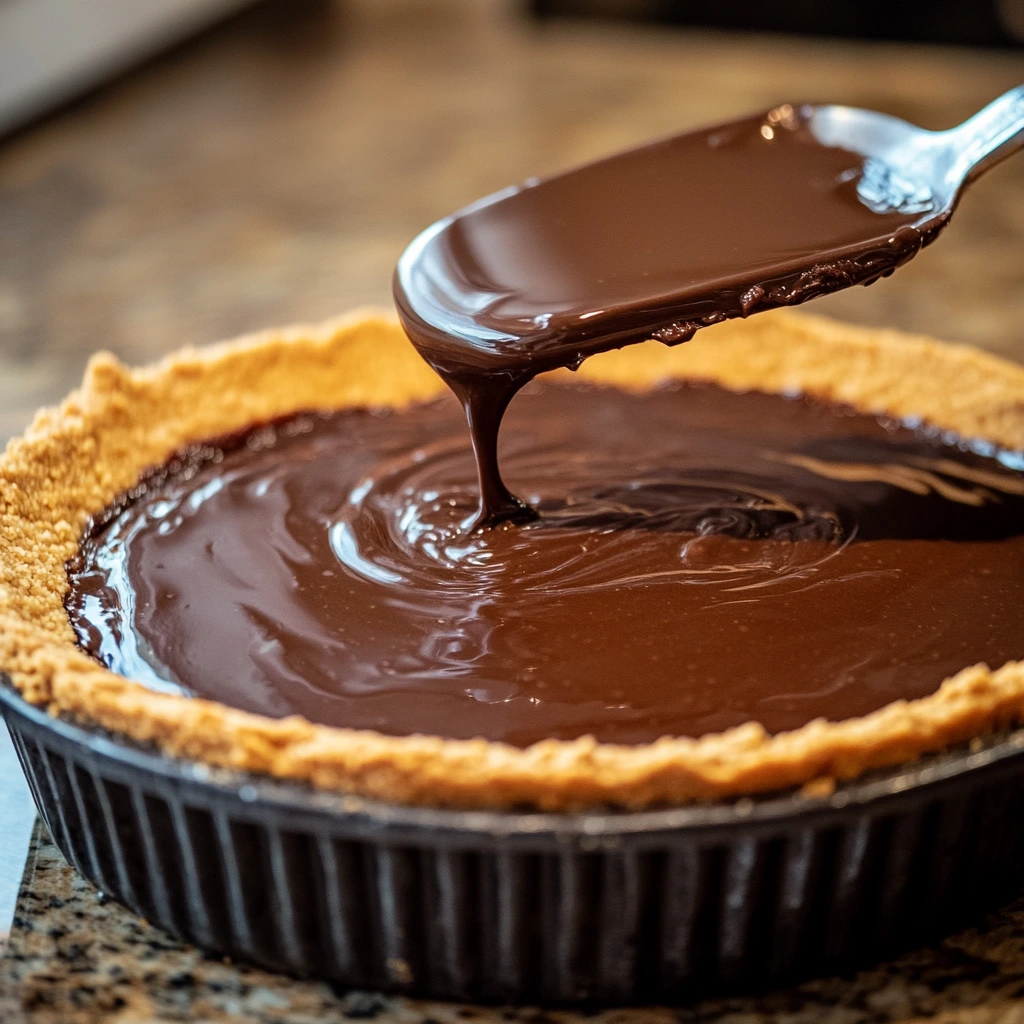
In a microwave-safe bowl, combine 2½ cups of milk chocolate chips and 2 tablespoons of vegetable oil (or shortening). Microwave in 30-second intervals, stirring after each round. You’ll want to keep a close eye on it and stir frequently to avoid burning the chocolate. After about 1-2 minutes total, you should have a perfectly smooth, glossy ganache.
Pour half of the ganache into your prepared crust. Use a spatula to gently spread it into an even layer across the bottom. Then, place the pie back into the refrigerator to chill for at least 2 hours, or until the ganache is fully set.
This initial ganache layer acts as a little surprise when you slice into the pie — it gives you that classic Reese’s layered effect that everyone loves.
CONTINUING THE NO-BAKE GIANT REESE’S PEANUT BUTTER CUP PIE RECIPE
Now that we’ve got our crust and first ganache layer chilling, it’s time to move on to the creamy, dreamy peanut butter filling. This part comes together quickly and is honestly one of the easiest (and tastiest) fillings you’ll ever make.
STEP 3: MAKE THE PEANUT BUTTER FILLING
In a large mixing bowl, combine 1 cup of creamy peanut butter, 1 cup of powdered sugar, 1 teaspoon of vanilla extract, and a pinch of salt. Using a hand mixer or stand mixer, beat everything together until the mixture is smooth and fluffy. You’re looking for a nice, creamy texture that’s easy to spread but holds its shape.
At this point, your first ganache layer should be fully set and ready for its next decadent layer. Take your peanut butter mixture and gently spread it over the chilled ganache. Use an offset spatula or the back of a spoon to create a smooth, even layer. This layer is what really gives the pie its Reese’s-inspired flavor, so don’t skimp!
Once your filling is spread evenly, pop the pie back into the refrigerator while you get the final ganache layer ready.
STEP 4: ADD THE FINAL GANACHE LAYER
If your remaining ganache has thickened while sitting out, just pop it back into the microwave for a few seconds to loosen it up. Be careful not to overheat — you want it warm and spreadable, not hot.
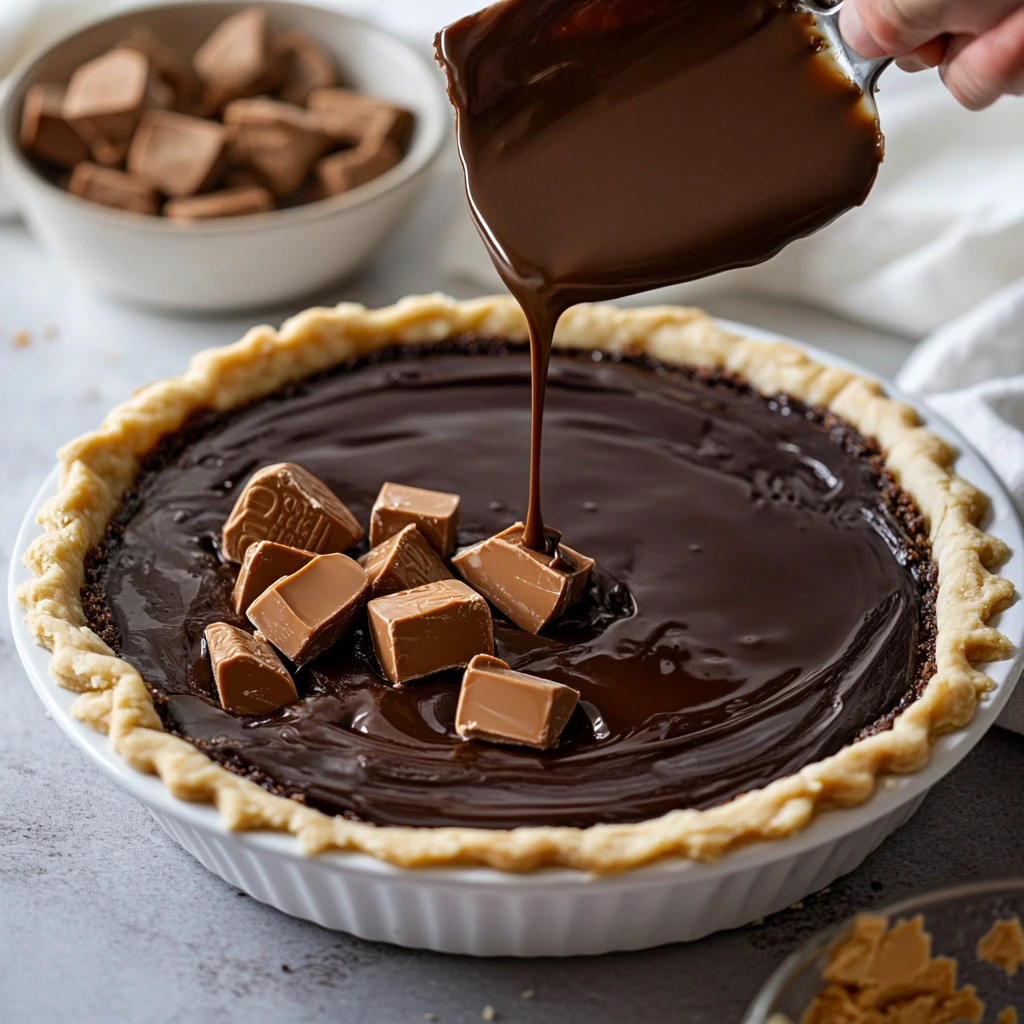
Carefully pour the ganache over the peanut butter layer. Start by pouring it into the center, then use your spatula to gently push it out towards the edges, creating a smooth and even top layer. The glossy chocolate finish is what makes this pie look like a giant Reese’s cup, so take your time here to make it as smooth as possible.
STEP 5: ADD OPTIONAL TOPPINGS
This step is completely optional, but if you really want to take your pie to the next level, add some extra toppings. Drizzle a little melted peanut butter over the ganache for a beautiful marbled effect. You can also chop up a few Reese’s Peanut Butter Cups and sprinkle them on top for some added texture and a little extra peanut butter-chocolate goodness.
Once decorated, place your pie back in the refrigerator. Let it chill for at least 4 hours, though overnight is even better. Chilling not only allows the layers to fully set but also makes slicing much easier and cleaner.
TIPS FOR SUCCESS
Use creamy peanut butter: Stick with a classic creamy peanut butter like Jif or Skippy. Natural peanut butter can separate and create an oily texture that might not set up as nicely.
Take your time with the layers: Let each layer chill completely before adding the next. This keeps the layers distinct and helps with the beautiful cross-section when you slice into the pie.
Don’t skip the chilling time: The longer this pie chills, the better the texture. Overnight is ideal for the cleanest slices.
Warm your knife for slicing: Run a sharp knife under warm water, wipe it dry, and slice. This trick helps you get neat, beautiful pieces without dragging through the layers.
VARIATIONS YOU CAN TRY
One of the great things about this recipe is how versatile it is. If you’re feeling adventurous, here are a few variations:
Use dark or semi-sweet chocolate: If you find milk chocolate a bit too sweet, swap in dark or semi-sweet chocolate chips for a more balanced flavor.
Add a layer of crushed peanuts: Sprinkle crushed peanuts between the ganache and peanut butter layers for a little extra crunch.
Try a cookie crust: Substitute chocolate cookie crumbs for the graham crackers to create an even more chocolatey base.
FREQUENTLY ASKED QUESTIONS ABOUT NO-BAKE GIANT REESE’S PEANUT BUTTER CUP PIE
CAN I MAKE THIS PIE AHEAD OF TIME?
Absolutely! In fact, this pie is perfect for making ahead. It needs at least 4 hours to chill, but overnight is even better. You can make it up to 2 days in advance and store it covered in the refrigerator until you’re ready to serve.
CAN I USE NATURAL PEANUT BUTTER?
While you can technically use natural peanut butter, I recommend sticking with regular creamy peanut butter like Jif or Skippy. Natural peanut butter tends to separate, which can make the filling oily and affect the texture.
WHAT IF I DON’T HAVE A TART PAN?
No problem! A regular 9-inch pie dish works perfectly. The tart pan just makes removing and slicing the pie a bit easier, but it’s not essential to the recipe’s success.
CAN I FREEZE THE PIE?
Yes, you can freeze this pie. Once fully set, wrap it tightly in plastic wrap and aluminum foil, then freeze. Thaw it in the refrigerator for a few hours before serving. Keep in mind that freezing may slightly affect the texture of the ganache.
CAN I USE DIFFERENT TYPES OF CHOCOLATE?
Definitely. While the recipe calls for milk chocolate chips to mimic the classic Reese’s flavor, you can substitute semi-sweet or dark chocolate chips if you prefer a richer, less sweet ganache.
HOW DO I GET CLEAN SLICES?
The key is to use a sharp knife dipped in warm water and wiped dry before each cut. This helps glide through the layers cleanly without smudging the chocolate or peanut butter.
CAN I ADD EXTRA LAYERS OR FILLINGS?
Of course! You can add crushed peanuts, a layer of crushed pretzels for some salty crunch, or even swirl a bit of caramel into the ganache for extra indulgence.
CONCLUSION: INDULGE IN THIS NO-BAKE PEANUT BUTTER AND CHOCOLATE MASTERPIECE
There you have it — your very own No-Bake Giant Reese’s Peanut Butter Cup Pie that looks just as impressive as it tastes. This dessert brings together everything we love about the classic candy, but in a giant, shareable form that’s perfect for parties, holidays, or just because you’re craving something sweet.
What I love most about this recipe is how simple yet show-stopping it is. With easy-to-find ingredients and no need to turn on the oven, it’s a foolproof way to impress your family and friends. Plus, you can customize it with different chocolates or fun toppings to make it your own.
Print
No-Bake Giant Reese’s Peanut Butter Cup Pie
- Author: Andrew Recipes
Description
This no-bake pie is a peanut butter lover’s dream, with a rich graham cracker crust, creamy peanut butter filling, and layers of silky milk chocolate ganache. It delivers all the flavors of a giant Reese’s cup in every decadent slice.
Ingredients
For the crust:
1½ cups graham cracker crumbs
6 tablespoons unsalted melted butter
¼ cup granulated sugar
For the peanut butter filling:
1 cup creamy peanut butter
1 cup powdered sugar
1 teaspoon vanilla extract
Pinch of salt
For the chocolate ganache:
2½ cups milk chocolate chips
2 tablespoons vegetable oil or shortening
Optional toppings:
Chopped Reese’s Peanut Butter Cups
Extra drizzle of melted peanut butter
Instructions
In a medium bowl, combine the graham cracker crumbs, melted butter, and granulated sugar. Stir together until the mixture resembles wet sand. Firmly press the mixture into the bottom and up the sides of a 9-inch tart pan or pie dish. Place the crust in the refrigerator while preparing the ganache.
In a microwave-safe bowl, combine the milk chocolate chips and vegetable oil. Microwave in 30-second intervals, stirring after each, until the mixture is fully melted and smooth. Pour half of the ganache into the prepared crust, spreading it evenly with a spatula. Return the pie to the refrigerator and chill for at least 2 hours or until the ganache is fully set.
In a separate mixing bowl, beat together the creamy peanut butter, powdered sugar, vanilla extract, and a pinch of salt until smooth and fluffy. Spread the peanut butter mixture evenly over the chilled ganache layer. Place the pie back in the refrigerator while preparing the final ganache layer.
Reheat the remaining ganache gently if it has thickened, until it is spreadable. Carefully pour the ganache over the peanut butter layer, smoothing the top with a spatula. If desired, drizzle additional melted peanut butter on top and sprinkle with chopped Reese’s Peanut Butter Cups for garnish.
Refrigerate the pie for at least 4 hours, or preferably overnight, to allow the layers to fully set and for clean slicing.
When ready to serve, use a sharp knife dipped in warm water and wiped dry between cuts to create neat slices. Serve chilled and enjoy the rich, layered flavors.
Notes
For the best texture, allow the pie to chill thoroughly before slicing. You can substitute semi-sweet or dark chocolate chips if you prefer a less sweet ganache. This pie can be made up to two days in advance and stored covered in the refrigerator.
