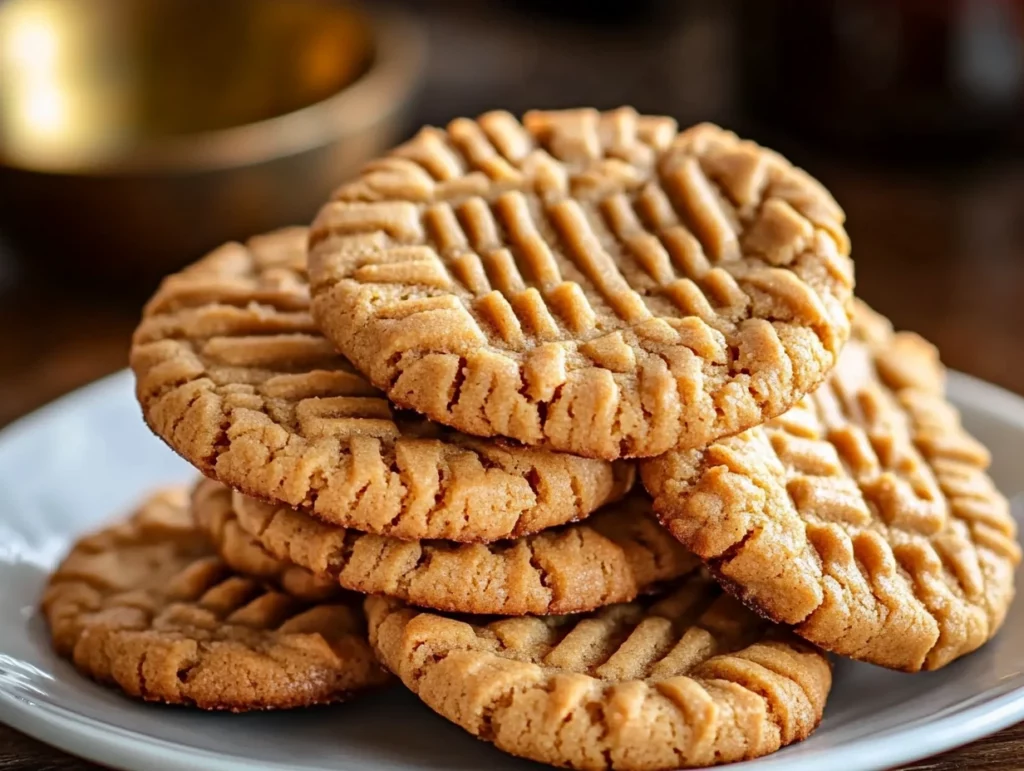
There’s just something undeniably comforting about the smell of peanut butter cookies baking in the oven. It instantly takes me back to childhood afternoons, where a warm cookie and a glass of milk felt like the best kind of reward after school. These Soft and Chewy Classic Peanut Butter Cookies hit that sweet nostalgic spot perfectly—they’re rich, nutty, just the right amount of sweet, and incredibly easy to whip up any day of the week.
Whether you like yours with creamy or crunchy peanut butter (team creamy over here!), these cookies deliver the perfect soft-and-chewy bite with that classic crisscross top we all know and love. The best part? You probably already have everything you need sitting in your pantry right now.
These cookies are a total win for bake sales, after-dinner treats, or just a cozy weekend of baking. And trust me, once you’ve tried this version, you might not go back to any other. Let’s get started!
Why You’ll Love These Peanut Butter Cookies
No chill time required – You can have fresh cookies in under 30 minutes.
Simple pantry ingredients – Everything in this recipe is a staple.
Perfect texture – Soft centers with slightly crispy edges.
Customizable – Use creamy or crunchy PB, toss in chocolate chips or chopped nuts… they’re flexible!
Ingredients You’ll Need
Before we dive into the baking, let’s quickly go over the ingredients:
Butter – Unsalted and softened. This gives our cookies that rich flavor and soft texture.
Granulated sugar + Brown sugar – A combo of both sugars helps with that perfect chewy middle.
Peanut butter – Creamy or crunchy, your call. Either way, make sure it’s not the all-natural kind that separates.
Egg – Just one large egg to bind everything together.
Vanilla extract – For a little depth of flavor.
All-purpose flour – The base of our dough.
Baking soda – Helps the cookies rise just enough.
Salt – Balances out the sweetness and enhances the peanut butter flavor.
Let’s Start Baking!
STEP 1: Preheat and Prep
Preheat your oven to 350°F (175°C).
Line a baking sheet with parchment paper or a silicone baking mat. This will help the cookies bake evenly and keep cleanup easy.
STEP 2: Cream the Butters and Sugars
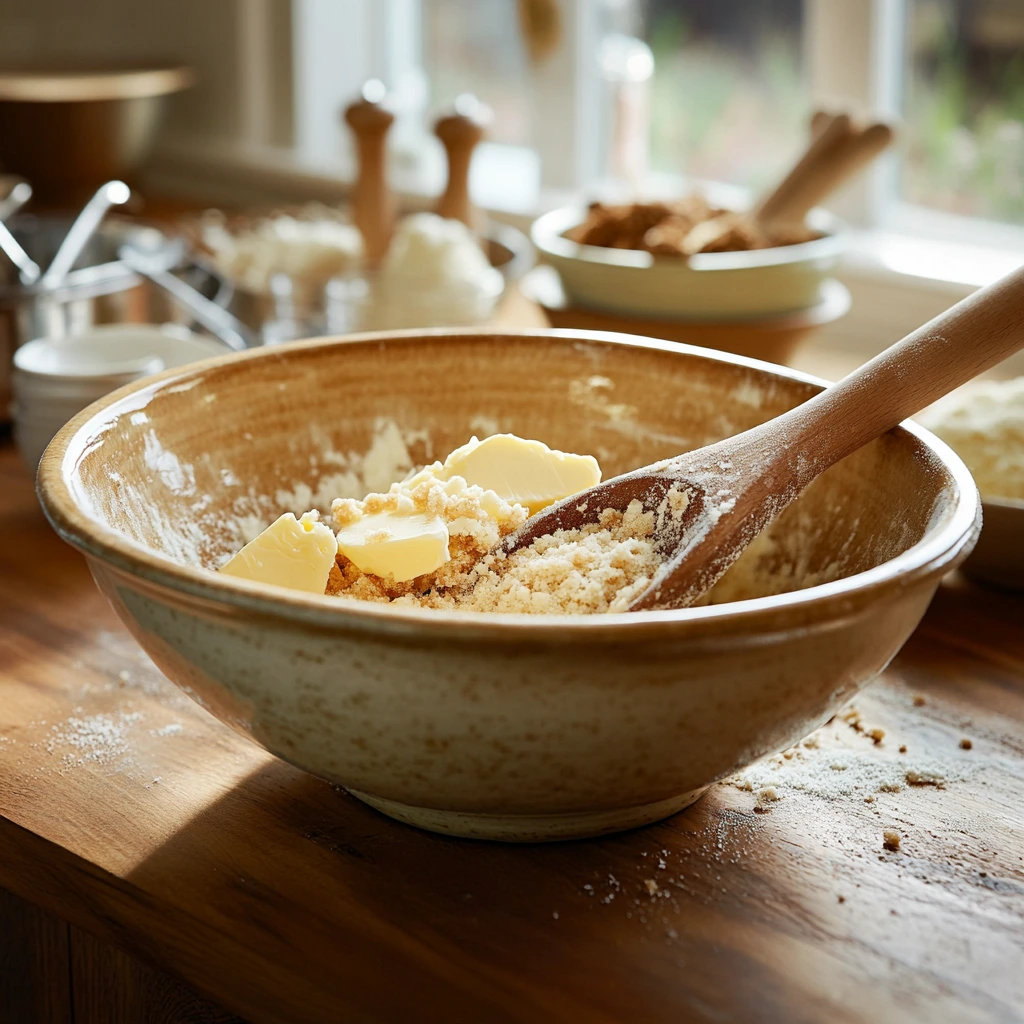
In a large mixing bowl, beat together the softened butter, granulated sugar, and brown sugar. You’re looking for a light and fluffy texture—this takes about 2–3 minutes with a hand mixer on medium speed.
This creaming step is important. It helps incorporate air into the dough, giving your cookies a lighter, softer texture.
STEP 3: Add the Peanut Butter, Egg, and Vanilla
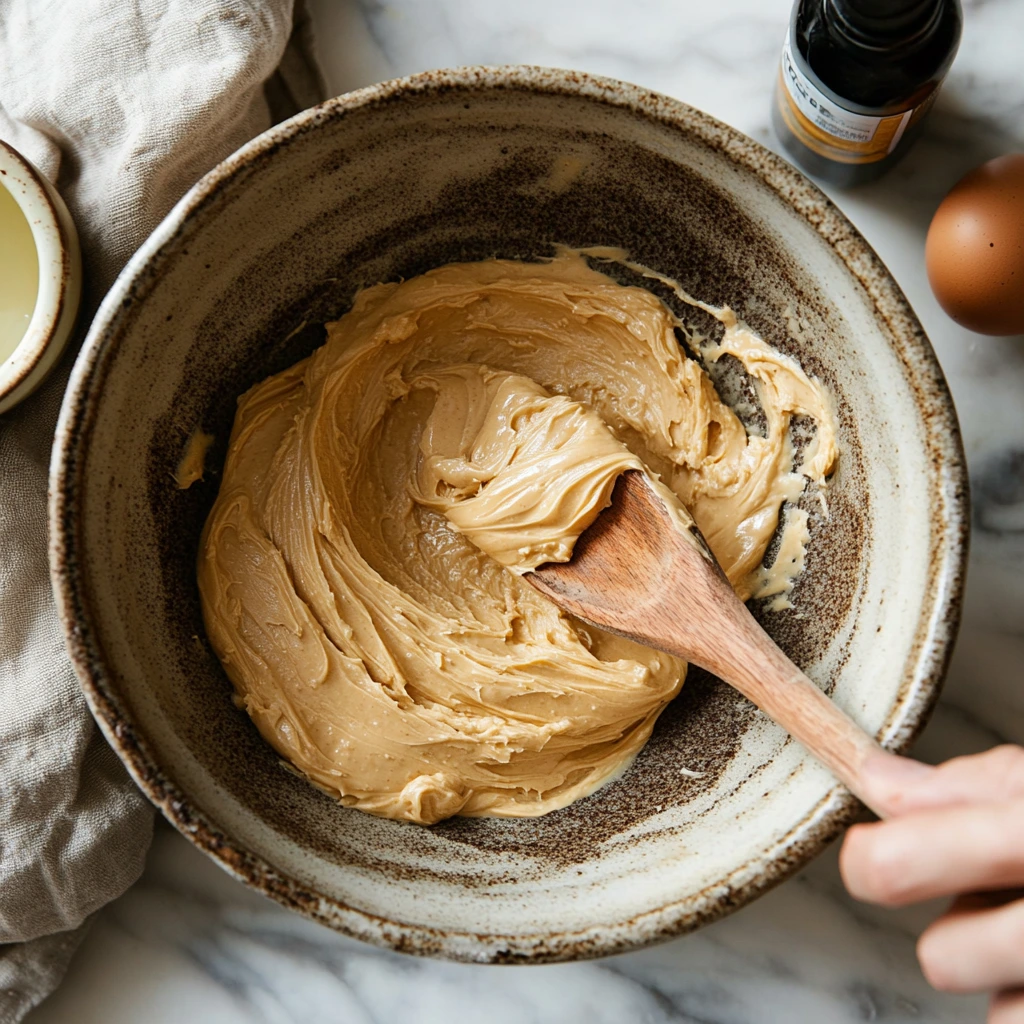
Next, add in your peanut butter, egg, and vanilla extract. Mix until everything is nice and smooth. At this stage, you should have a thick, creamy batter that smells absolutely amazing.
If you’re using crunchy peanut butter, you’ll already have a little texture in there. But if you want to add some extra crunch later on, we’ll talk about that in Part 2.
STEP 4: Mix the Dry Ingredients Separately
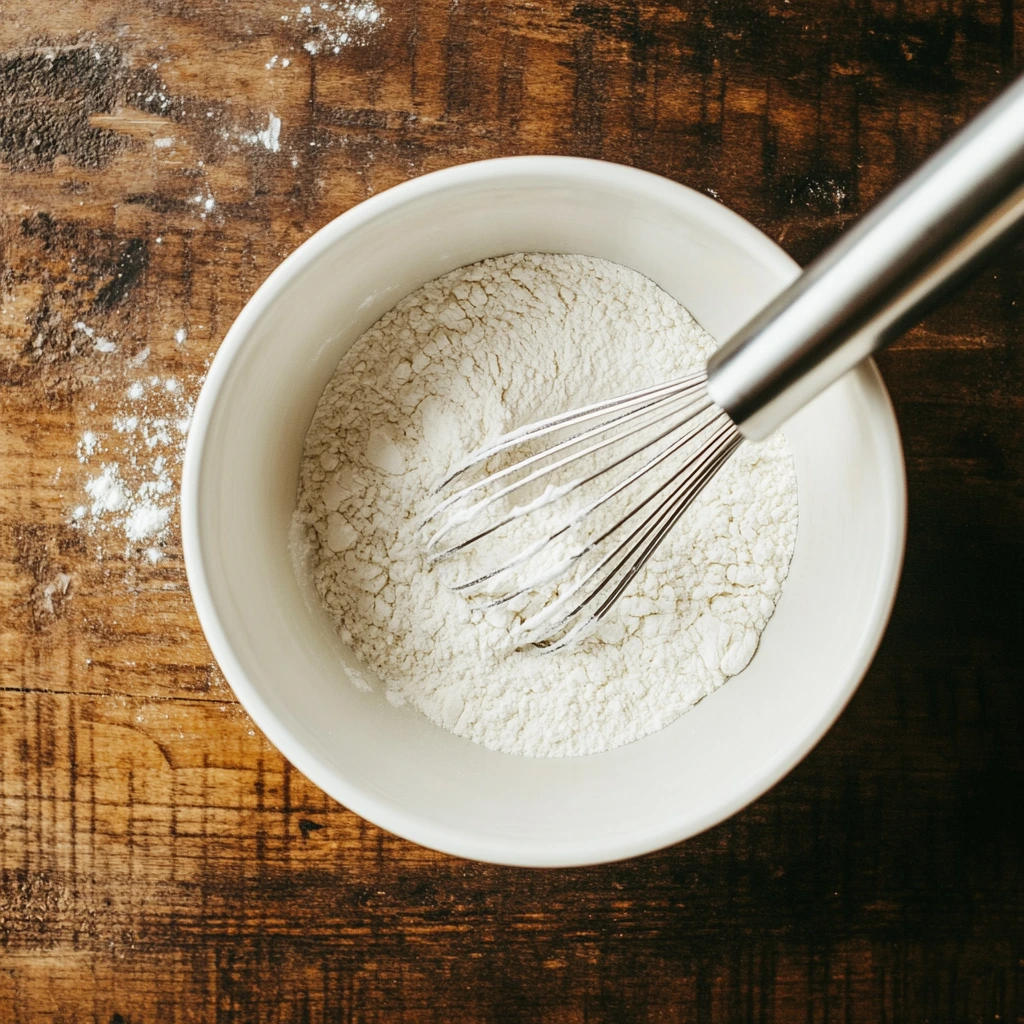
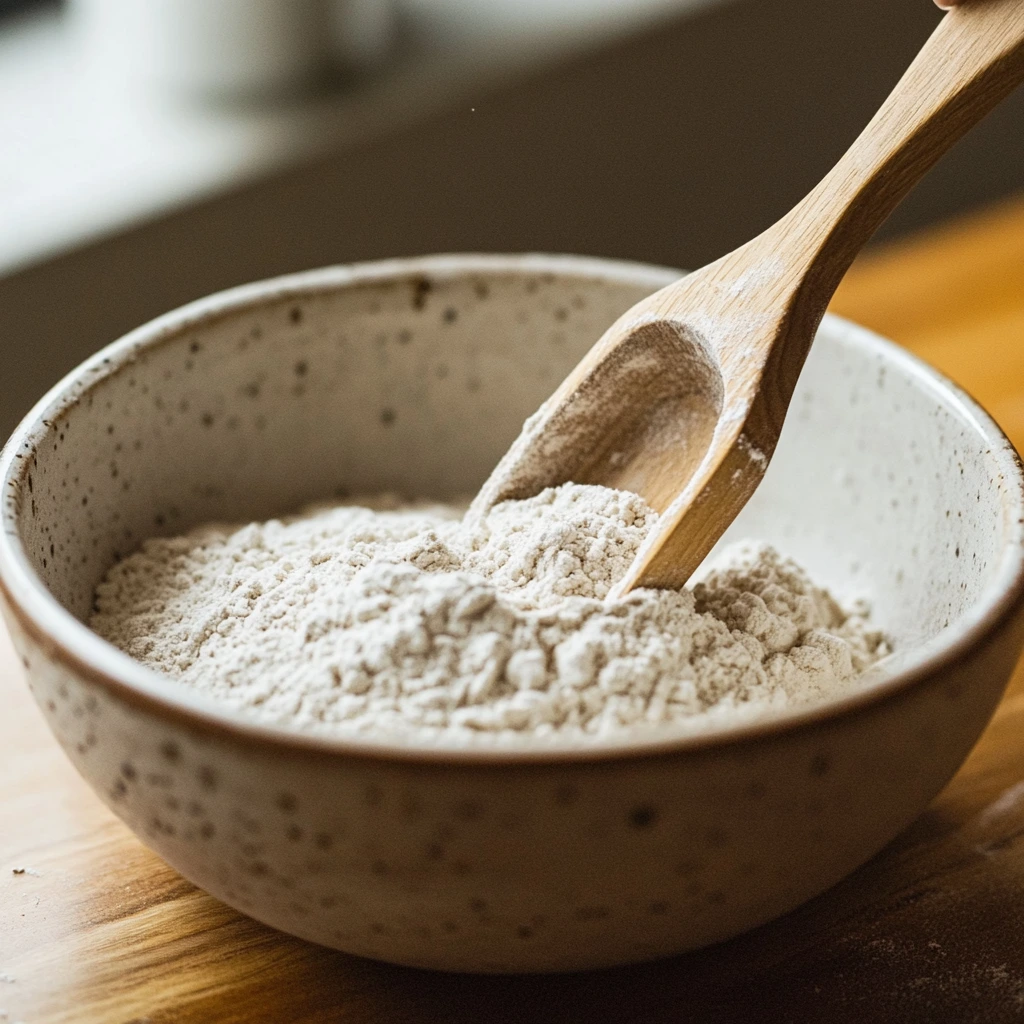
In a medium bowl, whisk together the flour, baking soda, and salt.
It’s always a good idea to mix your dry ingredients separately to ensure the baking soda is evenly distributed.
STEP 5: Combine Wet and Dry
Slowly add the dry ingredients into the wet mixture, stirring gently until everything is combined. The dough will be soft but not sticky—perfect for rolling into balls.
How to Shape and Bake the Best Peanut Butter Cookies
Alright, now that we’ve got our dough ready and it’s full of that irresistible peanut butter goodness, let’s get these cookies shaped and baked! This part is honestly one of my favorites—there’s something really satisfying about creating that iconic crisscross pattern on top. It makes the cookies look homemade in the best possible way.
Plus, I’ve got a few simple tips that can help take these cookies from great to truly unforgettable. Whether you’re baking for a crowd or just for yourself (no judgment here), this next part is where the magic happens.
Finishing the Dough and Getting Ready to Bake
STEP 6: Shape the Dough into Balls
Scoop out about 1 tablespoon of dough at a time and roll it between your palms to form a ball. Try to keep the size consistent so the cookies bake evenly.
Place the dough balls on your prepared baking sheet, spacing them about 2 inches apart. These cookies will spread a bit as they bake, so you don’t want them too close together.
Tip: If your dough feels too soft to roll, pop it in the fridge for 10–15 minutes. It’ll firm up just enough to make shaping easier.
STEP 7: Press with a Fork to Create the Crisscross Pattern
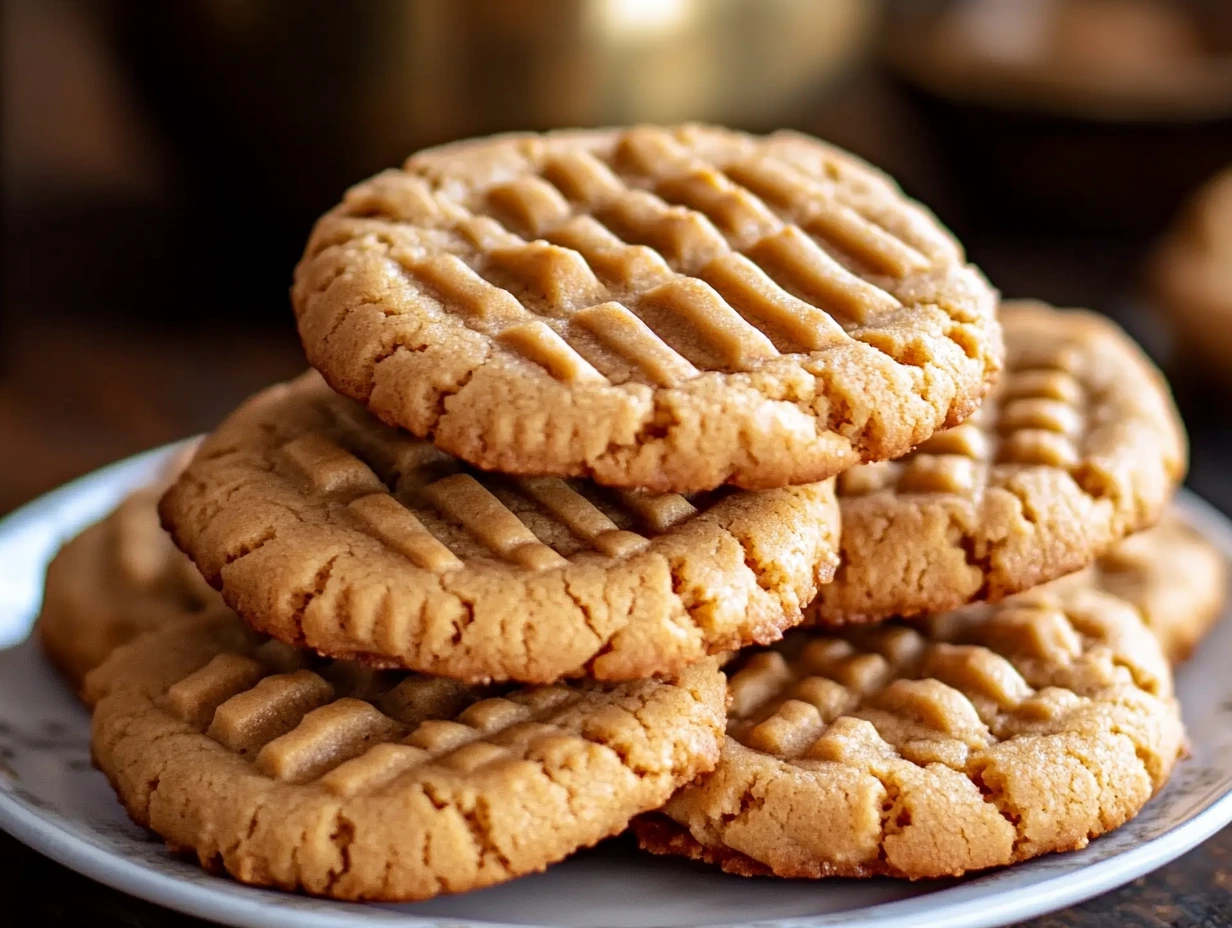
Here’s the fun part! Take a fork and gently press down on each dough ball, then rotate the fork 90 degrees and press again. This gives you that classic crisscross pattern that peanut butter cookies are known for.
Not only does this step look great, but it also helps flatten the cookies so they bake more evenly. Win-win.
Bake to Perfection
STEP 8: Bake at 350°F (175°C) for 10–12 Minutes
Pop the tray into your preheated oven and bake the cookies for 10–12 minutes, or until the edges are just starting to turn golden. The centers might look slightly soft when you take them out—and that’s exactly what you want.
Important: Don’t wait until the whole cookie looks done or browned. Peanut butter cookies are best when they stay a little soft in the middle, and they’ll continue to firm up as they cool.
Cool and Enjoy
STEP 9: Let Them Cool on the Baking Sheet
Once you take the cookies out of the oven, let them cool on the baking sheet for about 5 minutes. This gives them a chance to set up a bit and makes them easier to transfer without breaking.
Then, use a spatula to move them over to a wire rack to cool completely. If you sneak one warm from the tray, I totally understand—they’re so good fresh out of the oven.
Optional Add-Ins and Variations
One of the things I love about this recipe is how easy it is to customize. Here are a few ideas to make these cookies your own:
Crunchy peanut butter: Adds more texture right from the start.
Chopped peanuts: Fold in 1/2 cup of chopped peanuts for an extra nutty bite.
Chocolate chips: Add 3/4 cup of chocolate chips for a peanut butter-chocolate combo that’s always a hit.
Mini peanut butter cups: Press one into the center of each cookie after baking for a fun twist.
Sea salt sprinkle: Lightly sprinkle flaky sea salt on top of each cookie before baking for a sweet-salty flavor contrast.
Freezing Tips
These cookies are awesome for making ahead, whether you freeze the dough or the baked cookies:
To freeze the dough: Roll it into balls, flatten with a fork, and place them on a tray. Freeze until solid, then transfer to a freezer bag. Bake straight from frozen—just add a minute or two to the bake time.
To freeze baked cookies: Let them cool completely, then layer them in an airtight container with parchment between the layers. They’ll keep well in the freezer for up to 3 months.
Peanut Butter Cookie FAQ and Final Thoughts
Before you head into the kitchen and preheat that oven, let’s wrap things up with some of the most common questions I get about these classic peanut butter cookies. Whether you’re wondering about substitutions, storage, or just how to get that perfect chewy texture, I’ve got you covered.
Frequently Asked Questions
1. Can I use natural peanut butter instead of regular creamy peanut butter?
Technically, yes—but with a little caution. Natural peanut butter (the kind with oil separation) tends to be runnier and can make the dough too soft or oily. If you do use it, stir it really well before measuring and be prepared for slightly different results in texture.
2. What if I want to make these cookies gluten-free?
You can substitute a gluten-free all-purpose flour blend at a 1:1 ratio. Just make sure it includes xanthan gum or a similar binding agent for best results. The texture might be slightly different, but they should still be delicious.
3. Why did my cookies turn out dry or crumbly?
Overbaking is usually the culprit here. These cookies only need about 10–12 minutes in the oven, and they should still look soft in the center when you take them out. Also, be sure to measure your flour correctly—spoon it into the measuring cup and level it off instead of scooping directly from the bag.
4. Can I double the recipe?
Absolutely. This recipe doubles beautifully and is perfect for large batches. Just make sure to mix in stages if your mixing bowl isn’t big enough to handle all the dough at once.
5. How should I store leftover cookies?
Once cooled, store them in an airtight container at room temperature. They’ll stay fresh for about 4–5 days. If you want them to last longer, pop them in the freezer (baked or as dough balls).
6. Do I have to do the crisscross pattern with a fork?
Nope—it’s optional! The fork press is mostly for looks and tradition. But if you skip it, the cookies will bake up a bit puffier, so you might want to flatten them slightly with the bottom of a glass instead.
7. Can I make these cookies ahead of time?
Yes! You can make the dough up to 2 days in advance and keep it in the fridge. Just let it sit at room temp for 10–15 minutes before shaping and baking. You can also freeze the dough for longer storage.
Final Thoughts
These Soft and Chewy Peanut Butter Cookies are the kind of recipe you’ll find yourself turning to again and again. They’re easy, dependable, and hit that perfect balance of sweet and salty with every bite. Whether you keep them simple or jazz them up with chocolate chips or chopped nuts, they’re always a crowd-pleaser.
What I love most about this recipe is how nostalgic it feels. That first bite, with its soft center and buttery peanut flavor, always brings me back to simpler times. And yet, it’s just as satisfying now—especially with a cup of coffee or a cold glass of milk.
If you give these cookies a try, I’d love to hear how they turn out for you! Did you add your own twist? Make a double batch for the freezer? Share your version in the comments and let’s swap ideas. Happy baking!
Print
Peanut Butter Cookies
- Author: Andrew Recipes
Description
These classic peanut butter cookies are soft, chewy, and full of rich, nutty flavor. With their signature crisscross tops and perfectly golden edges, they’re a nostalgic treat that never goes out of style. Whether made with creamy or crunchy peanut butter, they’re quick to mix up and perfect for any occasion.
Ingredients
- 1/2 cup unsalted butter, softened
- 1/2 cup granulated sugar
- 1/2 cup brown sugar, packed
- 1 cup creamy peanut butter (or crunchy, if preferred)
- 1 large egg
- 1 teaspoon vanilla extract
- 1 1/4 cups all-purpose flour
- 1/2 teaspoon baking soda
- 1/4 teaspoon salt
Instructions
Preheat your oven to 350°F (175°C).
Line a baking sheet with parchment paper or a silicone baking mat.
In a large mixing bowl, cream together the butter, granulated sugar, and brown sugar until light and fluffy.
Add the peanut butter, egg, and vanilla extract. Mix until smooth.
In a separate bowl, whisk together the flour, baking soda, and salt.
Gradually add the dry ingredients to the wet mixture, stirring until a soft dough forms.
Roll the dough into balls, about 1 tablespoon each, and place them on the prepared baking sheet about 2 inches apart.
Use a fork to flatten each ball, pressing down twice to create a crisscross pattern.
Bake in the preheated oven for 10–12 minutes, or until the edges are lightly golden.
Let the cookies cool on the baking sheet for 5 minutes before transferring them to a wire rack to cool completely.
Notes
For extra texture, use crunchy peanut butter or fold in chopped peanuts or chocolate chips.
Don’t overbake—cookies will continue to firm up as they cool.
These cookies freeze well, both as dough and once baked, making them great for make-ahead treats.
