If you ask me, there’s nothing quite like the sweet nostalgia of a s’more—gooey marshmallow, melty chocolate, and that satisfying crunch from graham crackers. But what if we took that iconic combo and gave it a homemade twist? That’s exactly what happened when I whipped up these Peanut Butter S’mores Sandwich Cookies. Let me just say, they’re everything I love about s’mores—just without the campfire and bug spray!
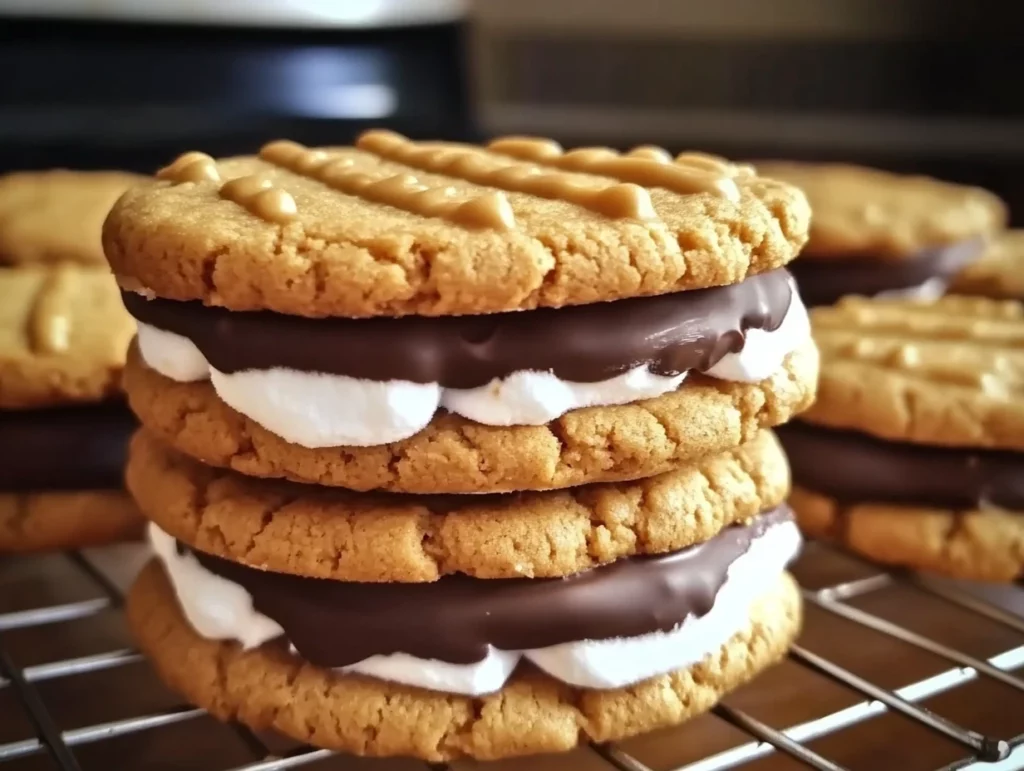
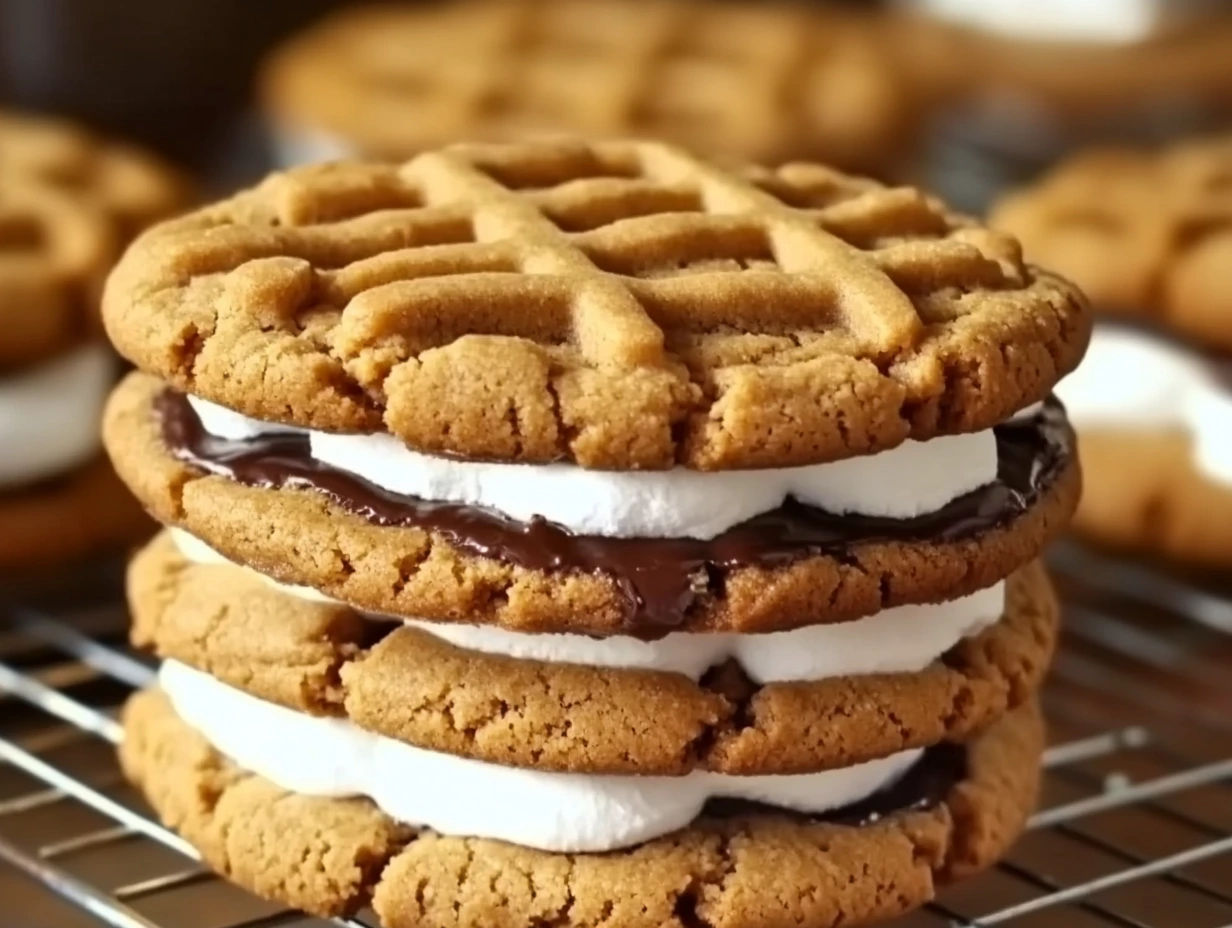
These cookies have quickly become a favorite around my house. Think soft and chewy peanut butter cookies sandwiching a gooey marshmallow center, topped with smooth chocolate ganache. It’s rich, it’s indulgent, and yes—it’s totally addictive. Whether you’re baking for a party, a potluck, or just need a cozy treat on a Tuesday night, these little cookie sandwiches check all the boxes.
And the best part? They’re surprisingly easy to make. If you’ve got basic pantry staples, you’re already halfway there. Let’s dive into this sweet adventure.
STEP 1: PREHEAT & PREP
Start by preheating your oven to 350°F (175°C). Line your baking sheets with parchment paper so the cookies don’t stick (and cleanup stays easy—yes, please).
STEP 2: MIX THE COOKIE DOUGH
In a large bowl, cream together the 1 cup creamy peanut butter, 1/2 cup softened unsalted butter, 1 cup granulated sugar, and 1 cup packed brown sugar. This is the base of your cookie dough and where all the rich, nutty flavor starts. Beat it until it’s light and fluffy—that usually takes about 2–3 minutes on medium speed.
Next, crack in 2 large eggs, one at a time. Mix well after each addition. Then add in 1 teaspoon of vanilla extract. Your dough should be smooth, thick, and already smelling amazing.
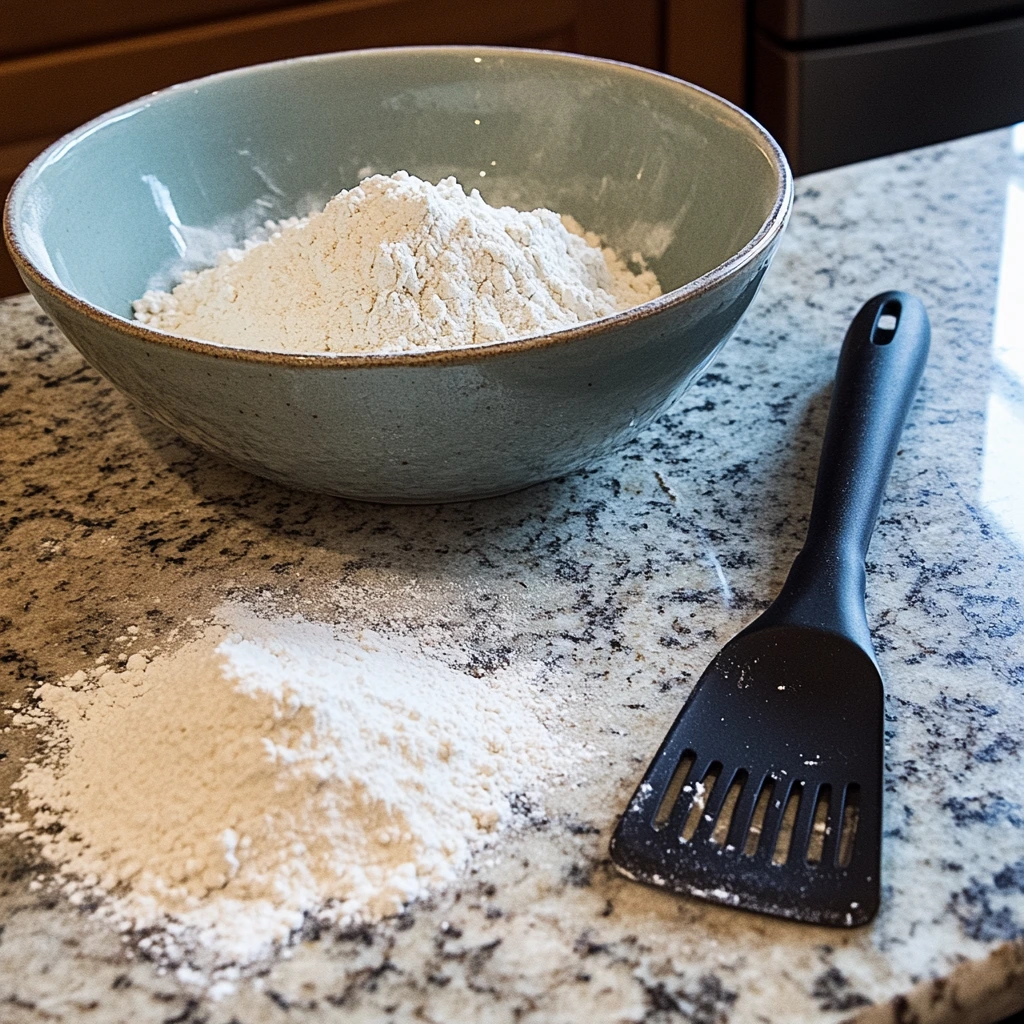
In a separate bowl, whisk together the dry ingredients: 2 1/4 cups all-purpose flour, 1 teaspoon baking soda, and 1/2 teaspoon salt. Gradually stir the dry ingredients into your wet mixture until the dough is fully combined. It’ll be soft but firm enough to scoop.

STEP 3: SHAPE & BAKE THE COOKIES
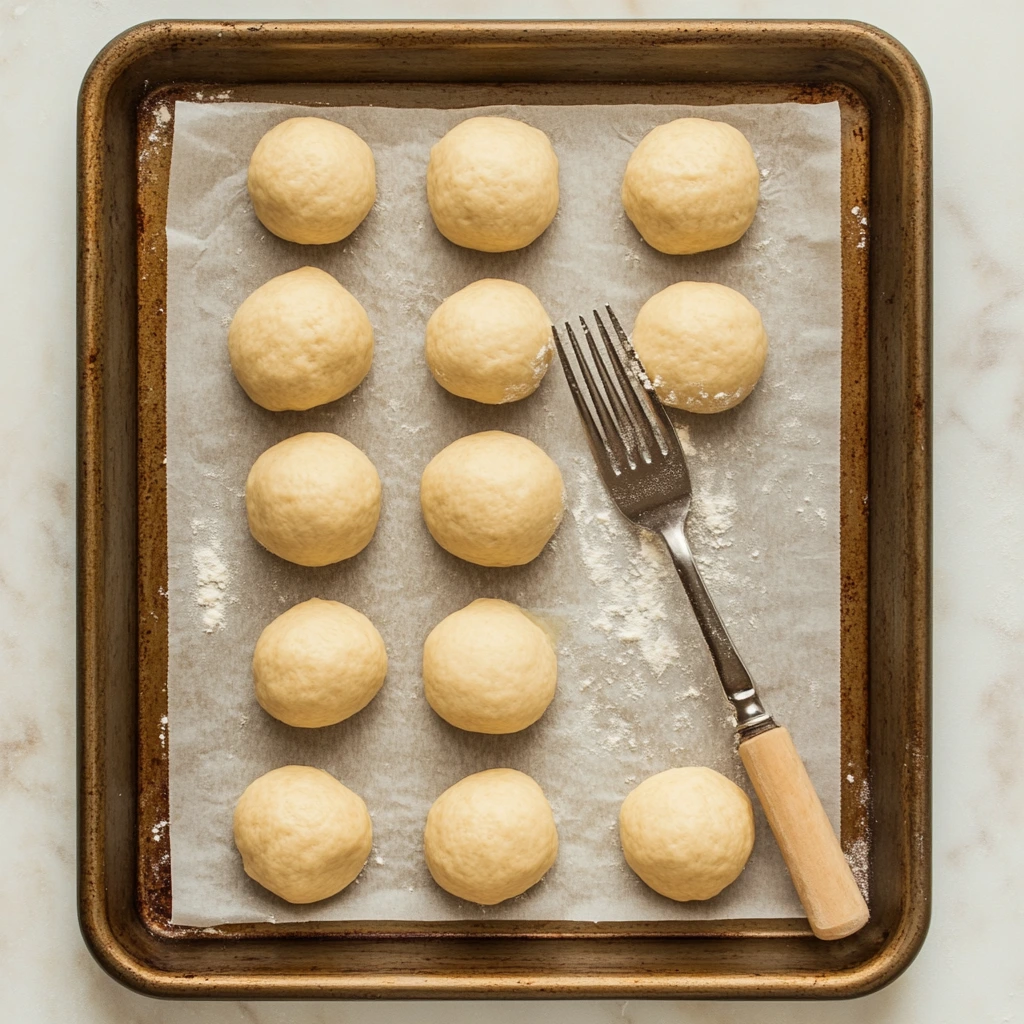
Using a tablespoon or cookie scoop, form dough balls and roll them between your hands. Place them about 2 inches apart on your prepared baking sheets. You’ll want to give them space—they spread a little in the oven.
Take a fork, dip it in sugar, and gently press a crisscross pattern into the top of each dough ball. This step isn’t just for looks—it helps the cookies bake more evenly and gives them that classic peanut butter cookie feel.
Bake the cookies for 10–12 minutes, or until the edges are just lightly golden. They’ll still be soft in the center, which is exactly what you want. Let them cool on the baking sheet for a couple of minutes, then transfer them to a wire rack to cool completely.
Peanut Butter S’mores Sandwich Cookies: Let’s Get Gooey
Alright, now that you’ve got your peanut butter cookies baked and cooling on the rack, we’re heading into the best part—filling and assembling! This is where those cozy s’mores vibes really start to come alive. Think melted marshmallows oozing between soft peanut butter cookies, topped with rich chocolate. Honestly, it’s a little bit magical.
If you’re baking with kids or want to impress at your next gathering, this is the moment that brings out all the oohs and aahs. And don’t worry—these next steps are quick and easy, so you’ll be snacking in no time.
STEP 4: MELT THE MARSHMALLOWS
You’ve got two great options for the marshmallow filling:
Miniature marshmallows, melted
Marshmallow fluff, straight from the jar
If you’re going the melt-your-own route (which I totally recommend if you want that classic pull-apart gooeyness), here’s how:
Add your miniature marshmallows to a microwave-safe bowl. Heat them in 20-second intervals, stirring after each burst. Depending on your microwave, it should take about 40–60 seconds total to get them nice and smooth. Let the mixture cool slightly so it’s thick but still spreadable.
Tip: If it gets too sticky to spread, just warm it back up for a few seconds.
Alternatively, you can go the fluff route. No heating needed—just scoop and spread. Super easy.
STEP 5: MAKE THE CHOCOLATE TOPPING
Now let’s talk chocolate. You don’t need anything fancy—just a simple ganache-style topping that sets perfectly and tastes rich and velvety.
In a small saucepan over low heat, combine:
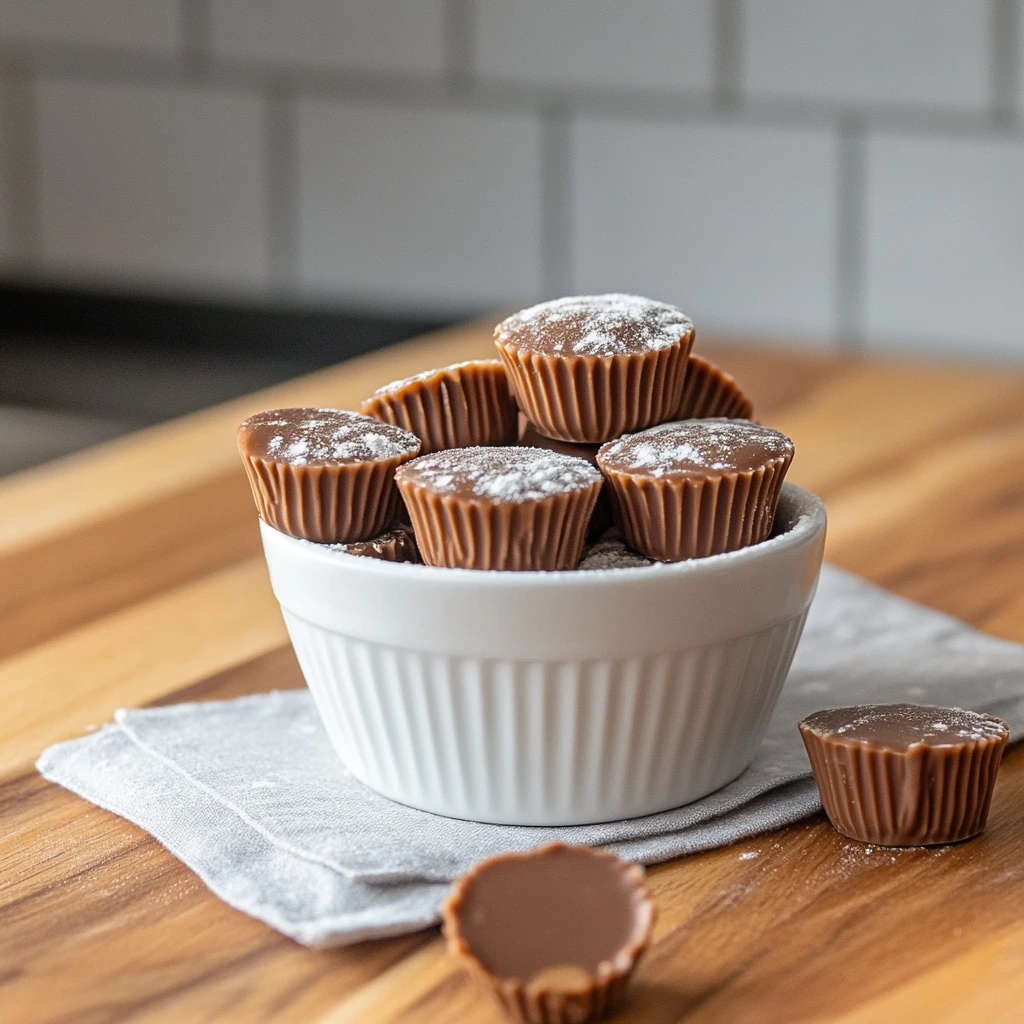
1 cup semisweet chocolate chips
1/4 cup heavy cream (or milk for a lighter version)
Stir constantly until the chocolate chips are fully melted and the mixture is smooth. It should look glossy and thick, but still pourable. Remove from heat and let it cool for a few minutes so it’s not too runny when you add it to the cookies.
If you prefer using the microwave, just toss the chocolate and cream in a bowl and heat in 20-second intervals, stirring between each. Works just as well.
STEP 6: ASSEMBLE THE COOKIES
Now for the fun part—assembling these dreamy sandwich cookies.
Pair your cooled cookies so they match in size. This helps your sandwiches look neat and uniform.
Spread a generous spoonful of melted marshmallow (or fluff) onto the flat side of one cookie.
Gently press a second cookie on top to create the sandwich.
Dip the top of each sandwich into the melted chocolate—or use a spoon to drizzle it over if you’re going for a more rustic look.
Let the cookies sit on a wire rack until the chocolate topping sets. If you’re impatient (guilty), pop them in the fridge for about 15–20 minutes to speed things up.
BONUS TIP: ADD A GRAHAM CRACKER CRUNCH
Want to go full s’mores mode? Crush up a few graham crackers and sprinkle the crumbs over the chocolate topping while it’s still wet. Not only does it taste amazing, but it adds that classic graham cracker crunch—and makes these sandwich cookies even more photo-worthy.
Peanut Butter S’mores Sandwich Cookies: Your Questions Answered
By now, you’ve baked your cookies, whipped up the marshmallow filling, and dipped everything in luscious chocolate. You’re probably trying not to eat them all at once (no judgment if you failed—I’ve been there). Before we wrap up, let’s go over some of the most common questions people have when making these Peanut Butter S’mores Sandwich Cookies.
Because honestly, a few tips and tricks can take a good bake and make it great.
FREQUENTLY ASKED QUESTIONS
1. Can I use natural peanut butter instead of regular creamy peanut butter?
You can, but keep in mind that natural peanut butter is oilier and less stable, which can affect the texture of the cookies. If you use it, make sure it’s well-stirred and not too runny. You might also need to chill the dough a bit before baking.
2. What’s the best way to store these cookies?
These sandwich cookies hold up well at room temperature for up to 3 days in an airtight container. If you want to keep them longer, layer them between parchment paper and freeze. When you’re ready to enjoy, just thaw at room temperature.
3. Can I make the components ahead of time?
Yes! You can bake the cookies a day or two ahead and keep them sealed. The marshmallow and chocolate should be made fresh the day you plan to assemble for the best texture, but even assembled cookies hold up well if made a day in advance.
4. Is there a substitute for marshmallows or fluff?
If marshmallows aren’t your thing, a vanilla buttercream or even a scoop of Nutella would work nicely. You won’t get the traditional s’mores flavor, but you will still have a seriously delicious sandwich cookie.
5. Can I add graham crackers to the actual cookie dough?
Sure! If you want to lean even harder into that s’mores flavor, crush up a few graham crackers and fold them into the cookie dough before baking. Around 1/2 cup of crushed graham crackers should be plenty.
6. Do these need to be refrigerated because of the filling or topping?
Nope—unless your kitchen is super warm, they’ll be fine at room temperature. If you prefer a firmer texture for the chocolate and marshmallow, go ahead and chill them. They’re also really tasty cold!
7. Can I double the recipe?
Absolutely. These cookies are a hit at parties, bake sales, and family gatherings, so doubling the recipe is a great idea. Just make sure your mixer can handle the extra dough, or work in batches.
WRAPPING IT ALL UP
These Peanut Butter S’mores Sandwich Cookies are more than just a dessert—they’re a celebration of everything we love about classic treats with a homemade twist. Soft peanut butter cookies, gooey marshmallow centers, and silky chocolate on top? Yes, please.
I love how this recipe brings together familiar flavors in a fun, fresh way. They’re impressive enough for a special occasion, but still easy enough to whip up on a weekend when you just want something sweet and satisfying.
So if you’re looking for a cookie that’s a little indulgent, a little nostalgic, and a whole lot delicious—this is the one. And hey, if you try them, I’d love to hear how they turned out. Did you go full s’mores with graham cracker crumbs? Try a variation? Let me know in the comments or tag your creations online!
Happy baking—and don’t forget to save a few for yourself.
Print
Peanut Butter S’mores Sandwich Cookies
- Author: Andrew Recipes
Description
These indulgent Peanut Butter S’mores Sandwich Cookies are the ultimate mash-up of campfire nostalgia and homemade comfort. Soft, chewy peanut butter cookies hug a gooey marshmallow filling and are topped with rich chocolate for that classic s’mores flavor in cookie form. Perfect for special occasions, bake sales, or a sweet treat anytime you crave a decadent dessert.
Ingredients
For the Peanut Butter Cookies:
1 cup creamy peanut butter
1/2 cup unsalted butter, softened
1 cup granulated sugar
1 cup packed brown sugar
2 large eggs
1 teaspoon vanilla extract
2 1/4 cups all-purpose flour
1 teaspoon baking soda
1/2 teaspoon salt
For the Marshmallow Filling:
1 package miniature marshmallows (or use marshmallow fluff)
For the Chocolate Topping:
1 cup semisweet chocolate chips
1/4 cup heavy cream (or milk for a lighter version)
Instructions
Preheat the oven to 350°F (175°C). Line baking sheets with parchment paper.
In a large mixing bowl, cream together the peanut butter, softened butter, granulated sugar, and brown sugar until light and fluffy. Add the eggs one at a time, beating well after each addition, then mix in the vanilla extract.
In a separate bowl, whisk together the flour, baking soda, and salt. Gradually stir the dry mixture into the wet mixture until a dough forms.
Scoop out tablespoon-sized portions of dough and roll them into balls. Place them on the baking sheets, spacing them about 2 inches apart. Flatten each slightly with a fork dipped in sugar, creating a crisscross pattern.
Bake for 10–12 minutes or until the edges are lightly golden. Let the cookies cool completely on a wire rack.
To prepare the marshmallow filling, melt the miniature marshmallows in a microwave-safe bowl in 20-second intervals, stirring between each, until smooth. Alternatively, use marshmallow fluff for ease. Let it cool slightly while remaining spreadable.
For the chocolate topping, combine the chocolate chips and heavy cream in a small saucepan over low heat. Stir constantly until the chocolate is fully melted and smooth. Remove from heat and allow it to cool slightly.
To assemble the sandwiches, pair the cooled cookies in matching sizes. Spread the marshmallow filling on the flat side of one cookie and sandwich it with another.
Dip or drizzle the top of the cookie sandwiches in the chocolate topping. Let the chocolate set on a wire rack at room temperature or in the refrigerator.
Notes
These cookies store well in an airtight container at room temperature for up to 3 days. For longer storage, freeze them in a single layer and thaw as needed. Try adding a sprinkle of crushed graham crackers over the chocolate topping for extra s’mores flair.

