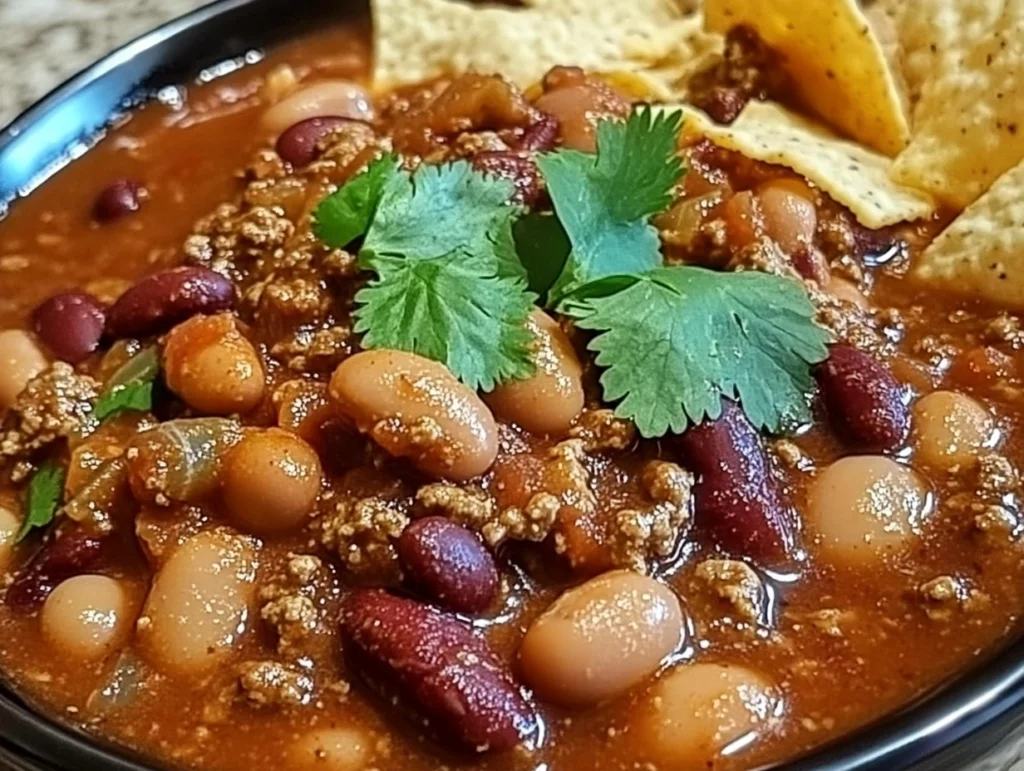
When it comes to comfort food, nothing hits quite like a big bowl of chili. Whether it’s for a cozy weeknight dinner or a crowd-pleasing dish at a weekend gathering, chili has this magical way of making everything feel a little warmer, a little better. And today, I’m sharing one of my favorites—a Pinto Bean Chili that’s both hearty and flavorful. It’s a perfect mix of tender pinto beans, savory ground beef (or turkey, or plant-based meat if you prefer), and a blend of spices that will have your taste buds dancing.
What makes this chili extra special? Well, the combination of chili powder, cumin, smoked paprika, and a touch of oregano creates a deep, satisfying flavor. Plus, with optional toppings like shredded cheese, sour cream, or diced avocado, you can totally make this chili your own. I love how customizable this recipe is, and you can even make it ahead for busy days. Trust me, after one bite, you’ll want to make this chili a regular part of your meal rotation.
Let’s dive into how to make this delicious pinto bean chili, starting with the basics.
Ingredients for Pinto Bean Chili
Before we get started, let’s quickly go over the ingredients you’ll need to gather for this flavorful chili:
2 tablespoons olive oil – This will be used for sautéing your veggies.
1 medium onion, diced – For that nice aromatic base.
2 garlic cloves, minced – A must for added flavor.
1 bell pepper, diced – Adds some freshness and sweetness.
1 jalapeño, finely chopped (optional) – If you want a little heat, this is your go-to.
1 pound ground beef (or turkey or plant-based meat) – This is the hearty, protein-packed base for the chili.
2 teaspoons chili powder – The star of the show for chili flavor.
1 teaspoon ground cumin – For that warm, earthy note.
1 teaspoon smoked paprika – This adds a little smokiness and depth.
1/2 teaspoon oregano – A subtle herb that balances everything out.
Salt and black pepper, to taste – Always important for bringing all the flavors together.
2 (15 oz) cans pinto beans, drained and rinsed – The beans are the heart of this dish.
1 (15 oz) can diced tomatoes, with juices – For some juicy tomato goodness.
1 (8 oz) can tomato sauce – To thicken the chili up a bit.
1 cup beef or vegetable broth – This gives the chili a lovely, soupy consistency. Adjust based on how thick or thin you like it.
1 tablespoon tomato paste (optional) – If you want an extra layer of richness, don’t skip this!
Optional Toppings
Now, the fun part: toppings! You can really make this chili your own with a variety of toppings. Here are some of my favorites:
Shredded cheese (cheddar, Monterey Jack, or whatever you love)
Sour cream or Greek yogurt
Chopped green onions
Fresh cilantro for a burst of freshness
Diced avocado for some creamy goodness
Tortilla chips or crackers for a crunchy texture contrast
Steps to Make Pinto Bean Chili
Let’s get to the good stuff—the actual cooking! Don’t worry, this recipe is super easy to follow, and the steps are simple. You’ll have a delicious, comforting bowl of chili ready in no time.
Step 1: Sauté the Veggies
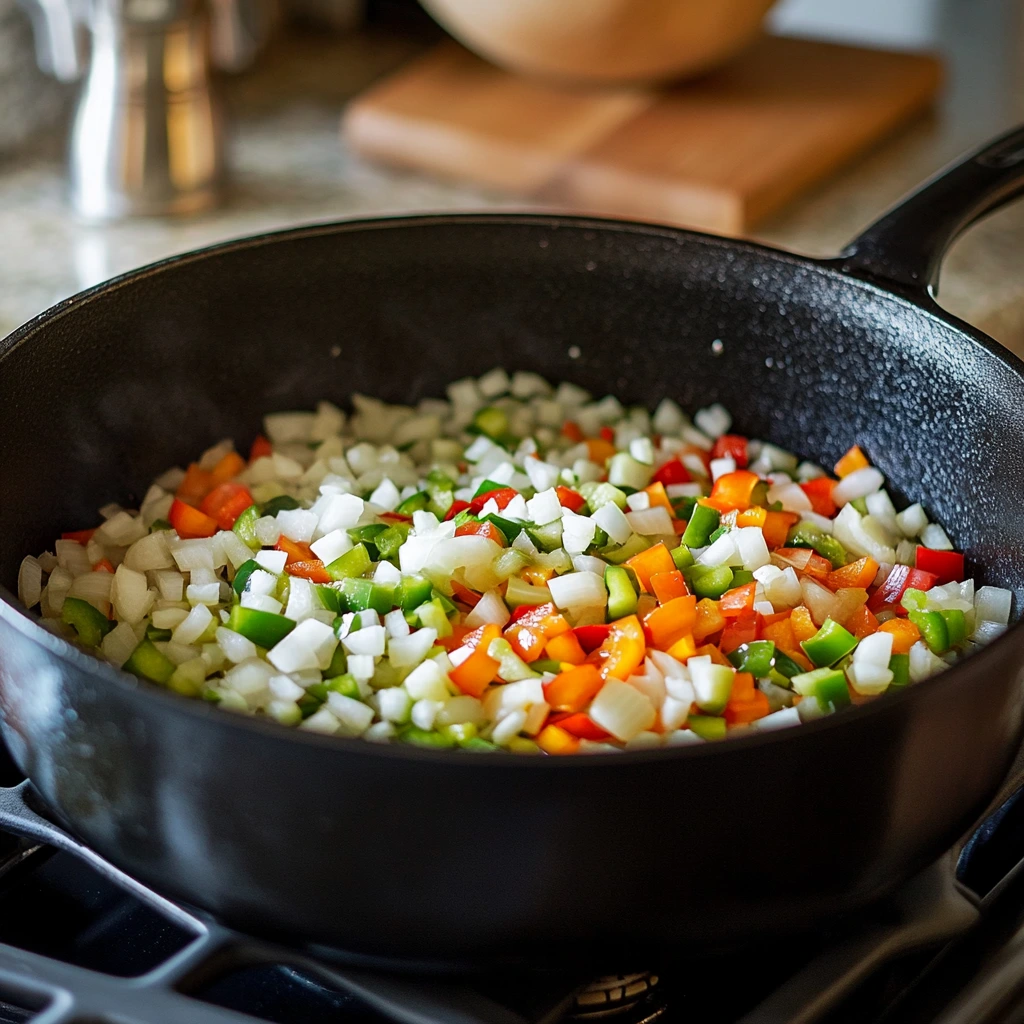
Start by heating olive oil in a large pot or Dutch oven over medium heat. Once the oil is hot, add in the onion, bell pepper, and jalapeño (if you like a little heat). Cook for about 3 to 5 minutes, stirring occasionally, until the veggies have softened. You should start to smell the delicious aromas filling your kitchen by now!
Next, add the garlic and cook for an additional minute until fragrant. This is where the flavor starts to come together, so don’t skip this step!
Step 2: Brown the Meat
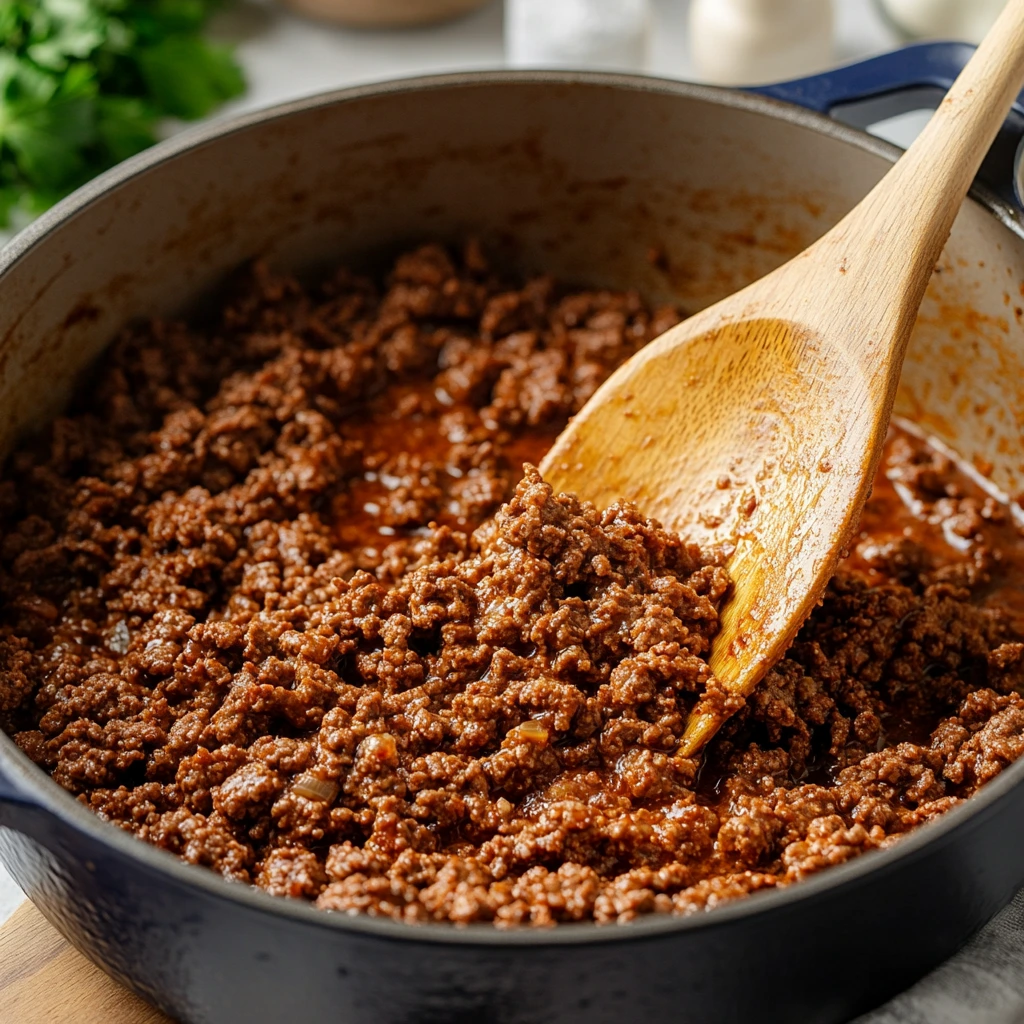
Now, it’s time to add in the ground beef (or turkey, or whatever meat you’re using). Break it apart with a wooden spoon as it cooks, stirring occasionally until it’s browned and fully cooked, about 5–7 minutes. If there’s any excess fat, be sure to drain it before moving on to the next step.
Step 3: Add the Spices
Sprinkle in the chili powder, ground cumin, smoked paprika, oregano, salt, and pepper. Stir everything together until the meat and veggies are evenly coated with the spices. This is where the magic really happens! The spices will start to release their flavors, and your kitchen is going to smell amazing.
Step 4: Stir in the Beans and Tomatoes
Now, it’s time to add the pinto beans, diced tomatoes, tomato sauce, and broth. If you want a richer flavor, go ahead and add the tomato paste here too. It’s an optional step, but I find that it adds a depth that takes the chili to the next level.
Stir everything together to combine, making sure the beans and tomatoes are evenly distributed throughout the pot. You’re getting so close to the final result!
Step 5: Simmer the Chili
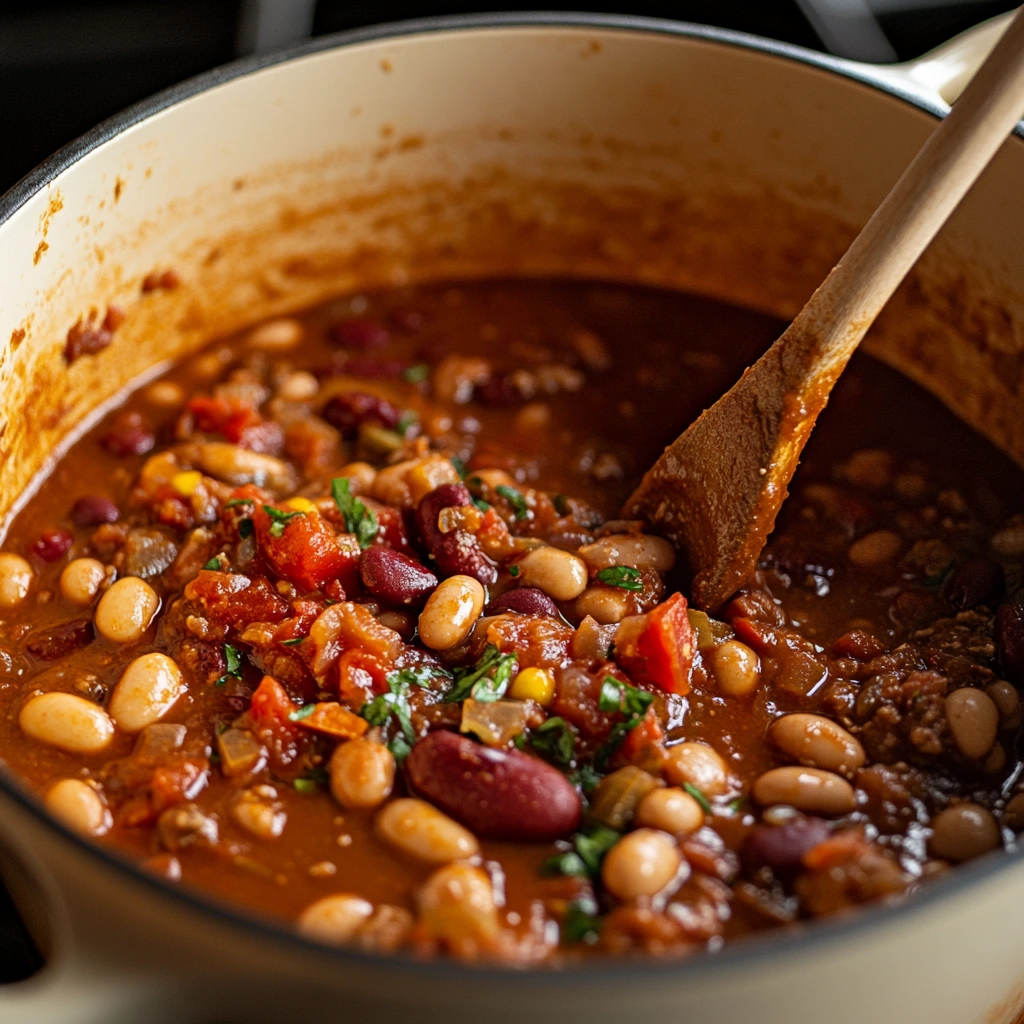
Bring the mixture to a gentle boil, then reduce the heat to low. Cover the pot and let the chili simmer for 25–30 minutes. Stir occasionally to make sure everything is well blended. If you like a thicker chili, let it cook a bit longer. If it’s too thick, you can always add a little more broth to get it to your desired consistency.
Step 6: Taste and Adjust
Before serving, taste the chili and adjust the seasoning if necessary. You might want to add a little more salt, pepper, or spice depending on your preferences.
Once everything is just right, it’s time to ladle the chili into bowls and top with your favorite toppings. Whether you go for a sprinkle of cheese, a dollop of sour cream, or a few slices of avocado, the toppings will really elevate this dish.
Continuing with the Pinto Bean Chili and Helpful Tips
By now, your chili is already off to a great start, and the aromas are probably filling your kitchen. But there are a few more tips and tricks that can help take this Pinto Bean Chili to the next level. Whether you’re looking to adjust the flavor or make the chili work for different dietary needs, I’ve got you covered with a few simple steps and variations that will make this dish even more enjoyable.
Steps to Perfect Pinto Bean Chili (Continued)
Step 7: Adjusting Thickness
After your chili has simmered for about 25-30 minutes, you might notice that the consistency is just right. However, everyone has their own preference when it comes to chili texture. Some like it thick and hearty, while others prefer a more soupy version.
If you want a thicker chili, simply let it simmer uncovered for a little longer. This will allow some of the liquid to evaporate, making the chili more concentrated and rich. On the other hand, if you want a thinner chili, add more broth (beef or vegetable), a splash at a time, until you reach your desired consistency. Don’t be afraid to adjust it based on your personal preferences!
Step 8: Taste and Spice It Up
As your chili simmers, be sure to taste it and adjust the seasoning. Chili is all about layering flavors, so if you think it needs more depth, feel free to add a little more chili powder or cumin. For more heat, toss in a pinch of cayenne pepper or more jalapeño if you’re aiming for a spicy kick. A squeeze of lime juice can add a pop of acidity and brighten up the dish, balancing the richness of the beans and beef.
Don’t forget to taste as you go, adding a little more salt or pepper if necessary. Every pot of chili is a little different, so it’s important to tailor it to your tastes.
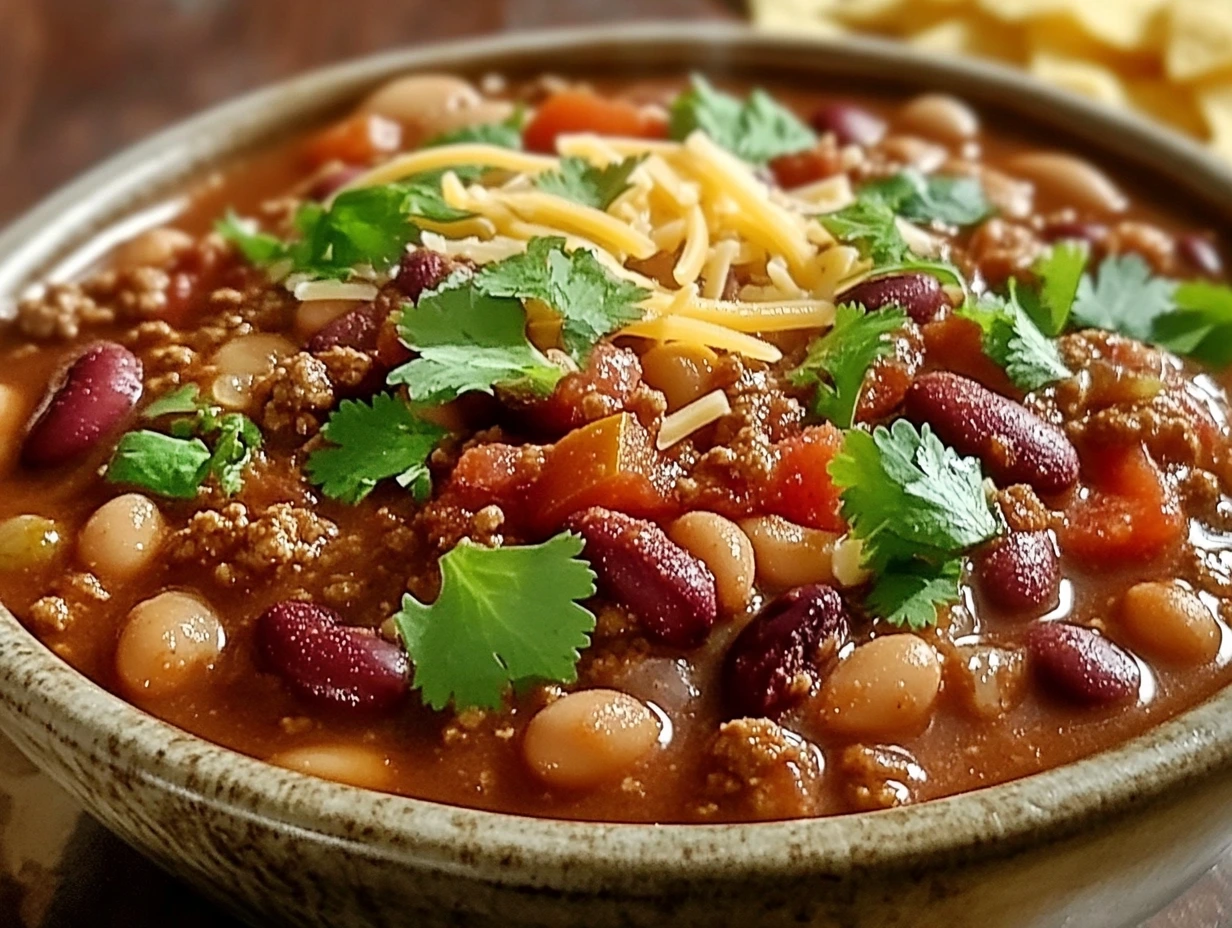
Step 9: Let the Flavors Marinate
One of the best things about chili is that the flavors continue to develop as it sits. If you have time, let your chili rest for a bit after cooking—about 10-15 minutes. This extra resting time will allow all the flavors to meld together even more, making each bite even more satisfying.
If you’re cooking ahead, chili actually tastes even better the next day after the flavors have had time to really blend. It’s a great option for meal prep or for making it ahead of time when you’re having company over!
Step 10: Serve with the Best Sides
While chili is delicious on its own, there’s nothing like pairing it with some classic sides to make it even more enjoyable. I love serving this Pinto Bean Chili with:
Cornbread: The slightly sweet, fluffy texture is the perfect contrast to the savory chili.
Tortillas: Warm flour tortillas are a great option for dipping into the chili.
Crackers: Whether you choose buttery or salty, crackers add a nice crunch to each bite.
You can also serve this chili with some simple rice or even some baked potatoes for a heartier meal. This chili really is a crowd-pleaser that pairs well with so many sides.
Tips and Variations for Your Pinto Bean Chili
I mentioned before how versatile this chili is, and here are a few ways you can tweak the recipe based on your tastes or dietary needs:
1. Make it Vegetarian or Vegan
If you’re looking for a vegetarian or vegan option, it’s super easy to make this chili meatless. Simply omit the ground beef and swap in either additional pinto beans, black beans, or even plant-based ground meat (like crumbled tempeh or lentils). The spices and beans will still give you that hearty, comforting flavor.
2. Try Different Beans
While pinto beans are the star of this chili, you can also experiment with different beans for varied textures and flavors. Black beans, kidney beans, or even white beans work wonderfully in this dish, so feel free to mix and match based on what you have on hand or what you love.
3. Add Extra Veggies
If you want to sneak in more veggies, this chili is the perfect place to do it. Consider adding zucchini, corn, or carrots to the mix. You can even sneak in some spinach or kale towards the end of cooking for an extra dose of greens.
4. Make it Spicy (or Mild)
The great thing about chili is that it’s easy to adjust the heat level. If you like it spicy, you can double the jalapeño or add some hot sauce to the pot. If you’re not a fan of heat, simply leave out the jalapeño and keep the spices mild. You can also adjust the chili powder based on your spice preference—use mild chili powder for a less fiery version, or hot chili powder if you’re up for the challenge.
5. Let it Chill and Freeze
One of the best things about chili is how well it stores. This Pinto Bean Chili can be made in advance and stored in the fridge for up to 3 days. It also freezes incredibly well, so if you make a big batch, you can freeze individual portions for an easy dinner later. Just let the chili cool completely before storing it in an airtight container, and it will last in the freezer for up to 3 months. When you’re ready to eat, just reheat it on the stove or in the microwave, and you’re good to go!
Frequently Asked Questions and Conclusion
Now that you’re well on your way to making this delicious Pinto Bean Chili, you might have a few questions lingering about the recipe. Don’t worry, I’ve got answers to some of the most common ones to help you along the way. Let’s dive into the frequently asked questions and wrap things up with a few final thoughts on this cozy dish!
Frequently Asked Questions
1. Can I make this chili ahead of time?
Yes, you absolutely can! In fact, this chili tastes even better the next day after the flavors have had time to meld together. You can make it up to 3 days ahead of time and store it in the fridge. Just reheat it when you’re ready to serve. For longer storage, you can freeze the chili in an airtight container for up to 3 months. When ready to eat, simply thaw and reheat it on the stove.
2. Can I use a different type of meat in this chili?
Definitely! While I’ve used ground beef in the recipe, you can easily substitute it with ground turkey, ground chicken, or even plant-based ground meat for a vegetarian or vegan version. The spices and beans in the chili will still give you that hearty, satisfying flavor, no matter what protein you choose.
3. How can I make this chili spicier?
If you’re a fan of spice, there are a few easy ways to crank up the heat! First, you can add more jalapeños (fresh or even pickled). If you really want to kick things up a notch, add a few dashes of hot sauce or cayenne pepper. Just remember, a little spice goes a long way, so start with a small amount and taste as you go.
4. Can I use dry pinto beans instead of canned?
Yes, you can use dried pinto beans instead of canned, but you’ll need to cook them ahead of time. To do this, rinse and soak the dried beans overnight, then cook them in a large pot of water until tender (this usually takes about 1.5 to 2 hours). Once they’re ready, drain them and add them to the chili along with the other ingredients. Keep in mind that using dried beans will add a bit more prep time, but the result will be just as delicious!
5. Can I make this chili in a slow cooker or Instant Pot?
Absolutely! If you prefer using a slow cooker or Instant Pot, you can easily adapt this recipe. For the slow cooker, sauté the veggies and meat on the stove first, then transfer everything to the slow cooker with the beans, tomatoes, and broth. Cook on low for 6-7 hours or high for 3-4 hours. If you’re using an Instant Pot, you can use the sauté function to cook the meat and veggies, then set it to high pressure for 10 minutes to cook everything through. Just be sure to adjust the liquid amounts based on your desired consistency!
6. What can I serve with this chili?
While the chili is delicious on its own, it pairs perfectly with a variety of sides. I love serving it with cornbread, tortillas, or crackers. You can also make it a more filling meal by adding rice, baked potatoes, or a simple side salad. And don’t forget those optional toppings—shredded cheese, sour cream, avocado, and cilantro really take it to the next level.
7. Can I make this chili less spicy?
If you want a milder chili, simply leave out the jalapeño and reduce the amount of chili powder or smoked paprika. You can also substitute the smoked paprika with regular paprika if you prefer a more subtle flavor. The beauty of chili is that you can easily adjust the spice level to suit your taste buds.
Conclusion: A Chili You’ll Keep Coming Back To
And there you have it—everything you need to know about making the perfect Pinto Bean Chili! Whether you follow the recipe exactly as written or make a few tweaks to make it your own, this dish is sure to become a favorite in your household. With its hearty beans, savory meat, and delicious spices, this chili is the ultimate comfort food. Plus, it’s incredibly versatile and easy to customize based on what you have on hand or how spicy you want it.
Don’t be afraid to play around with different ingredients, add your favorite toppings, or even make it a day ahead to let the flavors develop. The best part? It’s a one-pot wonder, so clean-up is a breeze! I can’t wait for you to try this recipe and hopefully make it a regular in your recipe rotation.
If you do try this Pinto Bean Chili, I’d love to hear what you think! Did you add any fun variations? Or did you stick to the classic recipe? Share your thoughts in the comments below or tag me on social media—I can’t wait to see your chili creations!
Happy cooking, and enjoy your delicious, comforting bowl of chili!
Print
Pinto Bean Chili
- Author: Andrew Recipes
Description
This hearty and flavorful pinto bean chili is a comforting dish that combines ground beef (or your choice of meat), pinto beans, and aromatic spices. The rich flavors from the combination of chili powder, cumin, smoked paprika, and tomato paste create a deep and satisfying chili, while the optional toppings allow you to customize the dish to your liking. Whether you’re looking for a hearty weeknight dinner or a dish to serve at a gathering, this chili is sure to please.
Ingredients
2 tablespoons olive oil
1 medium onion, diced
2 garlic cloves, minced
1 bell pepper, diced (any color)
1 jalapeño, finely chopped (optional, for heat)
1 pound ground beef (or turkey or plant-based ground meat)
2 teaspoons chili powder
1 teaspoon ground cumin
1 teaspoon smoked paprika
1/2 teaspoon oregano
Salt and black pepper, to taste
2 (15 oz) cans pinto beans, drained and rinsed
1 (15 oz) can diced tomatoes, with juices
1 (8 oz) can tomato sauce
1 cup beef or vegetable broth (adjust for desired thickness)
1 tablespoon tomato paste (optional, for richness)
Optional Toppings
Shredded cheese
Sour cream or Greek yogurt
Chopped green onions
Fresh cilantro
Diced avocado
Tortilla chips or crackers
Instructions
Heat olive oil in a large pot or Dutch oven over medium heat. Add the onion, bell pepper, and jalapeño (if using). Cook for 3–5 minutes until softened. Stir in the garlic and cook for another minute until fragrant.
Add the ground beef to the pot and cook until browned, breaking it apart with a wooden spoon, about 5–7 minutes. Drain any excess fat, if needed.
Sprinkle in the chili powder, cumin, smoked paprika, oregano, salt, and pepper. Stir to coat the meat and vegetables evenly with the spices.
Stir in the pinto beans, diced tomatoes, tomato sauce, and broth. Add the tomato paste for extra depth of flavor, if desired.
Bring the chili to a gentle boil, then reduce the heat to low. Cover and simmer for 25–30 minutes, stirring occasionally to let the flavors meld. Adjust the thickness by adding more broth if needed.
Taste the chili and adjust the seasoning with more salt, pepper, or spices as needed. Ladle into bowls and add your favorite toppings. Serve hot with cornbread, tortillas, or crackers on the side.
Notes
For a vegetarian version, simply omit the meat and substitute with extra beans or plant-based ground meat.
If you prefer a spicier chili, consider adding more jalapeño or a dash of hot sauce to the pot.
This chili can be made ahead of time and stored in the fridge for up to 3 days. It also freezes well for up to 3 months.
Feel free to adjust the thickness of the chili by adding more broth or letting it simmer longer to reduce.
