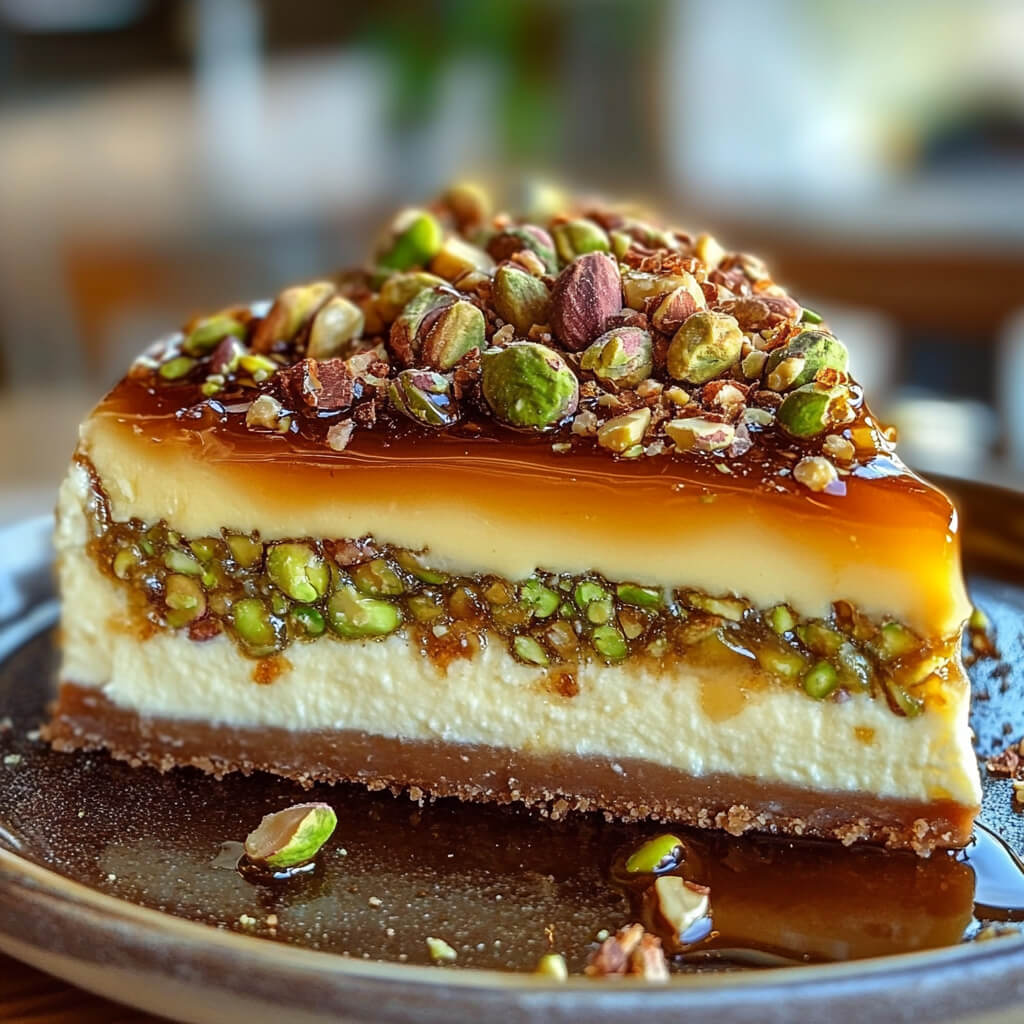
Honey Pistachio Baklava Cheesecake – A Sweet Fusion of Flavors
If you’ve ever struggled to choose between a rich, creamy cheesecake and the flaky, nutty goodness of baklava, then this Honey Pistachio Baklava Cheesecake is the dessert of your dreams. It’s a luxurious fusion of two classic treats—combining the buttery crispness of phyllo pastry, the crunch of spiced nuts, and the silky-smooth texture of cheesecake, all drizzled with fragrant honey, pistachios, and a hint of rosewater.
This is the kind of show-stopping dessert that’s perfect for special occasions, dinner parties, or anytime you want to impress your guests. While it looks fancy, it’s actually easier to make than you’d think—with a few key steps and simple ingredients, you’ll have a dessert that tastes like it came straight from a Mediterranean bakery!
Let’s dive into the details and start creating this irresistible baklava-inspired cheesecake.
What You’ll Need for This Elegant Dessert
This cheesecake is made in three delicious layers—each one adding a unique texture and flavor. Here’s what you’ll need:
For the Buttery Phyllo Crust:
- Phyllo pastry – The delicate, flaky layers that mimic traditional baklava.
- Unsalted butter – Brushed between the phyllo sheets for that golden, crispy texture.
For the Nutty Baklava Layer:
- Walnuts & almonds – Roasted and finely ground for a flavorful, crunchy base.
- Cinnamon & salt – Adds warmth and balance to the nut mixture.
- Melted butter – Helps bind the nuts together and enhances their richness.
For the Creamy Cheesecake Filling:
- Cream cheese – The foundation of any great cheesecake.
- Granulated sugar – Adds just the right amount of sweetness.
- Vanilla extract, lemon zest & juice – Brightens up the flavors.
- Cornstarch – Helps stabilize the filling.
- Eggs – Creates a smooth, custard-like texture.
- Greek yogurt (or sour cream) – Adds a subtle tang and extra creaminess.
For the Honey Pistachio Topping:
- Shelled pistachios – Adds a vibrant color and a satisfying crunch.
- Honey, lemon juice & rosewater – A fragrant drizzle that ties everything together.
Now that we’ve got our ingredients ready, let’s start with the first step—creating the crispy, golden phyllo crust.
Step 1: Preparing the Phyllo Crust
Before we start assembling, preheat your oven to 350°F (175°C) and prepare a springform pan with parchment paper on the base. This will make it easier to remove the cheesecake later.
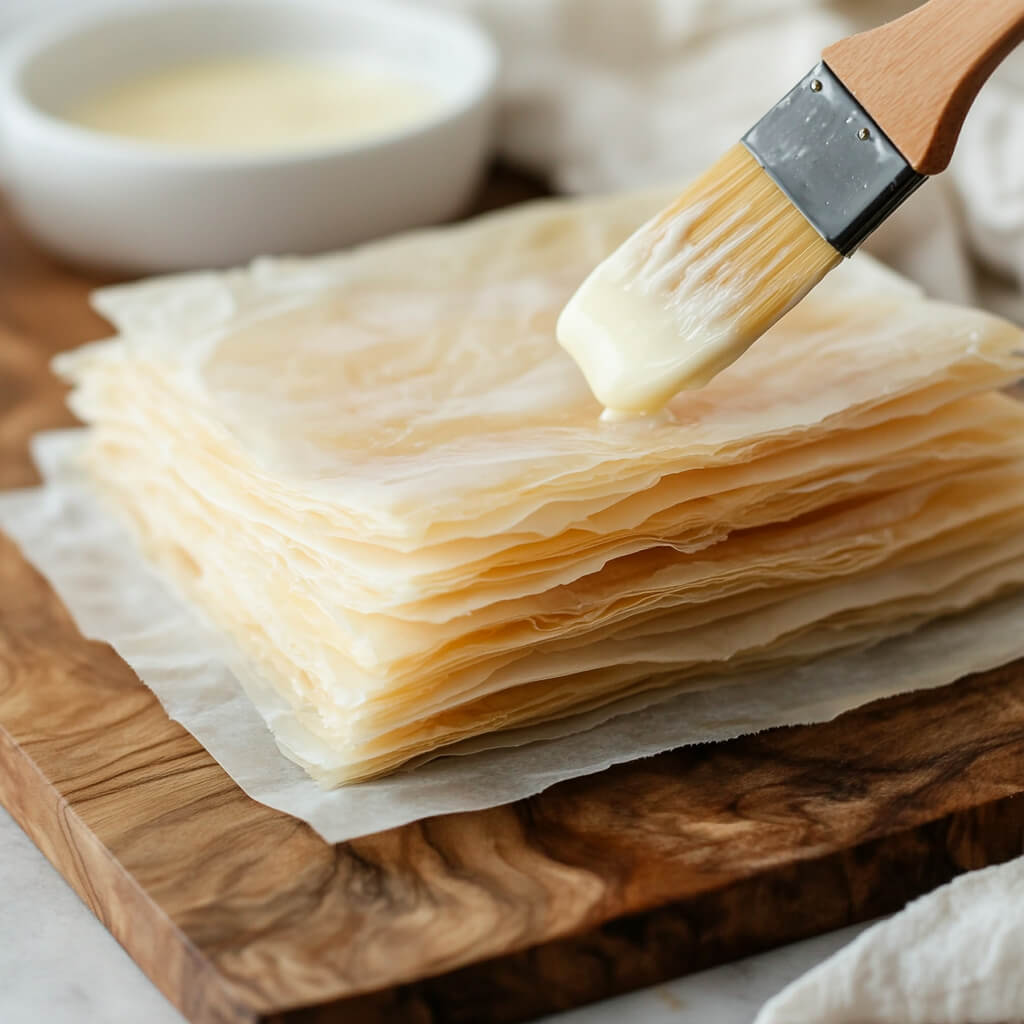
- Brush and layer the phyllo sheets:
- Take 10 sheets of thawed phyllo pastry and brush each one generously with melted butter.
- Layer them inside the springform pan, gently pressing them against the sides and bottom.
- Trim any overhanging edges to keep a neat shape.
- Bake the phyllo crust:
- Place the pan in the preheated oven and bake for about 12 minutes, or until the phyllo turns light golden brown and crispy.
💡 Pro Tip: Phyllo pastry dries out quickly, so keep the unused sheets covered with a damp kitchen towel while working.
Part 2: Building the Nutty and Creamy Layers of the Baklava Cheesecake
Now that we have a beautifully golden and crispy phyllo crust, it’s time to add the next layer—the sweet, spiced nut mixture that gives this cheesecake its unmistakable baklava flavor. This layer adds a crunchy, aromatic contrast to the creamy filling, making every bite texturally perfect.
Step 2: Creating the Nutty Baklava Layer
The secret to an authentic baklava flavor is the perfect blend of nuts, warm spices, and butter.
- Prepare the nut mixture:
- In a food processor, combine:
- 1 cup roasted walnuts
- 1 cup roasted almonds
- 1 teaspoon ground cinnamon
- ¼ teaspoon salt
- Pulse until the nuts are finely chopped but still slightly crumbly—not too powdery!
- In a food processor, combine:
- Mix with butter:
- Transfer the chopped nut mixture to a bowl and stir in 2 tablespoons of melted butter.
- This helps the nuts stick together and develop a rich, toasty flavor.
- Layer the nuts over the baked phyllo crust:
- Spread the nut mixture evenly over the cooled phyllo crust.
- Press it down slightly to create a firm, even layer.
💡 Pro Tip: If you want even more of a baklava vibe, you can drizzle a little honey over the nuts before adding the cheesecake filling!
With the nutty base in place, it’s time for the star of the show—the creamy cheesecake filling!
Step 3: Making the Creamy Cheesecake Filling
A good cheesecake should be smooth, rich, and perfectly balanced, and this filling delivers all that and more. The combination of cream cheese, Greek yogurt, and fresh lemon zest gives it a velvety texture with a hint of brightness.
How to Make It:
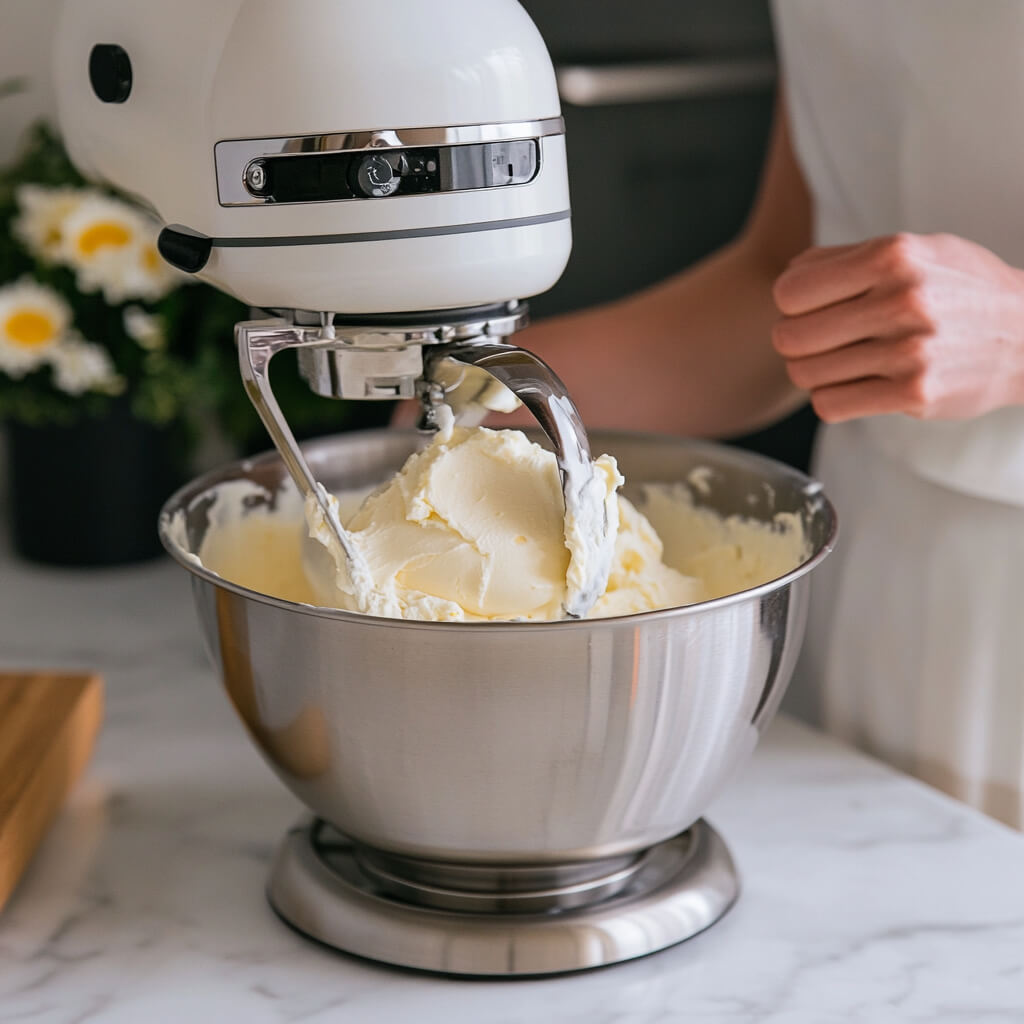
- Beat the cream cheese and sugar:
- In a large bowl, beat 500g (2 blocks) of cream cheese and 1 cup granulated sugar until smooth and creamy.
- Add a pinch of salt, 2 teaspoons vanilla extract, 1 tablespoon lemon zest, and 1 tablespoon lemon juice, then mix again.
- Incorporate the cornstarch and eggs:
- Sprinkle in 1 tablespoon cornstarch and mix well.
- Add the eggs one at a time, beating just until combined after each addition.
- Fold in the Greek yogurt (or sour cream):
- Gently stir in 250g strained Greek yogurt (or sour cream) until smooth.
💡 Pro Tip: Be careful not to overmix the batter—this prevents too much air from getting in, which can cause cracks while baking.
Step 4: Assembling and Baking the Cheesecake
Now that we have all our layers ready, let’s bring them together!
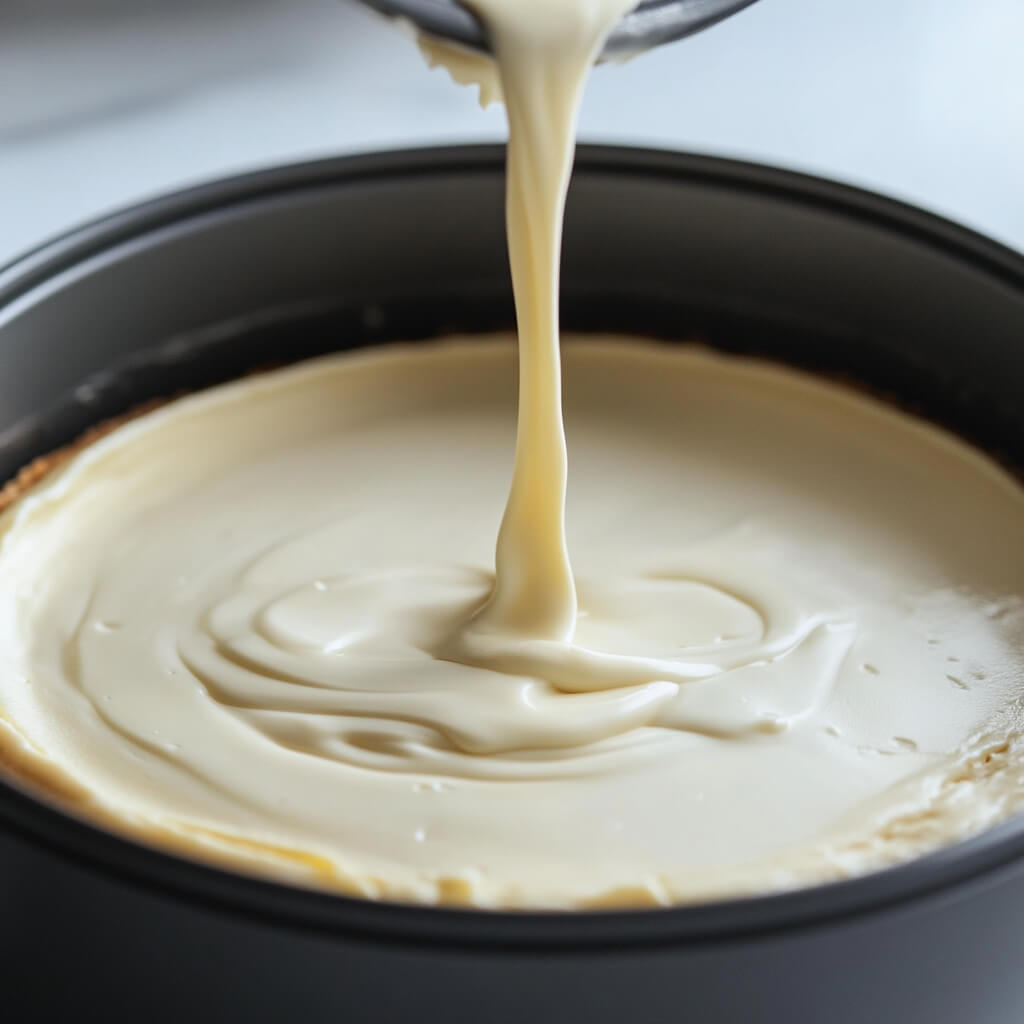
- Pour the cheesecake filling over the nut layer:
- Carefully spread the batter over the nut mixture, smoothing the top with a spatula.
- Bake the cheesecake:
- Place the cheesecake on the middle rack of a preheated 350°F (175°C) oven.
- Bake for 45 minutes, or until the edges are slightly golden and the center is just set but still slightly jiggly.
- Let it rest in the oven:
- Turn off the oven and leave the cheesecake inside for another 50 minutes with the door slightly ajar.
- This helps prevent cracks and ensures a silky-smooth texture.
- Cool completely:
- Remove the cheesecake from the oven and let it cool at room temperature before transferring it to the fridge to chill for at least 4 hours (or overnight for best results).
💡 Pro Tip: For extra insurance against cracks, you can bake the cheesecake in a water bath by placing the springform pan in a larger dish filled with an inch of hot water.
At this point, your Honey Pistachio Baklava Cheesecake is creamy, rich, and perfectly set, but we’re not done yet! The final touch—the honey-pistachio topping—brings everything together, adding a sweet, floral finish and an extra layer of crunch.
Let’s complete this masterpiece with an irresistible golden honey drizzle and vibrant pistachios before answering some frequently asked questions about this unique dessert!
Step 5: Making the Honey Pistachio Topping
This simple yet flavor-packed topping takes just a few minutes to prepare and adds a delightful Mediterranean flair to the cheesecake.
How to Make It:
- Chop the pistachios:
- Coarsely chop 1 cup of unsalted shelled pistachios for a crunchy, nutty texture.
- Mix the honey drizzle:
- In a small bowl, combine:
- 1 cup honey
- 1 tablespoon lemon juice (for balance)
- A splash of rosewater (optional, but adds a beautiful floral note)
- Stir until well combined.
- In a small bowl, combine:
- Assemble the topping:
- Drizzle the honey mixture over the cooled cheesecake.
- Sprinkle the chopped pistachios evenly over the top.
- Finish with a little extra drizzle of honey for a gorgeous, glossy effect.
💡 Pro Tip: For an extra indulgent touch, warm the honey slightly before drizzling—it spreads more smoothly and enhances the flavors!
Serving Your Baklava Cheesecake
Once topped, your cheesecake is ready to slice and serve!
- For the cleanest slices, use a sharp knife and wipe it clean between cuts.
- Serve chilled, and if desired, add an extra drizzle of honey or a sprinkle of powdered sugar for an elegant presentation.
- Pair with a cup of hot tea or strong coffee to balance the sweetness.
At this point, your Honey Pistachio Baklava Cheesecake is bursting with flavor, texture, and the perfect combination of creamy and crunchy. Now, let’s answer some common questions!
Frequently Asked Questions
1. Can I make this cheesecake ahead of time?
Yes! In fact, it’s best when made at least a day ahead since chilling enhances the flavor and texture. You can make it up to 3 days in advance and keep it covered in the fridge.
2. Can I freeze this cheesecake?
Absolutely! To freeze:
- Wrap the fully cooled cheesecake (without the topping) tightly in plastic wrap and foil.
- Freeze for up to 3 months.
- Thaw in the fridge overnight and add the honey-pistachio topping just before serving.
3. What can I use instead of rosewater?
If you don’t have rosewater, you can skip it or substitute with a few drops of orange blossom water for a citrusy floral note.
4. Can I use different nuts for the baklava layer?
Yes! Traditional baklava often includes pistachios, walnuts, and almonds, so feel free to use any mix you love.
5. How do I prevent cracks in my cheesecake?
- Don’t overmix the batter—too much air can cause cracks.
- Bake with a water bath or leave the cheesecake in the oven with the door slightly open after baking to cool gradually.
- Don’t rush chilling—refrigerate for at least 4 hours (preferably overnight).
Final Thoughts: Why You’ll Love This Recipe
This Honey Pistachio Baklava Cheesecake is truly the best of both worlds—a perfect blend of creamy, crunchy, nutty, and sweet. Whether you’re making it for a holiday gathering, dinner party, or just because you love unique desserts, this cheesecake is guaranteed to impress!
Why You’ll Love It:
✅ A creative fusion of two classic desserts
✅ Flaky, buttery phyllo crust with a nutty crunch
✅ Smooth and creamy cheesecake filling
✅ Golden honey drizzle with a hint of rosewater
✅ Easy to make ahead for stress-free entertaining
If you try this recipe, I’d love to hear what you think! Leave a comment below and let me know if you made any fun variations.
Now, grab a fork and enjoy every rich, decadent bite of this baklava-inspired cheesecake masterpiece! 🍯✨
Print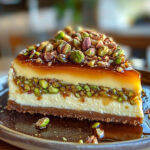
Pistachio Baklava Cheesecake – A Dessert Worth Indulging In
- Total Time: 5+ hours
- Yield: 10–12 servings 1x
Description
A luxurious fusion of flaky baklava layers, nutty sweetness, and creamy cheesecake, topped with honey-glazed pistachios—this Greek-inspired dessert is a showstopper!
Ingredients
For the Baklava Base:
- 10 sheets phyllo pastry, thawed
- 2 sticks (1 cup) unsalted butter, melted
- 1 cup roasted walnuts
- 1 cup roasted almonds
- 1 teaspoon ground cinnamon
- ¼ teaspoon salt
- 2 tablespoons melted butter
For the Cheesecake Filling:
- 500g (2 packages) cream cheese, room temperature
- 1 cup granulated sugar
- Pinch of salt
- 2 teaspoons vanilla extract
- 1 tablespoon lemon zest
- 1 tablespoon lemon juice
- 1 tablespoon cornstarch
- 3 large eggs, room temperature
- 250g strained Greek yogurt (or sour cream)
For the Topping:
- 1 cup shelled pistachios (unsalted), coarsely chopped
- 1 cup honey
- 1 tablespoon lemon juice
- Splash of rosewater
For Garnish:
- Extra honey
Instructions
1️⃣ Preheat & Prep:
- Preheat oven to 350°F (175°C).
- Line an 8 to 10-inch springform pan with trimmed parchment paper on the base.
2️⃣ Make the Baklava Crust:
- Brush each phyllo sheet with melted butter and layer them into the springform pan.
- Trim any overhanging edges.
- Bake for 12 minutes, until golden and crisp.
3️⃣ Prepare the Nut Layer:
- In a food processor, pulse walnuts, almonds, cinnamon, and salt until crumbly.
- Add melted butter and combine.
- Spread this nut mixture evenly over the baked phyllo crust.
4️⃣ Make the Cheesecake Filling:
- In a large bowl, beat together cream cheese, sugar, salt, vanilla, lemon zest, lemon juice, and cornstarch until smooth.
- Add eggs, one at a time, mixing just until incorporated.
- Gently fold in Greek yogurt (or sour cream).
- Pour the filling over the nut layer and smooth the top.
5️⃣ Bake the Cheesecake:
- Place on the middle oven rack and bake for 45 minutes, until the edges are set but the center is slightly wobbly.
- Turn off the oven and let the cheesecake sit inside for another 50 minutes.
6️⃣ Cool & Add the Topping:
- Cool completely before removing from the pan.
- In a small saucepan, warm honey, lemon juice, and rosewater for 1-2 minutes.
- Drizzle over the cheesecake and sprinkle with chopped pistachios.
7️⃣ Serve & Enjoy!
- Drizzle with extra honey before serving for a final touch of sweetness.
Notes
- Want extra crunch? Toast the pistachios and nut layer for deeper flavor.
- No rosewater? Swap for orange blossom water or leave it out for a more classic taste.
- Storage: Refrigerate for up to 4 days in an airtight container.
- Make it ahead: This cheesecake tastes even better the next day after chilling overnight!
- Prep Time: 25 minutes
- Chill time: 3+ hours
- Cook Time: 45 minutes + 50 min resting
