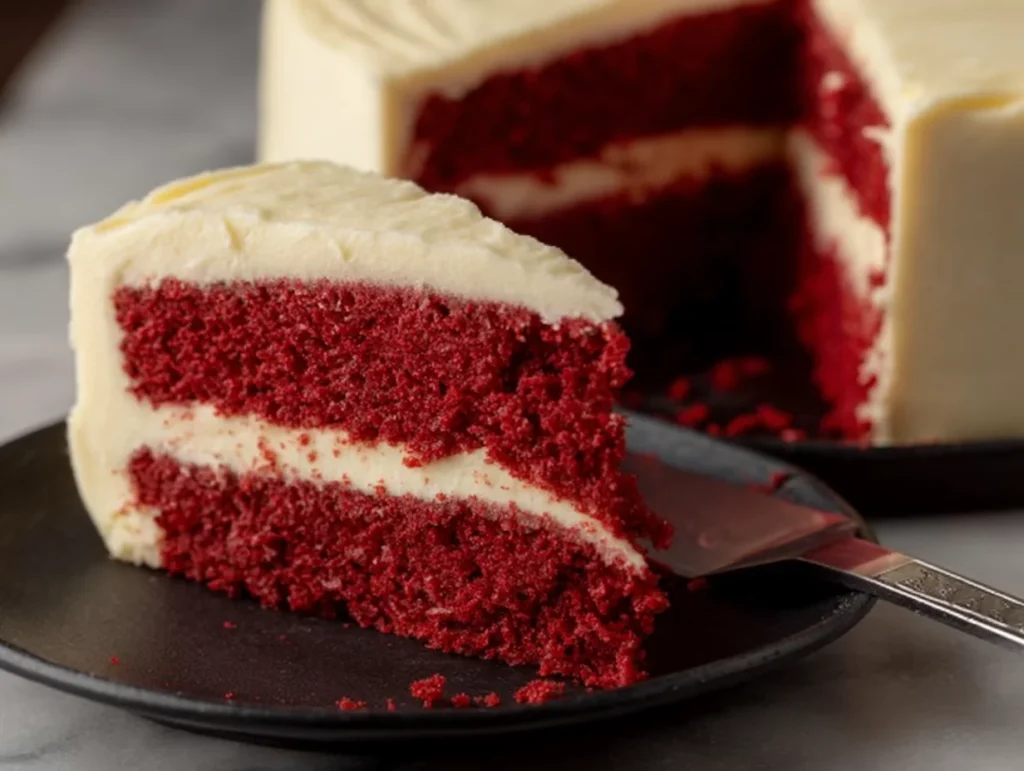
There’s something about red velvet cake that just makes people stop in their tracks. Maybe it’s that bold, beautiful red color or that rich, tangy cocoa flavor. Or maybe it’s the way it perfectly balances decadence with a soft, tender crumb that practically melts in your mouth. Whatever it is, red velvet has earned its spot as a classic dessert—especially here in the South, where it’s practically a tradition on every holiday table.
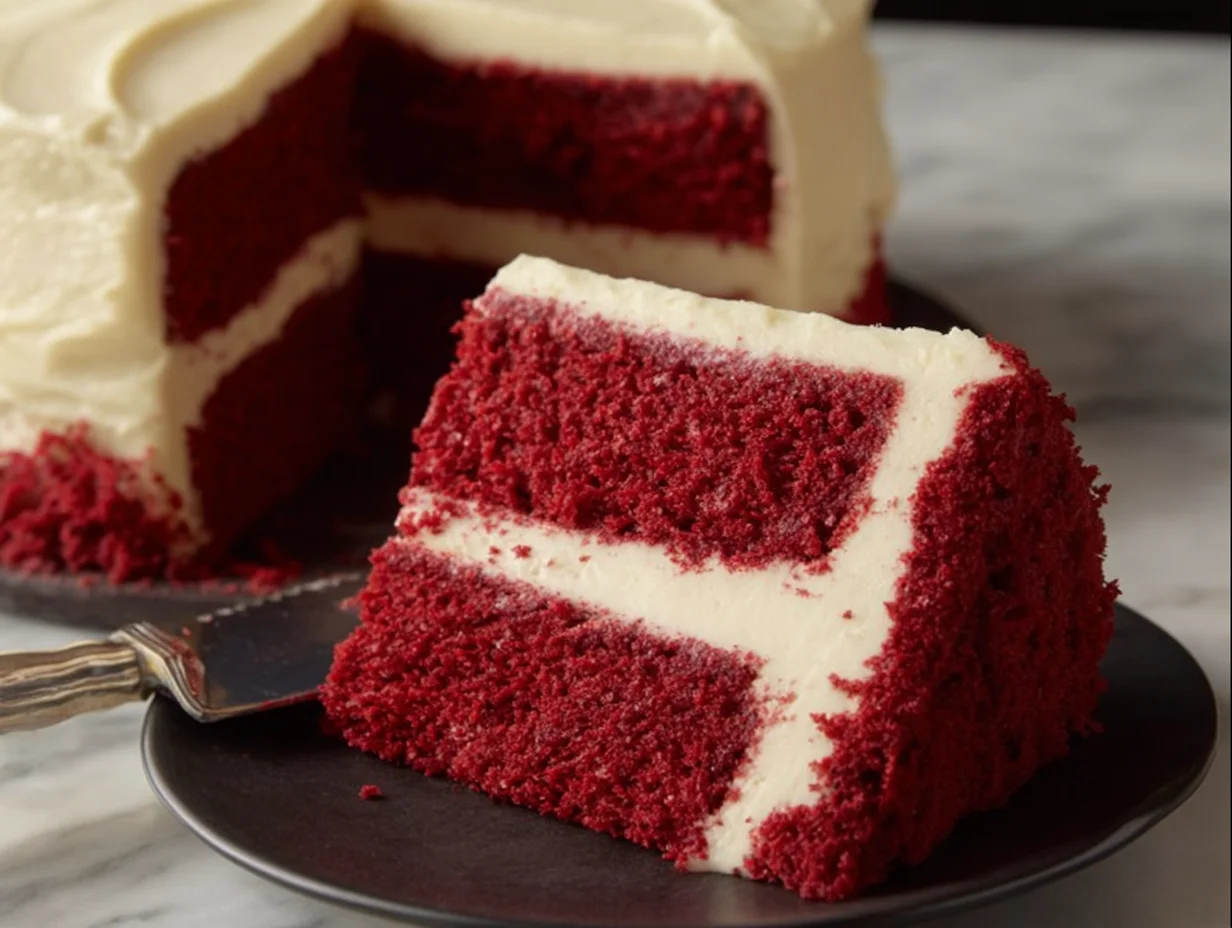
So today, I’m sharing my go-to homemade Red Velvet Cake from scratch—no boxed mix here. This is the real deal: fluffy, moist, vibrant layers of cake smothered in smooth, creamy cream cheese frosting. Whether you’re celebrating a birthday, hosting a holiday dinner, or just craving something sweet and nostalgic, this cake is always a showstopper.
I remember the first time I made this cake—it was for my mom’s birthday, and I was determined to make something special. I wanted that just-right red velvet flavor: not too sweet, with that subtle cocoa richness and a little tang from the buttermilk and vinegar. And of course, I wanted that creamy frosting you could eat by the spoonful (no judgment here!). After a little trial and error, this recipe became a family favorite—and I’m betting it’ll become one in your home too.
Let’s get started with the magic.
Ingredients You’ll Need
For the Cake:
2½ cups all-purpose flour
2 tablespoons unsweetened cocoa powder
1 teaspoon baking soda
½ teaspoon salt
1½ cups granulated sugar
1 cup vegetable oil
2 large eggs
1 cup buttermilk, at room temperature
2 tablespoons red food coloring
1 teaspoon vanilla extract
1 teaspoon white vinegar
For the Cream Cheese Frosting:
8 oz cream cheese, softened
½ cup unsalted butter, softened
3½ cups powdered sugar
1 teaspoon vanilla extract
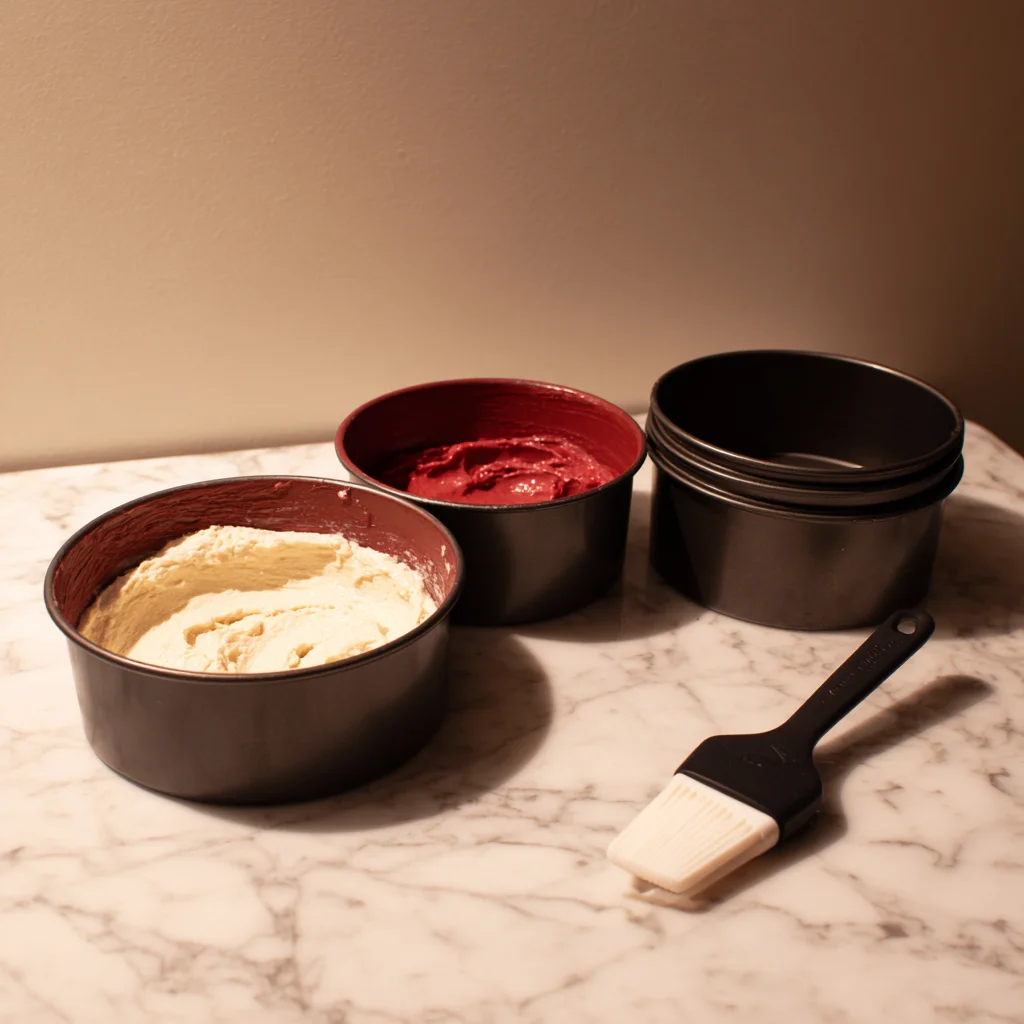
STEP 1: PREP YOUR PANS AND OVEN
Start by preheating your oven to 350°F (175°C). Grease and flour two 9-inch round cake pans. For easier removal, I like to line the bottoms with parchment paper—less stress when it’s time to flip those layers out!
STEP 2: MIX THE DRY INGREDIENTS
In a large mixing bowl, sift together the flour, cocoa powder, baking soda, and salt. Sifting is key here—it ensures your dry ingredients are evenly combined and gives your cake that smooth, velvety texture that red velvet is known for.

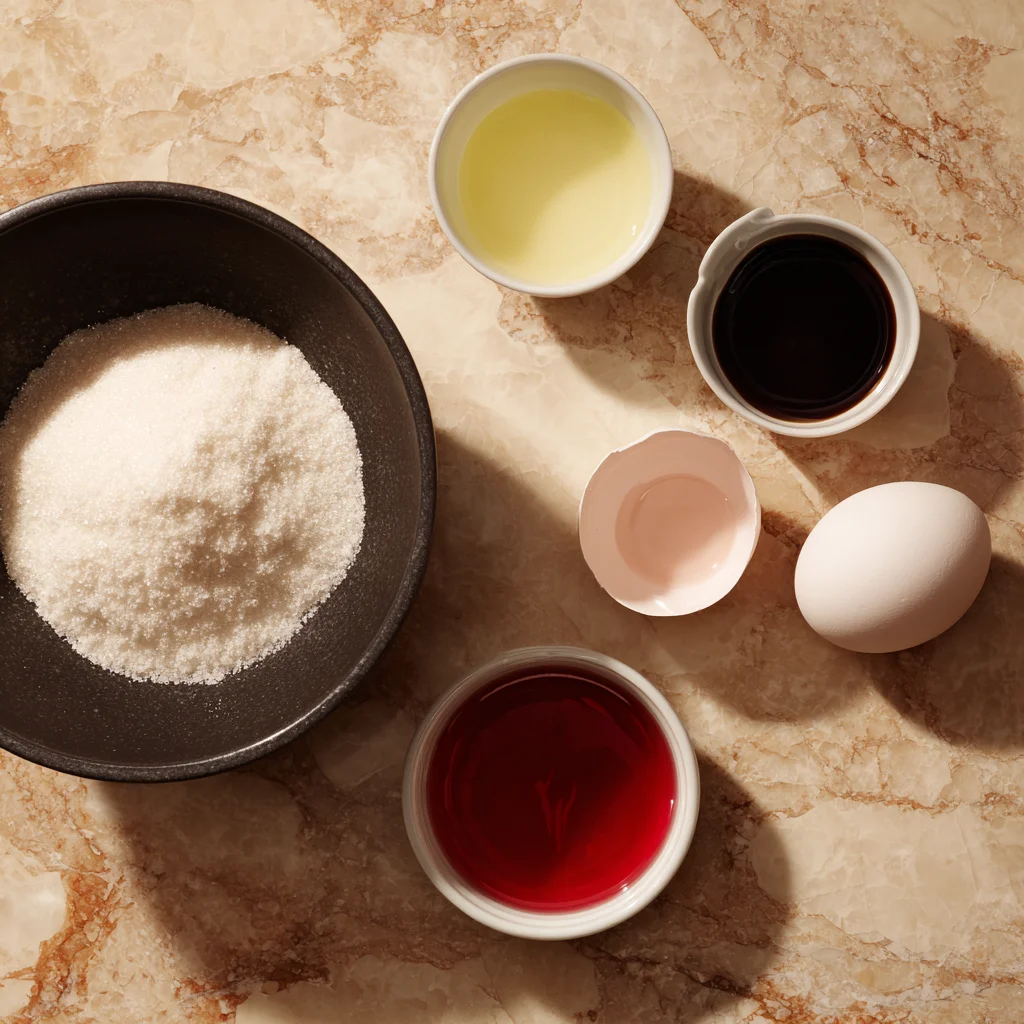
STEP 3: BEAT TOGETHER THE WET INGREDIENTS
In another large bowl, beat together the granulated sugar and vegetable oil until it’s well combined and just a little fluffy. This mixture won’t be quite like creamed butter and sugar, but you want it to look lightened and smooth.
Add the eggs one at a time, mixing well after each addition.
Now stir in the buttermilk, red food coloring, vanilla extract, and vinegar. This combo might seem a little unusual (vinegar in cake?), but trust me—it’s what gives red velvet its signature tang and helps the baking soda do its job.
STEP 4: COMBINE WET AND DRY
Slowly add the dry ingredients into the wet mixture, a little at a time, stirring just until everything is combined. Don’t overmix! Overmixing can make your cake dense instead of soft and tender.
Once your batter is smooth and lump-free, you’re ready to bake.
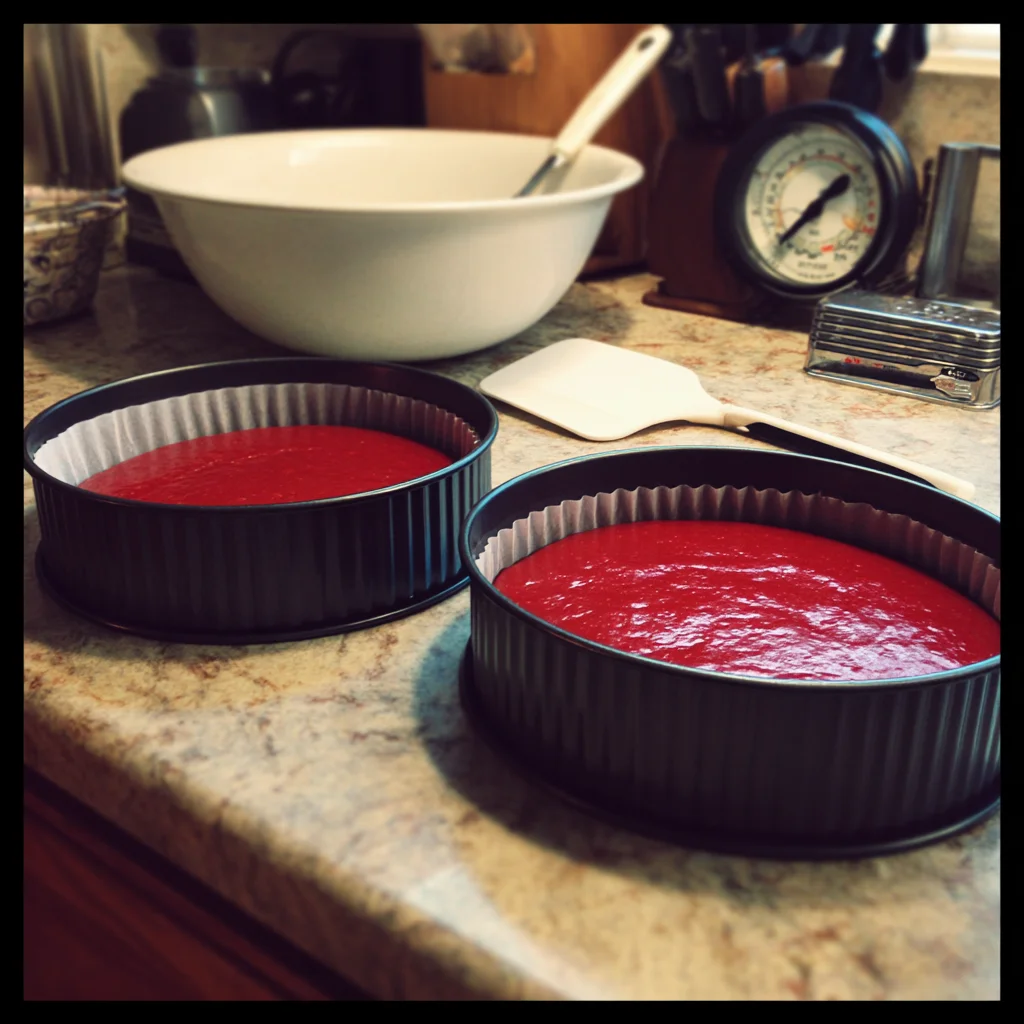
STEP 5: BAKE THE CAKES
Pour the batter evenly into your prepared pans. I like to use a kitchen scale to make sure the layers are the same size, but eyeballing it works too.
Bake for 25 to 30 minutes, or until a toothpick inserted in the center comes out clean. Every oven is a little different, so start checking around the 25-minute mark.
Once baked, let the cakes cool in their pans for about 10 minutes before turning them out onto wire racks to cool completely. This waiting part is the hardest, but it’s important for the texture—and for frosting later on!
Homemade Red Velvet Cake (From Scratch!)
Welcome back! If you’ve followed along through Part 1, your cake layers should be cooling on the rack, and your kitchen is probably smelling amazing right about now. That slightly chocolatey, sweet aroma with a hint of tang? That’s how you know it’s red velvet done right.
Now comes the fun part: making that ultra-smooth cream cheese frosting and putting it all together. I promise, this step isn’t as intimidating as it might seem—even if frosting cakes isn’t your favorite thing (trust me, I’ve had my share of lopsided layers over the years). With a little patience and a few simple tricks, you’ll have a bakery-worthy dessert that looks just as good as it tastes.
STEP 6: MAKE THE CREAM CHEESE FROSTING
While your cakes are cooling, let’s go ahead and make the frosting.
In a large mixing bowl, beat the softened cream cheese and butter together until smooth and creamy. Make sure both ingredients are at room temperature—this really makes a difference in getting that silky texture without lumps.
Once your mixture is well combined, gradually add in the powdered sugar. I usually do this a cup at a time to avoid sugar clouds flying all over the kitchen. Mix on low at first, then increase to medium-high speed as the frosting starts to come together.
Add the vanilla extract, and beat until the frosting is fluffy and spreadable. If you want your frosting a little thicker (for piping, maybe), you can add more powdered sugar, a tablespoon at a time. If it feels too thick, a splash of milk can loosen it up.
STEP 7: LEVEL, STACK & FROST
Once your cakes are completely cool, it’s time to assemble.
First, check your cake layers to see if they baked evenly. If there’s a slight dome on top, use a serrated knife to carefully level them out. You want a flat surface for stacking—this keeps the cake stable and helps the frosting spread evenly.
Place one layer on your serving plate or cake stand. Spread a generous layer of cream cheese frosting across the top, working from the center out to the edges.
Add the second layer and repeat—frost the top and then work your way down the sides of the cake. Don’t worry if it’s not perfect. In fact, this cake looks gorgeous even with a more rustic finish.
If you want a cleaner, smoother look, you can do a “crumb coat.” Just apply a very thin layer of frosting all over the cake, then pop it in the fridge for about 15-20 minutes to set. Once chilled, add a final thicker layer of frosting for that polished look.
Helpful Tips for a Perfect Red Velvet Cake
Let’s pause for a moment and go over a few tips that can really make a difference when baking and frosting this cake:
Room temperature ingredients are key: Cold eggs, buttermilk, or cream cheese can affect how the batter mixes and how smooth your frosting turns out. Set everything out about an hour ahead of time for best results.
Don’t skip the vinegar: It may seem odd, but the vinegar helps react with the baking soda and cocoa powder, giving the cake that iconic velvet texture and enhancing the red color.
Food coloring matters: Liquid food coloring works well in this recipe, but if you want a more vibrant red, you can use gel food coloring. Just start with a little and build up to your desired shade.
Chill before slicing: Once frosted, chilling the cake for 30-60 minutes before slicing helps everything set up nicely, making for cleaner cuts (especially if you’re serving guests).
Optional Variations
One of the best things about baking from scratch is how customizable it is. Here are a few ways you can change things up:
Add chocolate chips: Want a little more chocolate in your bite? Fold in ½ cup of mini chocolate chips into the batter before baking.
Use a different frosting: Not a fan of cream cheese? (I know—it’s rare, but it happens!) You can swap it for a classic buttercream or even a whipped mascarpone frosting for something lighter.
Make it a layer cake: This recipe is designed for two 9-inch layers, but it also works beautifully in three 8-inch pans if you want a taller, bakery-style presentation.
Cupcakes instead: You can absolutely turn this recipe into cupcakes. It’ll make about 24 standard-size cupcakes. Just reduce the bake time to around 18–20 minutes and check with a toothpick.
Homemade Red Velvet Cake (From Scratch!)
Alright, we’ve made it to the final part of this red velvet cake journey! By now, your cake should be frosted, chilled (if you opted for the crumb coat), and looking absolutely stunning on the counter or cake stand. Whether you’re serving it up for a special occasion or just because it’s Tuesday and you deserve it, there’s no denying this classic dessert brings serious wow-factor.
Before we wrap things up, I want to take a minute to answer some of the most common questions I get whenever I share this recipe. These tips and tricks will help you get the best results every time—and might even save the day if you hit a baking snag.
Frequently Asked Questions
Can I make red velvet cake ahead of time?
Yes! You can bake the cake layers up to 2 days in advance. Let them cool completely, then wrap each layer tightly in plastic wrap and store at room temperature. You can also refrigerate or freeze them if you need to make them further in advance.
How do I store leftover red velvet cake?
Because of the cream cheese frosting, this cake should be stored in the refrigerator. Cover it with plastic wrap or keep it in an airtight container. It will stay fresh for up to 4 days. Let it sit at room temperature for 20–30 minutes before serving for the best flavor and texture.
What if I don’t have buttermilk?
No buttermilk? No problem. You can make a quick substitute by mixing 1 cup of milk with 1 tablespoon of white vinegar or lemon juice. Let it sit for 5–10 minutes before using. It won’t be quite the same, but it works well in a pinch.
Can I freeze red velvet cake?
Absolutely. You can freeze the unfrosted cake layers by wrapping them in plastic wrap and then foil. Freeze for up to 3 months. Thaw overnight in the fridge before frosting. You can also freeze fully frosted slices—just wrap them tightly and store in an airtight container.
Why do I need vinegar in this recipe?
The vinegar reacts with the baking soda and cocoa powder, giving the cake its soft, fluffy texture and enhancing the red color. It also adds a slight tang that balances out the sweetness.
Is it okay to use gel food coloring instead of liquid?
Yes, gel food coloring works just fine and often gives a more intense red hue. Just start with a small amount and increase until you get the color you want. A little goes a long way with gel food coloring.
Can I make this recipe into cupcakes?
Definitely. This recipe makes about 24 standard cupcakes. Fill liners about ⅔ full and bake at 350°F (175°C) for 18–20 minutes. Check doneness with a toothpick just like with the full-size cakes.
Final Thoughts and Serving Suggestions
This homemade red velvet cake is one of those recipes that you’ll come back to again and again. It’s reliable, flavorful, and makes a big impression whether you’re hosting a dinner party or baking for someone you love. The combination of the fluffy red cake and that velvety cream cheese frosting hits all the right notes—sweet, tangy, moist, and just a little bit indulgent.
I like to serve mine simply, with a little extra frosting piped on top or a sprinkle of cake crumbs for decoration. If you’re feeling fancy, it also pairs beautifully with fresh berries or a drizzle of chocolate sauce.
I’d love to hear how your cake turned out! Did you stick to the classic version or try one of the variations? Leave a comment below and let me know what worked for you—or share your own spin on this classic Southern favorite. And if you’re anything like me, you’ll be reaching for another slice before you know it.
Print
Red Velvet Cake from Scratch
- Author: Andrew Recipes
Description
This homemade Red Velvet Cake is a classic Southern dessert known for its vibrant red color, tender crumb, and subtle cocoa flavor. The cake is perfectly balanced with a light tang from buttermilk and vinegar, and finished with a rich, creamy cream cheese frosting. It’s ideal for birthdays, holidays, or any special occasion when you want to impress.
Ingredients
For the cake:
2½ cups all-purpose flour
2 tablespoons unsweetened cocoa powder
1 teaspoon baking soda
½ teaspoon salt
1½ cups granulated sugar
1 cup vegetable oil
2 large eggs
1 cup buttermilk, at room temperature
2 tablespoons red food coloring
1 teaspoon vanilla extract
1 teaspoon white vinegar
For the cream cheese frosting:
8 oz cream cheese, softened
½ cup unsalted butter, softened
3½ cups powdered sugar
1 teaspoon vanilla extract
Instructions
Preheat your oven to 350°F (175°C). Grease and flour two 9-inch round cake pans, or line the bottoms with parchment paper for easy removal.
In a large mixing bowl, sift together the flour, cocoa powder, baking soda, and salt. Set aside.
In a separate large bowl, beat the sugar and oil together until combined and slightly fluffy. Add the eggs one at a time, mixing well after each addition. Stir in the buttermilk, red food coloring, vanilla extract, and vinegar until well blended.
Gradually add the dry ingredients to the wet ingredients, mixing just until the batter is smooth and free of lumps. Do not overmix.
Divide the batter evenly between the prepared pans. Bake for 25 to 30 minutes, or until a toothpick inserted into the center comes out clean. Let the cakes cool in the pans for 10 minutes, then remove and cool completely on wire racks.
While the cakes are cooling, prepare the frosting. In a large bowl, beat the cream cheese and butter together until smooth and creamy. Gradually add the powdered sugar, mixing until fluffy. Stir in the vanilla extract.
Once the cakes are completely cool, place one layer on a serving plate and spread an even layer of frosting on top. Add the second layer and frost the top and sides of the cake as desired. For a smoother finish, chill the frosted cake briefly and then apply a final thin layer of frosting.
Notes
Make sure all ingredients are at room temperature before beginning for the best texture. If you prefer a deeper red color, you can add an extra tablespoon of food coloring. This cake stores well in the refrigerator for up to 4 days. Let it come to room temperature before serving for the best flavor and texture.

