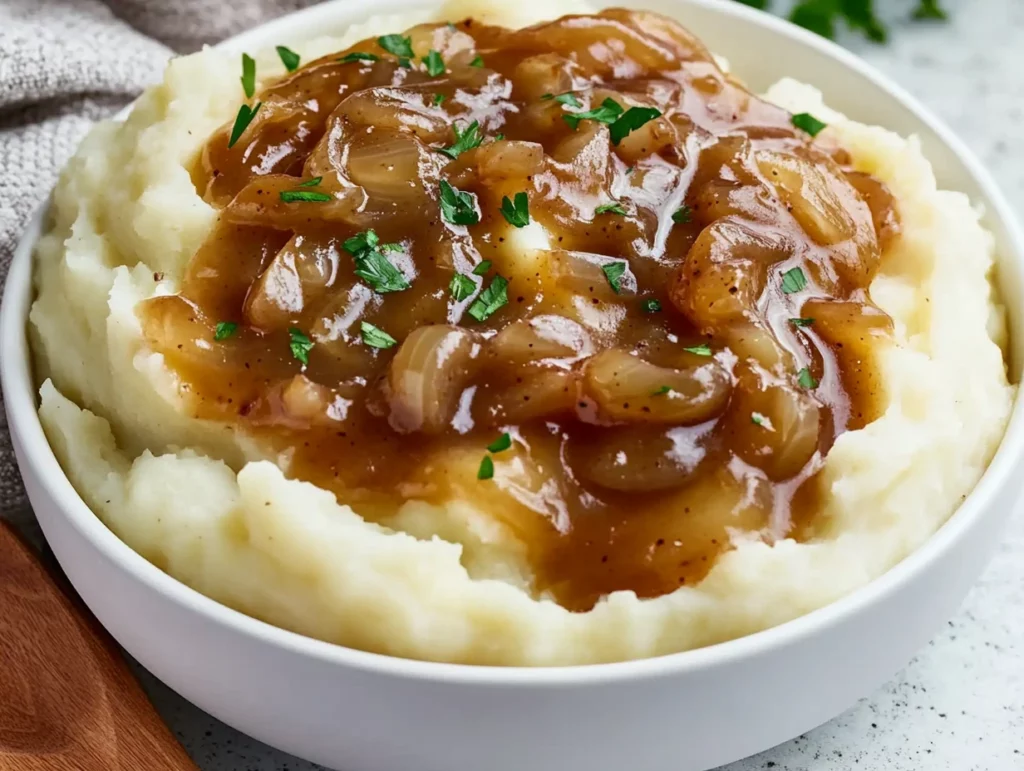
There’s just something magical about a good onion gravy. It has the power to turn a simple plate of mashed potatoes into something crave-worthy, elevate roasted meats to a whole new level, or even make steamed veggies more exciting. I’ve been making this Rich and Savory Onion Gravy for years, and honestly? It’s one of those recipes I always come back to, especially when comfort food is calling.
This isn’t your average quick-and-done gravy. What makes it special is the caramelized onions—the true heart of the dish. When onions are slow-cooked, they transform from sharp and pungent into soft, sweet, golden strands of deliciousness. Combine that with a good broth, a touch of Worcestershire sauce, and the right balance of seasoning, and you’ve got a gravy that’s not just an afterthought—it’s the star of the plate.
If you’ve ever felt like gravy was intimidating or just “one more thing to make,” trust me, this one is worth every minute. It’s simple, approachable, and once you make it, you’ll want to pour it over everything.
Let’s get started with the first part of this rich and cozy recipe.
Ingredients You’ll Need:
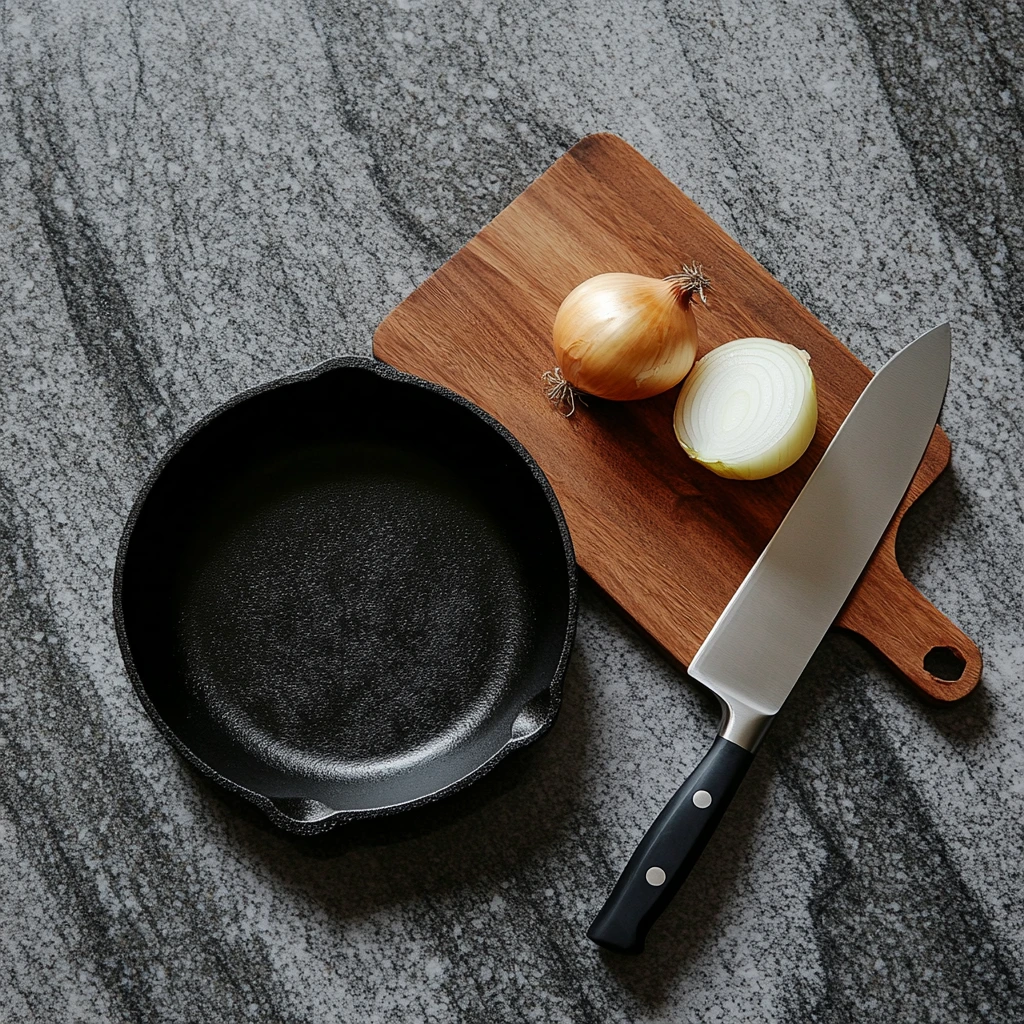
2 large yellow onions, thinly sliced
2 tablespoons butter
1 tablespoon olive oil
1 tablespoon all-purpose flour
2 cups beef broth (or vegetable broth for a vegetarian version)
1 teaspoon Worcestershire sauce
Salt and black pepper, to taste
1 teaspoon fresh thyme or ½ teaspoon dried thyme (optional)
STEP 1: Start with the Caramelized Onions
This is hands-down the most important part of the whole recipe, and the one that sets this gravy apart. Caramelizing onions takes time—but not too much—and patience, but it’s so worth it. Here’s how you do it:
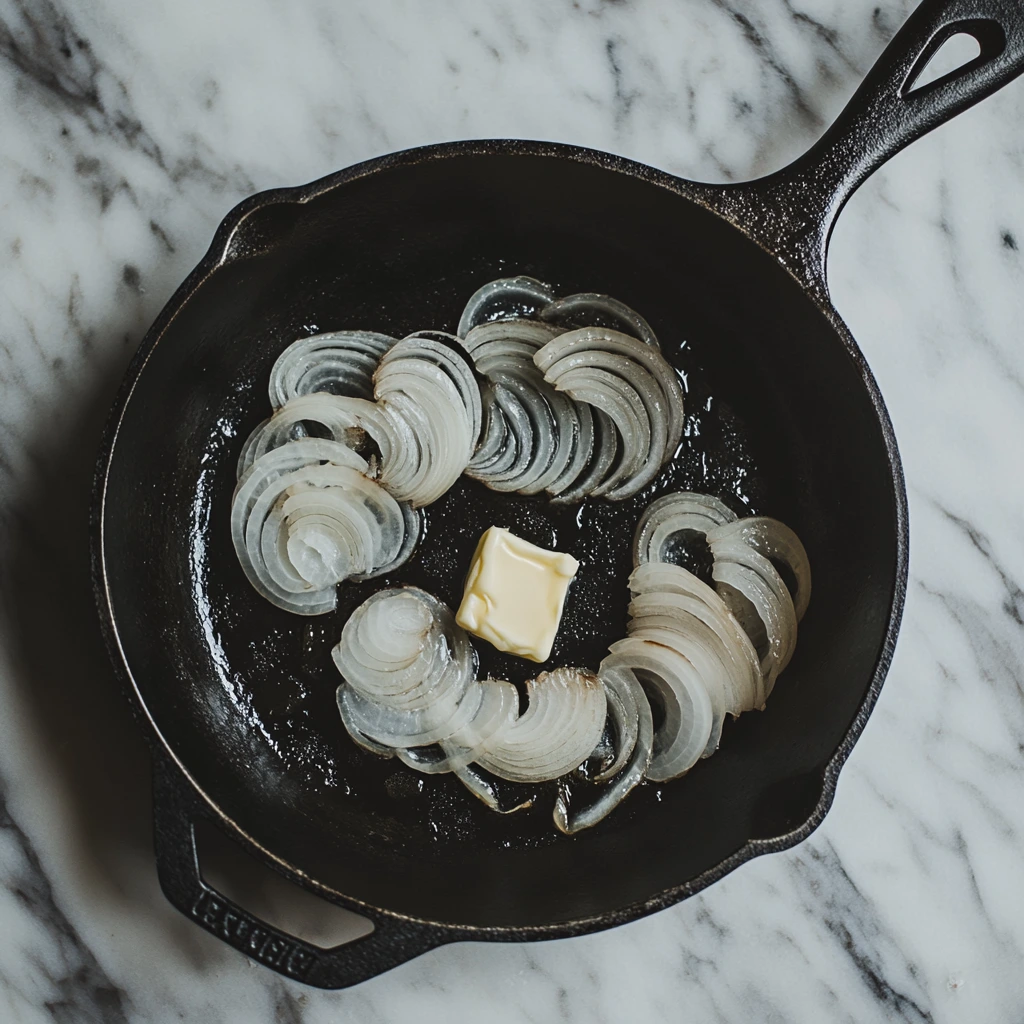
Start by heating the butter and olive oil in a large skillet over medium heat. The combo of butter and oil gives you flavor from the butter and prevents it from burning too fast thanks to the oil.
Add your thinly sliced onions to the pan. Don’t overcrowd them—if your skillet isn’t big enough, work in two batches. You want them to soften and slowly take on that deep golden brown color. This usually takes about 20–25 minutes, and yes, it really does need that long. Stir them occasionally so they don’t stick or burn. If they’re browning too quickly, lower the heat a bit.
The goal is to draw out the natural sugars from the onions so they develop that rich, sweet flavor that’s the backbone of this gravy.
STEP 2: Add the Flour
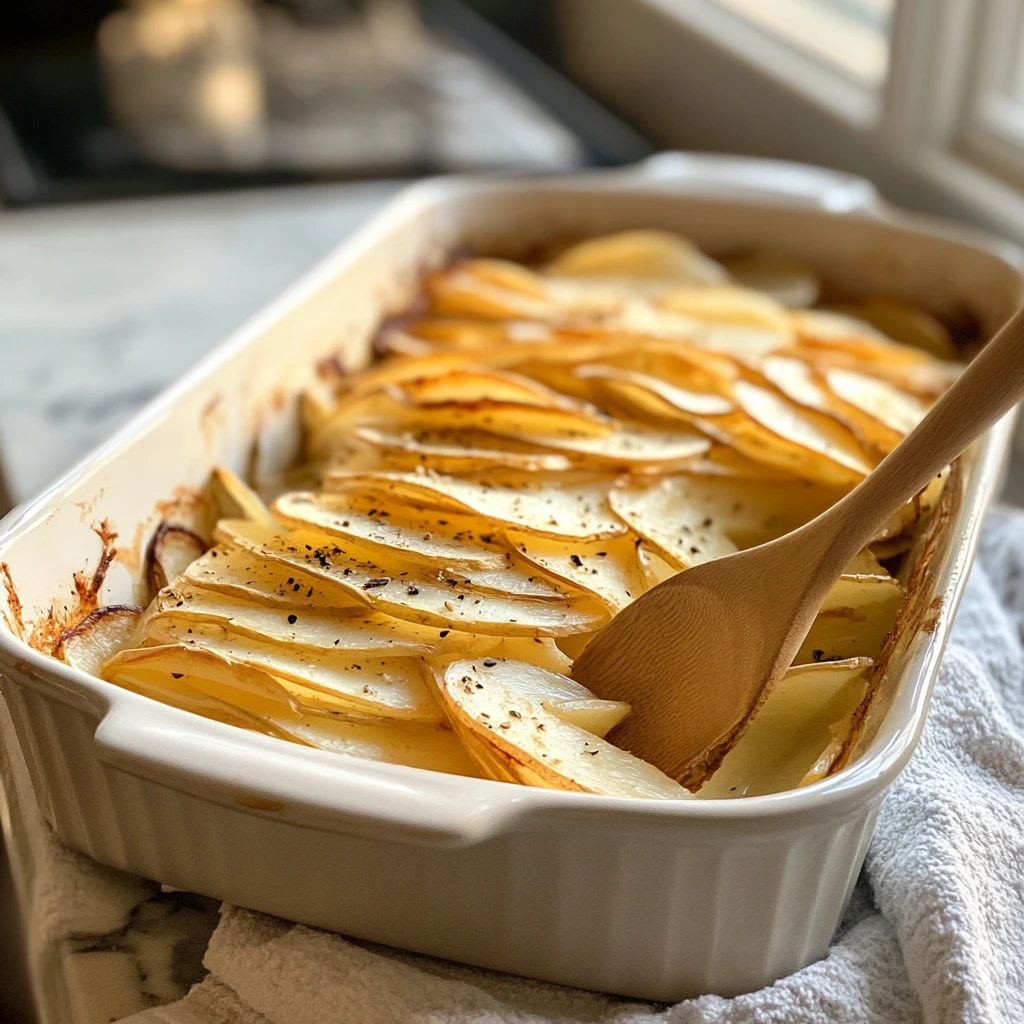
Once your onions are deeply golden and soft, sprinkle in the all-purpose flour. This is what will help your gravy thicken. Stir it well so it coats all the onions. You want to cook this mixture for another 1–2 minutes—just enough to cook off the raw flour taste. You’re essentially creating a roux right in the skillet with your caramelized onions.
This step helps to give the gravy body and that nice, velvety texture.
STEP 3: Pour in the Broth and Flavorings
Now it’s time to bring everything together. Slowly pour in the broth (whether you’re using beef or vegetable), stirring constantly. This helps prevent lumps and ensures the flour gets evenly incorporated into the liquid.
Add the Worcestershire sauce and the thyme at this point. The Worcestershire brings in a bit of umami depth—kind of like the gravy’s secret weapon. If you’re going for a vegetarian option, make sure your Worcestershire sauce is vegetarian too, or use a vegan alternative.
Once everything is in the pan, stir it well and bring the mixture to a gentle simmer.
How to Make the Perfect Onion Gravy
In Part 1, we built the rich, flavorful foundation of our onion gravy with slow-cooked caramelized onions and a roux-style base. Now that everything is simmering nicely, it’s time to bring it all together and finish off this cozy, comforting sauce.
This part of the process is where the magic happens—you’ll see the mixture transform from a thin broth into a luscious, savory gravy that clings to mashed potatoes like a warm hug. Let’s jump right into the final steps and then dive into some handy tips and variations you can try.
STEP 4: Simmer and Thicken
Once the broth has been added and your mixture is at a gentle simmer, keep it bubbling for about 5 to 7 minutes. This gives the flour time to do its job and thicken the gravy to that perfect consistency.
Be sure to stir frequently during this stage to avoid any sticking at the bottom of the skillet—especially important if you’re using a stainless steel pan. If your gravy gets too thick for your liking, don’t worry. Just add a splash of extra broth and stir until it loosens up.
You’ll know it’s ready when the gravy lightly coats the back of a spoon. That’s your visual cue that it’s thickened just right.
STEP 5: Season to Taste
This final step is all about bringing the flavors into balance. Once your gravy has thickened, taste it and add salt and freshly ground black pepper as needed.
Keep in mind that the broth you used might already have some salt, so don’t go in too heavy right away. Add a little, taste again, and adjust from there. A touch more Worcestershire sauce can add a bit of zing, and if you like a more herb-forward gravy, feel free to stir in a little extra thyme at this point.
Once everything tastes just right, remove the skillet from the heat—and just like that, your onion gravy is ready to serve.
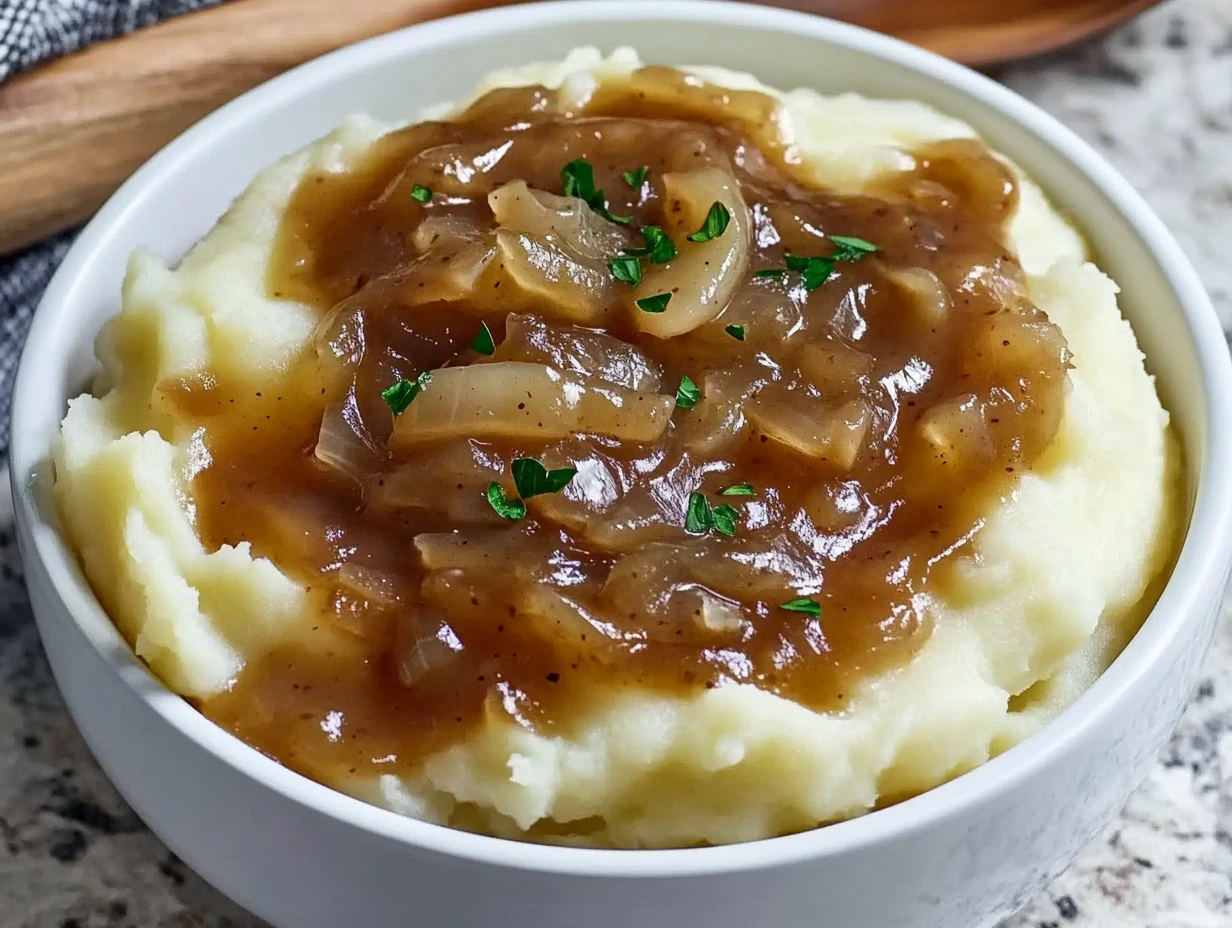
Serving Suggestions: Where This Gravy Truly Shines
This gravy is incredibly versatile, which is one of the reasons I love it so much. Here are some favorite ways to serve it:
Mashed Potatoes – The classic combo. Creamy potatoes and savory onion gravy are basically soulmates.
Roast Chicken or Beef – Drizzle it over slices of roast for an instant flavor upgrade.
Grilled Sausages – Serve alongside buttery mashed potatoes or over bangers and mash for a British-inspired dinner.
Roasted Vegetables – This is a great vegetarian pairing, especially if you use veggie broth.
Open-Faced Sandwiches – Perfect for leftovers—pile on some meat, veggies, and spoon over the gravy.
Tips for the Best Onion Gravy Every Time
Here are a few simple tips to help you get the most out of this recipe:
Don’t Rush the Onions – Caramelization is everything. If you try to speed it up, you’ll miss out on the rich, deep flavor that makes this gravy so good.
Use Good Broth – Since the broth makes up the base of your sauce, go for a high-quality brand (or homemade if you have it). It really does make a difference.
Adjust the Thickness – Gravy too thick? Add more broth. Too thin? Let it simmer a bit longer. It’s very forgiving, so you can easily tweak it to your liking.
Blend for a Smooth Finish – If you prefer a silky texture with no onion pieces, just blend the gravy with an immersion blender or in a regular blender once it’s done.
Make it Vegetarian – Swap in vegetable broth and a vegetarian Worcestershire-style sauce (or soy sauce with a splash of vinegar) to make it fully meat-free without sacrificing flavor.
Storage and Reheating Tips
Leftovers? You’re in luck—this gravy stores beautifully.
Refrigerator: Store in an airtight container in the fridge for up to 3 days.
Freezer: You can freeze it too, though the texture may change slightly. Just cool it completely before transferring to a freezer-safe container. It’ll keep for up to 2 months.
Reheating: Warm on the stovetop over low heat, adding a splash of broth or water if it’s too thick. Stir often to keep it smooth.
Rich and Savory Onion Gravy FAQ + Final Thoughts
We’ve covered every step of making this hearty, flavorful onion gravy—from slowly caramelizing the onions to simmering everything into a thick, spoon-coating sauce. But before we wrap things up, let’s go over some common questions that tend to pop up when making homemade gravy.
These FAQs should help you feel confident whether you’re making this for a family dinner, holiday table, or just because mashed potatoes were calling your name.
Frequently Asked Questions
1. Can I make this onion gravy ahead of time?
Absolutely! In fact, the flavors often deepen and get even better after a day. Store it in an airtight container in the fridge for up to 3 days. Reheat on the stovetop over low heat, adding a splash of broth if it’s too thick.
2. What kind of onions should I use?
Yellow onions are ideal because they’re naturally sweet and mellow when caramelized. You can also use white onions, but avoid red onions—they tend to be sharper and don’t caramelize as well for gravy.
3. How can I make this gravy gluten-free?
To make a gluten-free version, replace the all-purpose flour with a gluten-free flour blend or cornstarch slurry (mix 1 tablespoon cornstarch with 2 tablespoons water and add it to the simmering broth).
4. Is it okay to use vegetable broth instead of beef broth?
Yes! Vegetable broth works great and makes the recipe vegetarian-friendly. You’ll still get a deep, savory flavor—just make sure to use a broth that’s rich and well-seasoned.
5. Can I freeze onion gravy?
Yes, onion gravy freezes well. Let it cool completely, then transfer to a freezer-safe container or bag. It will keep for up to 2 months. Thaw in the fridge overnight and reheat gently on the stove.
6. My gravy turned out too thin—how can I fix it?
Just let it simmer a little longer to allow more moisture to evaporate. Stir frequently to prevent it from burning. You can also add a bit more flour or cornstarch mixed with cold broth to thicken it up.
7. Can I blend the gravy to make it smooth?
Yes, and it’s a great option if you don’t want onion pieces in your gravy. Use an immersion blender directly in the skillet or transfer it to a blender once cooled slightly. It’ll give you a silky, restaurant-style finish.
Final Thoughts: Why You’ll Love This Onion Gravy
There’s something incredibly satisfying about making a recipe like this from scratch. It’s humble, it’s cozy, and it brings so much depth to whatever you’re serving it with. Whether it’s a bowl of mashed potatoes, slices of roast beef, or even just some crusty bread on the side, this gravy has a way of tying everything together.
The caramelized onions create a natural sweetness, the broth gives it body, and the seasonings round it all out. And once you’ve made it once, it becomes one of those “back-pocket” recipes—reliable, delicious, and endlessly adaptable.
Print
Rich and Savory Onion Gravy
- Author: Andrew Recipes
Description
This homemade onion gravy is deeply flavorful, made with caramelized onions and a rich broth base. Perfect for serving over mashed potatoes, roasted meats, sausages, or vegetables, it’s a comforting addition to any hearty meal. The slow-cooked onions develop a natural sweetness that pairs beautifully with the savory notes of the broth.
Ingredients
2 large yellow onions, thinly sliced
2 tablespoons butter
1 tablespoon olive oil
1 tablespoon all-purpose flour
2 cups beef broth (or vegetable broth for a vegetarian option)
1 teaspoon Worcestershire sauce
Salt and black pepper to taste
1 teaspoon fresh thyme or ½ teaspoon dried thyme (optional)
Instructions
1️⃣ Heat the butter and olive oil in a large skillet over medium heat. Add the sliced onions and cook slowly, stirring occasionally, until they are soft and golden brown, about 20–25 minutes. Don’t rush this step; it’s key to developing the rich flavor.
2️⃣ Once the onions are caramelized, sprinkle in the flour. Stir well to coat the onions and cook for 1–2 minutes to remove the raw taste of the flour.
3️⃣ Gradually pour in the broth while stirring continuously to avoid lumps. Add the Worcestershire sauce and thyme, if using.
4️⃣ Bring the mixture to a simmer and cook for another 5–7 minutes until the gravy thickens to your desired consistency. Stir frequently to prevent sticking.
5️⃣ Season with salt and pepper to taste, then serve hot over your favorite dishes.
Notes
For a smoother gravy, you can blend the mixture after it’s cooked. If the gravy becomes too thick, thin it out with a splash of additional broth. Leftovers can be refrigerated for up to 3 days and reheated on the stovetop.
