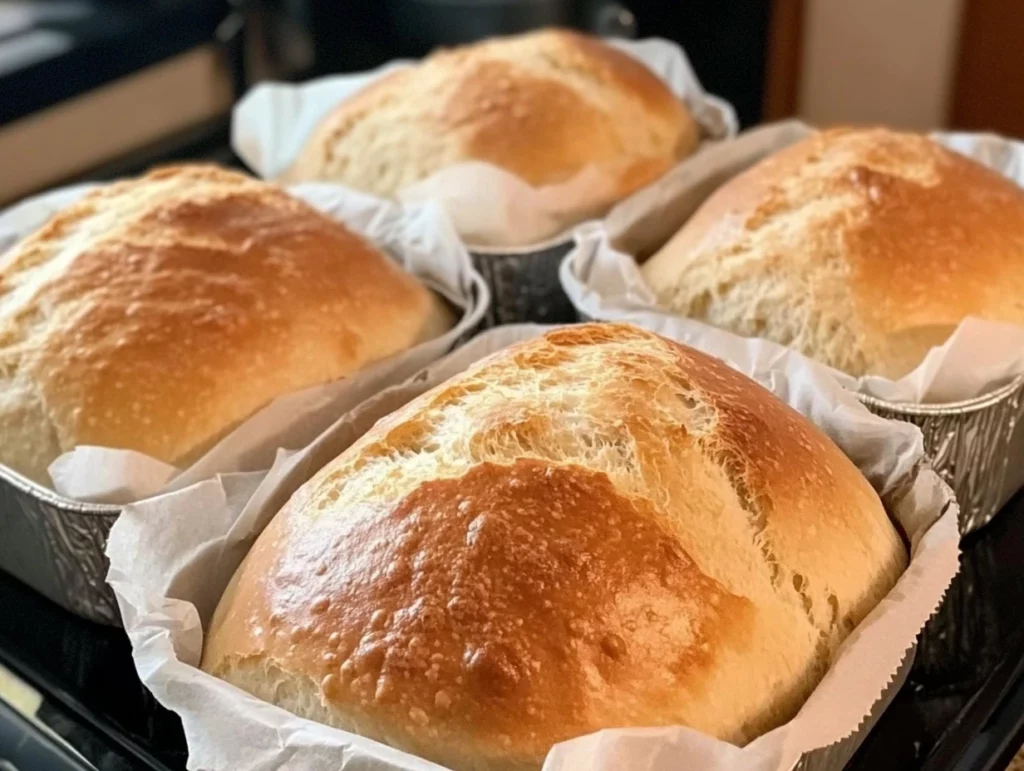
If there’s one thing that can make your kitchen smell like a cozy bakery with almost no effort, it’s this no-knead sandwich bread. Whether you’re a beginner, a busy parent, or just someone who loves the idea of fresh, homemade bread without getting your hands too doughy, this recipe is going to be your new best friend. There’s no kneading, no eggs, no butter, and honestly, no stress. Just a handful of pantry staples and a little patience while the dough does its thing overnight.
I’ve made this loaf more times than I can count, especially during those weeks when I want to avoid store-bought bread. It’s incredibly versatile—perfect for sandwiches, French toast, or simply slathered with butter and jam. And the best part? You can literally stir it together in five minutes before bed and have fresh bread by lunchtime the next day.
Why You’ll Love This Bread
This bread hits that perfect balance of soft and chewy with a golden, slightly crisp crust. And despite having just five ingredients, the flavor is rich and satisfying. It’s got all the vibes of artisan bread without needing a mixer, dough hook, or any elbow grease. And did I mention it freezes beautifully? Slice it up, pop it in the freezer, and you’ve got toast-ready bread any time you want.
Whether you’re someone who’s been baking for years or just testing the waters with homemade recipes, this one is totally foolproof. Plus, it’s a great option if you’re looking for a bread recipe with no dairy or eggs.
Let’s dive into the simple ingredients and walk through the steps together!
Ingredients You’ll Need
3 cups all-purpose flour (plus extra for dusting)
1 tablespoon granulated sugar
1 tablespoon active dry yeast
1 teaspoon salt
1 1/2 cups warm water (about 110°F or 45°C)
STEP 1: Mix the Dry Ingredients
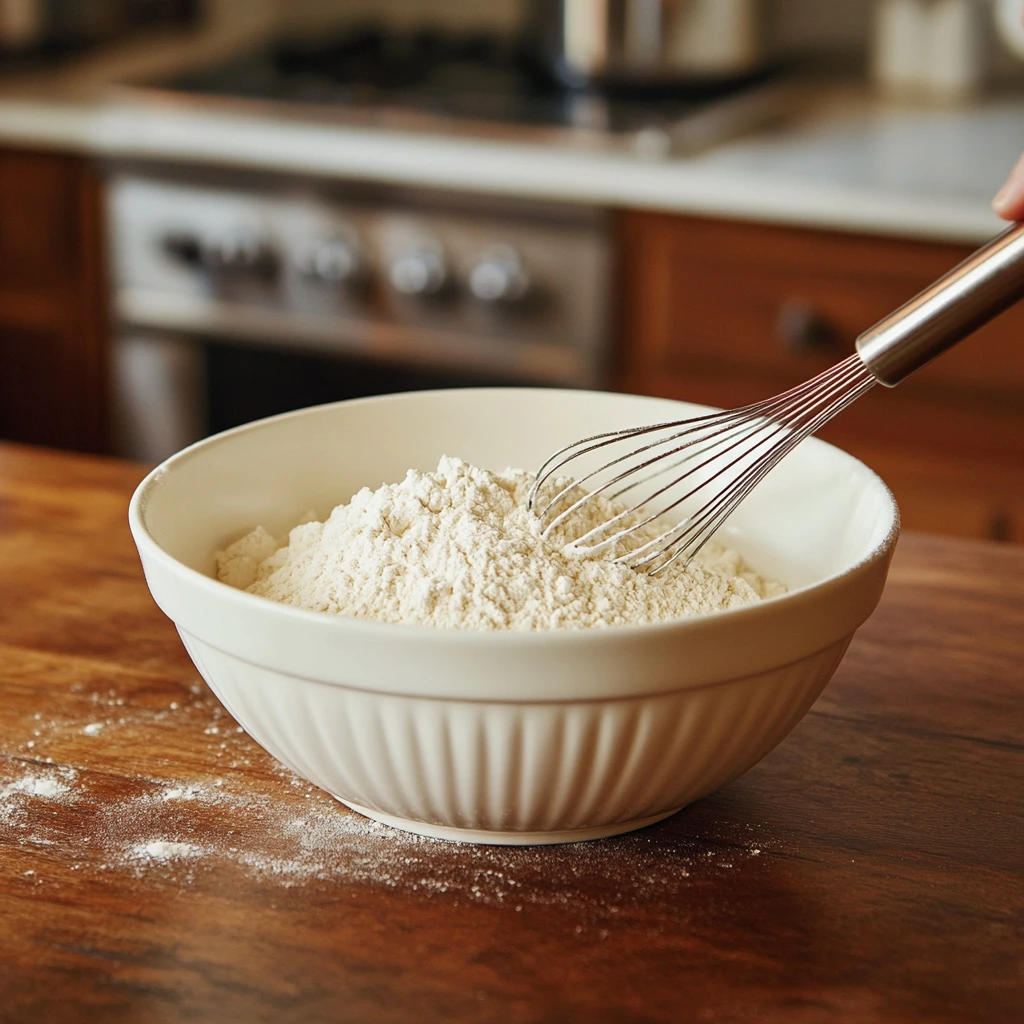
Start by grabbing a large mixing bowl—you’ll want something roomy since the dough is going to rise quite a bit overnight. Combine your flour, sugar, yeast, and salt in the bowl. Give it a good whisk to make sure everything is evenly distributed.
Quick tip: make sure your yeast is fresh and active. Expired yeast is the main reason bread doesn’t rise properly, and we definitely want that tall, fluffy loaf.
STEP 2: Add the Warm Water
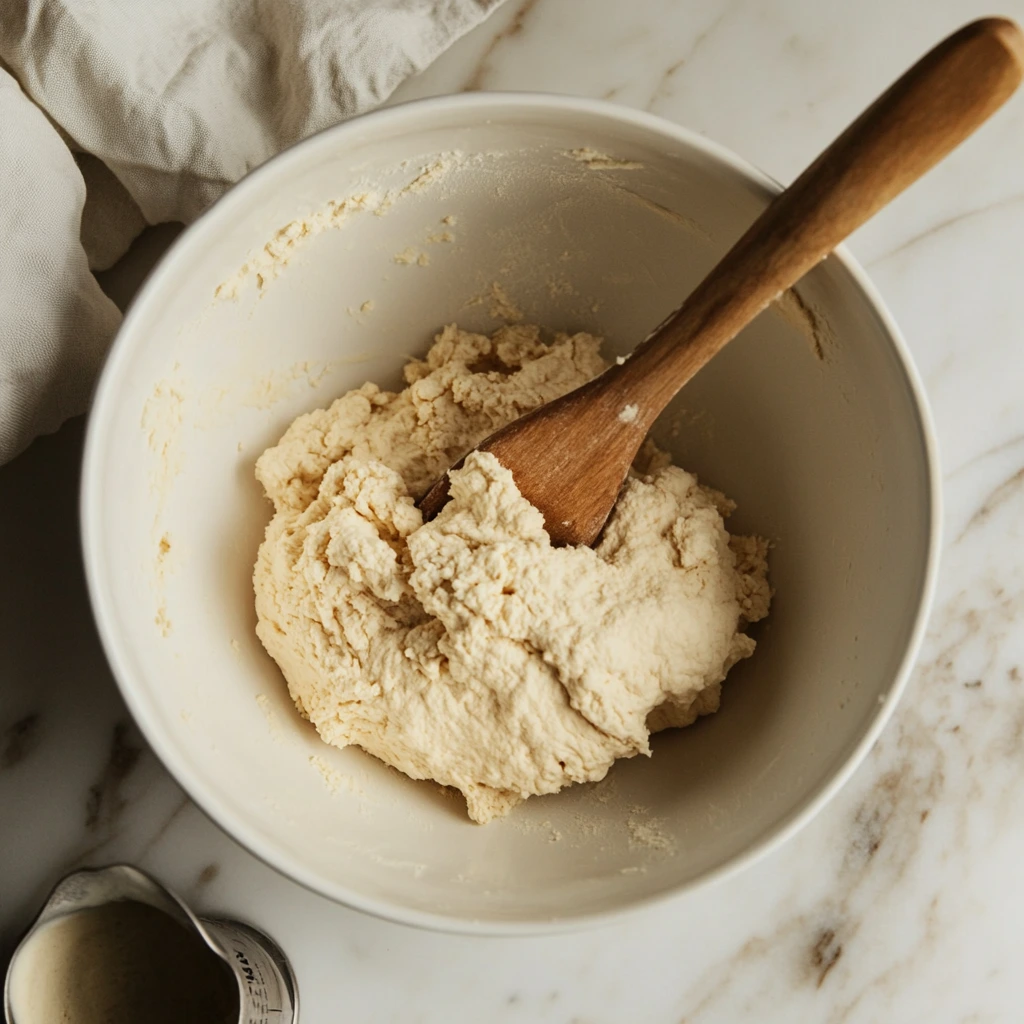
Now, pour in the warm water. It should feel like a warm bath—not hot, just comfortably warm to the touch. Stir everything together with a wooden spoon or silicone spatula until a shaggy, sticky dough forms.
This part is important: don’t overthink the texture. It’s supposed to look messy and sticky right now. That’s what gives it that wonderfully tender crumb once baked.
STEP 3: Let It Rise Overnight
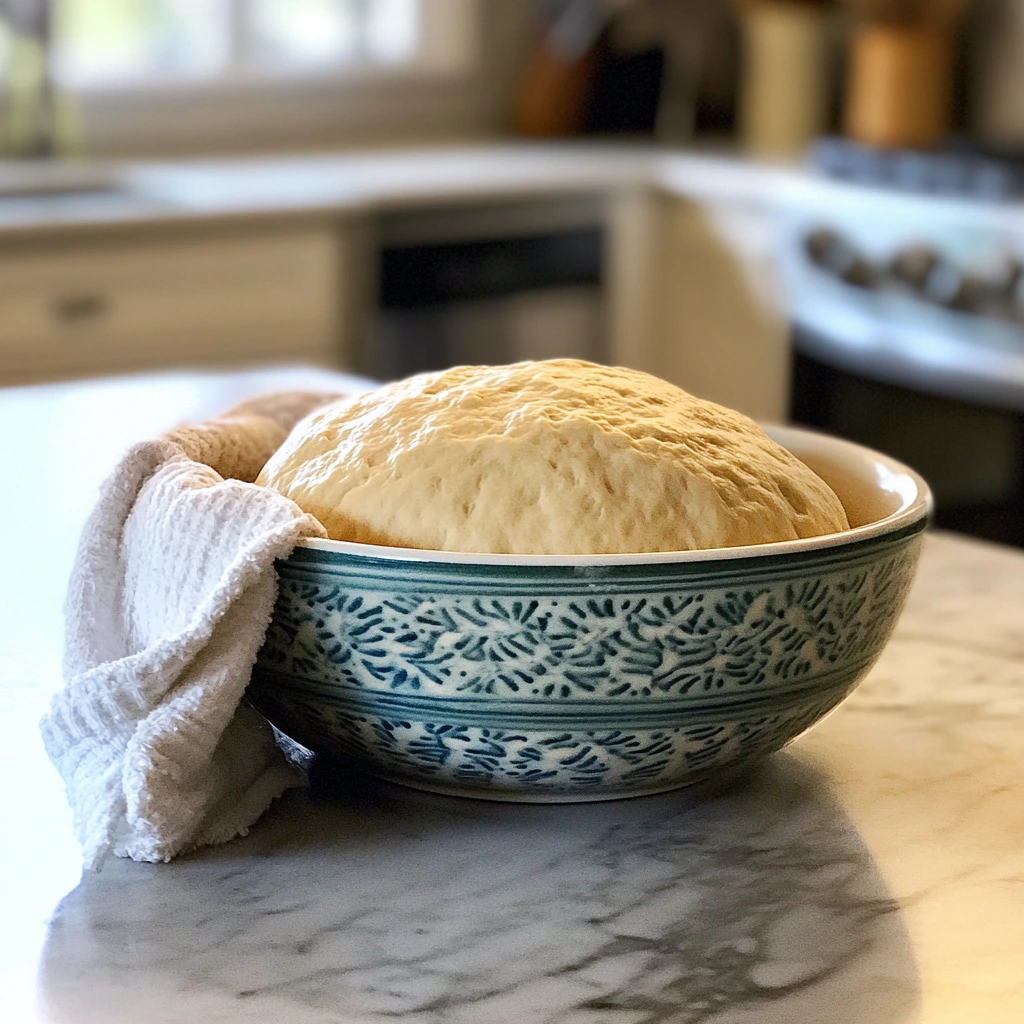
Cover your bowl loosely with plastic wrap or a clean kitchen towel, then set it in a warm, draft-free corner of your kitchen. A turned-off oven with the light on works great if your kitchen is chilly.
Let the dough rest for 8 to 12 hours, or overnight. When you check on it the next morning, it should have doubled in size and be full of little air bubbles. That’s the yeast working its magic.
STEP 4: Shape the Dough
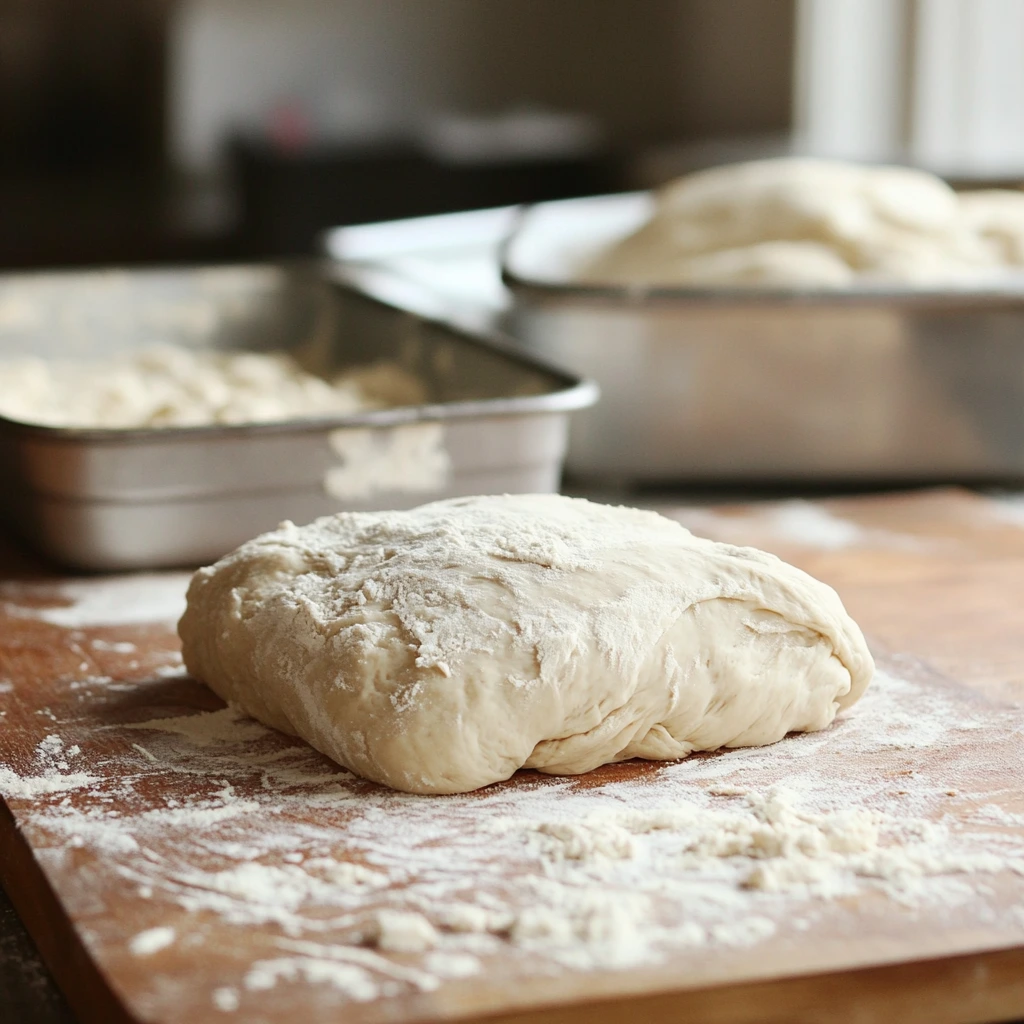
Once your dough has risen, dust a clean surface with a little flour and gently turn the dough out of the bowl. It’s going to be a bit sticky, so use floured hands or a bench scraper if you need to.
Gently fold it over itself a couple of times to form a loose rectangle—nothing fancy, just enough to give it some shape. Be gentle to preserve all those airy bubbles we worked so hard for.
Place the shaped dough into a greased loaf pan, or line the pan with parchment paper if you prefer easier cleanup.
Second Rise, Baking & Tips
Now that we’ve got our dough shaped and nestled into the loaf pan, we’re in the home stretch. One more short rise, a quick bake, and you’ll have a beautiful homemade loaf ready to slice. This part of the process is just as simple and hands-off as the first half, so don’t worry—no fancy techniques needed.
What I love most about this recipe is that while it’s incredibly low-effort, the final result makes you feel like you’ve accomplished something big in the kitchen. The second rise adds that final bit of lift to your loaf, and baking it fills the house with the kind of smell that makes people wander in asking, “What is that amazing smell?”
Let’s get into the final steps and a few tips to help make this bread foolproof every single time.
STEP 5: Let the Dough Rise Again
Once your dough is in the pan, it needs a little more time to rise before baking. This step ensures that your loaf ends up light and fluffy rather than dense.
Cover the pan with plastic wrap or a damp kitchen towel, and let it sit somewhere warm for 1 to 2 hours. You’re looking for the dough to rise just to the top of the pan—don’t let it spill over or it could deflate when baking.
If your kitchen is on the cooler side, placing the pan near a sunny window or on top of your preheating oven can help speed things up.
STEP 6: Preheat and Bake
Preheat your oven to 375°F (190°C) while your dough finishes its second rise.
When the dough is ready, gently remove the cover. If you’d like a shinier crust, this is the time to brush the top with a little milk. Totally optional, but it gives the crust a lovely golden finish.
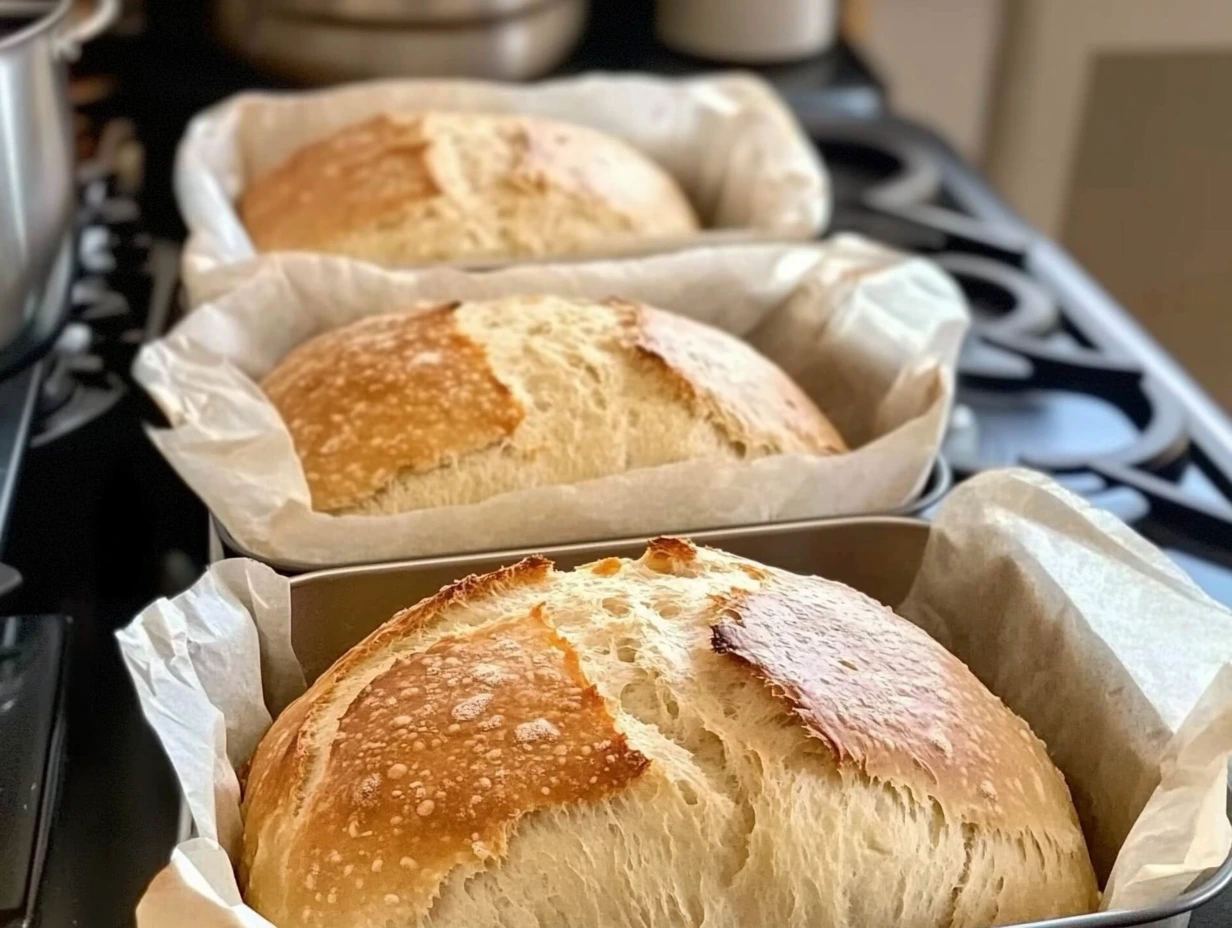
Place your loaf pan in the center of the oven and bake for 30 to 35 minutes. You’ll know it’s done when the top is a beautiful golden brown and the loaf sounds hollow when you tap it underneath. If you’re unsure, a thermometer inserted into the center should read around 190°F (88°C).
STEP 7: Cool and Slice
This might be the hardest part—waiting! But it’s important. Let your loaf cool in the pan for about 10 minutes, then carefully remove it and transfer it to a wire rack to cool completely.
If you slice it while it’s still warm, it may squish a little and the texture won’t be fully set. Give it a bit of time and you’ll be rewarded with the perfect crumb structure.
Once cooled, go ahead and slice into that beauty! The inside should be soft, fluffy, and just a little chewy with a crust that’s golden and slightly crisp.
Helpful Tips for Success
Here are a few tried-and-true tips I’ve picked up along the way to help ensure your bread turns out just right every time:
Flour type matters: Stick with all-purpose flour for the softest crumb, but if you want a heartier loaf, you can swap up to half the flour with whole wheat. Just know it may be slightly denser.
Sticky dough is normal: Don’t panic if your dough looks wet and sticky after mixing. That’s exactly what we want! Resist the urge to add more flour.
Keep it warm: Yeast loves a warm environment. If your kitchen is cold, use your oven (turned off) with the light on to keep things cozy during rising.
Storage tip: This bread stays soft for up to 4 days at room temperature in an airtight container. You can also slice and freeze it—just pop individual slices in a freezer bag and toast straight from frozen when needed.
Customize it: Want to add some flair? Try folding in herbs, shredded cheese, or even roasted garlic during the shaping step for a flavor boost.
FAQs & Final Thoughts
By now, you’ve seen just how approachable and rewarding this no-knead sandwich bread recipe really is. It’s one of those recipes you’ll turn to again and again—especially on days when the idea of store-bought bread just isn’t cutting it.
Before we wrap things up, let’s take a moment to go through some frequently asked questions that pop up when making this bread. Whether you’re baking it for the first time or adding it to your regular routine, these answers should help you feel confident every step of the way.
Frequently Asked Questions
1. What if my dough didn’t rise overnight?
There are a couple of reasons this might happen. The most common is that your yeast was expired or the water was too hot or too cold. The water should be warm to the touch, about 110°F (45°C). Also, make sure you’re letting it rise in a warm, draft-free place.
2. Can I use instant yeast instead of active dry yeast?
Yes! You can substitute instant yeast 1:1 with active dry yeast. Instant yeast tends to act a little faster, so your rise times may be slightly shorter.
3. Can I make this bread gluten-free?
This recipe was developed using regular all-purpose flour, so results with gluten-free flour will vary. If you’re going to try it, use a 1:1 gluten-free baking flour designed for yeast breads, and expect the texture to be a little different.
4. How do I store the bread once it’s baked?
Once completely cool, store the bread in an airtight container or bread bag at room temperature for up to 4 days. Avoid refrigerating it—it tends to dry out faster that way. For longer storage, slice and freeze the loaf.
5. Can I bake this in a Dutch oven or other pan?
This particular dough is softer than traditional artisan bread, so it’s best suited for a loaf pan. A Dutch oven would work in a pinch, but the dough may spread rather than hold its shape unless contained.
6. What’s the best way to freeze and reheat this bread?
Let the loaf cool completely, then slice and freeze individual pieces in a zip-top freezer bag. When you’re ready to eat, just pop a slice in the toaster straight from frozen—no need to thaw first!
7. Can I double the recipe?
Yes, you can double it easily. Just use two loaf pans, and divide the dough evenly after the first rise. Keep in mind that rise times may be a little longer with a larger batch.
Final Thoughts
Homemade bread doesn’t have to be complicated, and this recipe proves it. It’s simple enough for first-time bakers but satisfying enough that even seasoned bread lovers keep it in their rotation. The fact that it’s egg-free, butter-free, and doesn’t require kneading just makes it all the more appealing.
Whether you’re making it for toast in the morning, sandwiches at lunch, or just to enjoy fresh with a pat of jam, this bread brings a cozy, handmade feel to your everyday meals. And if you’re anything like me, once you make it a couple of times, you’ll find yourself mixing up a batch without even glancing at the recipe.
If you give this no-knead sandwich bread a try, I’d love to hear how it turned out! Leave a comment with your results, any add-ins you tried, or tips you discovered along the way. Homemade bread is always better when we share what works.
Happy baking!
Print
Sandwich Bread: No Kneading, No Eggs, No Butter!
- Author: Andrew Recipes
Description
This incredibly easy sandwich bread recipe is perfect for beginners and busy bakers alike. With no kneading and no eggs or butter, it delivers a soft, tender crumb and golden crust using just a few pantry staples. Ideal for sandwiches, toast, or snacking, this overnight bread requires minimal effort with maximum reward.
Ingredients
3 cups all-purpose flour (plus extra for dusting)
1 tablespoon granulated sugar
1 tablespoon active dry yeast
1 teaspoon salt
1 1/2 cups warm water (about 110°F/45°C)
Instructions
Combine the dry ingredients in a large mixing bowl by whisking together the flour, sugar, yeast, and salt until evenly incorporated. Ensuring your yeast is fresh and active is key for a good rise.
Add the warm water and stir gently using a wooden spoon or silicone spatula until a shaggy, sticky dough forms. It’s normal for the dough to be quite sticky at this point.
Cover the bowl loosely with plastic wrap or a clean kitchen towel. Allow the dough to rest in a warm, draft-free place for 8 to 12 hours, or overnight. The dough should double in size and appear light and airy.
Prepare a clean surface by lightly dusting it with flour. Turn the risen dough out and gently fold it over itself a few times to shape it into a loose rectangle. Handle it gently to retain the air bubbles. Transfer the shaped dough to a greased loaf pan, or one lined with parchment paper.
Let the dough rise again in the loaf pan, covered with plastic wrap or a damp towel, for 1 to 2 hours, until it has expanded to the top of the pan.
Preheat your oven to 375°F (190°C). Once ready, remove the covering and bake the bread for 30 to 35 minutes, or until the crust is golden brown and the loaf sounds hollow when tapped underneath. For a shinier crust, brush the top with milk before baking.
Allow the loaf to cool in the pan for 10 minutes before turning it out onto a wire rack to cool completely. Once cool, slice and enjoy fresh, toasted, or however you like your bread.
Notes
This bread stays soft for several days when stored in an airtight container or bag. It also freezes well—just slice and store in freezer-safe bags for quick toast-ready portions. Perfect for minimalist bakers or anyone craving homemade bread without the fuss.
